Full Install Guide From Raspbian to libptp - Step by Step
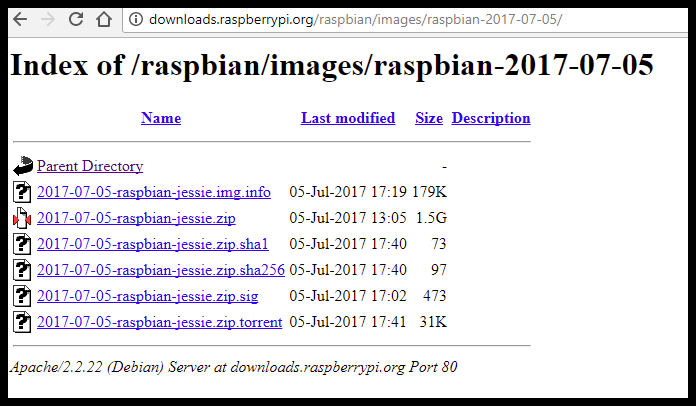
Download Raspbian jessie
Available from the official raspberrypi.org image archive.
I’m using raspian-2017-07-05
Burn image to microSD card
Download Etcher. Follow onscreen directions
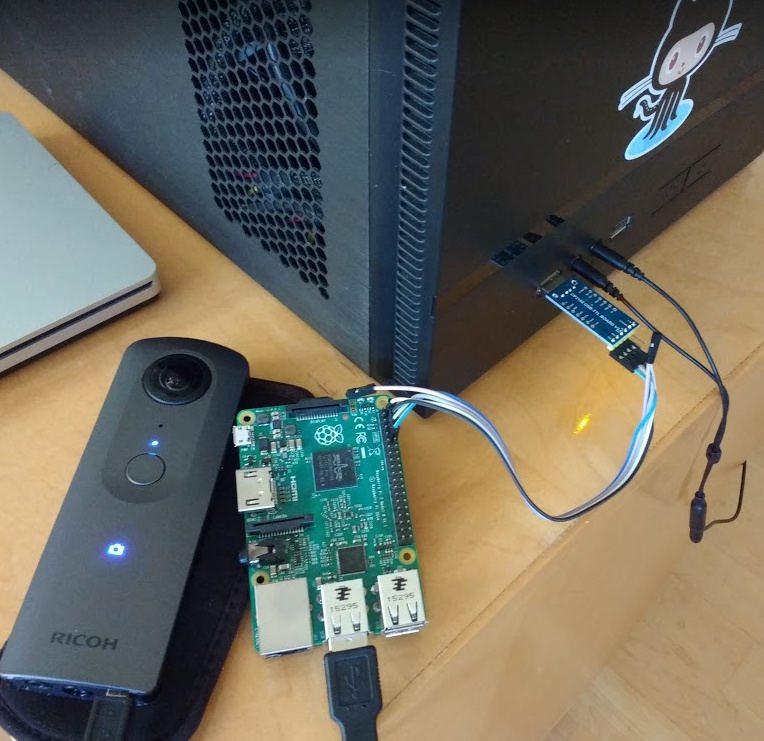
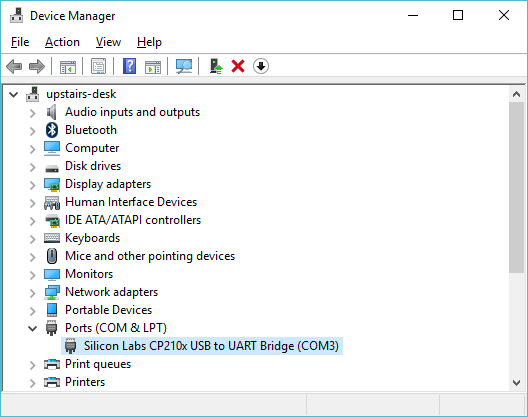
Connect Raspberry Pi to Workstation
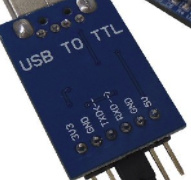
In my case, I’m using a CP210x USB to UART Bridge. This is a $5 device that allows the Raspberry Pi to be powered directly from the GPIO pins and allows connection to my Windows 10 workstation via USB.
The picture below shows the full setup I use to program the Pi. To deploy the Pi, disconnect the wires connected to the GPIO pins and attach a power source to the Pi, either USB or header (the GPIO group) pins.
Most people will probably connect to the Raspberry Pi with Ethernet or WiFi and ssh.
If you use a USB cable to connect to the Raspberry Pi, here are the pins on the Pi.
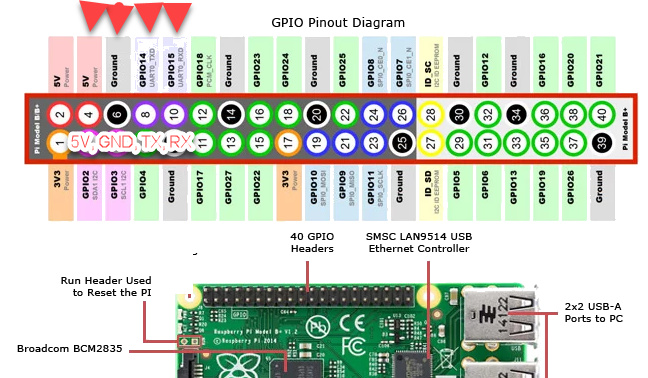
Match the RX and TX pins on the Pi to the RX and TX pins to your USB to TTL bridge.
If you want to power the Pi from the USB to TTL connector, then also plug in the 5V and GND.
You may need to mount the microSD card of the Raspberry Pi on your workstation and edit the file /boot/config.txt and add enable_uart= to the bottom of the file.
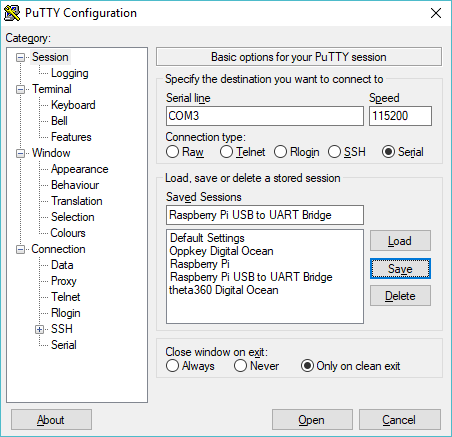
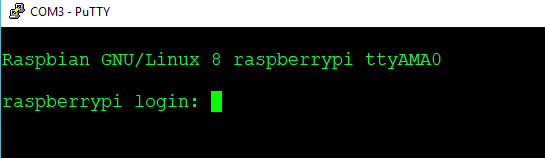
I can now log into the Raspberry Pi from Windows without knowing the IP address or having configure Windows to serve up an IP address.
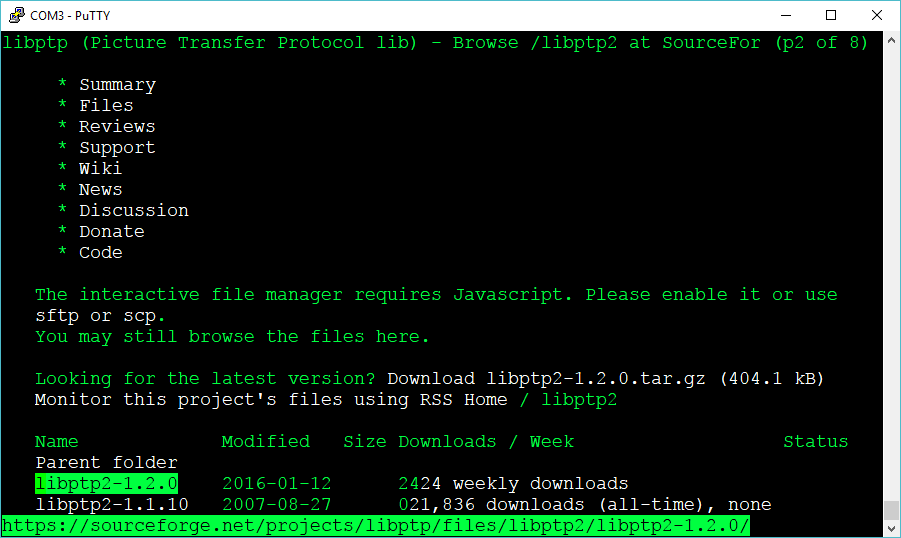
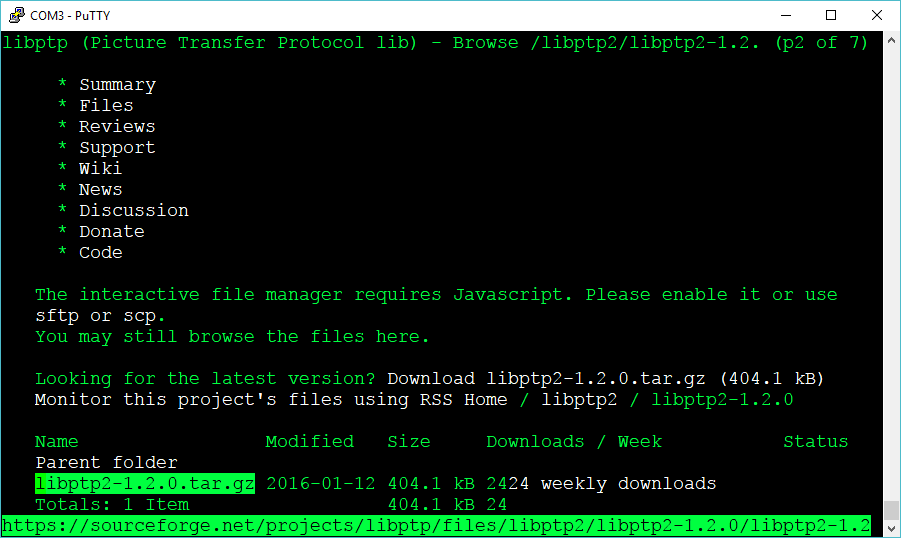
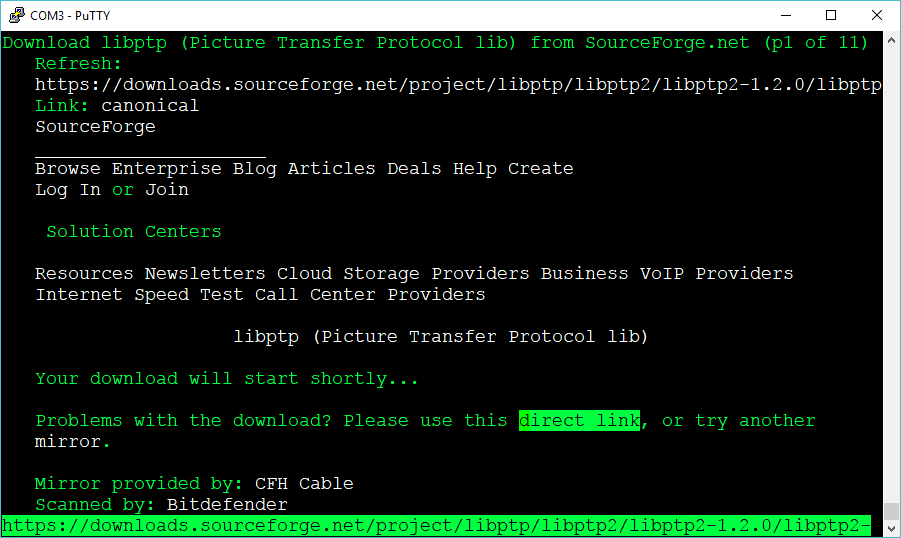
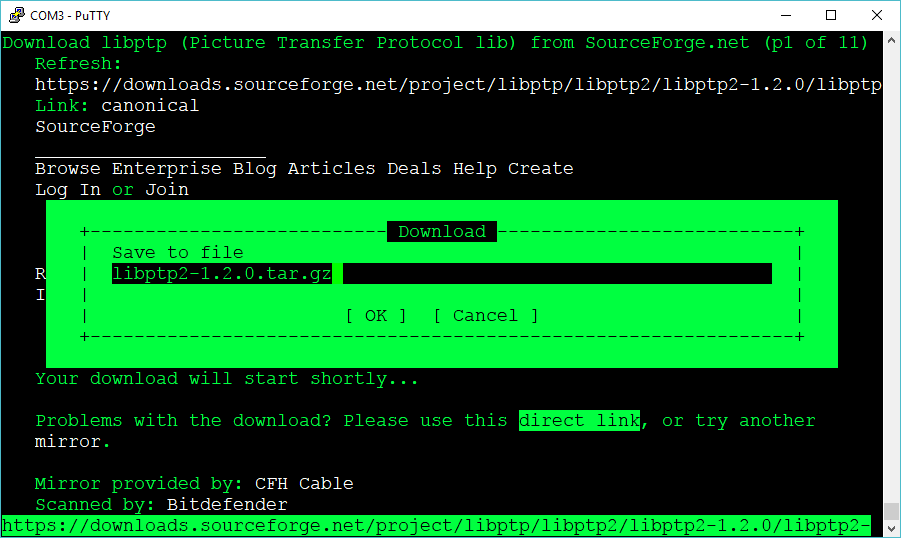
Download libptp2 from Sourceforge
I have Ethernet connected and my Raspberry Pi is connected to the Internet.
I’m using the text browser links to download libptp2
  pi@raspberrypi:~$ sudo apt-get install links

  pi@raspberrypi:~$ links https://sourceforge.net/projects/libptp/files/libptp2/
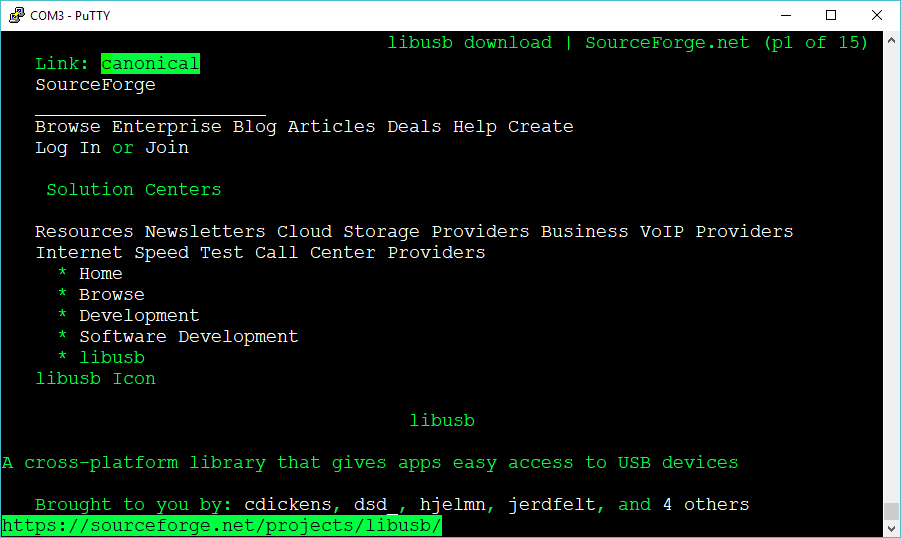
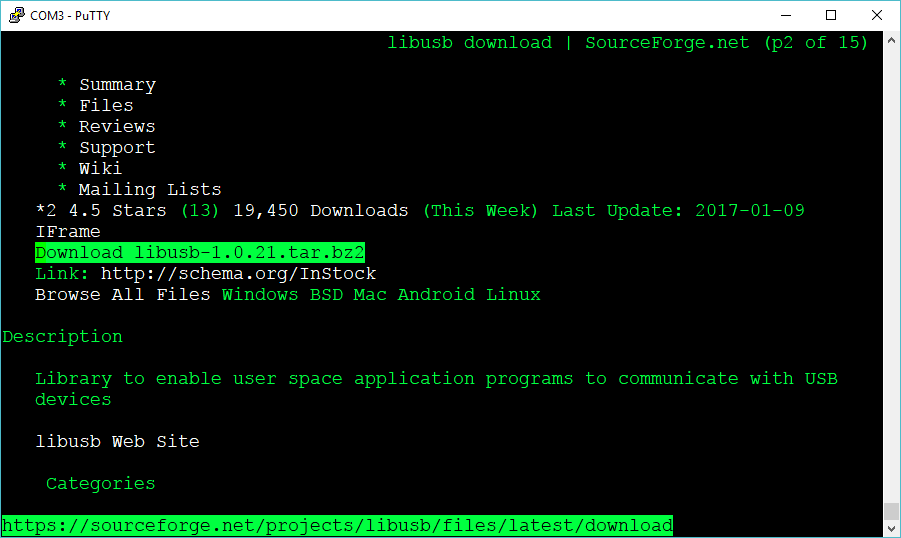
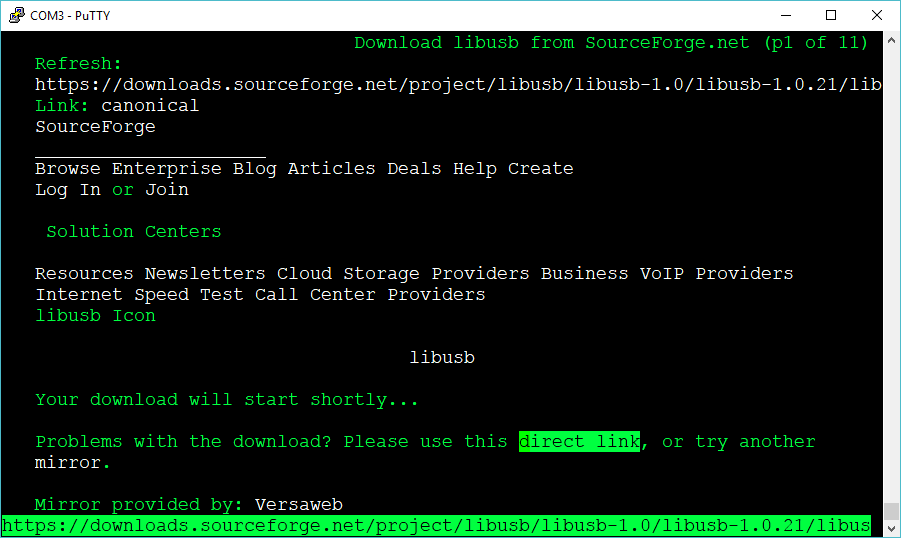
Download libusb from Sourceforge
Verify and Extract Files
pi@raspberrypi:~/Development$ ls -l
total 992
-rw-r--r-- 1 pi pi 404105 Oct  4 04:11 libptp2-1.2.0.tar.gz
-rw-r--r-- 1 pi pi 607417 Oct  4 04:14 libusb-1.0.21.tar.bz2
pi@raspberrypi:~/Development$

pi@raspberrypi:~/Development$ tar xvf libusb-1.0.21.tar.bz2
libusb-1.0.21/
libusb-1.0.21/aclocal.m4

pi@raspberrypi:~/Development$ cd libusb-1.0.21/
pi@raspberrypi:~/Development/libusb-1.0.21$ ls
aclocal.m4  config.guess  COPYING   install-sh        Makefile.am  PORTING
android     config.h.in   depcomp   libusb            Makefile.in  README
AUTHORS     config.sub    doc       libusb-1.0.pc.in  missing      tests
ChangeLog   configure     examples  ltmain.sh         msvc         TODO
compile     configure.ac  INSTALL   m4                NEWS         Xcode
pi@raspberrypi:~/Development/libusb-1.0.21$
install libudev-dev
Running ./configure for libusb generated this error.
checking libudev.h usability... no
checking libudev.h presence... no
checking for libudev.h... no
configure: error: "udev support requested but libudev not installed"
pi@raspberrypi:~/Development/libusb-1.0.21$
Install libudev-dev
$ sudo apt-get install libudev-dev
Reading package lists... Done
Building dependency tree
Run configure again.
Then run make.
$ make
make  all-recursive
make[1]: Entering directory '/home/pi/Development/libusb-1.0.21'
Making all in libusb
make[2]: Entering directory '/home/pi/Development/libusb-1.0.21/libusb'
  CC       libusb_1_0_la-core.lo
  CC       libusb_1_0_la-descriptor.lo
....
make[2]: Leaving directory '/home/pi/Development/libusb-1.0.21/libusb'
Making all in doc
make[2]: Entering directory '/home/pi/Development/libusb-1.0.21/doc'
make[2]: Nothing to be done for 'all'.
make[2]: Leaving directory '/home/pi/Development/libusb-1.0.21/doc'
make[2]: Entering directory '/home/pi/Development/libusb-1.0.21'
make[2]: Leaving directory '/home/pi/Development/libusb-1.0.21'
make[1]: Leaving directory '/home/pi/Development/libusb-1.0.21'
pi@raspberrypi:~/Development/libusb-1.0.21$
make install
Libraries have been installed in:
   /usr/local/lib

If you ever happen to want to link against installed libraries
in a given directory, LIBDIR, you must either use libtool, and
specify the full pathname of the library, or use the `-LLIBDIR'
flag during linking and do at least one of the following:
   - add LIBDIR to the `LD_LIBRARY_PATH' environment variable
     during execution
   - add LIBDIR to the `LD_RUN_PATH' environment variable
     during linking
   - use the `-Wl,-rpath -Wl,LIBDIR' linker flag
   - have your system administrator add LIBDIR to `/etc/ld.so.conf'
Check to make sure libusb is in /usr/local/lib
$ ls /usr/local/lib
libusb-1.0.a   libusb-1.0.so    libusb-1.0.so.0.1.0  pypy2.7    python3.4
libusb-1.0.la  libusb-1.0.so.0  pkgconfig            python2.7
Add /usr/local/lib to linker path
$ export LDFLAGS='-L/usr/local/lib/'
install libptp
Follow the same process of extract, configure, make, and sudo make install.
Extract
$ tar xvf libptp2-1.2.0.tar.gz
libptp2-1.2.0/
libptp2-1.2.0/m4/
make
 ....
cal/lib/ /home/pi/Development/libptp2-1.2.0/src/.libs/libptp2.so -L/usr/local/lib /usr/local/lib/libusb.so
make[2]: Leaving directory '/home/pi/Development/libptp2-1.2.0/src'
make[2]: Entering directory '/home/pi/Development/libptp2-1.2.0'
make[2]: Leaving directory '/home/pi/Development/libptp2-1.2.0'
make[1]: Leaving directory '/home/pi/Development/libptp2-1.2.0'
Test
root@raspberrypi:/home/pi/Development# export LD_LIBRARY_PATH=$LD_LIBRARY_PATH:/usr/local/lib
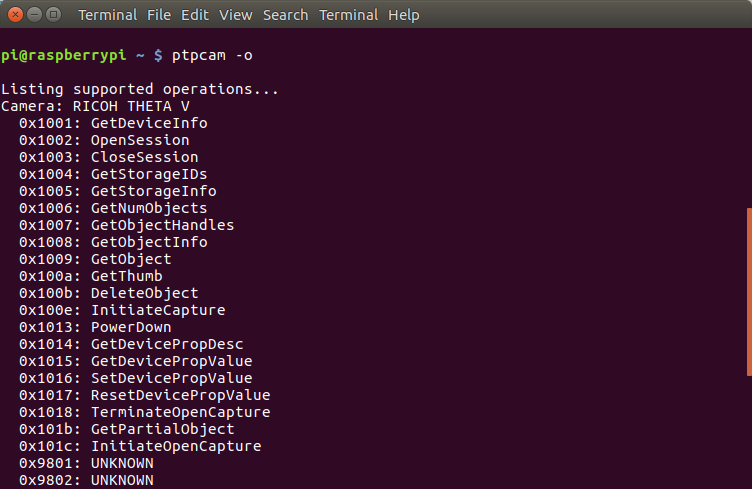
root@raspberrypi:/home/pi/Development# ptpcam -i
Camera information
==================
Model: RICOH THETA V
manufacturer: Ricoh Company, Ltd.
serial number: '00101082'
device version: 1.00.2
extension ID: 0x00000006
extension description: (null)
extension version: 0x006e
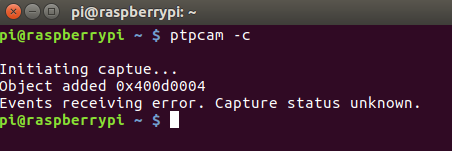
root@raspberrypi:/home/pi/Development# ptpcam -c
Initiating captue...
Object added 0x400d0004
Events receiving error. Capture status unknown.
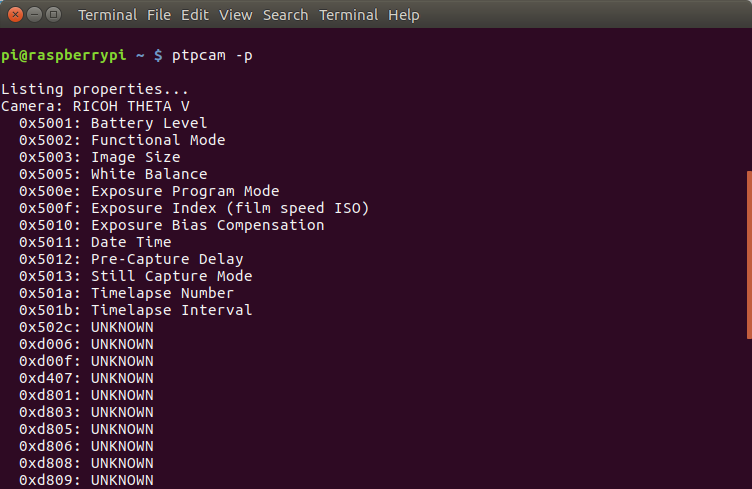
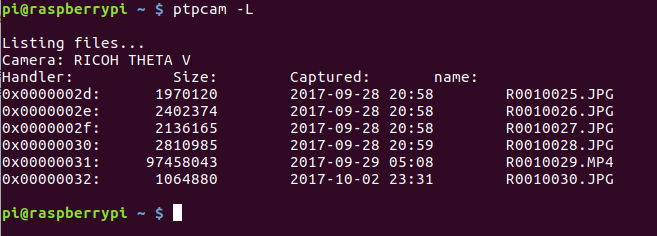
root@raspberrypi:/home/pi/Development# ptpcam -L
Listing files...
Camera: RICOH THETA V
Handler: Size: Captured: name:
0x0000002d: 1970120 2017-09-28 12:58 R0010025.JPG
0x0000002e: 2402374 2017-09-28 12:58 R0010026.JPG
0x0000002f: 2136165 2017-09-28 12:58 R0010027.JPG
0x00000030: 2810985 2017-09-28 12:59 R0010028.JPG
0x00000031: 97458043 2017-09-28 21:08 R0010029.MP4
0x00000032: 1064880 2017-10-02 15:31 R0010030.JPG
0x00000033: 722622498 2017-10-02 15:53 R0010031.MP4
0x00000034: 131377941 2017-10-02 15:57 R0010032.MP4
0x00000035: 1040761 2017-10-02 16:02 R0010033.JPG
0x00000039: 1295975 2017-10-03 22:00 R0010034.JPG
root@raspberrypi:/home/pi/Development#
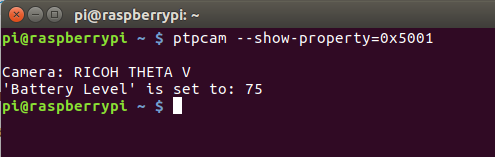
Check battery level
# ptpcam --show-property=0x5001

Camera: RICOH THETA V
'Battery Level' is set to: 70
root@raspberrypi:/home/pi/Development#
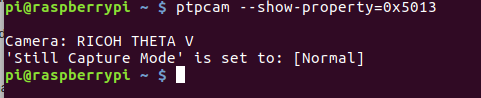
Set to video mode
# ptpcam --set-property=0x5013 --val=0x8002

Camera: RICOH THETA V
'Still Capture Mode' is set to: [Normal]
Changing property value to 0x8002 [(null)] succeeded.
root@raspberrypi:/home/pi/Development#
Note on old libusb
Depending on the configuration, ai needed to install an old libusb-0.1.12 to build libptp2.
# ls -l
total 1388
drwxr-xr-x  4 pi pi   4096 Oct  4 04:54 libptp2-1.2.0
-rw-r--r--  1 pi pi 404105 Oct  4 04:11 libptp2-1.2.0.tar.gz
drwxr-xr-x  7 pi pi   4096 Oct  4 04:52 libusb-0.1.12
-rw-r--r--  1 pi pi 389343 Oct  4 04:50 libusb-0.1.12.tar.gz
drwxr-xr-x 10 pi pi   4096 Oct  4 04:20 libusb-1.0.21
-rw-r--r--  1 pi pi 607417 Oct  4 04:14 libusb-1.0.21.tar.bz2
root@raspberrypi:/home/pi/Development#
Troubleshooting
Problem: libptp2.so.1: cannot open shared object file
pi@raspberrypi:~$ ptpcam -L
ptpcam: error while loading shared libraries: libptp2.so.1: cannot open shared object file: No such file or directory
Solution:
export LD_LIBRARY_PATH=$LD_LIBRARY_PATH:/usr/local/lib
Problem: ERROR: Could not open session!
pi@raspberrypi:~$ ptpcam -L

Listing files...
ERROR: Could not open session!
Solution:
change to root with sudo or sudo bash.
Problem: not working after reboot
Solution
add export LD_LIBRARY_PATH=$LD_LIBRARY_PATH:/usr/local/lib to your .bashrc file, both to your default user and to your home directory when you are logged in as root.
Problem: libptp build is failing
Solution
Try installing an older version of libusb such as libusb-0.1.12 to build libptp2.