Update 2/28/2019
New method using the GitHub repo for pluginlibrary. Document was updated to use the maven ricohapi repository on GitHub.
Quick Info
If you’re experienced with plug-in development, edit the two gradle files below and skip this tutorial. If this is confusing, start with the section “Start New Project”.
In Build Gradle app
dependencies {
    implementation 'com.theta360:pluginlibrary:2.0.0'
}
In Build Gradle Project
allprojects {
    repositories {
        google()
        jcenter()
        maven { url 'https://github.com/ricohapi/theta-plugin-library/raw/master/repository' }
    }
}
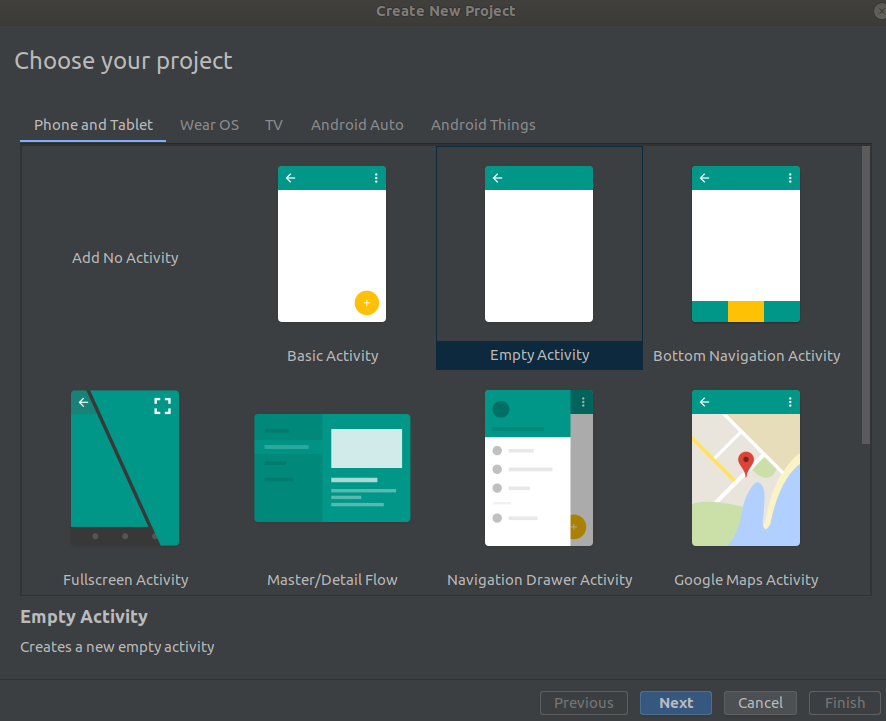
Start New Project
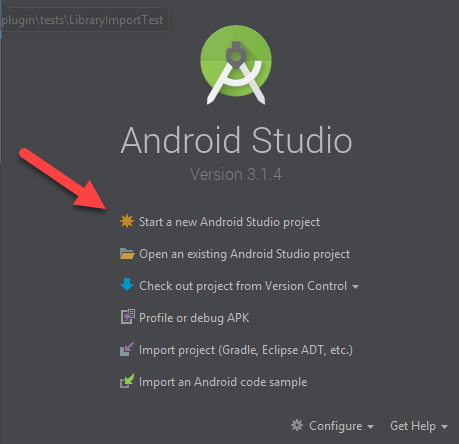
Empty Activity
I’m using Empty Activity. You can use any template and work from there.

Edit Gradle app Configuration Files
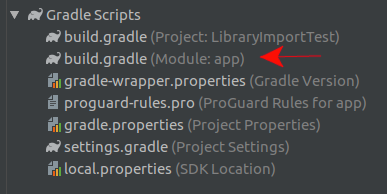
In build.gradle (Module: app)
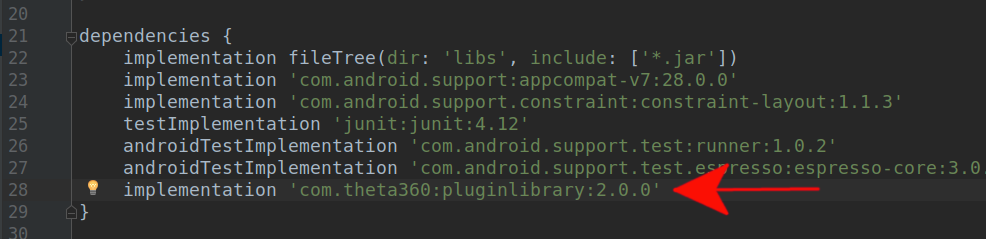
dependencies {
    implementation 'com.theta360:pluginlibrary:2.0.0'
}
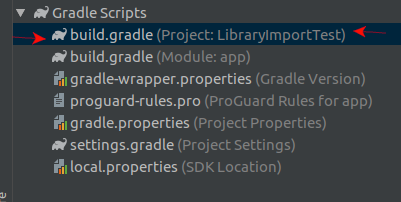
add ricohapi repository to build.gradle (Project: …)

allprojects {
    repositories {
        google()
        jcenter()
        maven { url 'https://github.com/ricohapi/theta-plugin-library/raw/master/repository' }
    }
}
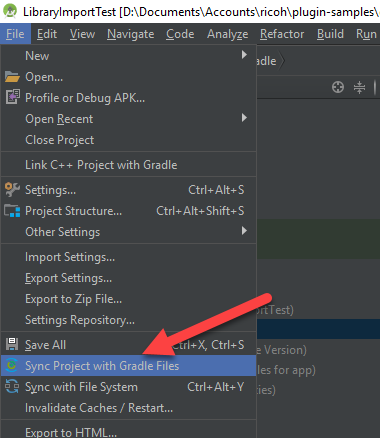
Sync Gradle
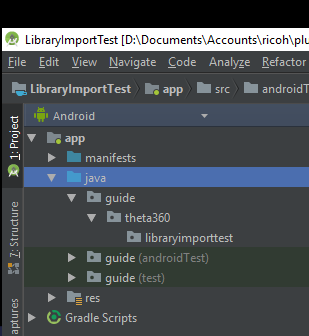
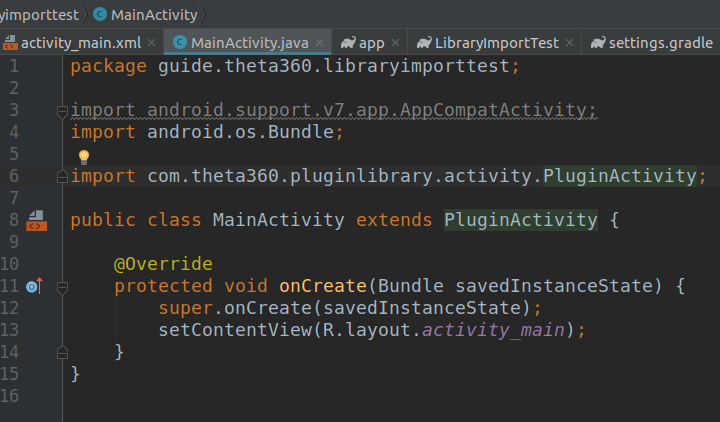
import pluginlibrary into MainActivity.java
Android Studio auto-completion and import should work. Change your MainActivity to extend PluginActivity.
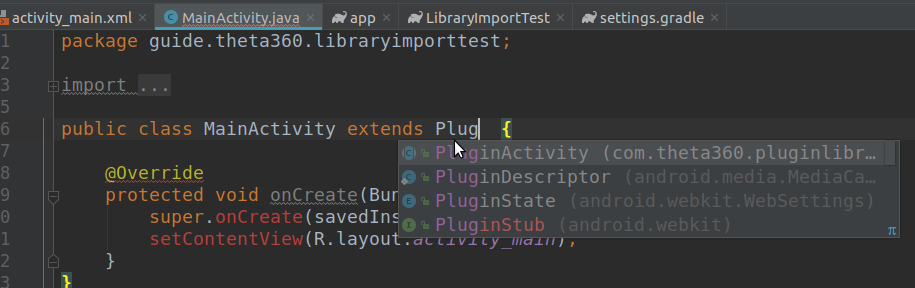
The import statement on line 6 was automatically imported by Android Studio.
Build apk
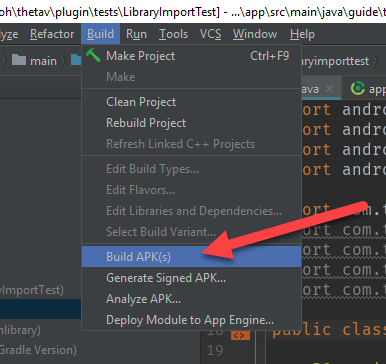
Success.

Test in Camera
To verify that your application is controlling the camera, write a simple test that will light up two LEDs on the camera when it is placed into plug-in mode.
Code Listing of Import Test
package guide.theta360.libraryimporttest;
import android.os.Bundle;
import android.view.KeyEvent;
import com.theta360.pluginlibrary.activity.PluginActivity;
import com.theta360.pluginlibrary.callback.KeyCallback;
import com.theta360.pluginlibrary.receiver.KeyReceiver;
import com.theta360.pluginlibrary.values.LedColor;
import com.theta360.pluginlibrary.values.LedTarget;
public class MainActivity extends PluginActivity {
@Override
protected void onCreate(Bundle savedInstanceState) {
super.onCreate(savedInstanceState);
setContentView(R.layout.activity_main);
setKeyCallback(new KeyCallback() {
@Override
public void onKeyDown(int keyCode, KeyEvent event) {
if (keyCode == KeyReceiver.KEYCODE_CAMERA) {
System.out.println("theta debug: pressed camera mode button down");
}
}
@Override
public void onKeyUp(int keyCode, KeyEvent event) {
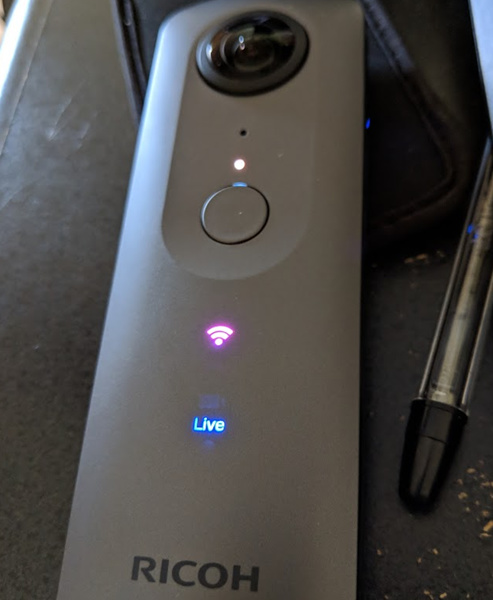
notificationLedShow(LedTarget.LED6);
notificationLed3Show(LedColor.MAGENTA);
System.out.println("theta debug: camera now in plug-in mode :-)");
}
@Override
public void onKeyLongPress(int keyCode, KeyEvent event) {
}
});
}
}
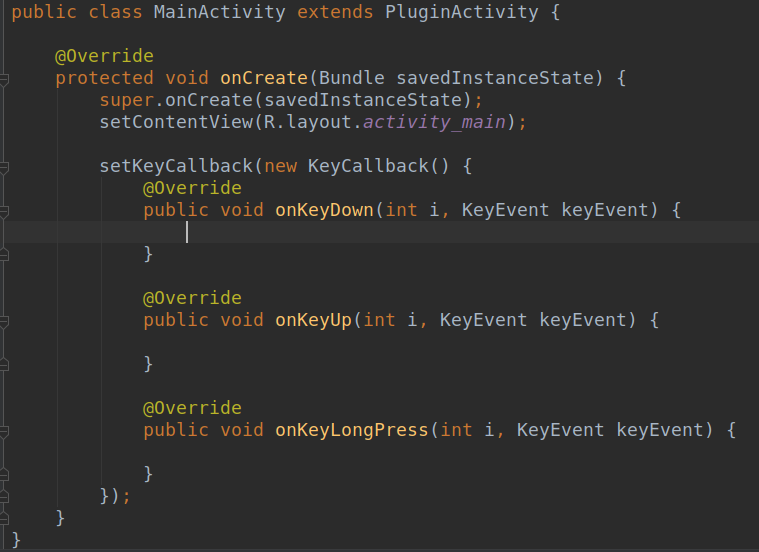
Step By Step of Code Listing
KeyCallback
When you start typing in setKeyCallback(new KeyCallback(), Android Studio will auto-complete the template methods.
Check for the side mode button on the camera to be released
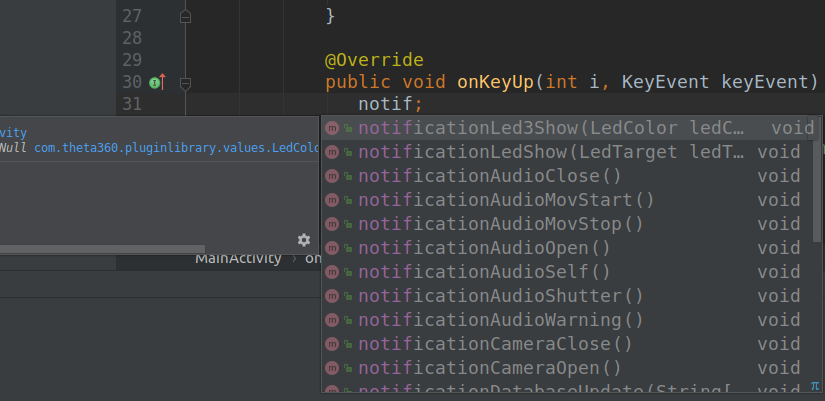
On the onKeyUp, you should be able to use code auto-completion.
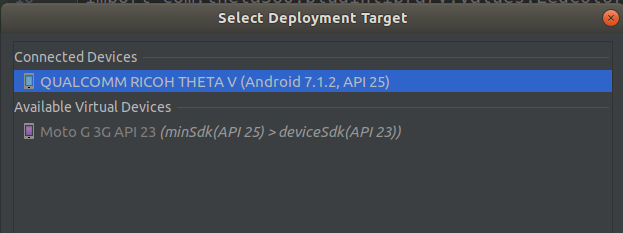
Press Play Button on Android Studio
- Plug your RICOH THETA into your workstation with a USB cable
- Select QUALCOMM RICOH THETA V
Test Plug-in On Camera
Verify that app is lighting the correct LEDs with the correct color.