I wrote an article for DZone on using the RICOH THETA with Motion JPEG Live Preview.
https://dzone.com/articles/live-video-mobile-apps-with-flutter
Use Motion JPEG to display video directly from a camera.
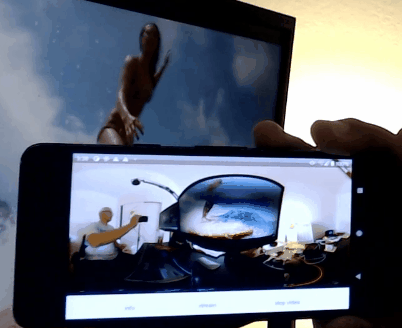
Many cameras can stream video using Motion JPEG. This is a stream of JPEG images that can be displayed in sequence to form a video. Many IP cameras use a GET HTTP request to an IP address. The camera I am using in this example is a RICOH THETA 360° camera that requires a POST command. More information on how this particular camera handles MotionJPEG is available in the community. Regardless of whether you use an HTTP GET or a POST request to start the motionJPEG stream, the processing is the same.
Motion JPEG Resolution and Framerate
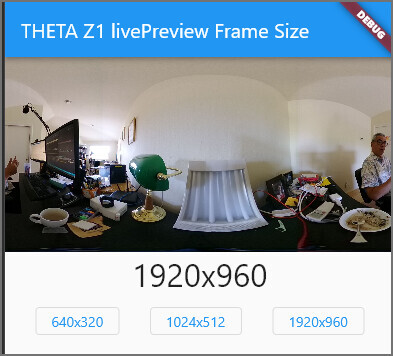
Motion JPEG sends a stream of JPEG images at a specified resolution and framerate. Changing the resolution and framerate affects both the data transmission requirements and the latency.
The camera I am using can display Motion JPEG at the following resolutions and framerates.
{“width”: 1920, “height”: 960, “framerate”: 8}
{“width”: 1024, “height”: 512, “framerate”: 30}
{“width”: 1024, “height”: 512, “framerate”: 8}
{“width”: 640, “height”: 320, “framerate”: 30}
{“width”: 640, “height”: 320, “framerate”: 8}
Motion JPEG is easy to experiment with because the frames can be saved to disk as standard JPEG images.
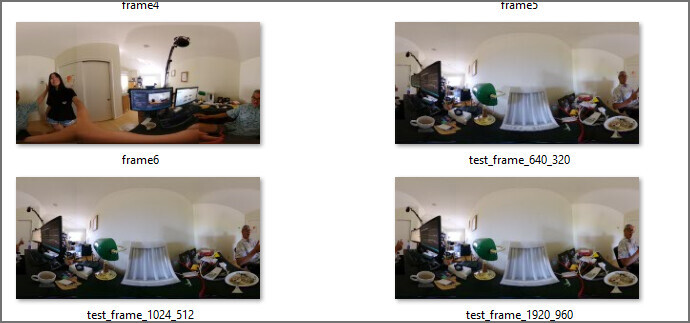
Even before you display the frames as live video in your mobile app, you can experiment with the sizing, layout, and data transfer requirements as JPEG images. The frames in this example are in equirectangular format as I am using a 360° camera. The algorithm is the same for standard cameras or 180° wide angle IP cameras.
Acquiring a Stream of Bytes
JPEG frames are encoded as a stream of bytes.
This code snippet in Dart will start a stream of bytes from the command line. You must adapt the HTTP request to the specific API of your camera. Many IP cameras offer an easy GET request to the API endpoint. Refer to the API documentation of your specific camera. Although starting the stream may be different per camera, the format of the Motion JPEG stream is usually the same across all camera models.
The important point to understand is that the response is a stream and you must listen to the stream.
import 'dart:convert';
import 'dart:io';

void main() async {
  Uri apiUrl = Uri.parse('http://192.168.1.1/osc/commands/execute');
  var client = HttpClient();
  Map<String, String> body = {'name': 'camera.getLivePreview'};
  var request = await client.postUrl(apiUrl)
    ..headers.contentType = ContentType("application", "json", charset: "utf-8")
    ..write(jsonEncode(body));
  var response = await request.close();
  response.listen((List<int> data) {
    print(data);
  });
}
The output will go on forever. Press CTRL-C to stop the program.
...
, 49, 40, 162, 138, 162, 69, 237, 73, 75, 73, 64, 5, 20, 81, 64, 5, 20, 81, 64, 5, 20, 81, 64, 5, 20, 81, 64, 5, 20, 81, 64, 5, 20, 81, 64, 5, 45, 37, 45, 0, 37, 20, 81, 64, 5, 20, 81, 64, 5,
20, 81, 64, 5, 20, 81, 64, 5, 20, 81, 64, 5, 20, 81, 64, 5, 20^CTerminate batch job (Y/N)? y
Congratulations. You now have a cool stream of bytes. Let’s iterate through the stream and look for the frames.
response.listen((List<int> data) {
    for (var i = 0; i < data.length - 1; i++) {
    }
Find Where Each Frame Begins and Ends
To transform the stream into JPEG images, you must look for the start and stop bytes.
Each frame starts with 0xff 0xd8 and ends with 0xff 0xd9.
Here is a code snippet that shows how to go through each piece of data in the stream and look for a match with the start and end bytes.
 videoStream = response.stream.listen((List<int> data) async {
    buf.addAll(data);
    for (var i = 0; i < data.length - 1; i++) {
      if (data[i] == 0xFF && data[i + 1] == 0xd8) {
        startIndex = i;
        print('found frame start');
      }
      if (data[i] == 0xff && data[i + 1] == 0xd9) {
        endIndex = buf.length;
        print('found frame end');
      }
    }
Once you can find the start and end of each frame, you can save the frame to a file for inspection. The example below saves a single frame to file.
///extract single frame from motionjpeg stream from
///RICOH THETA Z1 livePreview
import 'dart:async';
import 'dart:convert';
import 'dart:io';

main(List<String> args) async {
  File fileHandle = File('test_frame.jpg');
  Uri url = Uri.parse('http://192.168.1.1/osc/commands/execute');
  var client = HttpClient();
  Map<String, String> bodyMap = {"name": "camera.getLivePreview"};

  var request = await client.postUrl(url)
    ..headers.contentType = ContentType("application", "json", charset: "utf-8")
    ..write(jsonEncode(bodyMap));

  var response = await request.close();
  StreamSubscription? videoStream;
  var startIndex = -1;
  var endIndex = -1;
  List<int> buf = [];
  videoStream = response.listen(
    (List<int> data) {
      buf.addAll(data);
      for (var i = 0; i < data.length - 1; i++) {
        if (data[i] == 0xFF && data[i + 1] == 0xD8) {
          startIndex = i;
        }
        if (data[i] == 0xff && data[i + 1] == 0xd9) {
          endIndex = buf.length;
        }
      }
      if (startIndex != -1 && endIndex != -1) {
        print('saving frame');
        fileHandle.writeAsBytes(buf.sublist(startIndex, endIndex));
        print('finished saving frames');
        if (videoStream != null) {
          videoStream.cancel();
          client.close();
        }
      }
    },
  );
}
The image can now be opened on your development workstation. In the example below, I am opening the JPEG file on Windows 10.
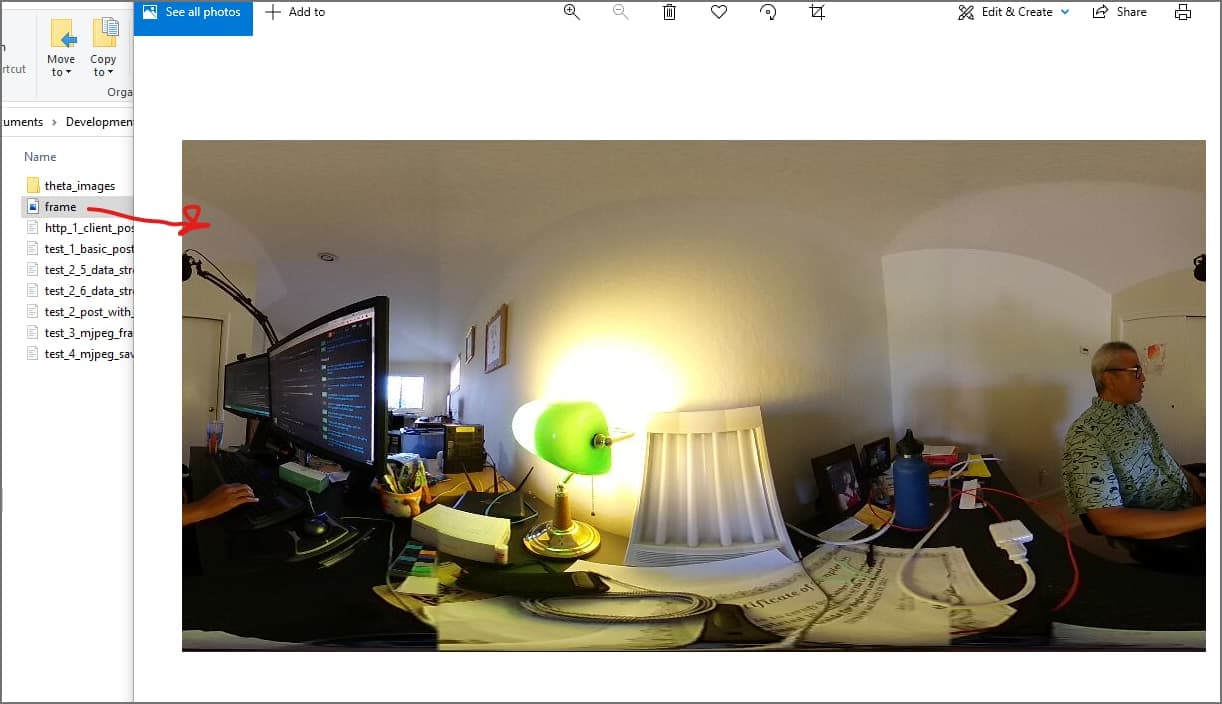
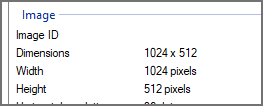
You can also inspect the frames for parameters such as dimensions by right-clicking on the file in Windows and looking at the file properties.
Displaying Video
To display the image to the Flutter screen, you use Image.memory(). To display all the images in the stream, you need to use a StreamBuilder() that rebuilds the displayed image whenever a new image enters the stream.
This is a short snippet that shows the portion of the application that accepts a stream of Motion JPEG frames and displays them to the Flutter Image window.
class _LivePreviewState extends State<LivePreview> {
  @override
  Widget build(BuildContext context) {
    return StreamBuilder(
      stream: widget.controller.stream,
      builder: (BuildContext context, AsyncSnapshot snapshot) {
        if (snapshot.hasData) {
          var imageData = Uint8List.fromList(snapshot.data);
          return Image.memory(
            imageData,
            gaplessPlayback: true,
          );
        } else {
          return Container();
        }
      },
The parameter gaplessPlaybackis built into Flutter. This eliminates flickering on video streams if a frame is corrupted. By enabling gaplessPlaybackin your Flutter Image, the app will hold a good frame until another good frame is received. At 30 frames per second, you will likely not notice the missed frame or frames.
To use Uint8List, which is needed by Image.memory(), you must import dart:typed_data.
Conclusion
Using Motion JPEG with cameras is a lot of fun for developers because the JPEG frames are easy to get and easy to deal with. There are many libraries that will handle Motion JPEG for you. However, it is a great learning experience to open up your own HTTP session with a simple GET or POST request and inspect the data yourself. As you are receiving a stream of data, it is a great opportunity to experiment with streams and how to iterate through data. It is also gratifying to either save the frames to disk or display them on your mobile app. As Motion JPEG is accessed with standard HTTP, it’s easy to get a real-time feed over Wi-Fi or a wider network.
Additional Resources
- GitHub repo of my coding tutorial to display Motion JPEG on Flutter
- YouTube developer tutorial (specific to the RICOH THETA camera I used for testing)