Hi, everyone,
This guide shows you how to set up the theta-client SDK with React Native on your system with the help of an Android emulator and some of the modifications that we can make to the code.
Content
- Prerequisites
- Setup the React Native environment for the theta-client demo
- Modify the theta-client React Native demo
- List a small number of images
- List images in a different layout
- Update individual image styles
- Display skeleton components when a list of photos is being fetched
- Conclusion
Prerequisites
- Set up the React Native environment by referring to this documentation
- Download and install an Android emulator (for example, Android Studio)
My Development Environment
I am using HP Omen that uses Windows 11 operating system… but the guide can be used for macOS and Linux as well.
Steps to setup the React Native environment for the theta-client demo
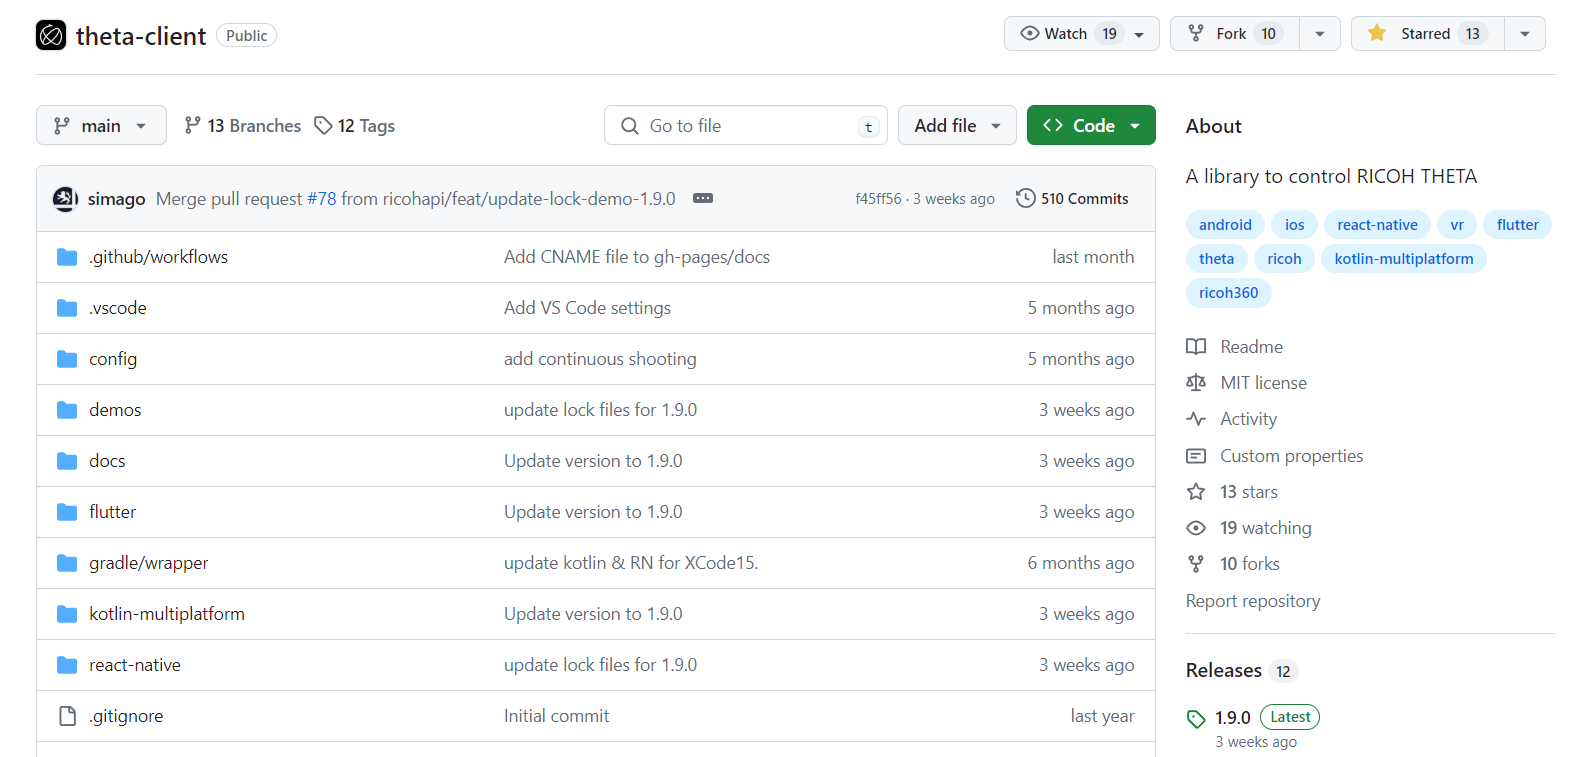
1. Clone the GitHub repository
On the GitHub page of theta-client, click on the “Code” dropdown button.
On the “Local” tab, click on the copy icon to copy the web URL.

Open the text editor of your choice, such as VS Code, then open the terminal, and type the following command:
git clone https://github.com/ricohapi/theta-client.git
This command clones the theta-client project on your system.
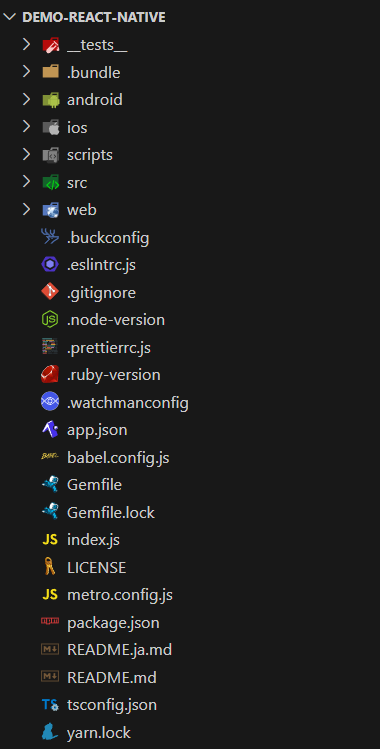
2. Go to the React Native demo
From the project root directory, go inside the React Native demo folder by following the path below:
theta-client > demos > demo-react-native
The file structure of the demo-react-native folder is like this:
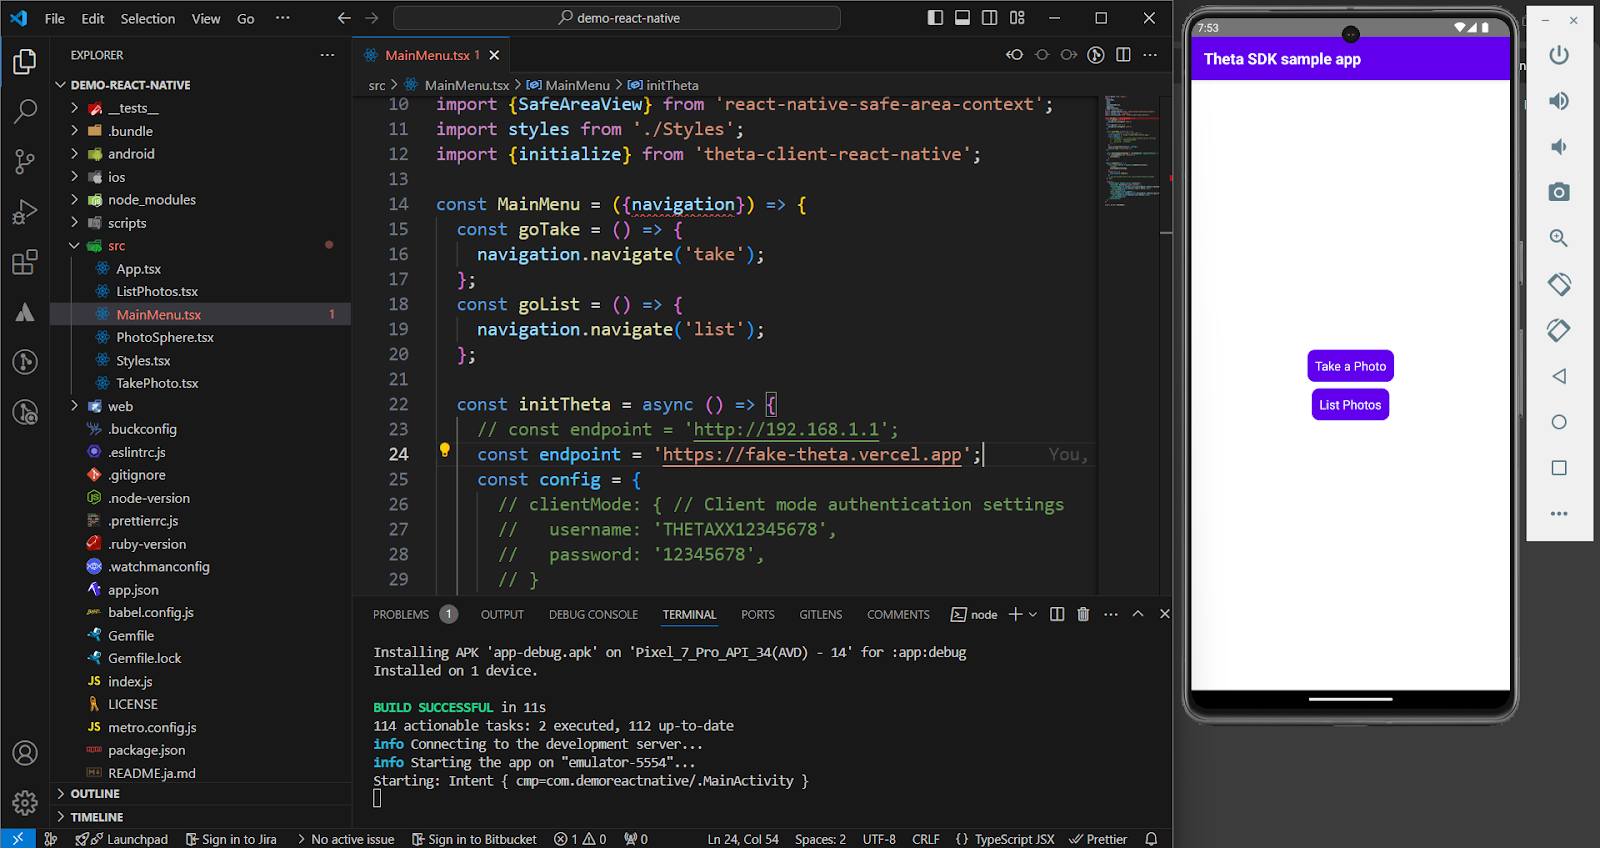
3. Replace the API endpoint
In this demo, we do not have access to the 360-degree camera, so we cannot use the API endpoint of the camera. To get the list of images, we can use fake storage.
- To replace the API endpoint, go to
MainMenu.tsxby following the path below:
demo-react-native > src > MainMenu.tsx
- Find the
endpointvariable in the code located inside theinitThetafunction.
const MainMenu = ({navigation}) => {
  const goTake = () => {
    navigation.navigate('take');
  };
  const goList = () => {
    navigation.navigate('list');
  };

  const initTheta = async () => {
    const endpoint = 'http://192.168.1.1';
    const config = {
      // clientMode: { // Client mode authentication settings
      //   username: 'THETAXX12345678',
      //   password: '12345678',
      // }
    };
    await initialize(endpoint, config);
    console.log('initialized.');
  };
- Replace the string, “https://192.168.1.1” with the below API endpoint:
const MainMenu = ({navigation}) => {
  const goTake = () => {
    navigation.navigate('take');
  };
  const goList = () => {
    navigation.navigate('list');
  };

  const initTheta = async () => {
    // const endpoint = 'http://192.168.1.1';
    const endpoint = 'https://fake-theta.vercel.app';
    const config = {
      // clientMode: { // Client mode authentication settings
      //   username: 'THETAXX12345678',
      //   password: '12345678',
      // }
    };
    await initialize(endpoint, config);
    console.log('initialized.');
  };

await initialize(endpoint, config);

console.log('initialized.');

};
4. Install all dependencies
Before starting the demo:
- Ensure that you are on this path:
theta-client\demos\demo-react-native
- Run the command below to install all the dependencies
yarn install
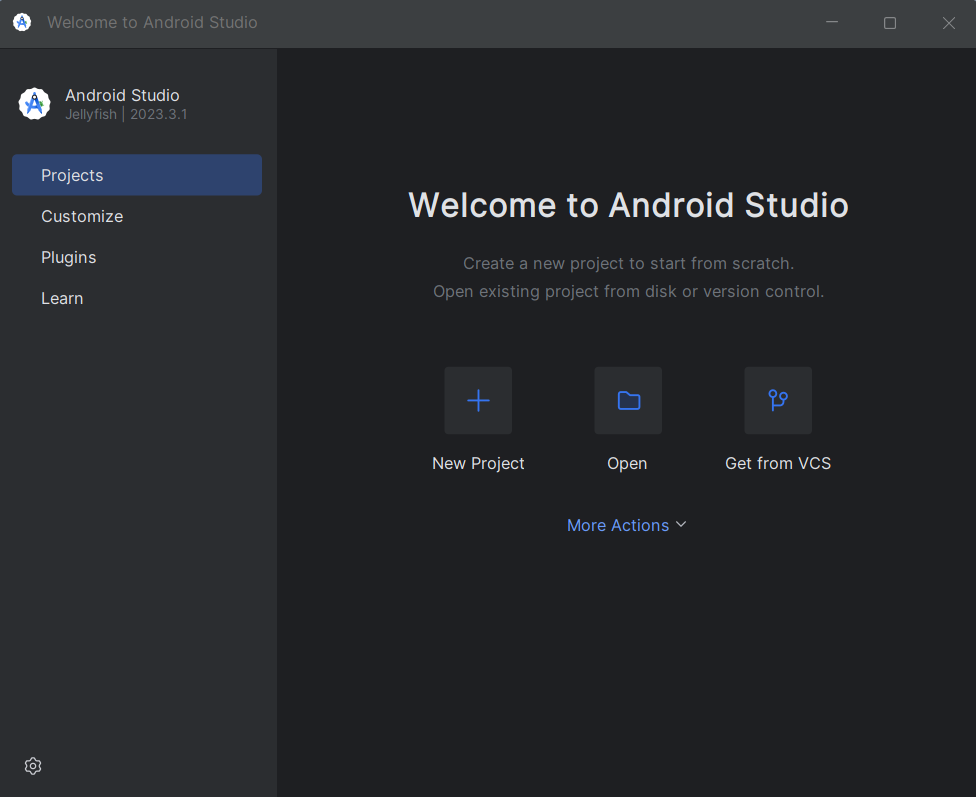
5. Open an Android emulator
We need a virtual Android device that is connected to our React Native app to see any changes we make to the code. For this, you can use any Android emulator, but in this guide, we are using “Android Studio”.
1) Open Android Studio
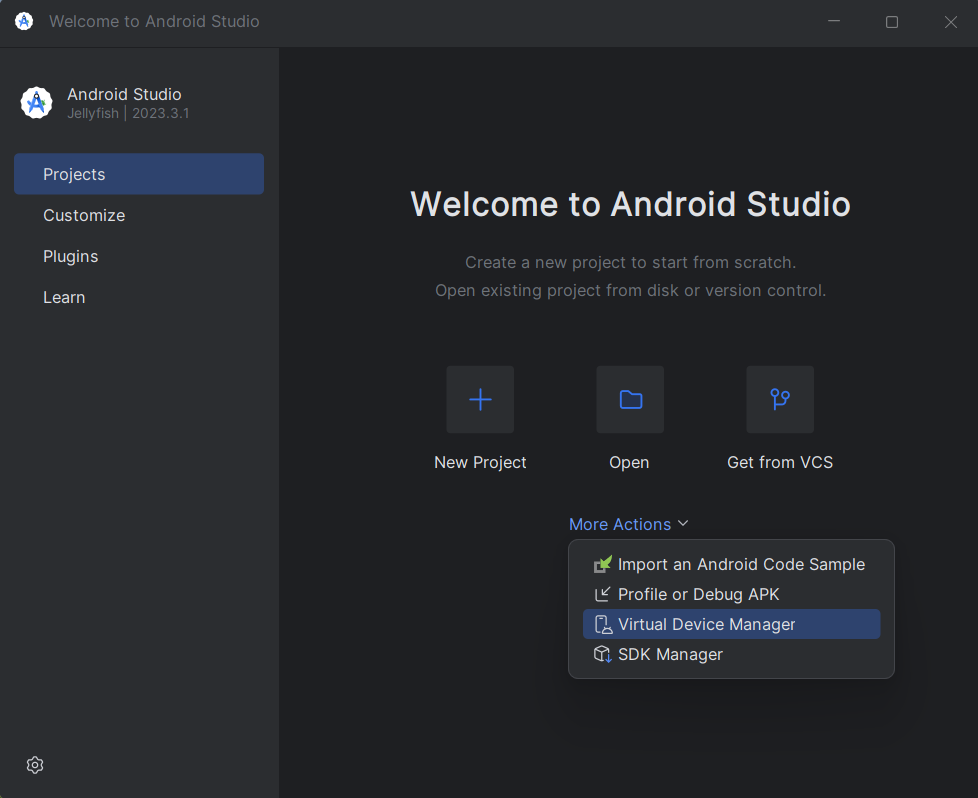
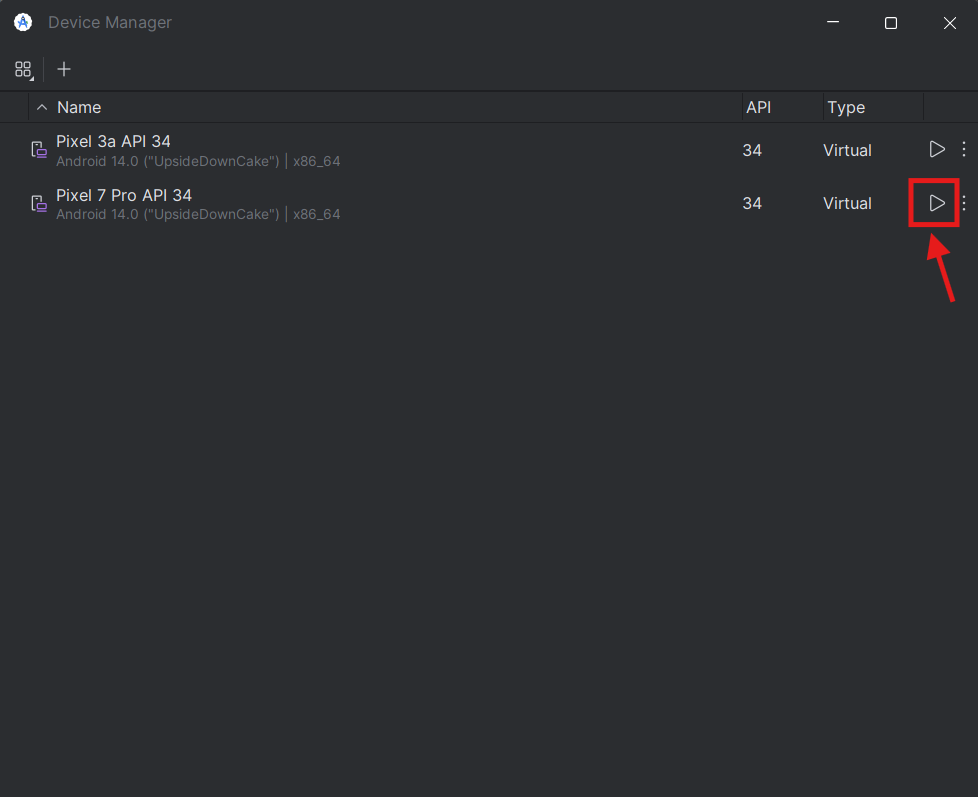
2) Go to Virtual Device Manager
Click on the “More Actions” dropdown button and click “Virtual Device Manager”.
3) Open a virtual device
Click on the “Play” icon to open any one of your virtual devices. If you do not have any virtual devices created, you can create one from here.
4) Your emulator launches
Here, we have launched a Pixel 7 Pro device.
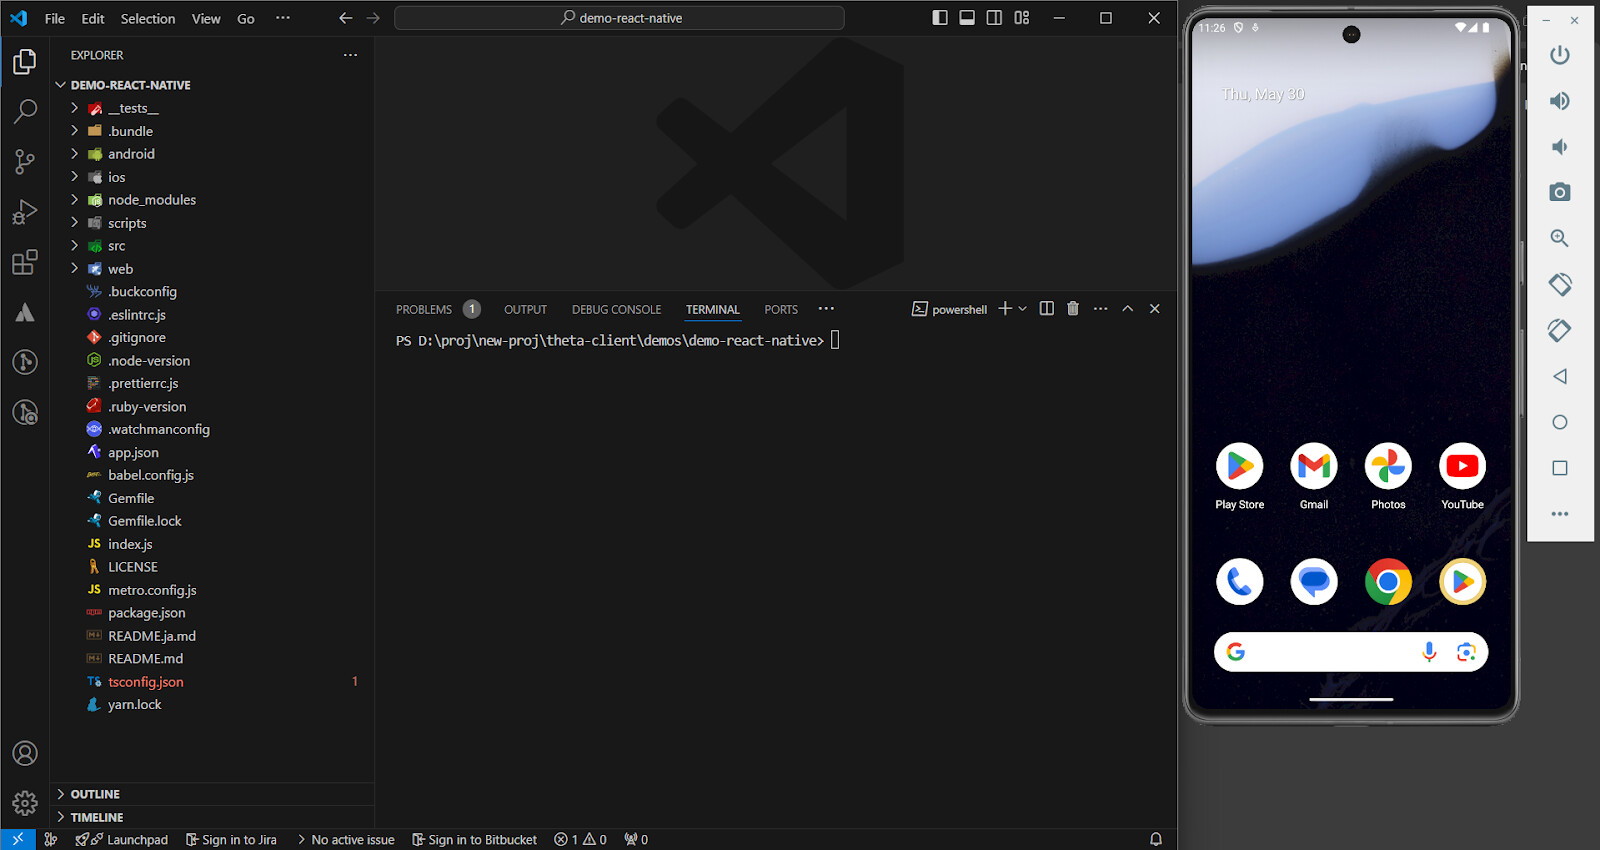
6. Run the app
Use the command below to run the React Native app:
yarn android
This command executes react-native run-android
Finally, the React Native environment is completed for the demo.
Modify the theta-client React Native demo
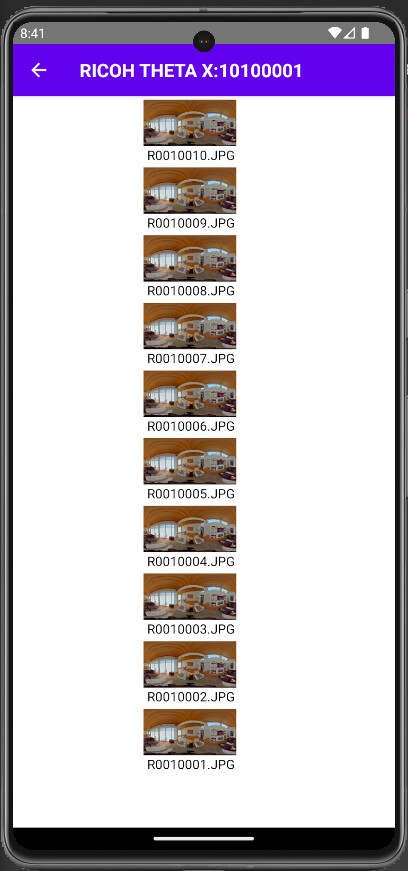
Let’s see how you can view the list of photos on the emulator.
Click on the “List Photos” button on the emulator.
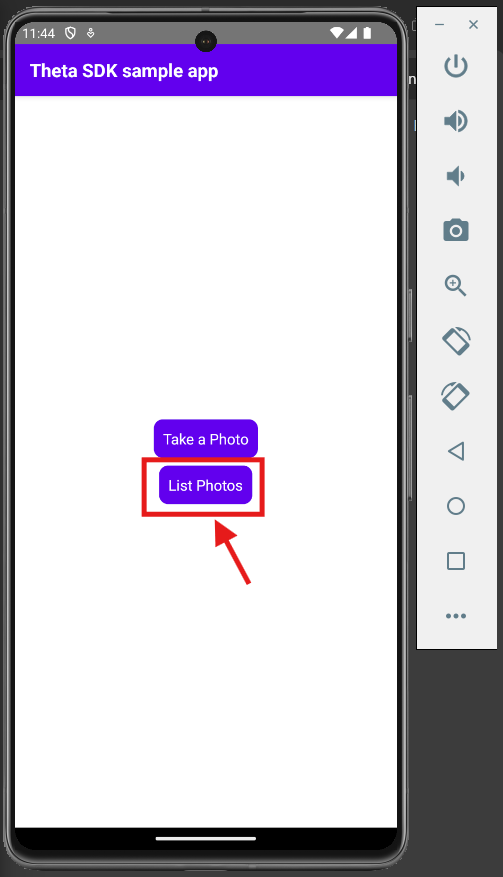
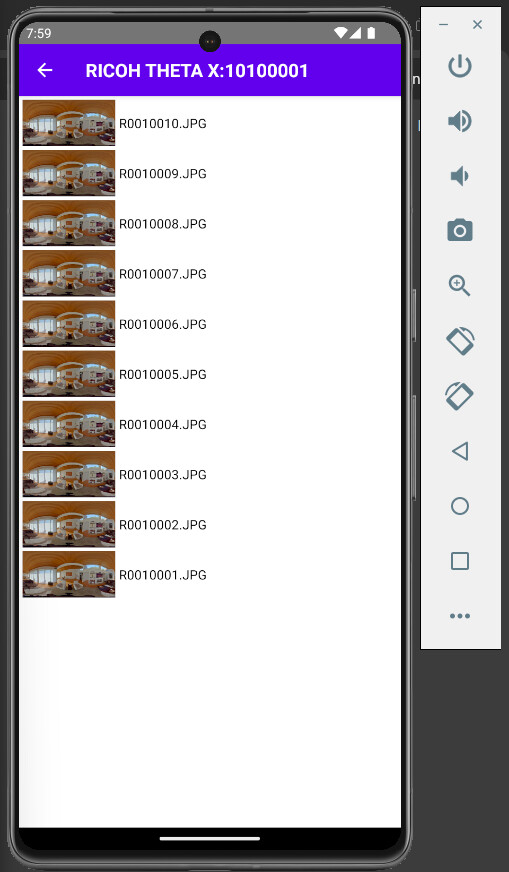
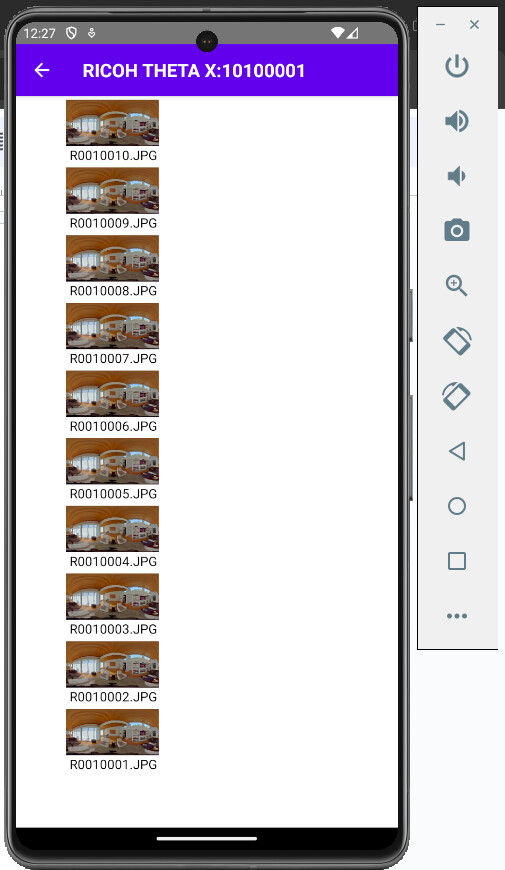
The list of images appears on the screen.
To further modify the demo, we can make a few changes in the code by performing the modifications below:
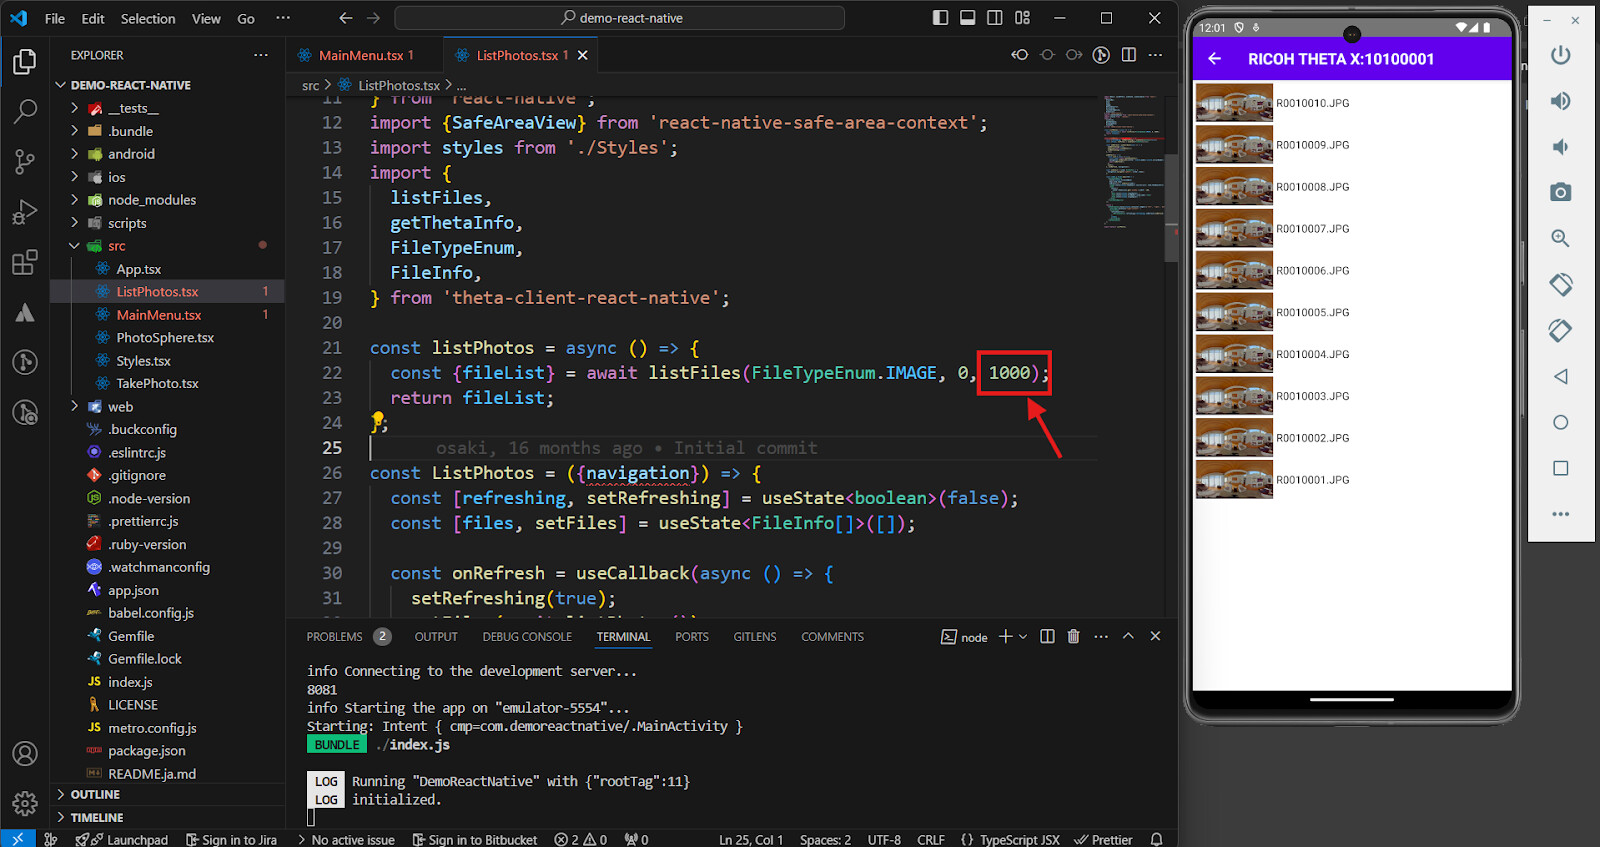
1. List a small number of images
In this example, we can show only 4 images on the screen.
- Go to demo-react-native > src > ListPhotos.tsx
- Change the 3rd parameter of the
listFilesfunction to a small number, such as 4.
- On the emulator, only 4 images are shown.
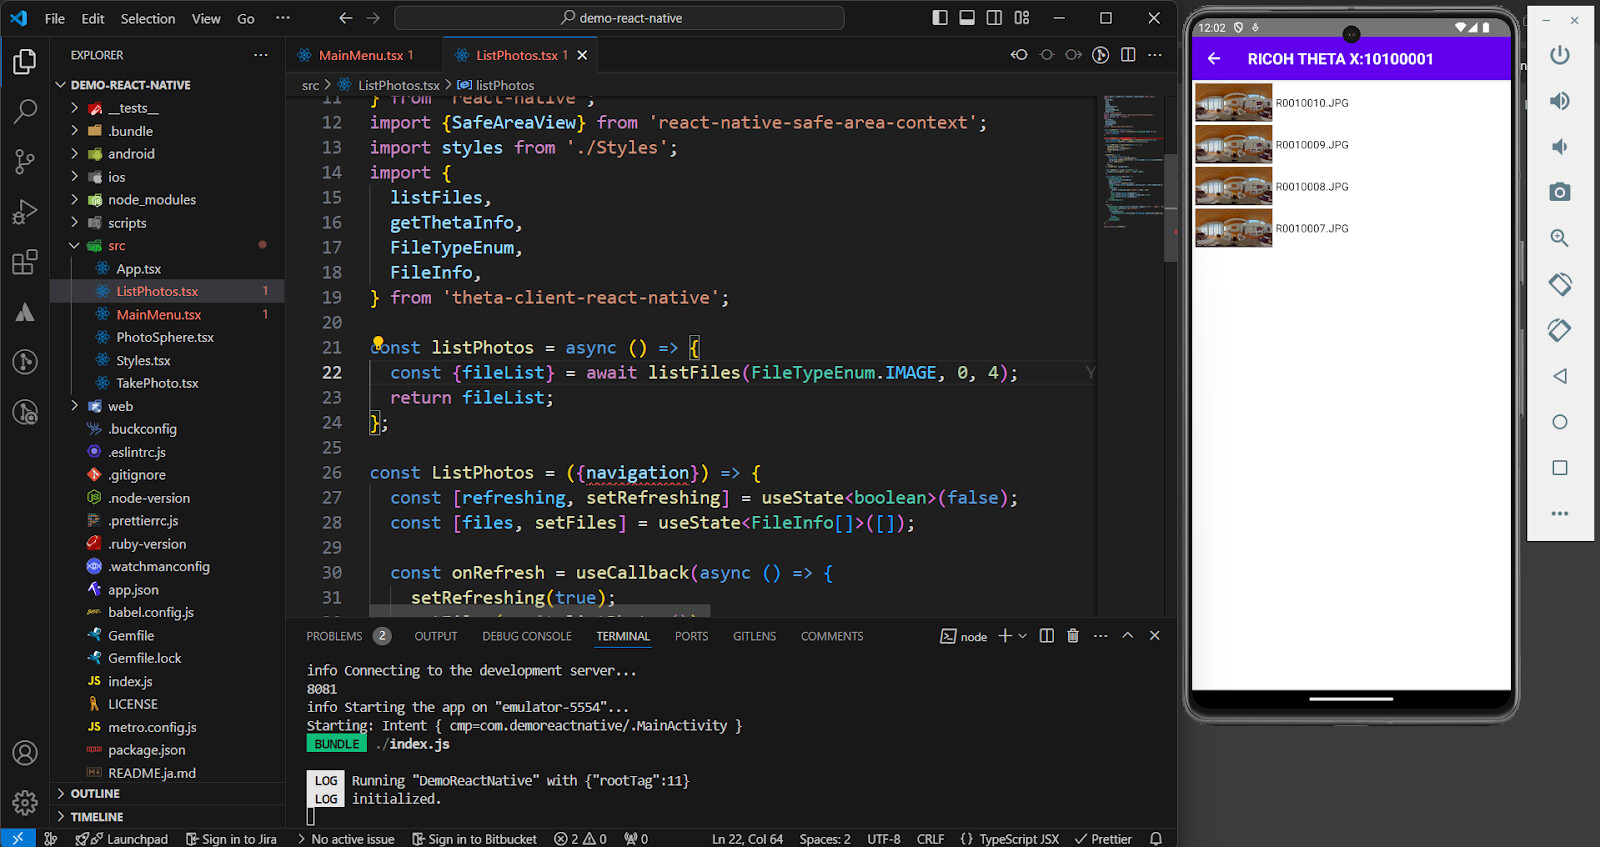
Final code of the listPhotos function looks like this:
const listPhotos = async () => {
  const {fileList} = await listFiles(FileTypeEnum.IMAGE, 0, 4);
  return fileList;
};
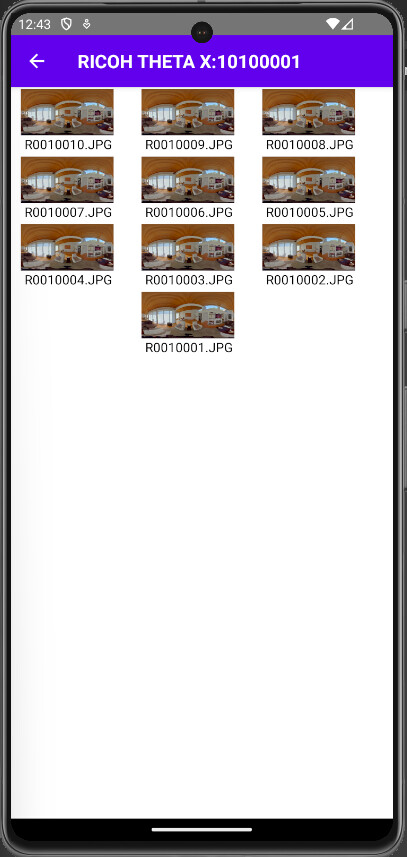
2. List images in a different layout
In this demo, we can modify the layout of the listed images on the screen. We can make it like a grid layout.
- Go to demo-react-native > src > Styles.tsx
Change the following:
- Value of the
flexDirectionproperty tocolumn - Value of the
widthproperty to 130
fileItemBase: {
    flexDirection: 'column',
    width: 130,
    marginTop: 4,
}
Now each image and its title appears in a single-column layout, i.e., one below the other.
- Go to demo-react-native > src > ListPhotos.tsx
Apply the code below to change the layout of the images displayed on the emulator. We can use some styles, so the images can display in a grid-like manner.
return (
    <SafeAreaView style={styles.container} edges={['left', 'right', 'bottom']}>
      <StatusBar barStyle="light-content" />
      <ScrollView
        refreshControl={
          <RefreshControl refreshing={refreshing} onRefresh={onRefresh} />
        }>
        <View
          style={{
            display: 'flex',
            flexDirection: 'row',
            flexWrap: 'wrap',
            justifyContent: 'center',
            alignItems: 'center',
          }}>
          {items}
        </View>
      </ScrollView>
    </SafeAreaView>
);
In the above code, inside the return statement of the ListPhotos component, we have added a View component and wrapped it around {items}.
We have added a few styles to manipulate the layout as well.
- Final result
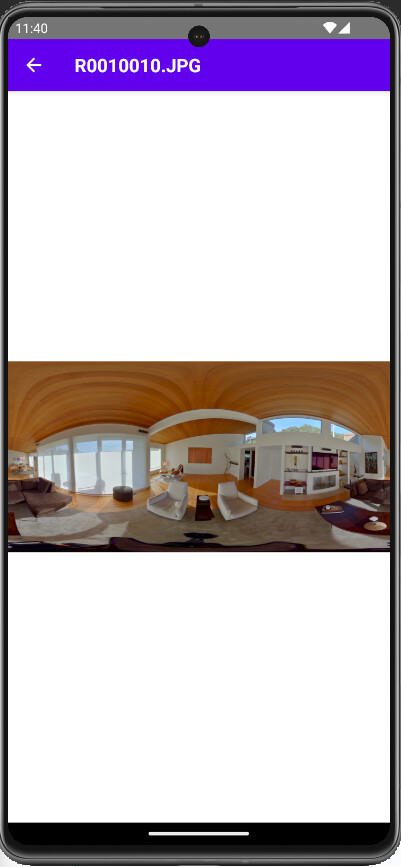
3. Update individual image styles
Next, we can add some additional styles to the PhotoSphere component, which displays a single image on the screen.
This screen shows up when we tap on any image displayed on the ListPhotos screen.
Currently, the screen looks like this:
To update the styles of the above component, follow the steps below:
- Go to demo-react-native > src > Styles.tsx
- Update
takePhotoBackandtakePhotostyle objects with the following styles:
takePhotoBack: {
    flex: 1,
    backgroundColor: '#F0F0F0',
    alignItems: 'center',
    justifyContent: 'center',
    paddingHorizontal: 20,
  }
takePhoto: {
    width: '100%',
    height: 200,
    borderRadius: 10,
    borderWidth: 8,
    borderColor: '#000',
  }
You can tinker with the above styles as well and see what works.
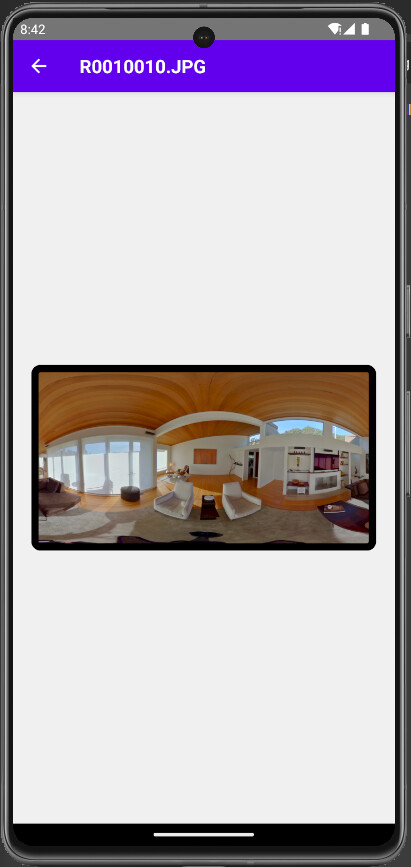
- Final result
Now, the individual image has a different size with a black border and a border radius on all corners.
4. Display skeleton components when a list of photos is being fetched
In this demo, we can add a list of skeleton components that appear on the “ListPhotos” screen when the images or photos are being fetched from the server. This enhances the user experience.
- Go to demo-react-native > src > ListPhotos.tsx
- Declare a new variable called
loadingusing theuseStatehook.
const [loading, setLoading] = useState<boolean>(false);
- We can replicate a loading behavior by wrapping the calling of the
listPhotosfunction inside asetTimeout, so it mimics the behavior of an API GET request that takes a bit of time to fetch the required data.
const onRefresh = useCallback(async () => {
    setRefreshing(true);
    setLoading(true);
    setTimeout(async () => {
      setFiles(await listPhotos());
      setLoading(false);
    }, 1000);
    setRefreshing(false);
  }, []);
We have set a timeout of 1 second. You can set it for more than 1 second if you like.
Now, the code looks like this:
const ListPhotos = ({navigation}) => {
  const [refreshing, setRefreshing] = useState<boolean>(false);
  const [loading, setLoading] = useState<boolean>(false);
  const [files, setFiles] = useState<FileInfo[]>([]);

  const onRefresh = useCallback(async () => {
    setRefreshing(true);
    setLoading(true);
    setTimeout(async () => {
      setFiles(await listPhotos());
      setLoading(false);
    }, 1000);
    setRefreshing(false);
  }, []);
- Finally, we can add the skeleton component itself, which has some styles and renders in a list
Inside the return statement of ListPhotos component, add the following code:
{loading && (
    <View style={{display: 'flex', gap: 4}}>
      {[1, 2, 3, 4, 5, 6, 7, 8].map((item, index) => (
        <View
          key={index}
          style={{
            backgroundColor: '#e0e0e0',
            width: 200,
            height: 50,
          }}></View>
      ))}
    </View>
 )}
The above code displays 8 “View” components in a column-based layout with a gray-like color and some dimensions.
Now, the return statement looks like this:
return (
    <SafeAreaView style={styles.container} edges={['left', 'right', 'bottom']}>
      <StatusBar barStyle="light-content" />
      <ScrollView
        refreshControl={
          <RefreshControl refreshing={refreshing} onRefresh={onRefresh} />
        }>
        {items}
        {loading && (
          <View style={{display: 'flex', gap: 4}}>
            {[1, 2, 3, 4, 5, 6, 7, 8].map((item, index) => (
              <View
                key={index}
                style={{
                  backgroundColor: '#e0e0e0',
                  width: 200,
                  height: 50,
                }}></View>
            ))}
          </View>
        )}
      </ScrollView>
    </SafeAreaView>
  );
- Final result
For one second, until the images are completely fetched and displayed on the screen, the gray colored boxes or skeletons are displayed.

And after one second passes, the images are fetched and they are displayed on the screen in place of the gray colored boxes.
Conclusion
In this guide, we saw how to set up the React Native environment for the theta-client demo and perform some of the modifications to the code.