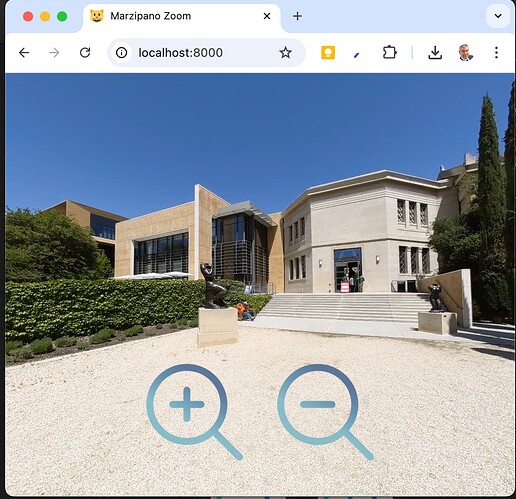
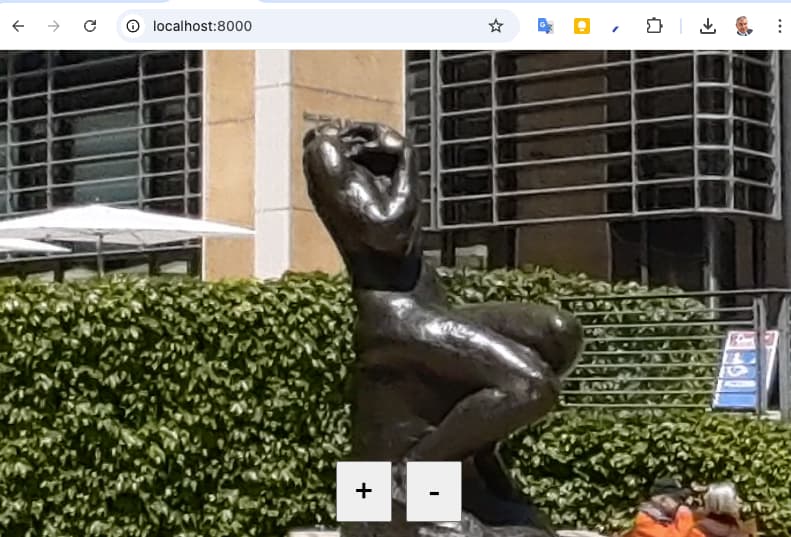
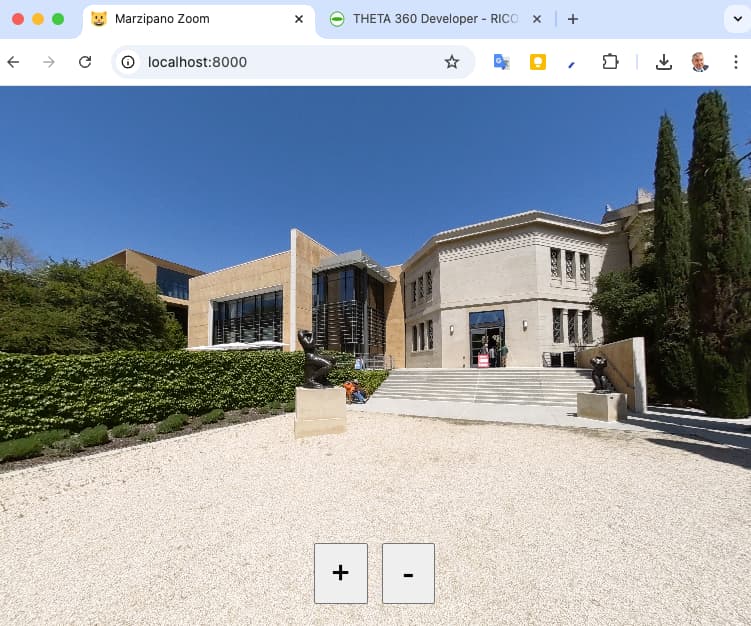
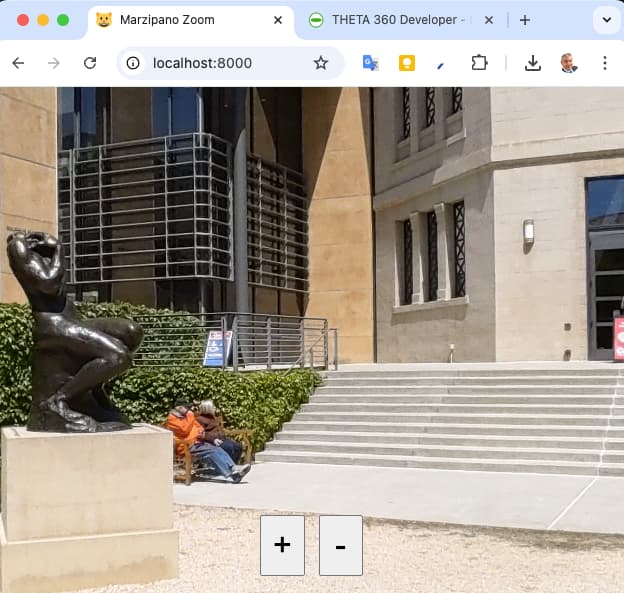
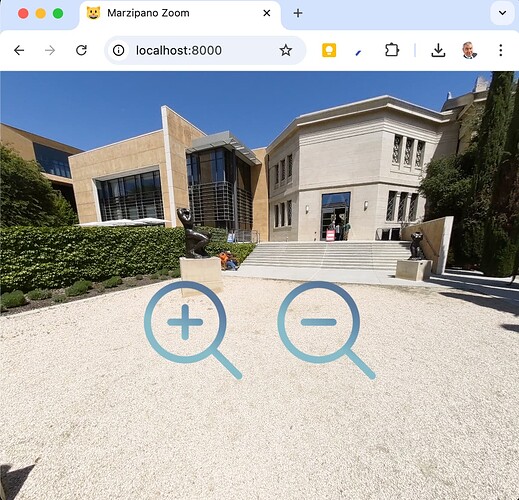
Marzipano has built in zoom functions. You first need to set up the viewer control, then create the buttons. Once the HTML buttons are created, you can attach events.
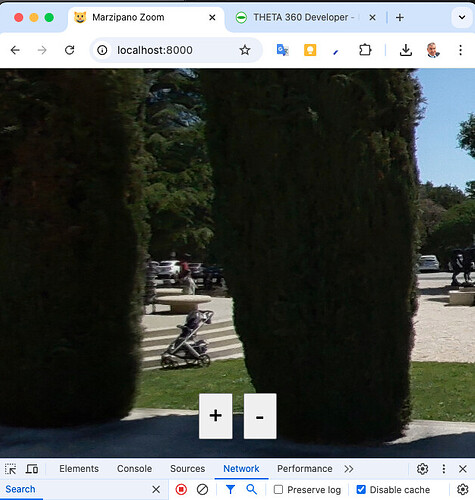
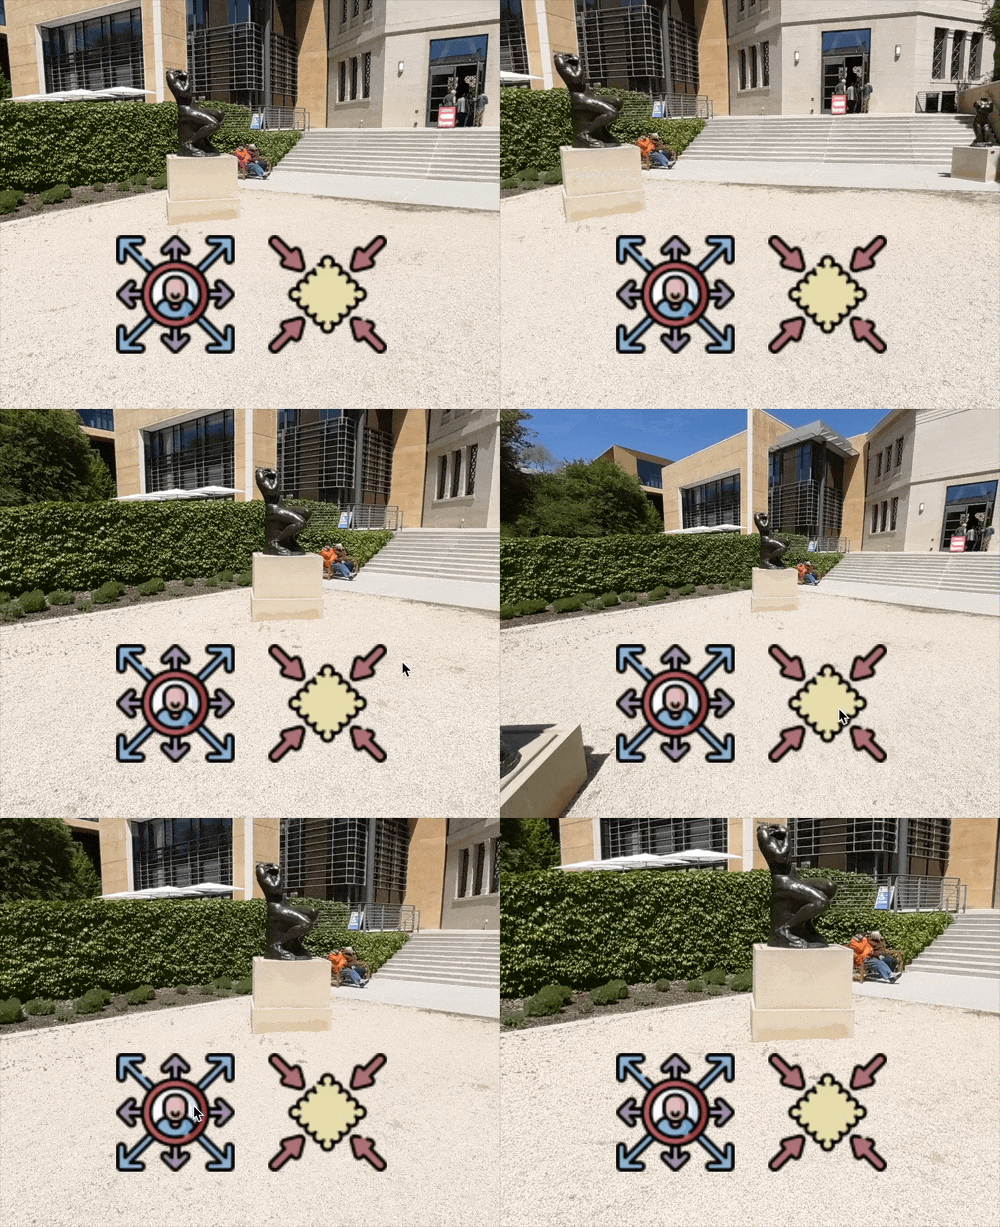
This is quite fun to use with the RICOH THETA X 11K images as the zoom capability is excellent, almost heading the direction of the blade runner movie. ![]()
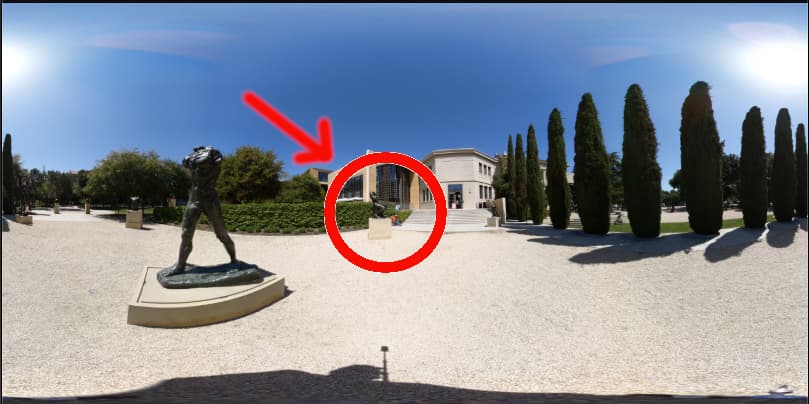
Original image in equirectangular shows a super small statue.
Get an 11K Image
If you want to use the same 11K image, you can download it from the URL below. Alternately, you can link to the image inside of Marzipano.
https://theta-image-api.s3.amazonaws.com/theta_images/DKFFYcMm6ZAf6itLQqMdS9.jpeg
get marzipano.js
You can build marzipano from GitHub source or use a pre-built file.
create file structure
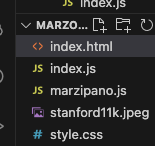
Create index.html, index.js and style.css. Place the new files in the same folder as your 360 image.
The HTML file will look like this
<!DOCTYPE html>
<html lang="en">
<head>
    <meta charset="UTF-8">
    <meta name="viewport" content="width=device-width, initial-scale=1.0">
    <title>Marzpano Zoom</title>
    <link rel="stylesheet" href="style.css">
</head>
<body>
    <!-- javascript libraries -->
    <script src="marzipano.js"></script>
    <script src="index.js"></script>
</body>
</html>
run web server
I’m going to run Python as a web server. You can run any development server in the root directory that you want.
python -m http.server
Serving HTTP on :: port 8000 (http://[::]:8000/) ...
::1 - - [09/Dec/2024 12:23:29] "GET / HTTP/1.1" 200 -
add viewer area and buttons in index.html
In the body, above the javascript libraries, insert this:
  <div id="pano"></div>
  <div id="controls">
      <button id="zoomIn">+</button>
      <button id="zoomOut">-</button>
  </div>
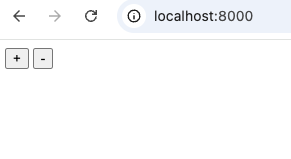
You’ll be able to see the buttons, but there will be no image.
set up viewer in index.js
There is one viewer instance that is used with multiple scenes.
var panoElement = document.getElementById("pano")
var viewerOpts = {
    controls: {
        mouseViewMode: 'drag'
    }
}
var viewer = new Marzipano.Viewer(panoElement, viewerOpts);
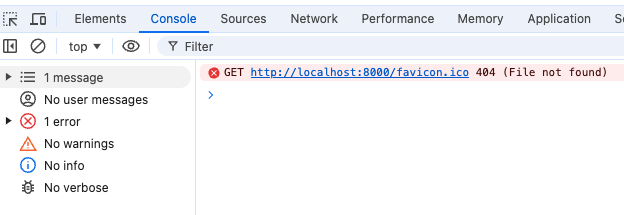
Loading the viewer should be free of errors except for the favicon.
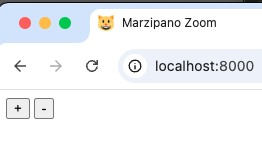
Feel free to add the favicon.ico in if it bothers you. ![]()
If you want to add a grinning cat favicon, I used this site.
Set up initial scene
 // Setup initial scene
 var source = Marzipano.ImageUrlSource.fromString(
    "stanford11k.jpeg"
);
var geometry = new Marzipano.EquirectGeometry([{ width: 4000 }]);
var view = new Marzipano.RectilinearView({ yaw: 0, pitch: 0, fov: Math.PI / 2 });
var scene = viewer.createScene({ source: source, geometry: geometry, view: view });
scene.switchTo();
At this stage, the screen will be white. ![]()
set up styling in style.css
To get the screen to appear, we need to add the styling.
First link to style.css in the index.html file.
<link rel="stylesheet" href="style.css">
Next, in style.css, add the styling.
html,
body {
  height: 100%;
  width: 100%;
  margin: 0;
  display: block;
}
#pano {
  width: 100%;
  height: 100%;
  position: relative;
}
#controls {
  position: absolute;
  bottom: 20px;
  width: 100%;
  z-index: 1000;
  text-align: center;
}
button {
  font-size: xx-large;
  padding: 10px;
  width: 7%;
  margin: 5px;
  display: inline-block;
}
At this stage, the zoom works with the scroll wheel, but not with the control buttons.
The mouse is enabled in viewerOpts in index.js
var viewerOpts = {
    controls: {
        mouseViewMode: 'drag'
    }
}
set up viewer controls, velocity, friction
We need to set the velocity of the zoom. the bigger the number, the faster it will zoom.
Friction will slow down the zoom.
In index.js, add the following to the bottom of the file.
var velocity = 0.7;
var friction = 3;
var controls = viewer.controls();
select buttons and register controls
We now need to select the HTML buttons and register each button to a Marzipano.ElementControlPress
 // Select the buttons
 var zoomInButton = document.getElementById('zoomIn');
 var zoomOutButton = document.getElementById('zoomOut');

 controls.registerMethod('zoomIn',
    new Marzipano.ElementPressControlMethod(zoomInButton, 'zoom', -velocity, friction), true
 )

 controls.registerMethod('zoomOut',
    new Marzipano.ElementPressControlMethod(zoomOutButton, 'zoom', velocity, friction), true
 )
The zoom now works with button presses.
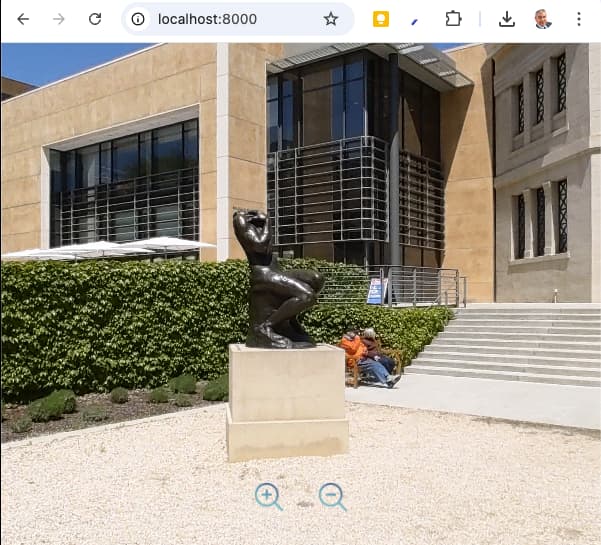
switch to icons
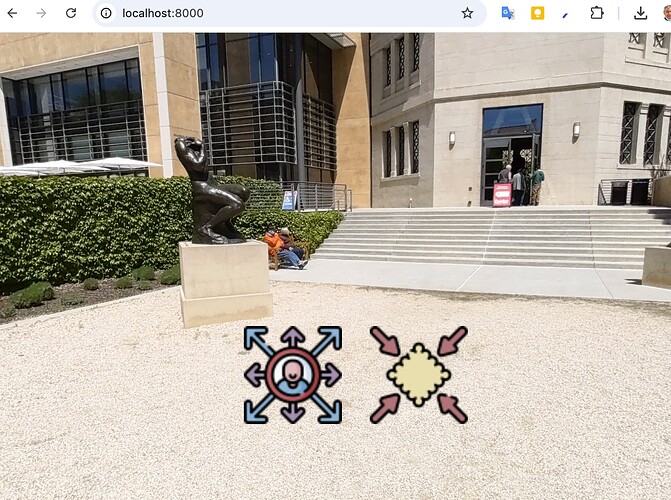
To switch to an image icon, replace the <button> tag with a <img> tag. The id will control the action in the Marzipano controller.
index.html
  <body>
    <div id="pano"></div>
    <div id="controls">
      <img class="control-button" id="zoomIn" src="icons/zoom-in.png">
      <img class="control-button" id="zoomOut" src="icons/zoom-out.png">
    </div>
style.css
.control-button {
  padding: 10px;
  width: 30px;
  margin: 5px;
  display: inline-block;
  filter: grayscale(.5);
}
No modifications are needed to index.js.
You can adjust the size and position of the viewer controls in the css.
With larger icons placed higher.
.control-button {
  padding: 10px;
  width: 120px;
  margin: 5px;
  display: inline-block;
  filter: grayscale(.5);
}
other Marzipano tutorials
- Tutorial: Marzipano Getting Started - Free 360 Image Viewer from Google
- Tutorial: Marzipano Switch Images - 360 Image Viewer
