Backend Python Image Processing with Django

Back in 2019, I built a 360 image gallery with Bootstrap, A-Frame, Django

Recently, we asked a group of computer science interns to build a 360 Image API server.

In addition to scaling the images to different sizes, the backend server also adds watermarks using django-thumbnails.

Watermark at bottom of equirectangular image

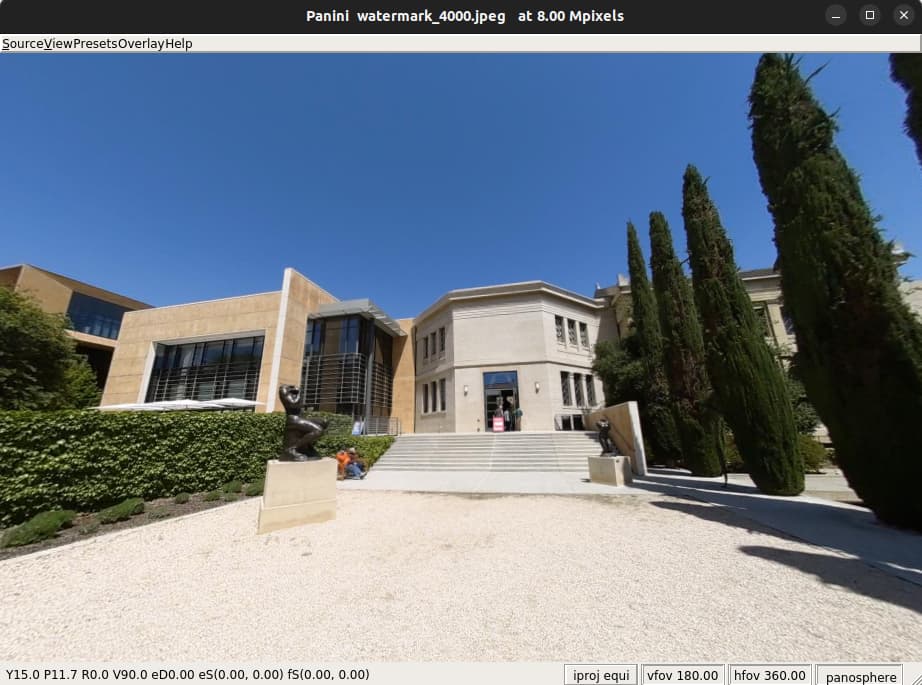
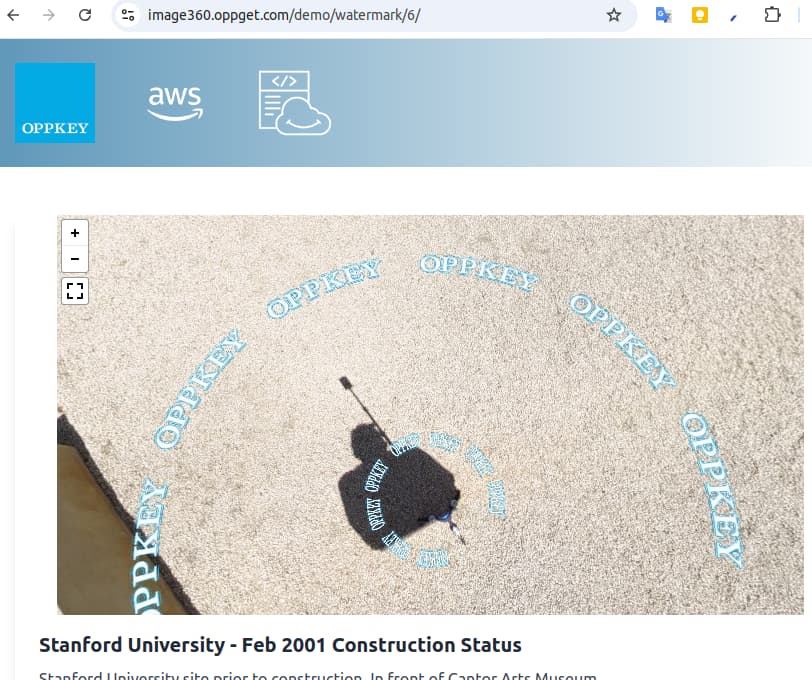
The watermark is fairly subtle. This is an image from a THETA X that was cut down from 11K to 4K. The watermark is overlaid as a straight line.

image

In most views, the watermark does not interfere with the building and details.

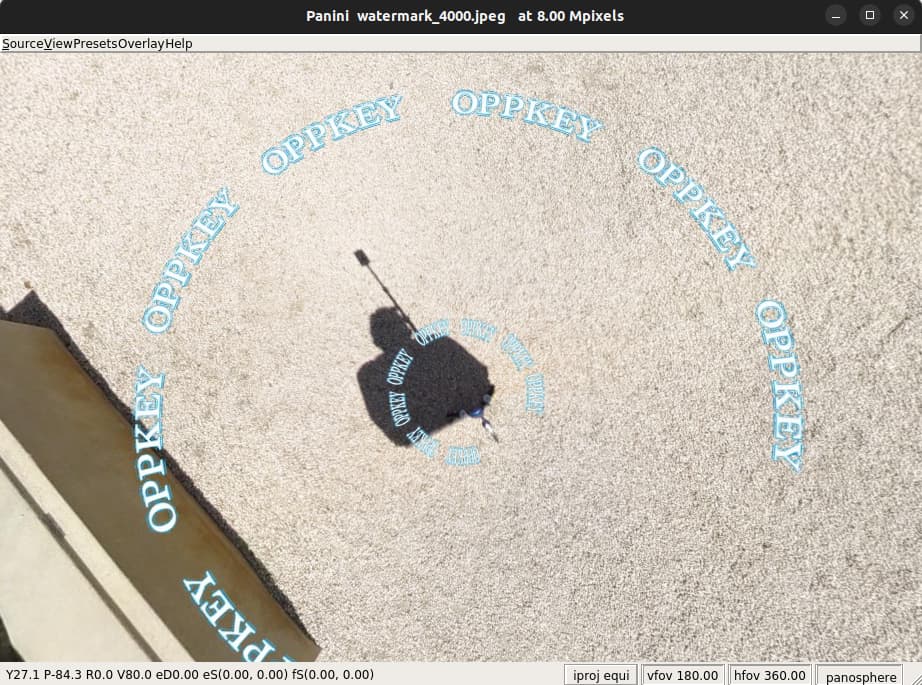
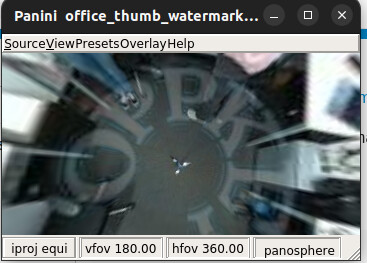
However, if you view the image at the bottom, the watermark is visible.

larger single watermark

image

This type of watermark will obscure some of the details of the image.

image

image

Setup Django with Watermark Image

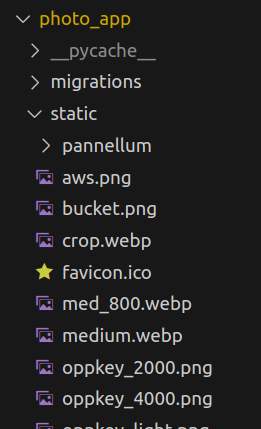
To apply the watermark to a 4K image, I create a watermark PNG file that is 4K by 2K.
The watermark has a transparent background and is called oppkey_4000.png.

It is located in photo_app/static/.

image

settings.py

INSTALLED_APPS = [
    'django.contrib.admin',
    'django.contrib.auth',
    'django.contrib.contenttypes',
    'django.contrib.sessions',
    'django.contrib.messages',
    'django.contrib.staticfiles',
    "thumbnails",
    'photo_app',
]
WATERMARK_4000_PATH = os.path.join(BASE_DIR, 'static/', 'oppkey_4000.png')
THUMBNAILS = {
    'METADATA': {
        'BACKEND': 'thumbnails.backends.metadata.DatabaseBackend',
    },
    'STORAGE': {
        # 'BACKEND': 'django.core.files.storage.FileSystemStorage',
        'BACKEND': 'storages.backends.s3.S3Storage',
        # You can also use Amazon S3 or any other Django storage backends
    },
    'SIZES': {
        'small': {
            'PROCESSORS': [
                {'PATH': 'thumbnails.processors.resize', 'width': 400, 'height': 200},
            ],
        },
        'watermark_4000': {
            'PROCESSORS': [
                {'PATH': 'thumbnails.processors.resize', 'width': 4000, 'height': 2000},
                # Only supports PNG. File must be of the same size with thumbnail (4000 x 2000 in this case)
                {'PATH': 'thumbnails.processors.add_watermark', 'watermark_path': WATERMARK_4000_PATH}
            ],
        },
    }
}

template file

In the Django template file, the watermarked image can be accessed at

photo.image.thumbnails.watermark_4000.url

Using pannellum, the code snippet is below.

   
    <script data-url="{{ photo.image.thumbnails.watermark_4000.url}}">
        const data = document.currentScript.dataset;
        const url = data.url;
        console.log(url);
    pannellum.viewer('panorama', {
        "type": "equirectangular",
        "panorama": url,
        "autoLoad": true
    });
    </script>

A demo of the watermark is here:
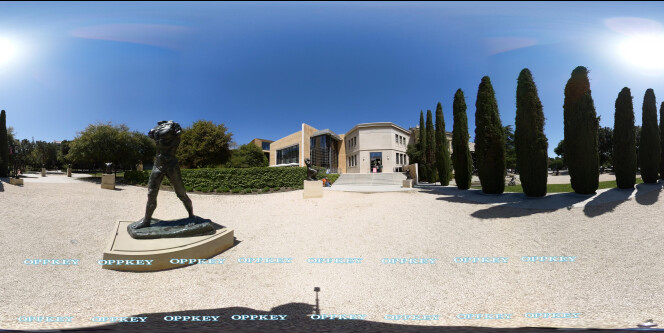
https://image360.oppget.com/demo/watermark/6/

1 Like

Awesome build. I really leaned a lot about building an image processor. I just want to ask if there was a program written for the compression of the image from 11k to 4k. I see that you used Pannellum, a good library at that. Maybe the watermark opacity can be reduced, so it’d look like that actual image is overlapping the watermark.

The resizing is handled by django-thumbnails

In the example below, there are two image processors:

  1. resize
  2. add_watermark
        'watermark_4000': {
            'PROCESSORS': [
                {'PATH': 'thumbnails.processors.resize', 'width': 4000, 'height': 2000}, 
                {'PATH': 'thumbnails.processors.add_watermark', 'watermark_path': WATERMARK_4000_PATH}
            ],

The first resize processor first sets the image to be 4000x2000.

The second add_watermark processor merges the THETA photo image with the watermark.

If I set the watermark transparency to 20%, it will appear like this:

image

image

Alright. Thanks for the clarification. Now I understand it!

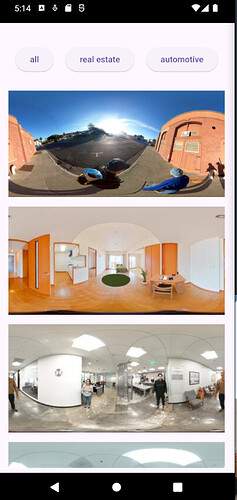
I modified the API to output JSON that is more easily consumed by mobile apps.

Using a test display of automotive images

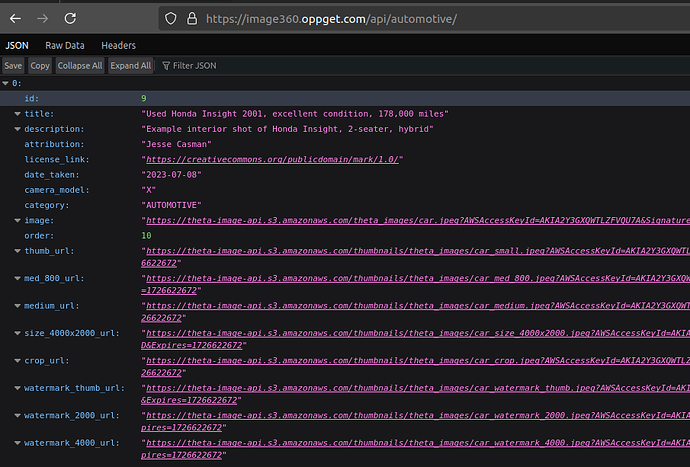
https://image360.oppget.com/api/automotive/

The above screenshot of an Android phone is the image representation of this:

The JSON is viewed using Firefox.

This is real estate.

https://image360.oppget.com/api/realestate/

this is the main portion of the code logic.

ElevatedButton(
  onPressed: () async {
    photos = [];
    final url = Uri.https(
        'image360.oppget.com', 'api/realestate/');
    final response = await http.get(url);
    final data = json.decode(response.body);
    for (var photo in data) {
      photos.add(Padding(
        padding: const EdgeInsets.all(8.0),
        child: Image.network(photo["thumb_url"]),
      ));
    }
    setState(() {
      displayPhotos = photos;
    });
  },
  child: const Text('real estate')),

The main point of the above example is to use the reduced thumbnail size for the initial scrolling list. Then, select another resolution for the full image display in 360.

Other

I’ve created another API endpoint for /api/managephoto/ with open read access, but requires username/password authentication for image create (upload), image delete, image update.

I haven’t tested the new API endpoint yet with the necessary management features. Once we know that it works, Jesse will ask you to write an article on how to use theta-client to manage upload, delete, and update of images.

1 Like