This is a machine translation of a Japanese article by KA-2. The original article is here. Note that I edited the original article and deleted references to sites and articles that are specifically only in the Japanese language or Japanese language events that are in Japan.
When serial communication is performed via a USB host on an Android smartphone or tablet, it seems that it is common to use the library " usb-serial-for-android ".
Besides CDC class USB devices, ICs of FTDI / Prolific / Silicon labs which are common in the world of electronic work are also supported in one way. This time I tried using this library for THETA plugin development.
As a general procedure,
- Make a library file (aar file)
- Get library into your project
.
In addition, the complete set of plug-in created this time includes the aar file created following the above work procedure.
In the meantime I think that you can use this aar file, but please note that your own Android Studio build environment will change, you will need to use the aar file you built yourself.
Each will be explained below.
Make a library file (aar file)
Download a complete set of project files including sample application from here and build.
Since AndroidStudio can not generate aar file only, after building the sample application, select “usbSerialForAndroid” in the tree and execute the Build -> Make Module ‘usbSerialForAndroid’ of the menu to generate the aar file To do.
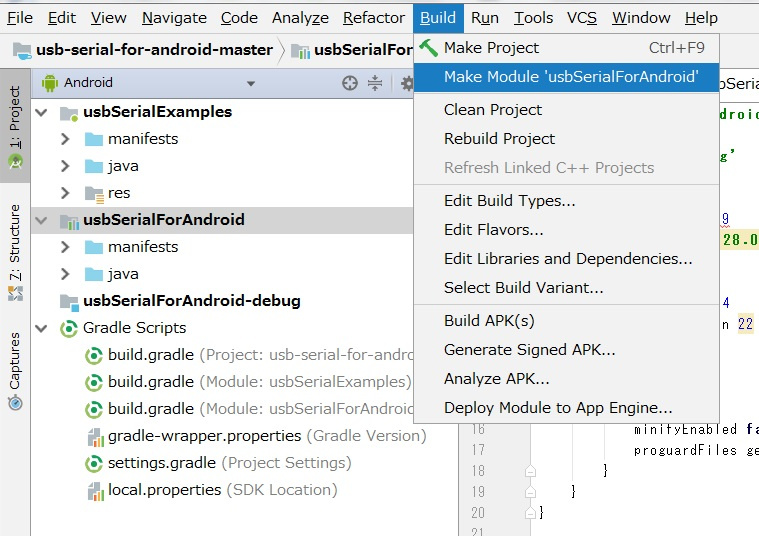
The generated aar file is under ~ \ usb-serial-for-android-master \ usbSerialForAndroid \ build \ outputs \ aar.
When loading or building a library project file, a lot of errors occur.
This is because the library itself is outdated and updating is also stopped, so we need to reconsider the environment settings for AndroidStudio.
It seems to be a know-how that can not be used after a few months, and repeatedly solves the error message by search engines, which I did not even have an Android application development experience originally I could reach the clean build I also asked veteran advice, but I will skip the details from ^^;). For me, this was the most difficult thing. . .
Fetch library (aar file) into own project
The base project is THETA plugin SDK .
The plug-in display name (name displayed together with the icon), plug-in package name, and plug-in version as viewed by Vysor are set as their own settings, but the description is omitted because it is the same work as the Android application I will.
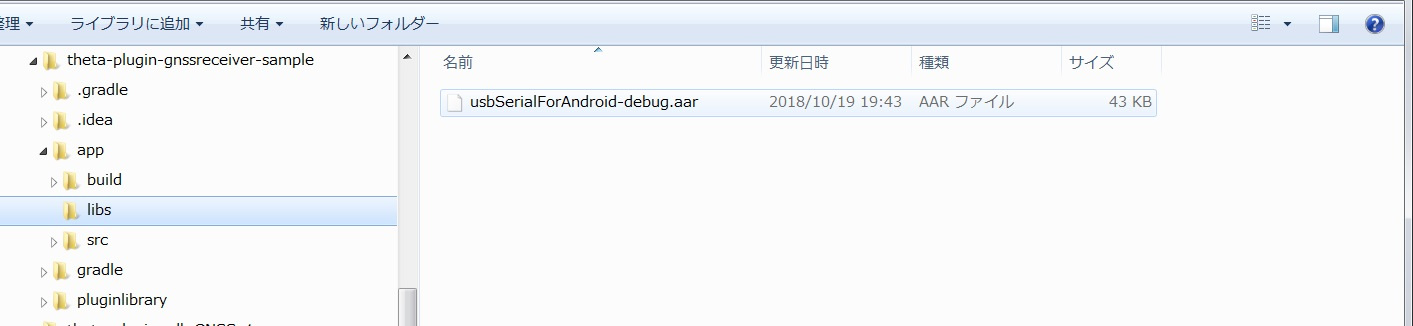
Create libs folder and put aar file
Create a folder called “libs” under the project’s root folder -> app and place the above aar file.
Edit build.gradle (Module: app)
Add the following description
repositories {
    flatDir {
        dirs 'libs'
    }
}

dependencies {
    implementation (name: 'aar file name (excluding extension)', ext: 'aar') // add

  Approximately

}
Add to AndroidManifest.xml and device_filter.xml
At the end of “Introduction” this description is unnecessary if the matter that “One big point attention (unresolved matter) …” is resolved. I will write it as it is necessary at the moment.
This is a description for storing the linkage between USB device and plug-in (application on smartphone) on Android OS. With this description, Android OS automatically launches the corresponding plug-in when plugging in a USB device (OTG: On The Go function works).
This behavior is out of the THETA plugin’s practice, which causes the plug-in to be activated / terminated by long pressing the Mode button, but it is intentional. This is because it was not possible to give effective permission for a long time unless it is a dialog displayed at the time of starting plug-in with OTG at this time.
<intent-filter>
   Approximately

            <action  android: name = "android.hardware.usb.action.USB_DEVICE_ATTACHED"  />
        </ intent-filter>

        <meta-data
            android: name = "android.hardware.usb.action.USB_DEVICE_ATTACHED"
            android: resource = "@ xml / device_filter"  />
device_filter.xml is found in the file group of the library downloaded from gitHub. Place
this in the app -> src -> main -> res -> xml folder of your project and add the definition of the newly used device. You need the decimal value of the vendor ID and product ID you have examined in preparation.
<resources>
    <! - 0x1546 / 0x01a7: u - blox 7 GPS / GNSS Reciver ->
    <usb - device  vendor - id = "5446"  product - id = "423"  />

   Approximately
</ resources>
Reopen the project and go through the build
Please reopen the project after following the steps so far.
After that, delete the following imports or comment out, it seems that the build will pass.
MainActivity.java
import  com.theta 360.pluginapplication.R ;