Here’s my experience from Linux to the THETA.
THETA is plugged into my computer with a USB cable.
check to make sure THETA is online and visible to workstation
using adb devices -l

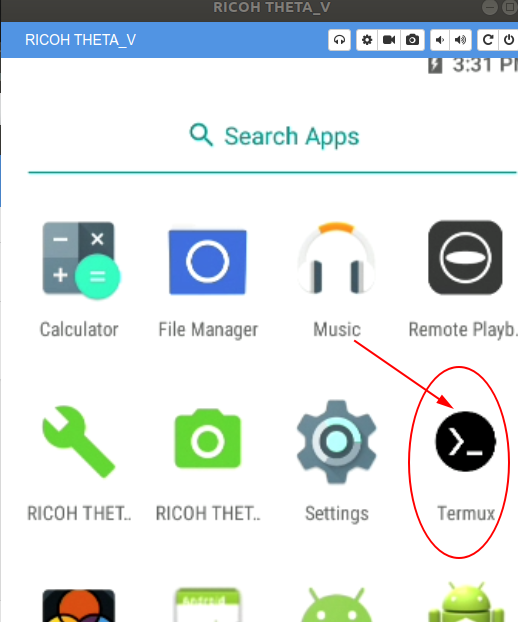
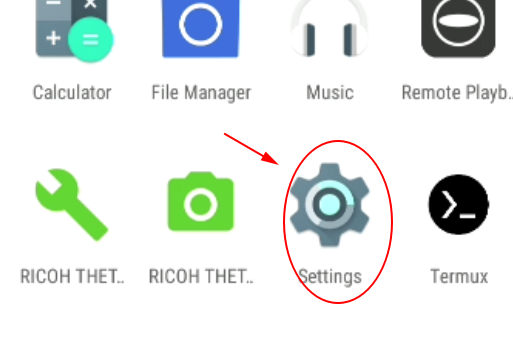
Download termux
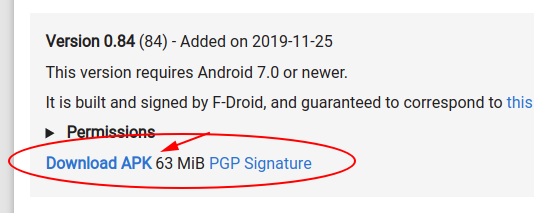
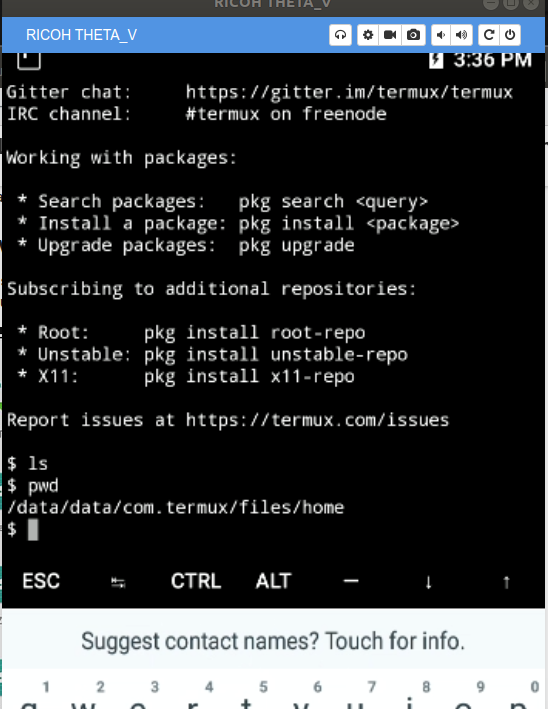
Using version 0.84 released on Nov 25, 2019. New and fresh. ![]()
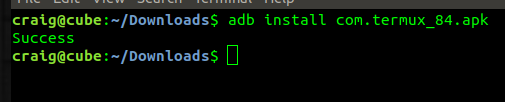
install termux
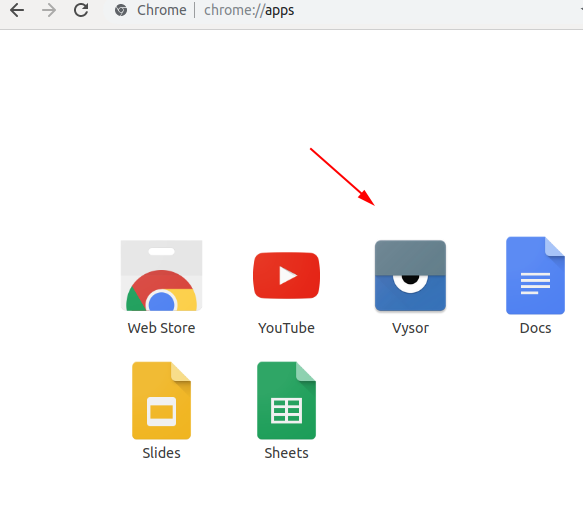
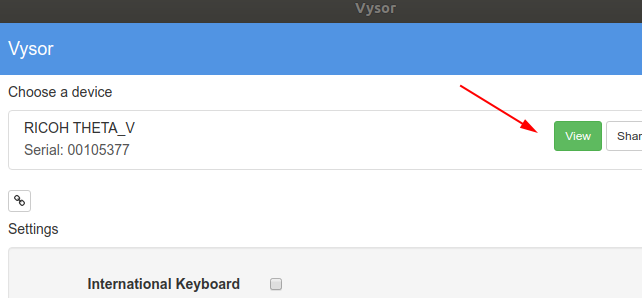
Verify with Vysor
Enable Keyboard

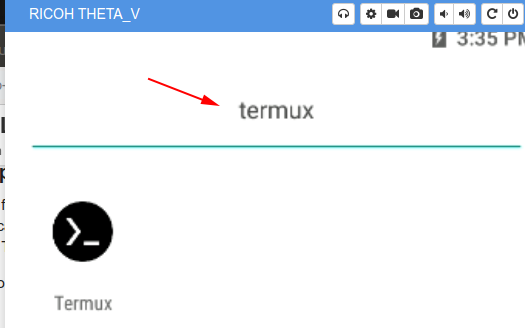
Start Termux
Click on icon on home screen.
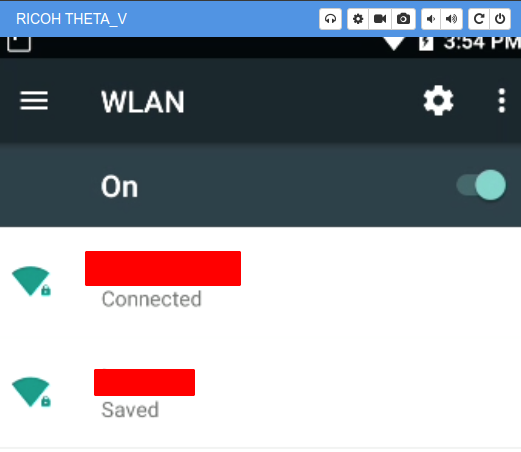
Enable Wi-Fi when connected with USB
$ adb shell settings put global usb_debug true
![]()
Set up Wi-Fi with Client Mode if not already Setup
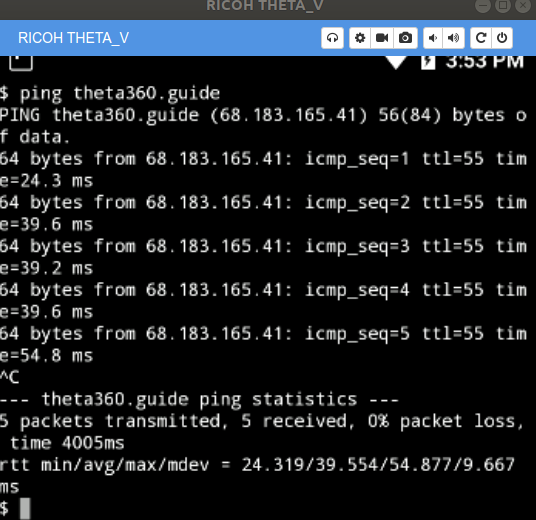
Test Internet Connection
ping a domain such as theta360.guide
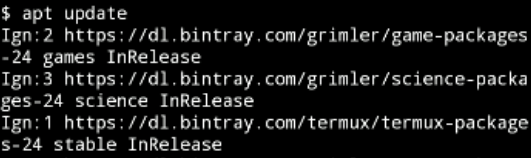
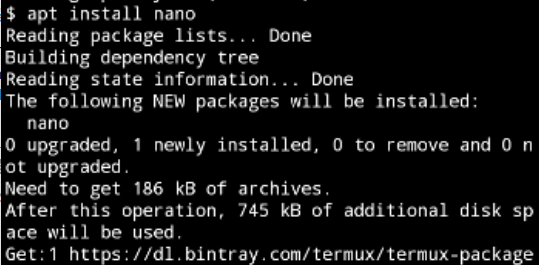
Test apt and install a text editor
install nano with apt
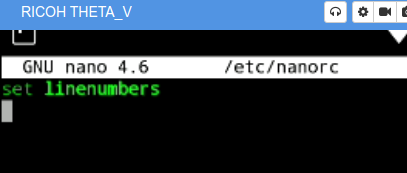
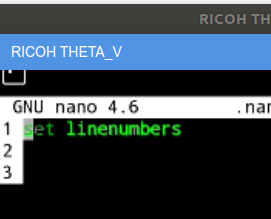
set linenumbers in nano with nano ~/.nanorc
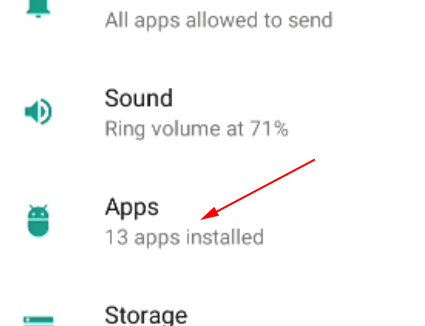
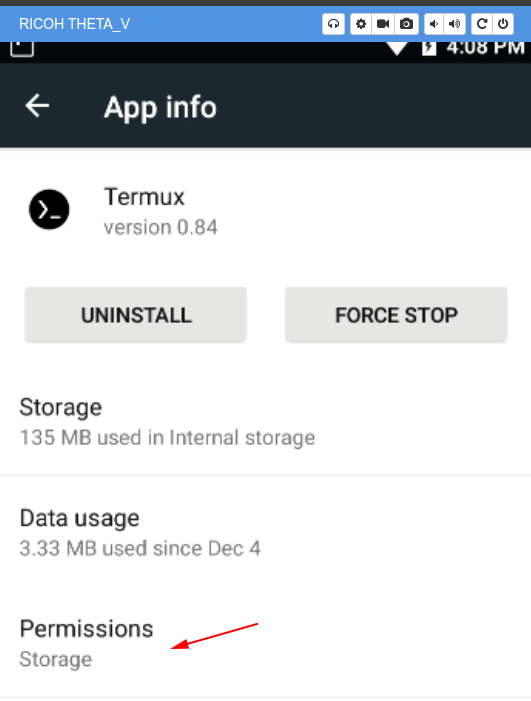
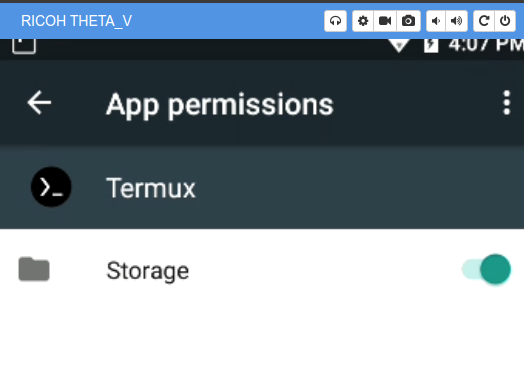
Set Storage Permission
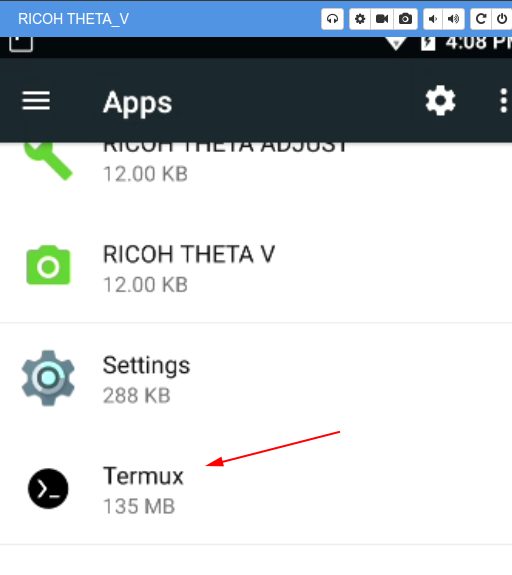
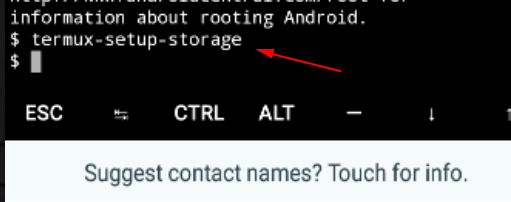
Setup Termux Storage
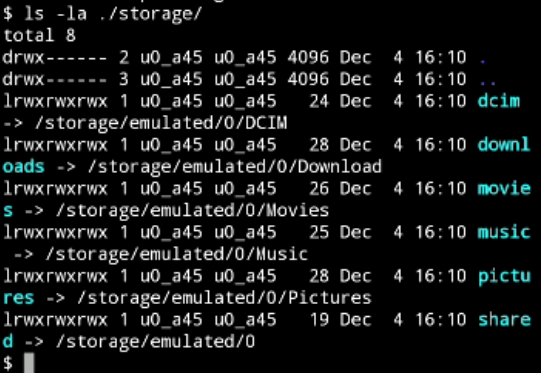
Check Storage Setup
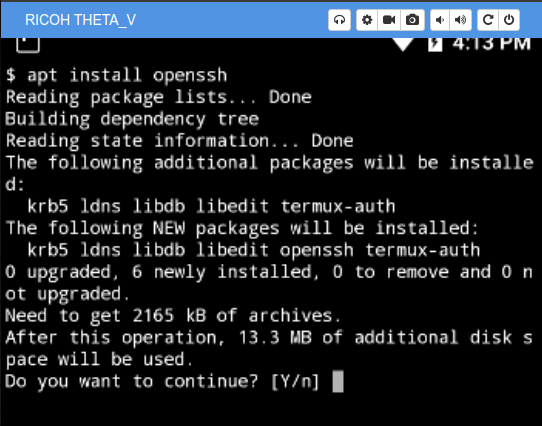
Install OpenSSH
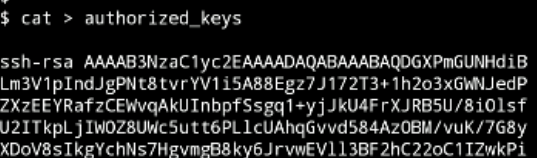
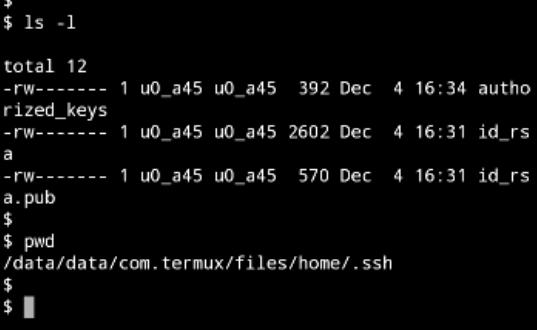
Copy public ssh key from workstation to camera

Add ssh public key
Add sshd to .bashrc

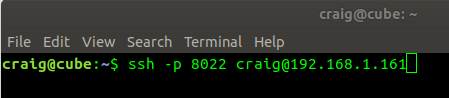
Login from Linux
Make sure you use port 8022
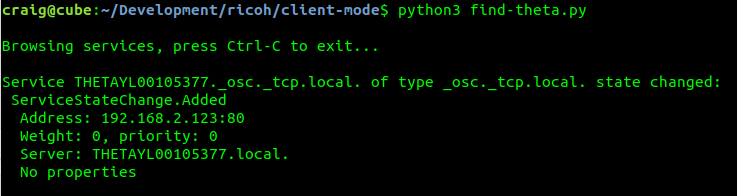
Finding IP address
I’m using a simple Zeroconf discovery script to find the IP address.
Setting Client Mode IP Address
You can also set the client mode IP address using this article. In my case, I’ve set the client mode IP address of the THETA to 192.168.2.123 to make it easier to remember and find.
Troubleshooting
If you run into problems, start sshd in debug mode on a free port
sshd -d -p 2222
From your client, login with:
sshd -d -p 2222

Stopping Termux
am broadcast -a com.theta360.plugin.ACTION_FINISH_PLUGIN --es packageName com.termux