Please see this article to set up Termux inside your THETA.
This article is roughly translated from the original Japanese article by KA-2.
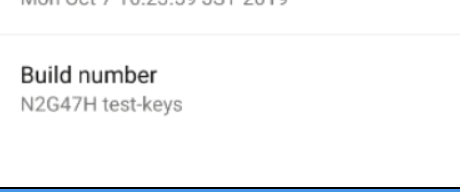
For this test, I switched to a different laptop and needed to add my public key to the THETA again. I also updated the firmware of the THETA and needed to put it into developer mode again. Click on the build number until it says, “you are now a developer”
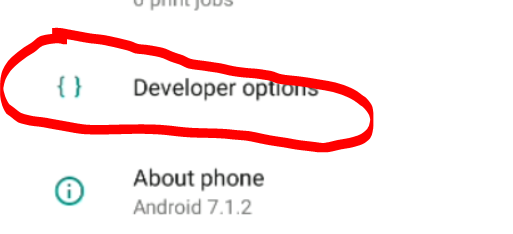
With the developer mode enabled, I can now select the developer tools.
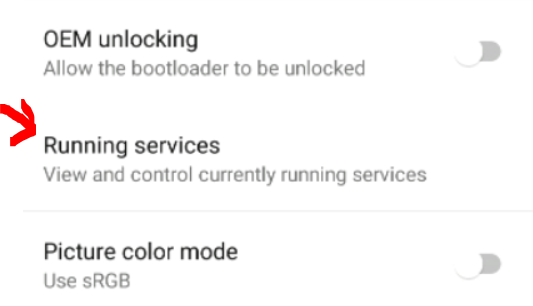
Using settings, go into Running services.
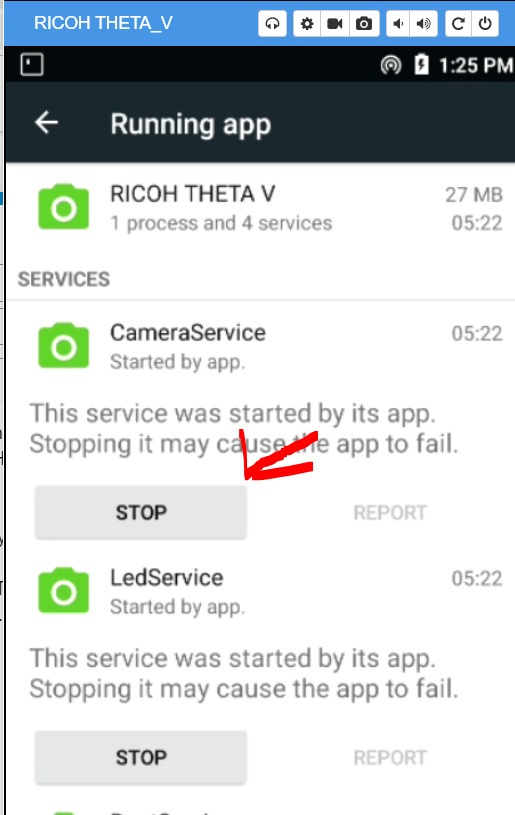
Stop the RICOH THETA camera service.
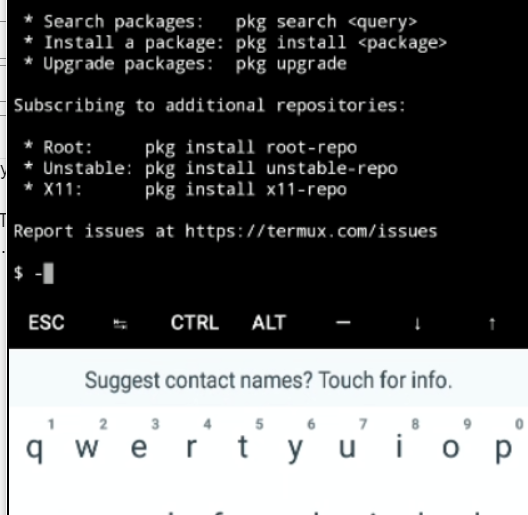
Keyboard now works
Concatenate authorized key from my laptop.
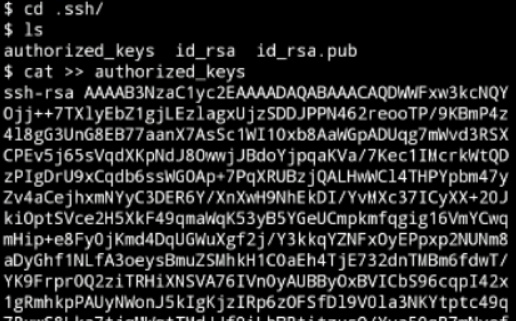
This is done with a copy and paste.
Blink LED
Once I was able to log in again, I was able to get the LED to blink yellow with the following command:
am broadcast -a com.theta360.plugin.ACTION_LED_BLINK -e target LED3 -e color yellow --ei period 500
I used the Android documentation to understand more about the am (Activity Manager) command.
Turn Off LED
am broadcast -a com.theta360.plugin.ACTION_LED_HIDE -e target LED3
LED Lit - no-blink
am broadcast -a com.theta360.plugin.ACTION_LED_SHOW -e target LED3 -e color yellow
You can control LEDs 3 to 8. However, you can’t set the color for LEDs 4-8.
The blink frequency can be set from 500ms to 2000ms.
Triggering Audio Shutter Sound
am broadcast -a com.theta360.plugin.ACTION_AUDIO_SHUTTER
There are many other sounds you can make.
| Audio File | Intent |
|---|---|
| Shutter Audio Start | “com.theta360.plugin.ACTION_AUDIO_SH_OPEN” |
| Shutter Audio End | “com.theta360.plugin.ACTION_AUDIO_SH_CLOSE” |
See this reference for more information.
https://api.ricoh/docs/theta-plugin-reference/broadcast-intent/
Wi-Fi Stability Issues
Note that I’ve had some issues with the Wi-Fi dropping in the co-working space that I’m writing this at. I’m going to try Ethernet when I get back to my office.
Update Dec 23, 2019: A good solution at shared co-working space is to connect both my camera and my laptop to a my mobile phone hotspot. For the Z1, I’m displaying the IP address on the OLED screen of the camera. See this article for more information.
Problems with F-Droid
When I got back to my office, I decided to try Termux with the Z1. I ran into problems with the apk from F-Droid and installed the apk from apkpure.
Using the Wi-Fi API
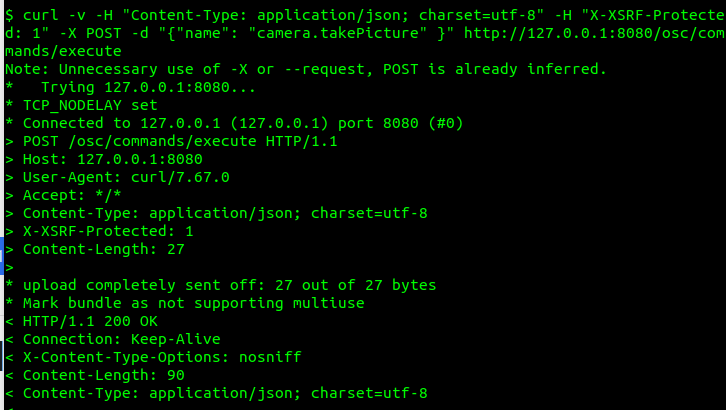
Take Picture
curl -v -H "Content-Type: application/json; charset=utf-8" -H "X-XSRF-Protected: 1" -X POST -d "{"name": "camera.takePicture" }" http://127.0.0.1:8080/osc/commands/execute
Set Up SFTP to transfer image file
Edit $HOME../usr/etc/ssh/sshd_config
SendEnv LANG
PrintMotd no
PasswordAuthentication yes
PubkeyAcceptedKeyTypes +ssh-dss
Subsystem sftp /data/data/com.termux/files/usr/libexec/sftp-server
Set the password by running
passwd
Grab file with sftp
craig@cube:~$ sftp -P 8022 192.168.2.123
Connected to 192.168.2.123.
sftp> ls
storage
sftp> cd storage/
sftp> ls
dcim       downloads  movies     music      pictures   shared
sftp> cd dcim
sftp> ls
100RICOH                                plugin_20190726115613.wav
sftp> cd 100RICOH/
sftp> ls
R0010017.JPG    R0010018.JPG    R0010019.JPG
sftp> get R00
R0010017.JPG    R0010018.JPG    R0010019.JPG
sftp> get R0010017.JPG
Fetching /storage/emulated/0/DCIM/100RICOH/R0010017.JPG to R0010017.JPG
/storage/emulated/0/DCIM/100RICOH/R0010017.JP 100% 4254KB   3.2MB/s   00:01
sftp>
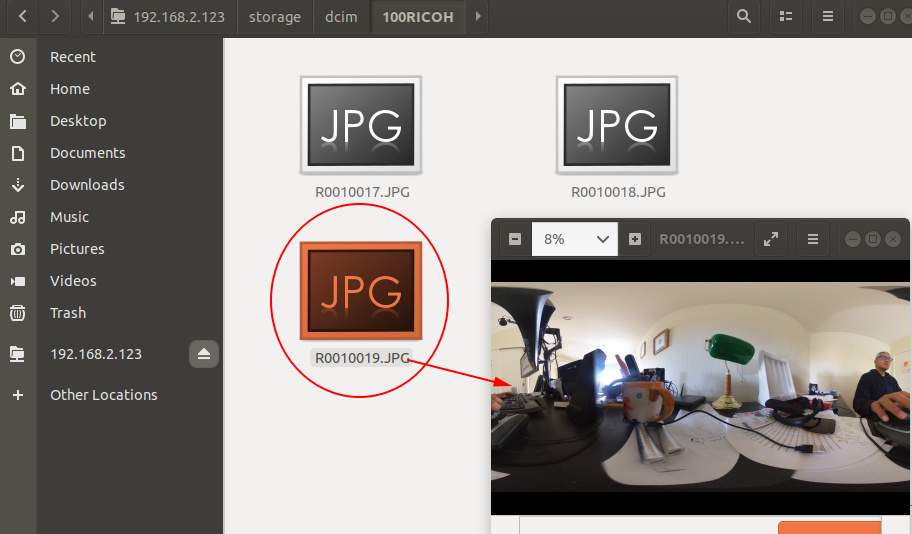
Using Ubuntu Default File Manager


Double-click on the image to display it.
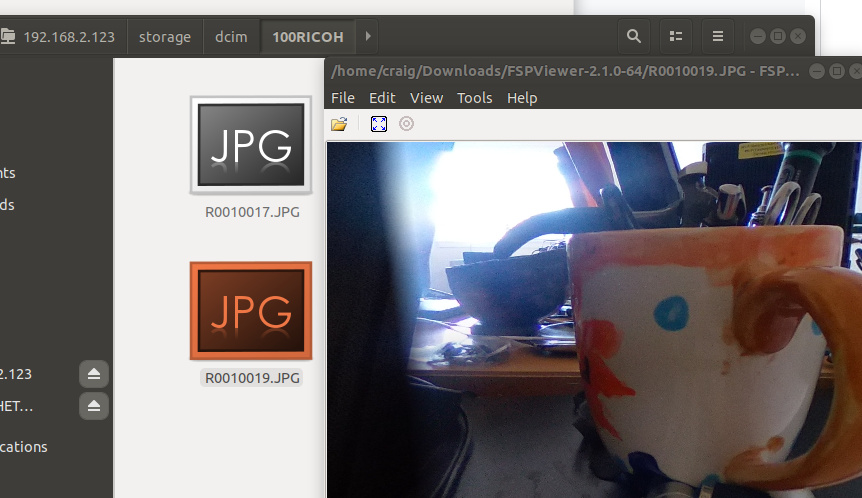
Viewed in FSPViewer
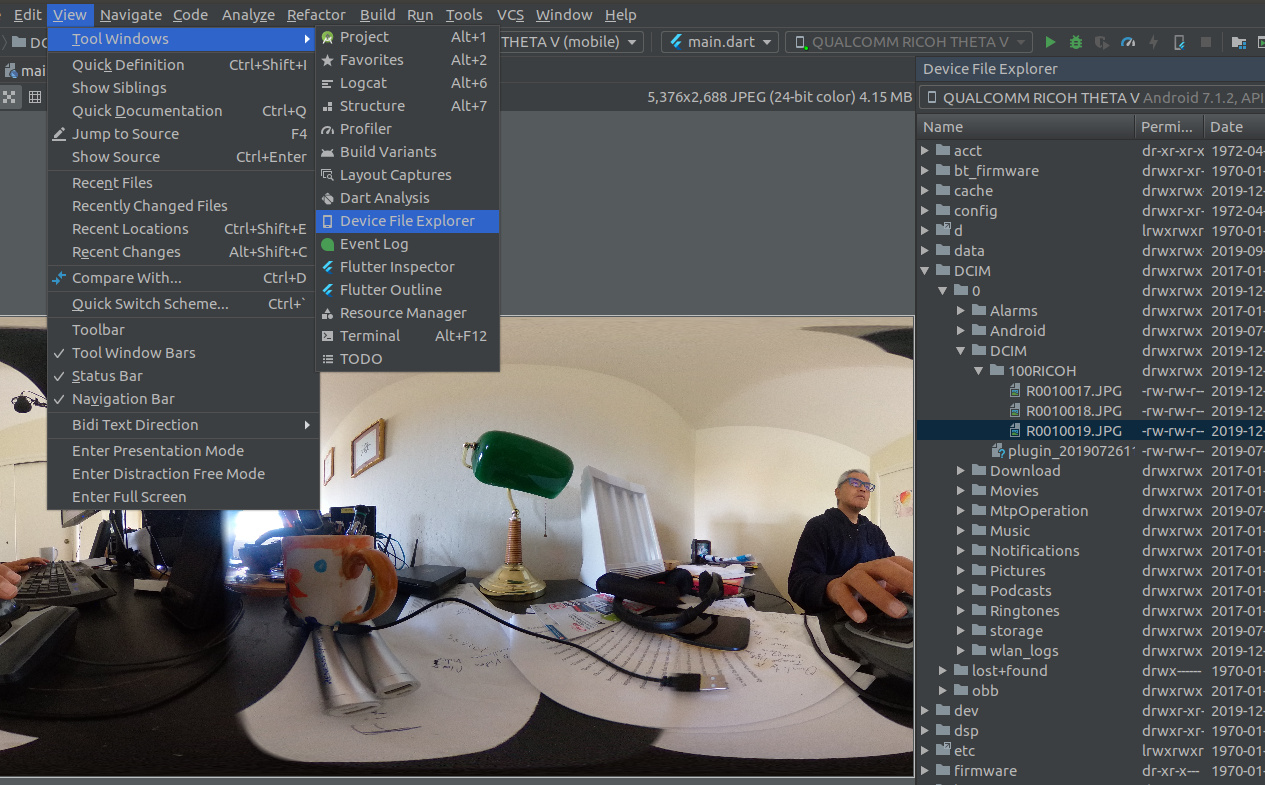
You can also see the same files with Android Studio “Device File Explorer”
Updating the Database
If you add or delete files directly, you need to update the database. See the “Updating the Database” section of this document.
New file.
am broadcast -a com.theta360.plugin.ACTION_DATABASE_UPDATE --esal targets DCIM/orgdir/newfile.jpg
Delete file
am broadcast -a com.theta360.plugin.ACTION_DATABASE_UPDATE --esal targets DCIM/orgdir/delfile.jpg
Install Programming Tools
Install git with
apt install git

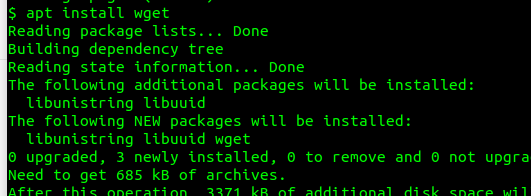
install wget
apt install wget
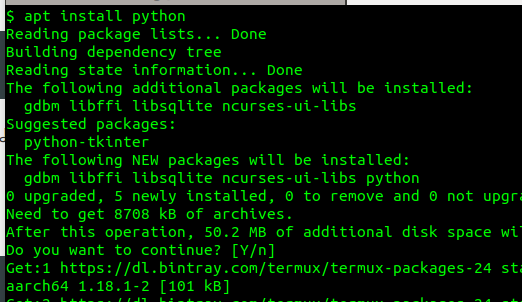
install python
apt install python
installed 3.8
$ python --version
Python 3.8.0
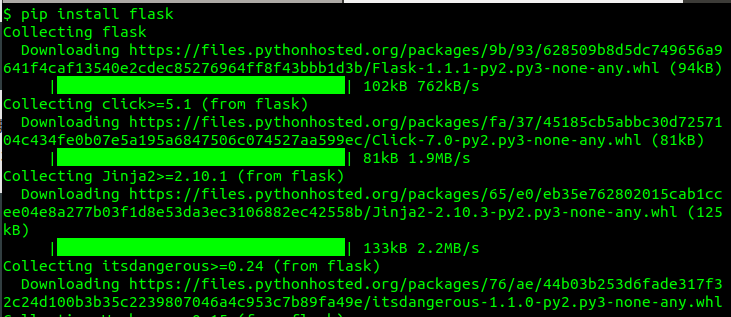
install flask
pip install flask
apt install clang
I also decided to move from nano to zile because I like Emacs.
apt install zile
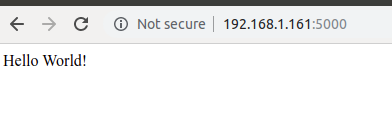
Web Server Test
Create hello.py in a directory such as Development.
from flask import Flask
app = Flask(__name__)

@app.route('/')
def hello_cloud():
       return 'Hello World!'

app.run(host='0.0.0.0')
In my case, I’m using client mode and set the IP address of the host to the IP address of the THETA.
Additional Python tools
pip install pycurl
pip install pydrive
pip install numpy
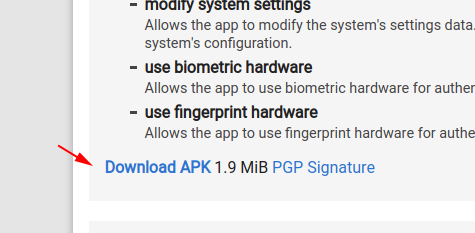
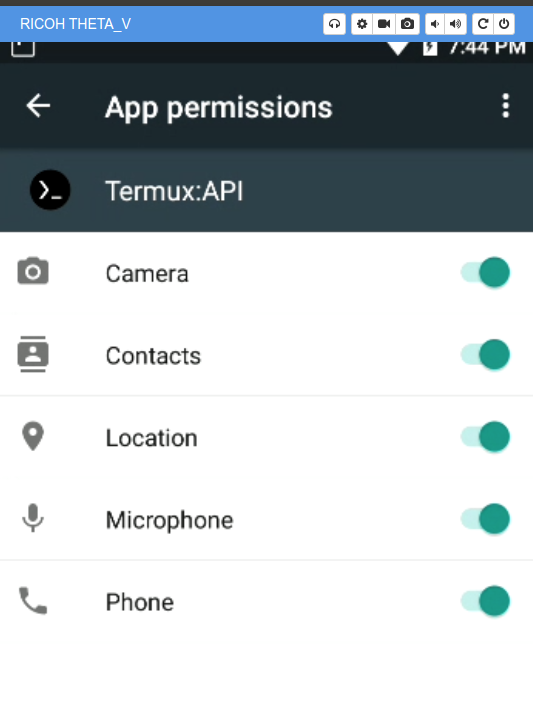
Termix-API
apt install termux-api
Fix for me.
Emacs
Using emacs on the THETA works well. In the screenshot below, I’ve ssh’ed into the THETA from a Linux terminal and am running split-window vertically and horizontally. I’m runninng term to get the bash shell inside of emacs. The mouse also works.
