The THETA X runs Android inside the camera. After putting the camera in developer mode, people can install standard Android applications into the camera. One application that is useful for learning about the plugin behavior is Termux.
Setting up Termux on the THETA X involves several steps. At the end of the setup, developers can log into the THETA X with ssh from their laptop and use a terminal on their local computer to send commands directly to the THETA X. These commands include broadcast intent.
installing Termux in the THETA X
THETA X must be in developer mode. You can sign up for the free plug-in partner program here:
https://www8.webcas.net/db/pub/ricoh/thetaplugin/create/input
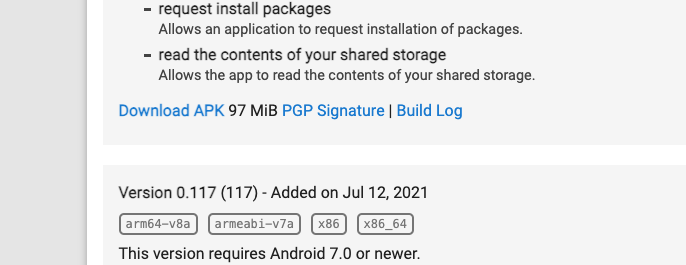
File is 97MB.
Verifying that adb detects THETA X.
adb devices
* daemon not running; starting now at tcp:5037
* daemon started successfully
List of devices attached
YR14113409      device
install Termux apk
adb install .\com.termux_118.apk
Performing Streamed Install
Success
running Termux on the THETA X
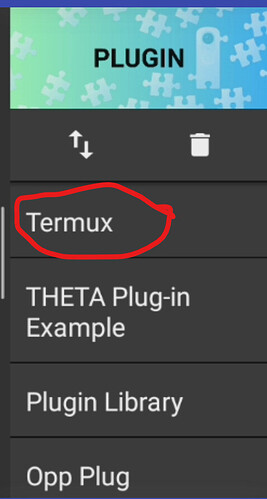
Select Termux from plugin menu
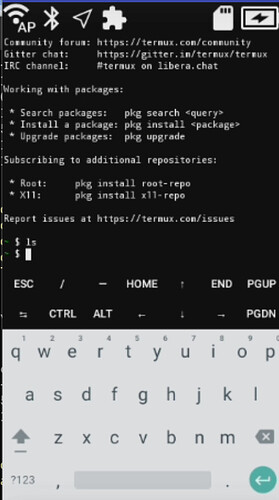
Using Vysor, computer keyboard works.
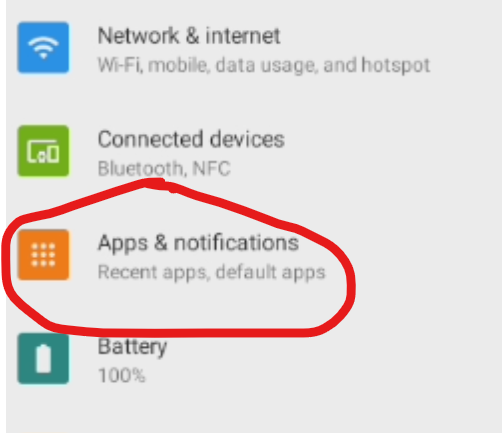
adjusting settings
adb shell am start -a android.settings.SETTINGS
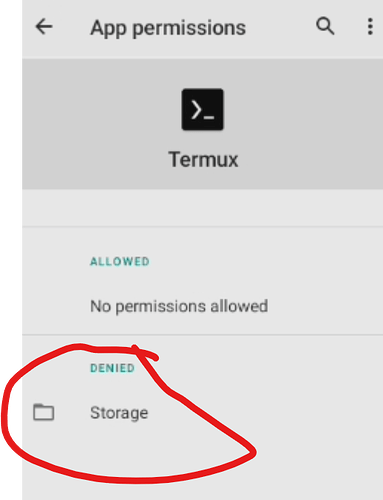
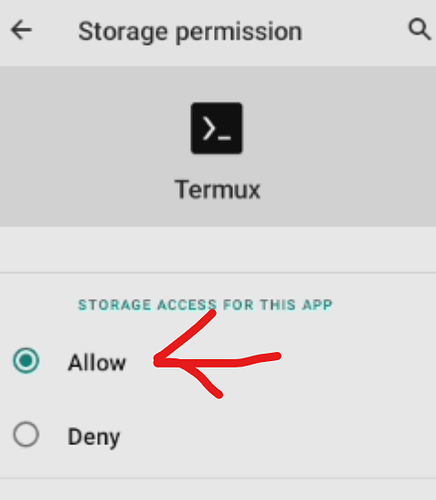
Enable storage .
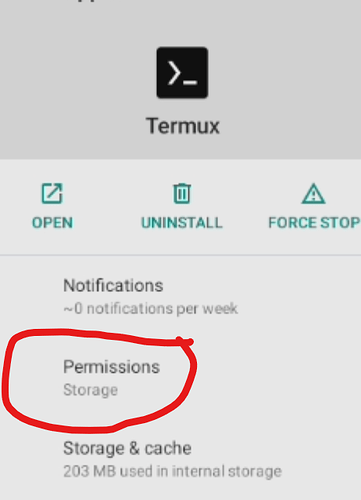
Permissions should now show Storage
termux-setup-storage
There should be a storage folder off of the home directory.

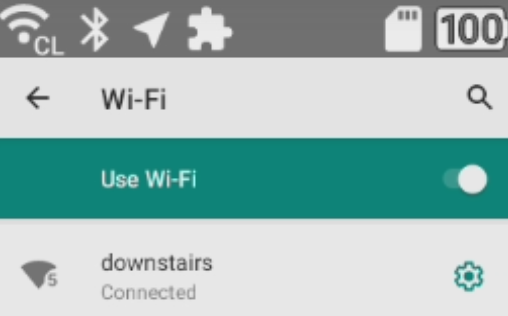
Enable Wifi
From laptop
adb shell settings put global usb_debug true
from camera
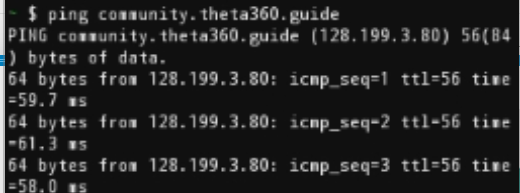
test network. ping to community.theta360.guide
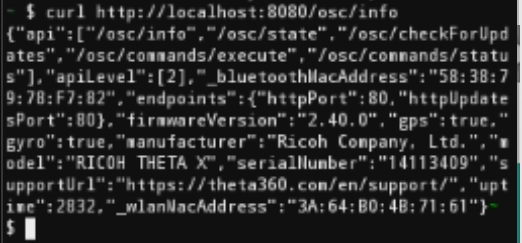
Testing internal web server
Using curl to web server running inside THETA X.
enable ssh access
apt install openssh
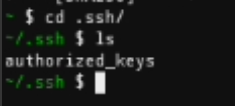
cd into .ssh
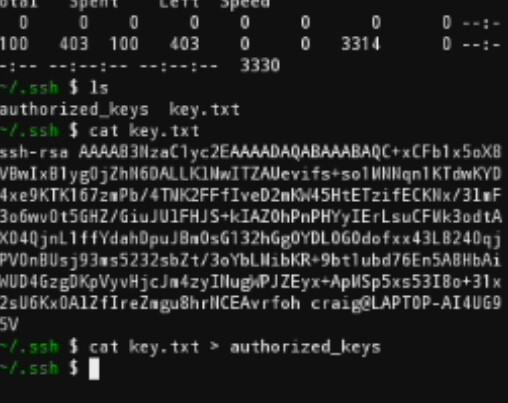
I had some problems with copy and paste. I ended up putting the public key from my laptop up on a web server, then used curl from the THETA X to copy it to THETA X local storage. From there, I added it to the authorized_keys file.
startup sshd automatically

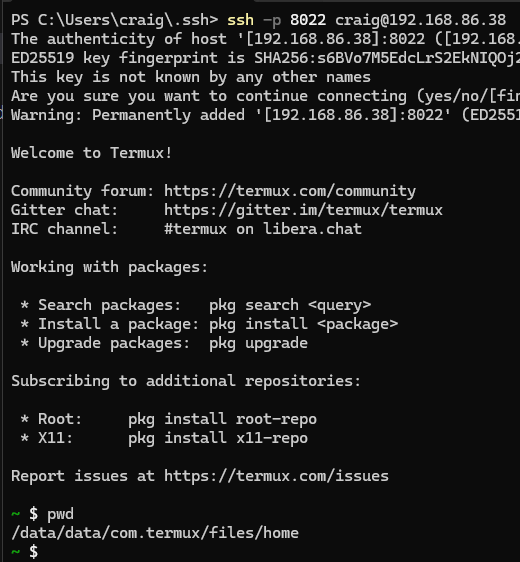
login successful from Windows laptop into THETA X. Make sure to use port 8022.
testing broadcast
shutter sound
am broadcast -a com.theta360.plugin.ACTION_AUDIO_SHUTTER
close internal camera
am broadcast -a com.theta360.plugin.ACTION_PLUGIN_WEBAPI_CAMERA_OPEN
Broadcasting: Intent { act=com.theta360.plugin.ACTION_PLUGIN_WEBAPI_CAMERA_OPEN }
Broadcast completed: result=0
testing webapi commands
state
curl -X POST http://127.0.0.1:8080/osc/state
result
{"fingerprint":"FIG_0188","state":{"_apiVersion":2,"_batteryInsert":true,"batteryLevel":1.0,"_batteryState":"charged","_batteryTemp":25,"_boardTemp":33,"_cameraError":[],"_captureStatus":"idle","_capturedPictures":0,"_currentMicrophone":"Internal","_currentStorage":"SD","_externalGpsInfo":{"gpsInfo":{"_altitude":221.29998779296875,"_dateTimeZone":"2024:03:08 18:24:39+00:00","_datum":"WGS84","lat":21.392418,"lng":-157.9102066}},"_function":"normal","_internalGpsInfo":{"gpsInfo":{"_altitude":206.0,"_dateTimeZone":"2024:03:21 15:09:57-10:00","_datum":"WGS84","lat":21.389802333333332,"lng":-157.9070115}},"_latestFileUrl":"","_mySettingChanged":false,"_pluginRunning":true,"_pluginWebServer":false,"_recordableTime":5067,"_recordedTime":0,"_storageID":"0353445343363447807b5db8bd017400","storageUri":"http://192.168.86.39/files/"}}
referring to the API documentation
GitHub - ricohapi/theta-api-specs: THETA API Specifications
take picture
Make sure the internal camera is closed.
am broadcast -a com.theta360.plugin.ACTION_PLUGIN_WEBAPI_CAMERA_OPEN
Broadcasting: Intent { act=com.theta360.plugin.ACTION_PLUGIN_WEBAPI_CAMERA_OPEN }
Broadcast completed: result=0
You only have to close the camera once per session.
curl -d '{ "name": "camera.takePicture" }' -H "Content-Type: application/json" -X POST http://127.0.0.1:8080/osc/commands/execute
result
{"id":"10","progress":{"completion":0},"name":"camera.takePicture","state":"inProgress"}
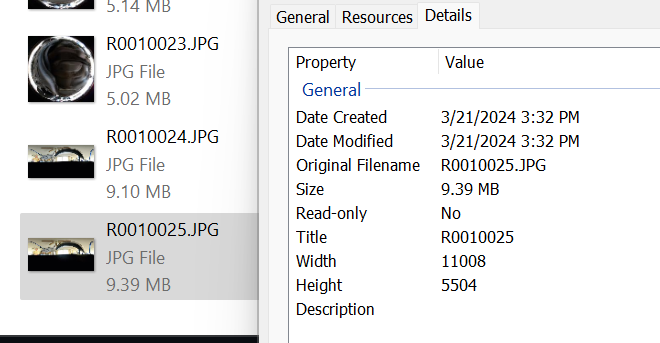
verifying shots are taken and saved to camera storage.
