This is based on a video available here.
Equipment in this test:
- Ubuntu 20.04
- Intel i7-6800K (also tested on Intel Pentium G3258 and other CPUs)
- NVIDIA GeForce GTX 950 (also tested with GTX 650)
- Tested with both NVIDIA driver 450.80 and X.Org driver. See site for more info on differences
- libuvc-theta
- libuvc-theta-sample
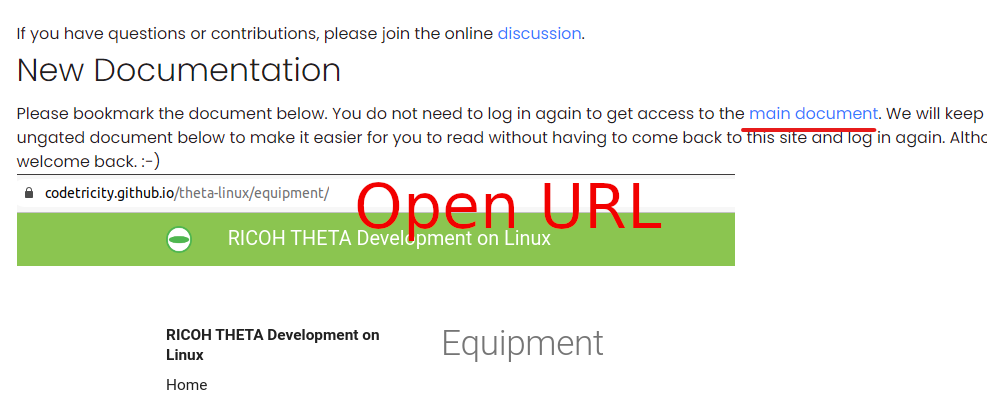
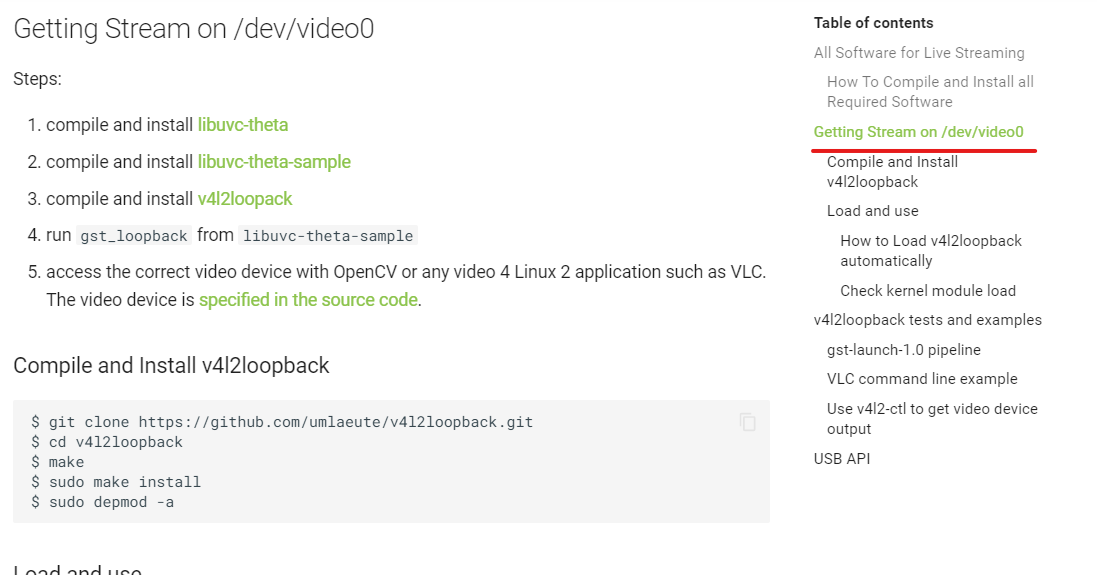
Note: see site for detailed instructions on using /dev/video0 or equivalent.
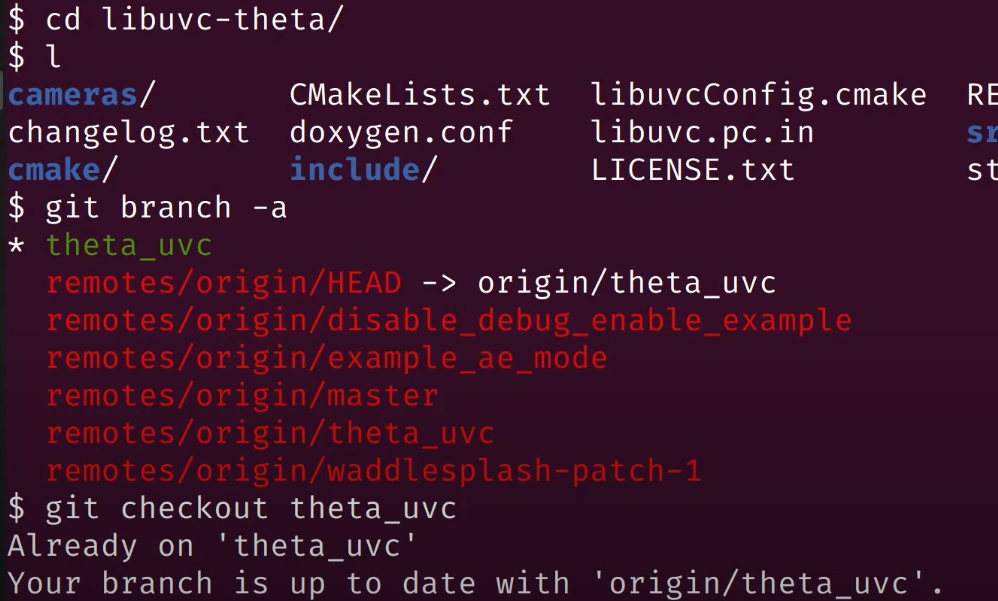
clone libuvc-theta
The master branch is now merged with theta_uvc and you should be able to compile and run the sample code from the master branch as well as the theta_uvc branch.
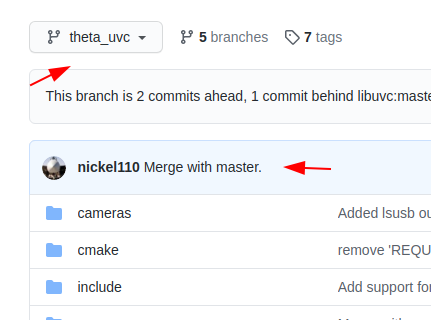

You probably no longer need this step as the master branch should be the same as theta_uvc, but just in case you have problems.
build libuvc-theta
$ mkdir build
$ cd build
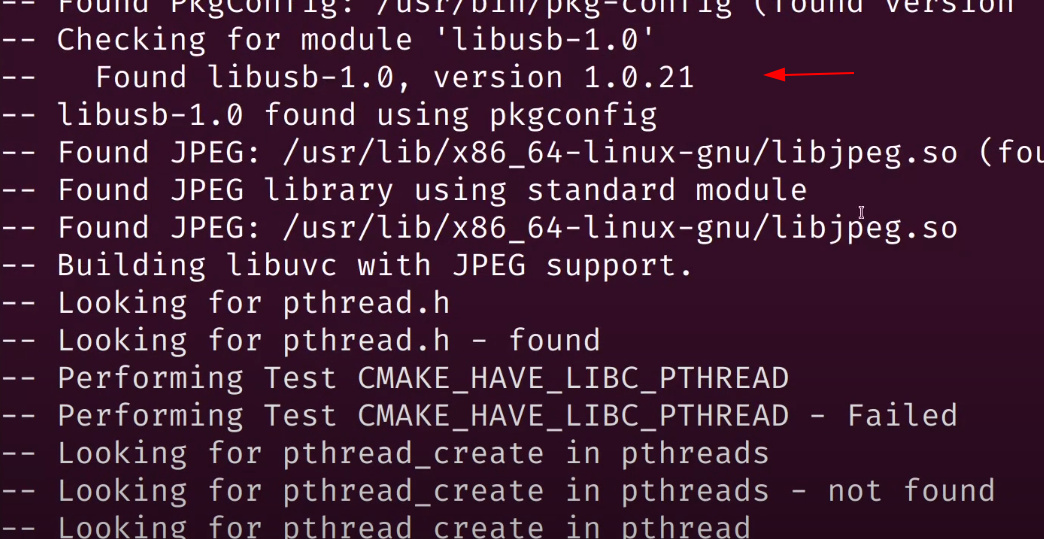
$ cmake ..
Check to make sure you have libusb-1.0 and JPEG support.
If packages are missing, search for the package name with Google and then install with apt. For example:
$ sudo apt install libusb-dev
$ sudo apt install libjpeg-dev
install libuvc
This section refers to the modified libuvc that you built above.
$ sudo make install
Run ldconfig.
$ sudo ldconfig
Hopefully, you’re good and your system picked up the libs in /usr/local/lib.
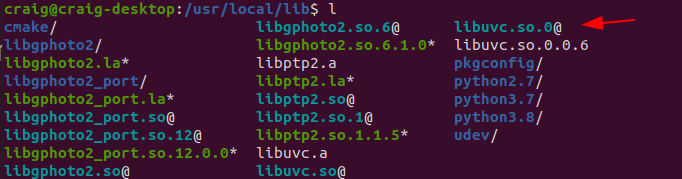
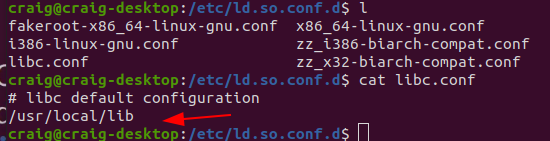
On most systems, /etc/ld.so.conf.d/libc.conf already has /usr/local/lib
In the screenshot below, the library path was already on my system.
clone libuvc-theta-sample
$ git clone https://github.com/ricohapi/libuvc-theta-sample
build libuvc-theta-sample
$ cd libuvc-theta-sample/
$ l
gst/  LICENSE.txt  README.md
$ cd gst/
$ make
$ ls
gst_loopback  gst_viewer.c  Makefile    thetauvc.h
gst_viewer    gst_viewer.o  thetauvc.c  thetauvc.o
Test the sample application
- Plug RICOH THETA V or Z1 into your computer’s USB port
- Turn camera on, put into “LIVE” mode by pressing the physical mode button the side of the camera button. The OLED or LED on the camera needs to say “LIVE”.
For the THETA V, you will see an LED like this:

The OLED on the Z1 will look like the left part of this:
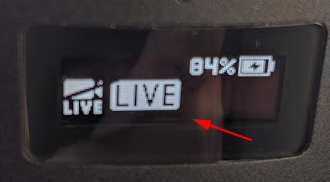
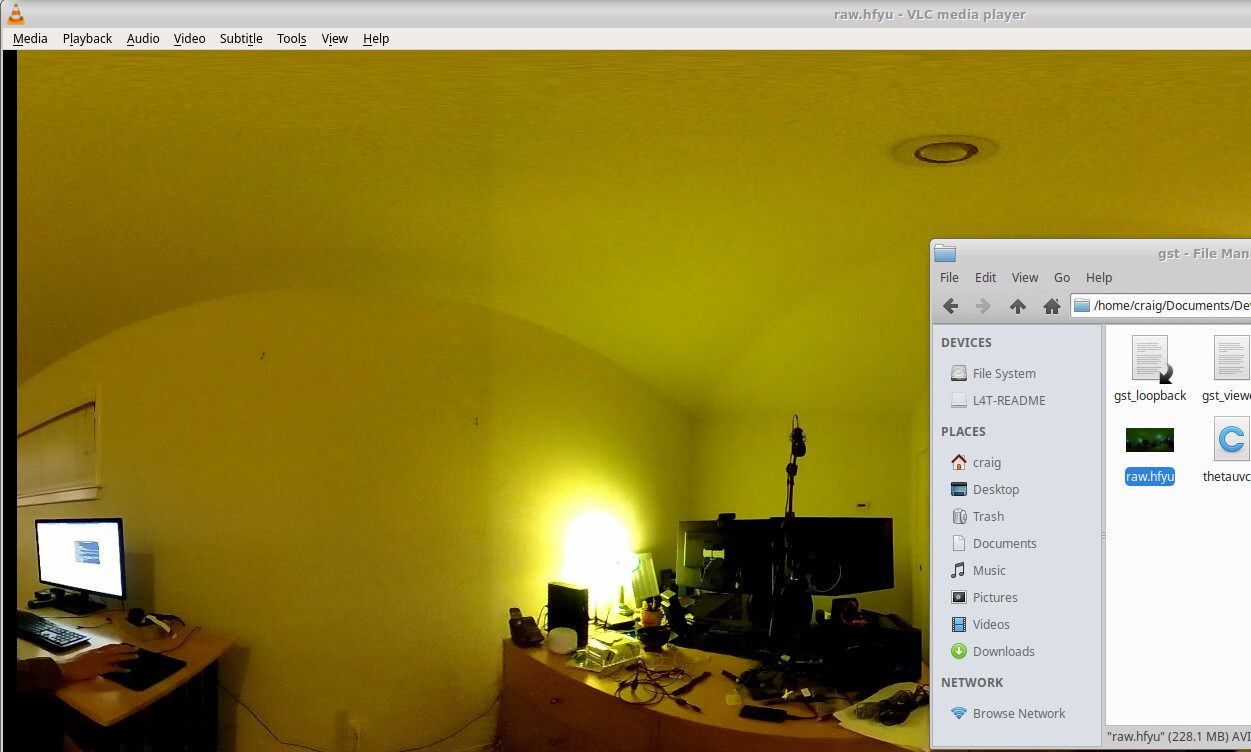
$ ./gst_viewer

Test Clip with NVIDIA Driver

Test Clip with X.Org and VLC
This clip is using v4l2loopback on /dev/video1. See site for more details. It will give you a feel for the latency as I found a better online stopwatch. ![]() I think the NVIDIA driver has lower latency.
I think the NVIDIA driver has lower latency.