The THETA V plug-in application development process is the same as the development process for an Android phone. Setting up the development environment on a Mac is very similar to using either Windows or Linux, with a few small differences.
If you are interested in developing for the THETA V, please contact us for more information on how to unlock your THETA V and how to get developer documentation.
This article is a quick taste of Android development on a Mac. I used both a MacBook Air, 11-inch, Early 2015, OS X El Capitan, Version 10.11.6, and an iMac, 27-inch, Mid 2010, macOS High Sierra, Version 10.13.4.
[UPDATED Apr 30, 2018, with easier and more accurate information on installing adb. It comes with Android Studio. My original posted added separately - a second, unnecessary time.]
Main Steps
Step 1: Get a RICOH THETA V and update to the latest version of firmware - Currently at 2.11.1
Step 2: Enable developer mode for your THETA V - This currently requires you to contact theta360.guide to find out how
Step 3: Install Android™ Studio - It will automatically detect your system and offer the Mac version

Step 4: Connect RICOH THETA V with USB
Step 5: Run adb devices -l in a terminal window
If this does not instantly work, you need to find the Android SDK on you Mac and add it to your PATH.
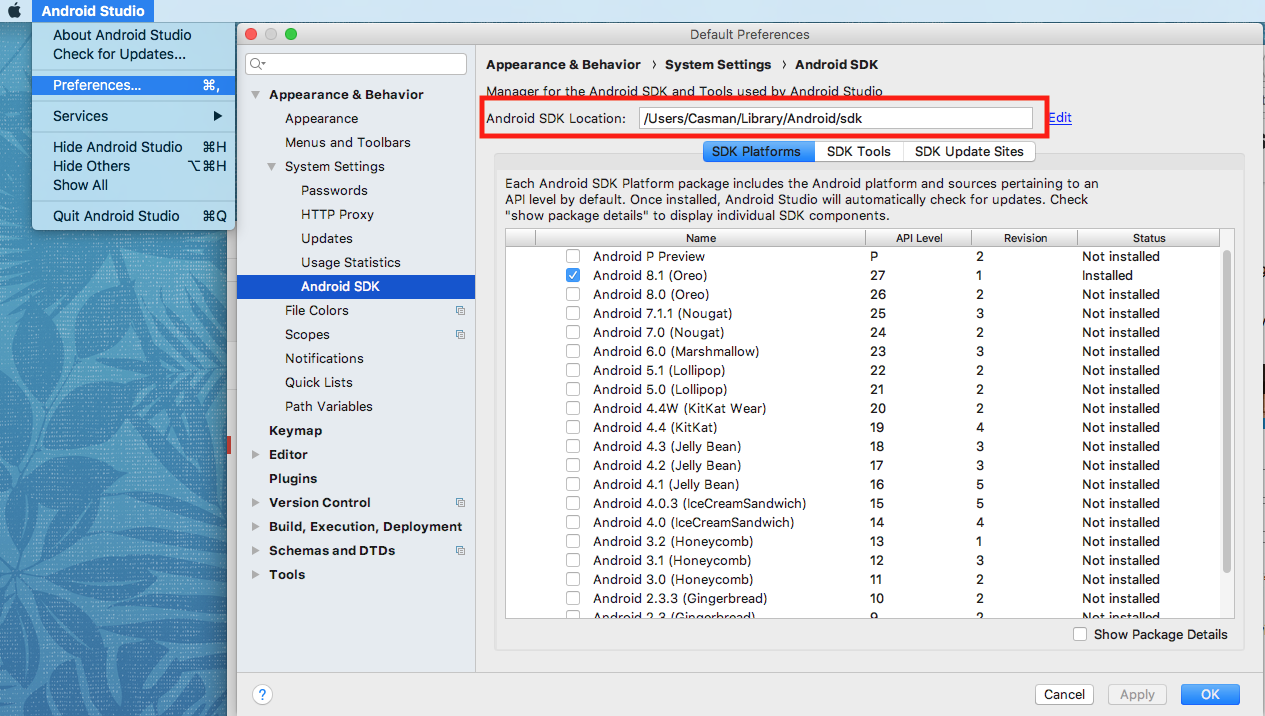
In Android Studio, under Preferences, go to Appearance & Behavior and System Settings and look at Android SDK. It will show Android SDK Location.
If that doesn’t work or you prefer the command line, here’s a good summary on Stack Overflow here.
Now you’re ready!
Import Ricoh Sample Plugin
You will get the first remote control Plug-in example directly from RICOH as a .zip file (142 KB). The pluginsample.zip file requires you to enter a password which will be supplied.
Import Project from File → New → Import Project
Your security setup on the Mac will (probably) ask “Allow incoming Java connections?” Click on YES
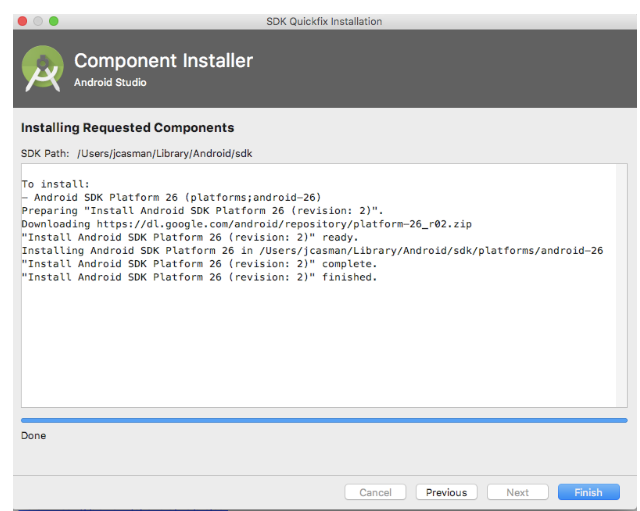
You may need to update your Android SDK Platform-tools. The latest version is Android SDK Platform 26. Click on the link in Android Studio to do the update.

You’ll see the Component Installer window.
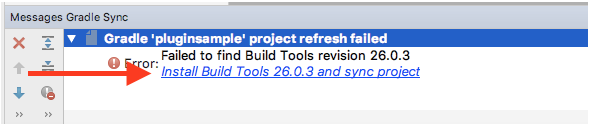
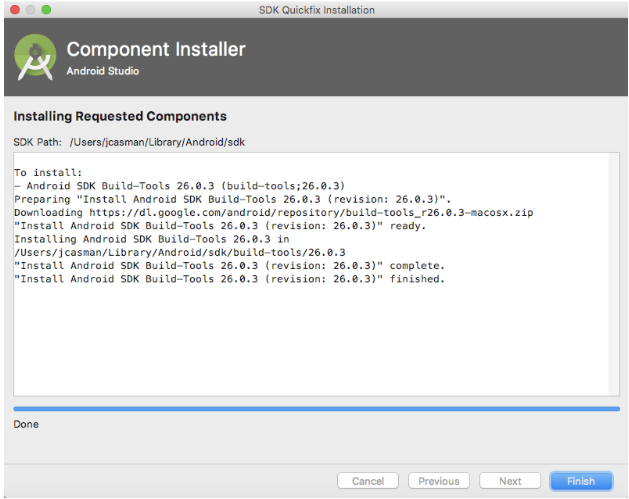
Then install your Build Tools. You’ll be installing SDK Build-Tools 26.0.3. Click on the link to do the update.
You’ll see the Component Installer window again.
Android Gradle Plugin Update is recommended.
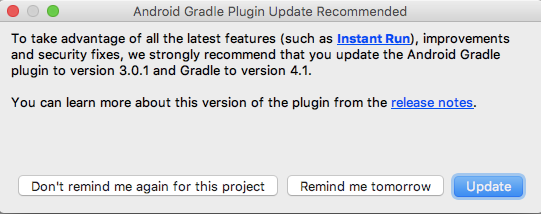
Click Update.
![]()
Next, you’ll need Android Debug Bridge (adb) to move the plug-in over to your unlocked THETA V. adb is a versatile command-line tool that lets you communicate with a device. adb facilitates a variety of device actions, such as installing and debugging apps, and it provides access to a Unix shell that you can use to run a variety of commands on a device. Pretty handy.
Setting up adb on Mac OS X
Stack Overflow shows three different ways to set up adb on your Mac (Using Homebrew, Manually, and If you already have Android Studio installed). I chose probably the easiest one, Using Homebrew. It provides automatic updates.
Install homebrew
ruby -e "$(curl -fsSL https://raw.githubusercontent.com/Homebrew/install/master/install)"
- Install adb
brew cask install android-platform-tools
- Start using adb
adb devices
Or, to get more verbose information, use
adb devices -l
You’re up and running. Now you can start working with the plug-in that has been successfully installed on your unlocked THETA V.
Here’s me surprised that you can run the sample plugin (removed control) directly with your Mac and the Android emulator program Vysor.

If you’re interested in the plug-in technology and getting access to the closed beta SDK, let us know!