Thank you for the feedback. @jcasman will pass on this information. It’s a good idea. I think the developers are just worried about different combinations of microphone and transmitter not working.
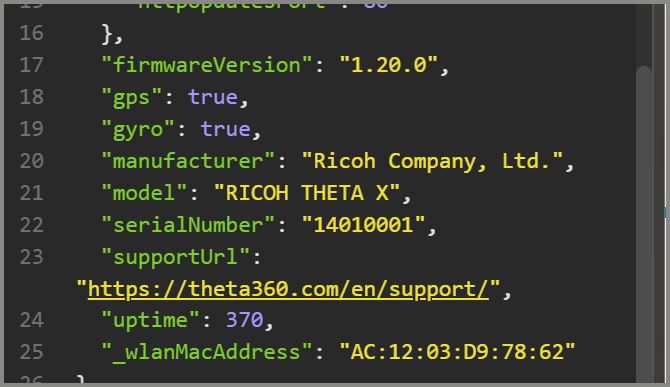
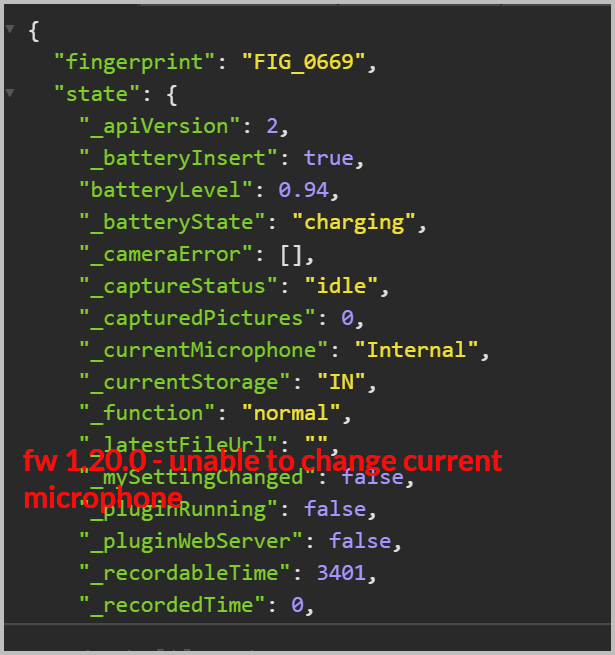
Test with 1.20.0
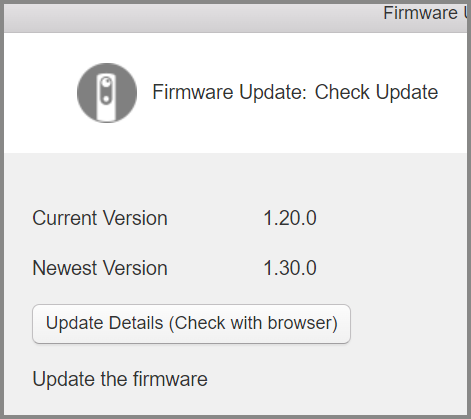
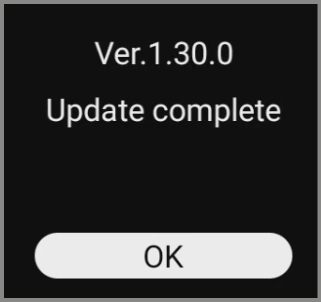
Upgrade to fw 1.30.0
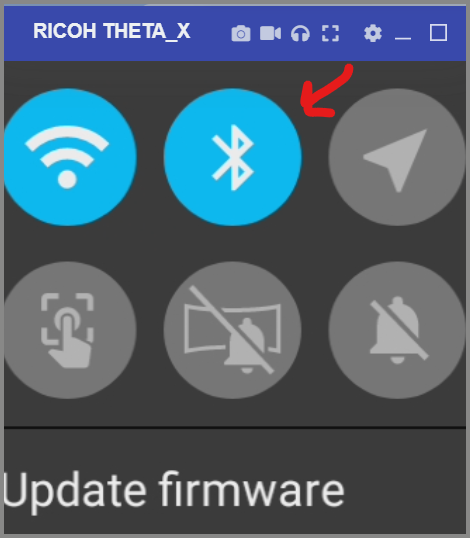
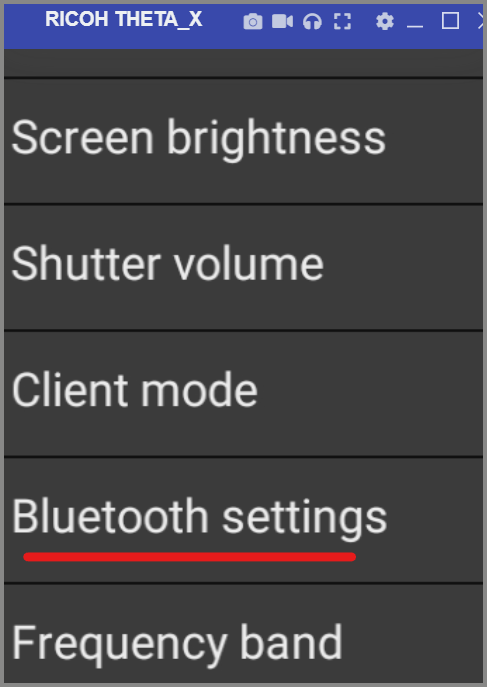
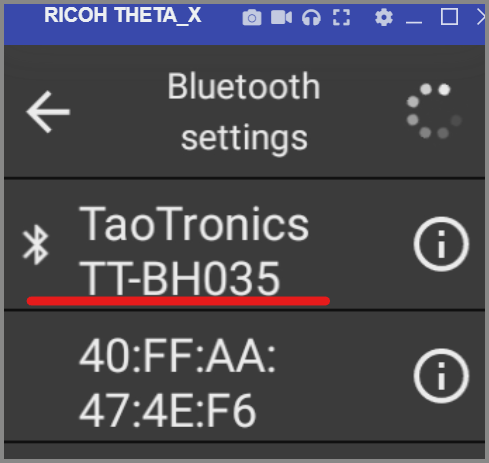
Pairing
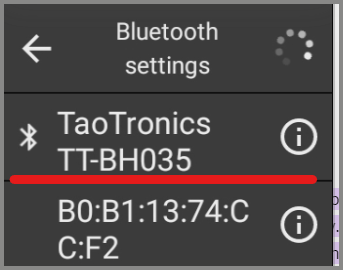
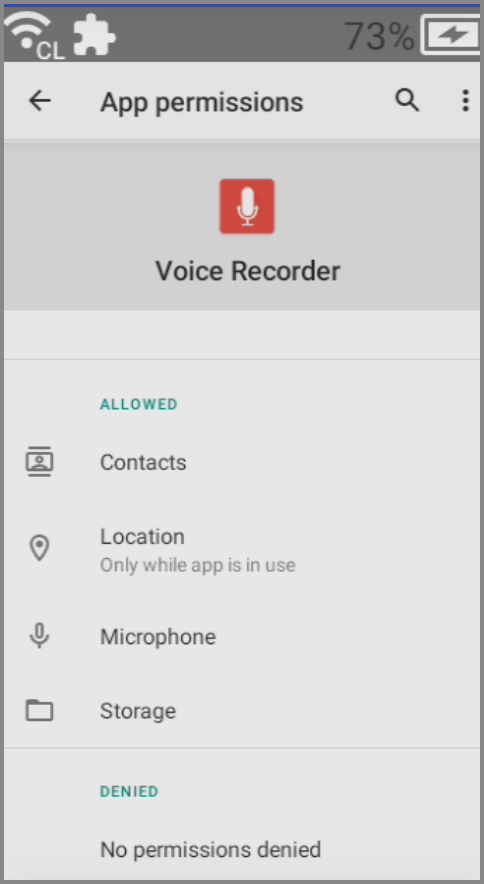
microphone still internal
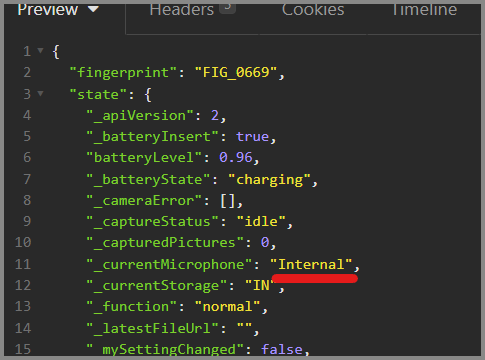
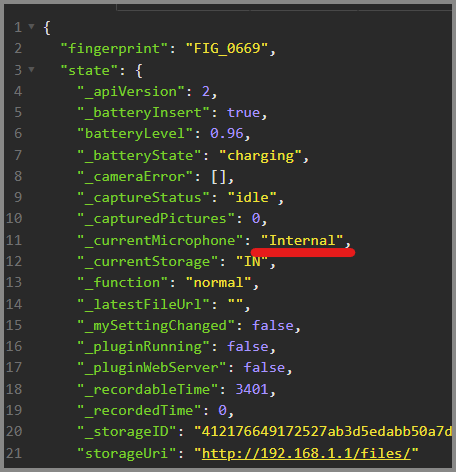
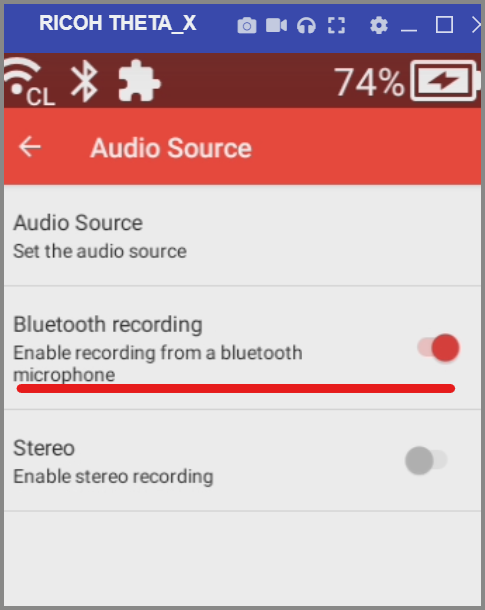
Option to set microphone to External works.
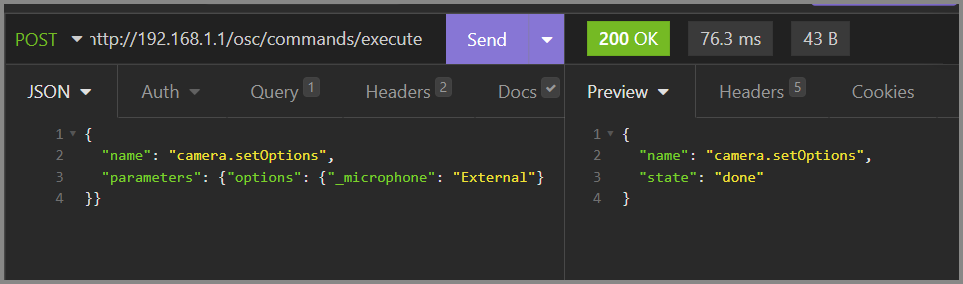
Unfortunately, still shows internal
Thanks, interesting. Best we hear status direct from Ricoh rather than probe around blind.
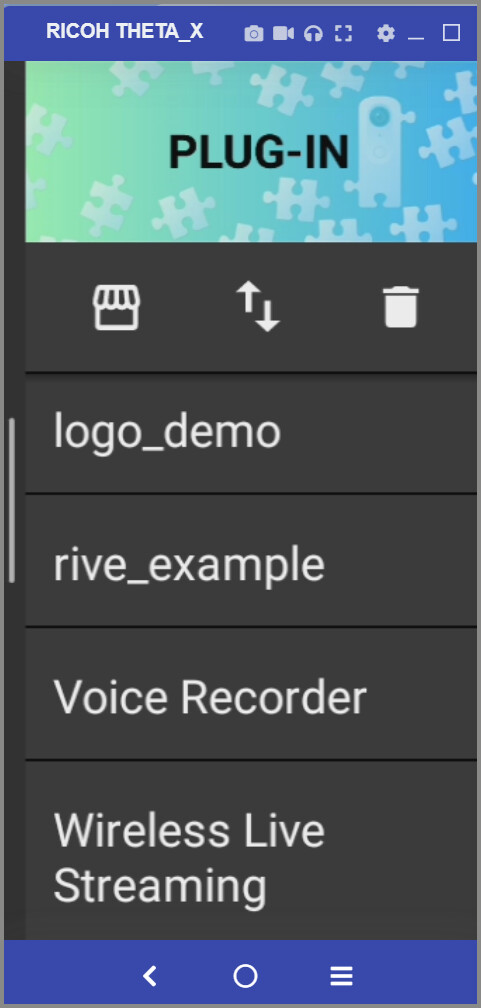
I’m going to test the microphone from a plug-in as my next test. It may work from a plug-in like voice recorder.
I’m on the west coast US, so it’s still around 6:30am here. I have the THETA X in my office.
8:30am PT
With X connected by USB cable.
adb install .\Voice_Recorder_v3.3.0.apk
Performing Streamed Install
Success

adb shell am start -a android.settings.SETTINGS
Starting: Intent { act=android.settings.SETTINGS }

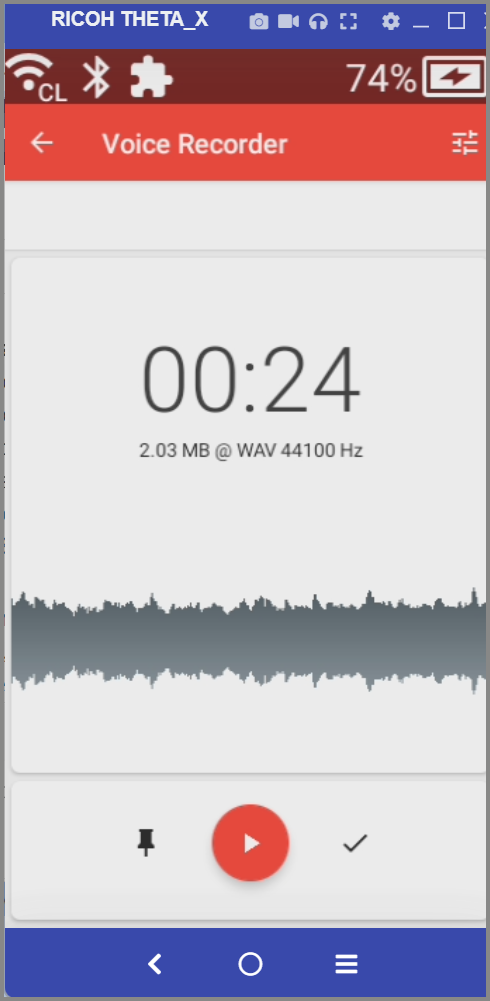
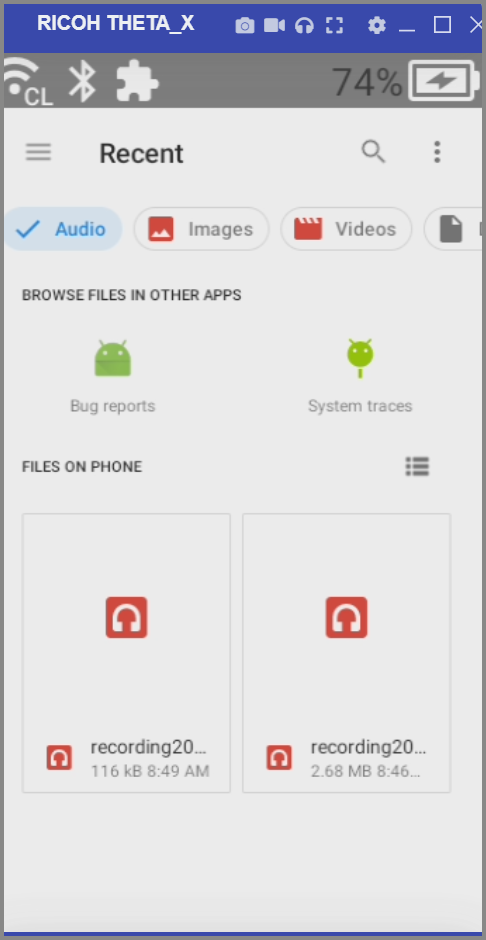
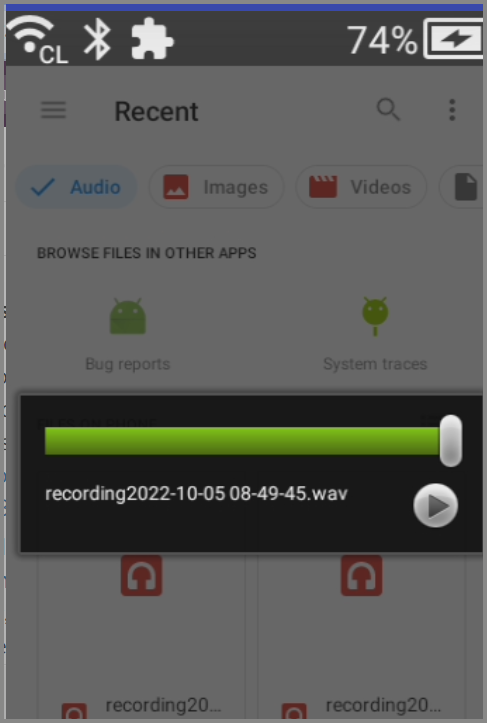

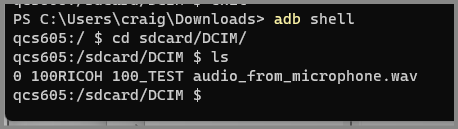
transfer file from camera to Windows computer for testing.

works
This video has more information on my test. The key is to use the Camera API. I am not that experienced with plug-in development myself, but I received a tip that AudioManager has the native Camera API support.

I am adding information here, though I believe @craig, @gthomas and others have already provided good information about using a bluetooth microphone with THETA X.
This information is from an article on the Qiita blog site in Japan published in Aug/Sept 2023. It is posted by a RICOH engineer. I have used Google Translate and my own Japanese language abilities to post an English version here.
Original article: THETA XでBluetooth機器のマイクを利用する。 (in Japanese)
Source code here.
Using a Bluetooth Microphone with THETA X
Introduction
This is Ricoh’s @KA-2.
We have cameras called RICOH THETA that can take 360-degree shots of your surroundings.
RICOH THETA V, RICOH THETA Z1, and RICOH THETA X use Android as their operating system. You can customize THETAs just like creating an Android app, and this customization feature is called a “plug-in” (see the end of this article for details).
RICOH THETA X bluetooth information comes from this previous article.
You can connect microphones and speakers that support A2DP, AVRCP, and HSP profiles. Compared to past THETA models, the improvement is that X also supports a microphone. However, you cannot use the microphone unless you create a plug-in that uses the microphone.
However, you can use the microphone of a Bluetooth device with A2DP, AVRCP, or HSP profiles (many Bluetooth earphones and speakers also have a built-in microphone).
I will introduce this method here.
Overview of the sample created this time
Speaking of microphone usage, this article (“Recording using a microphone with THETA plug-in #thetaplugin [with additional notes]”) uses the internal microphone of THETA V and Z1. Examples of recording (saving a file)'' and playing back’’ come to mind.
However, in the above example, the file saving is left to MediaRecorder, so it has the advantage of making it easy to write file saving code, and it also has the advantage of being able to sample the sound data yourself, perform FFT processing on that data, and perform voice recognition, etc. However, it is not suitable if you want to transfer it to other libraries.
Therefore, this time, I tried making a sample that
- Performs procedures to use Bluetooth microphone
- Samples audio data yourself using AudioRecord
- Sends sampled sound data immediately to speaker output
I would appreciate it if you could expand the variety of ways to handle sound data, not just “handling Bluetooth microphones.”
Don’t worry, if you transfer the “Procedure for using a Bluetooth microphone” section to the above article, it will also serve as a sample of recording and playback using a Bluetooth device’s microphone. If you understand this article, you should be able to do the task on your own.
Also, although this is a sample of THETA X with a screen, no screen was created in this sample.
This is a sample that allows you to check the operation with just button operations.
Source code
See the complete project here.
File Organization
I am working based on THETA Plug-in SDK. Currently, the version has been updated since this sample was created, so you should base your work on the newest SDK version.
The newly created or modified files are as follows:
theta-plugin-x-bt-mic-sample\app
└src\main
 ├assets        // stays as the base of the project
 └java\com\theta360
   └pluginapplication // the following two files are sample code
     |        // added BluetoothUtil.java (essential class for using BT microphone)
     |        // modified MainActivity.java (sample code body)
     |
     ├model      // unused: stays as part of the base project
     ├network     // unused: stays as part of the base project
     └task      // unused: stays as part of the base project
Define Permissions
In AndroidManifest.xml
<uses-permission android:name="android.permission.INTERNET" />
<uses-permission android:name="android.permission.ACCESS_NETWORK_STATE" />
<uses-permission android:name="android.permission.MODIFY_AUDIO_SETTINGS" />
<uses-permission android:name="android.permission.RECORD_AUDIO" />
The top two lines are the originally set permissions. I added the two bottom lines to handle audio.
Connecting with a Bluetooth Microphone (creating BluetoothUtil.java)
The microphone of a Bluetooth device cannot be used just after pairing and connection is completed.
When you start using it, you need to execute AudioManager#startBluetoothSco()
And when you finish using it, you need to execute AudioManager#stopBluetoothSco()
These things are described in this documentation from Google.
You need to monitor intents, especially after running startBluetoothSco(), as it can take several seconds for the audio device to become enabled.
Also, even if the connection fails once, the connection will not be given up, and the creator can request a retry at their convenience.
In this sample, we will process the microphone usage of such Bluetooth devices.
I summarized it in a class called BluetoothUtil. In most cases, you do not need to write this part of the code yourself, and you can use this class.
In addition, in this example, it was created to retry up to 5 times with a waiting time of about 500ms in between.
- If connection is not possible after 5 attempts → onError()
- If you can connect within up to 5 tries → onSuccess()
You can receive the result of the connection via the interface method. This interface is used by implements it in MainActivity, so please refer to the following explanation.
Implements BluetoothUtil.IBluetoothConnectListener in MainActivity (PluginActivity)
implements the mentioned interface in MainActivity.
In MainActivity.java
public class MainActivity extends PluginActivity implements BluetoothUtil.IBluetoothConnectListener {
In Android Studio, I think the entire line will have a red wavy line. After that, when you select a row, a hint will appear on the left side and you will be able to select “Implements method.” Click to add the skeleton of the method you need to write to the end of the file.
The following two methods are added.
In MainActivity.java
@Override
public void onError(String error) {

}

@Override
public void onSuccess() {

}
Both methods are called after the procedure to enable the Bluetooth device’s microphone.
As mentioned above, onError() is when the procedure fails, and onSuccess() is when the procedure is successful.
In this sample, the sampling process starts whether onError() or onSuccess() is called. The difference in behavior is that in the former case, the main unit’s microphone is used, and in the latter case, the Bluetooth device’s microphone is used.
Start of the Sampling Process
A class called AudioRecord is used for sampling. It is summarized in a method called startRecord().
After creating an AudioRecord instance and starting sampling with the code below,
In MainActivity.java
    // making AudioRecord
    audioRec = new AudioRecord(
            MediaRecorder.AudioSource.MIC,
            SAMPLING_RATE,
            AudioFormat.CHANNEL_IN_MONO,
            AudioFormat.ENCODING_PCM_16BIT,
            bufSize * 2);

    audioRec.startRecording();
The following code in the thread’s while statement is used to sample.
In MainActivity.java
int numRead = audioRec.read(buf, 0, buf.length);
Strictly speaking, this is the process of reading data from the sampling buffer managed by the AudioRecord instance before it overflows. Therefore, if you want to perform processing such as applying FFT or voice recognition to the read data, we recommend that you copy the data to a processing buffer and then perform the calculation processing in another thread.
For reference, in this sample code, the data read from the buffer is immediately sent to the speakers, but there will be a delay of 1 to 2 seconds in the sound played. This delay is probably caused by the sampling buffer. (Since the sampling period cannot be maintained at the application level, we can expect the delay to be caused by the fact that AudioRecord maintains the sampling period and buffers the data.)
Stopping the Sampling Process
A method called stopRecord() is used to exit from the above-mentioned while statement.
After exiting the loop, execute the following in the thread.
In MainActivity.java
            audioRec.stop();
            audioRec.release();
This is freeing up resources.
Playing Sampled Sound Data
We use a class called audioTrack provided by Google.
Prepare for playback using the code below in onCreate.
In MainActivity.java
    audioTrack = new AudioTrack(AudioManager.STREAM_VOICE_CALL, SAMPLING_RATE,
            AudioFormat.CHANNEL_OUT_MONO,
            AudioFormat.ENCODING_PCM_16BIT, bufSize, AudioTrack.MODE_STREAM);
    audioTrack.play();
The following code in the loop that acquires sound data is used to send data to the speaker.
                if (numRead > 0) {
                    audioTrack.write(buf, 0, numRead);
                }
The resource is released using the code below in onPause().
    audioTrack.stop();
    audioTrack.release();
Other Points to Note
This sample does not assume that you will be using the main unit’s speakers, so you will not be able to hear the playback sound unless a Bluetooth device is connected. (Due to the characteristics of the built-in speaker, this cannot be helped.)
The steps to check operation are: Start THETA X,'' Connect the Bluetooth device using the normal procedure,‘’ and ``Start and operate the sample plug-in (start/stop sampling by pressing the shutter button).‘’ Please connect your Bluetooth device before running the plug-in.
We recommend that you reduce the speaker volume to a certain level after connecting the Bluetooth device and before starting the plug-in.
If it is difficult to determine whether the device’s microphone is being used or the Bluetooth device’s microphone. It is a good idea to lightly tap each casing with your fingernail. If the housing in which the microphone is used is used as a condenser, the sound will be loud.
Conclusion
With THETA X, you can use the microphone of a Bluetooth device that supports A2DP, AVRCP, and HSP profiles. Additionally, AudioRecord expands the range of uses for sampled data. In addition to applying FFT and performing voice recognition as described in the article, you can also stream audio data in live streaming along with the video. (The AudioRecord part can also be applied when using the main body microphone with THETA V or THETA Z1.)
I would be happy if there were more ways to use not only THETA’s images, but also external and built-in microphones. Please try creating various THETA plug-ins!
About RICOH THETA plug-in partner program
If you are not familiar with THETA plug-in, please click here.
Information on how to register for the partner program can also be found here.
Qiita’s RICOH THETA plug-in developer community TOP page “About” also has a collection of useful article links.
If you are interested, please follow us on Twitter and join the THETA plug-in developer community (Slack).
Thanks for posting this. I hadn’t seen the article before and hadn’t seen the GitHub repository with the example for the X.
I’ve been trying to use plug-ins more with the X because there is a nice LCD screen. I don’t know Kotlin or Java that well, so I’ve been using the webAPI inside of the X. I’ve been having problems with the webAPI in the X on programs that work with the V and Z1. I think the X is handling the webAPI requests and responses slightly differently.
On that GitHub account, there are two additional projects for the X that are fairly new.
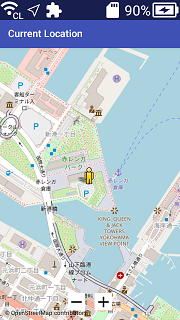
The current location plugin uses this project:
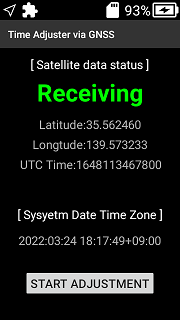
The time adjuster also uses the GPS capability of the X.
To move forward with plugin development, maybe I will need to learn Kotlin.