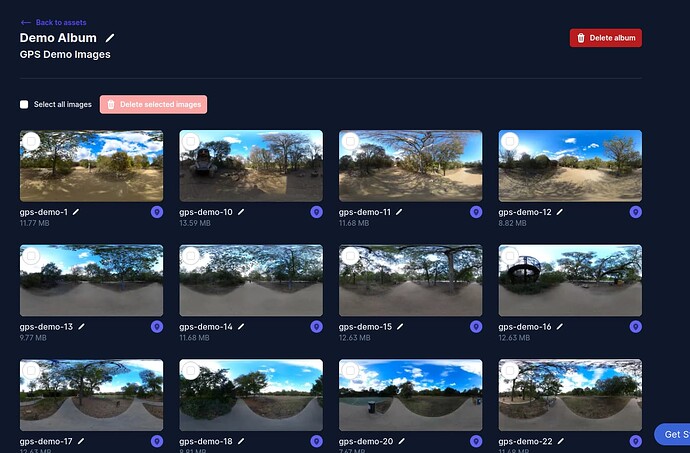
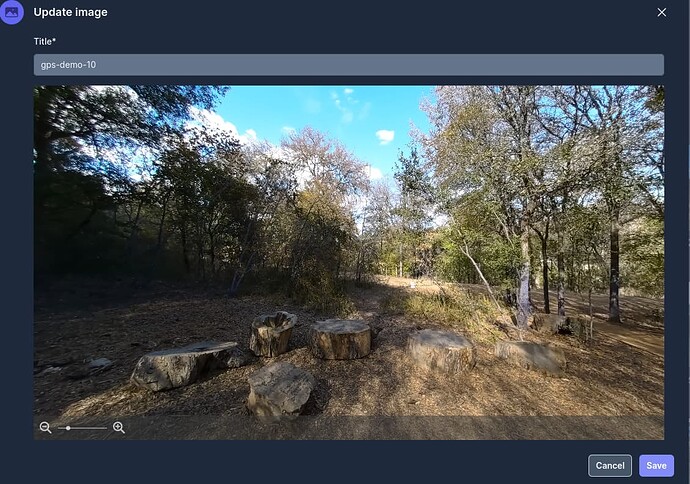
Creating immersive and interactive experiences on the web or mobile has never been more important, especially with the growing demand for virtual tours, real estate showcases, Car Showrooms, and any form of 360° media exploration. But where do you start if you want to integrate these experiences into your JavaScript-based project? Thankfully, there are powerful, free tools that allow you to easily view these 360° visuals and then give users the ability to explore them from every angle without being squashed and maintaining their originality in terms of aspect ratios and so on.
In this guide, we’ll introduce a few of these free 360° image viewers that work seamlessly with JavaScript, whether you’re developing for the web or mobile. Each Viewer comes with a unique set of features that make them a perfect solution for your next project.
Here are the 5 chosen 360° Image Viewers for this article:
Without further ado, let’s get right into it.
Pannellum
Pannellum is an open-source, web-based panorama viewer that allows you to embed 360° images directly in your web projects. It’s entirely client-side and uses HTML5, CSS3, and WebGL to render smooth and interactive panoramic visuals without the need for external plugins. Pannellum provides a powerful yet simple solution.
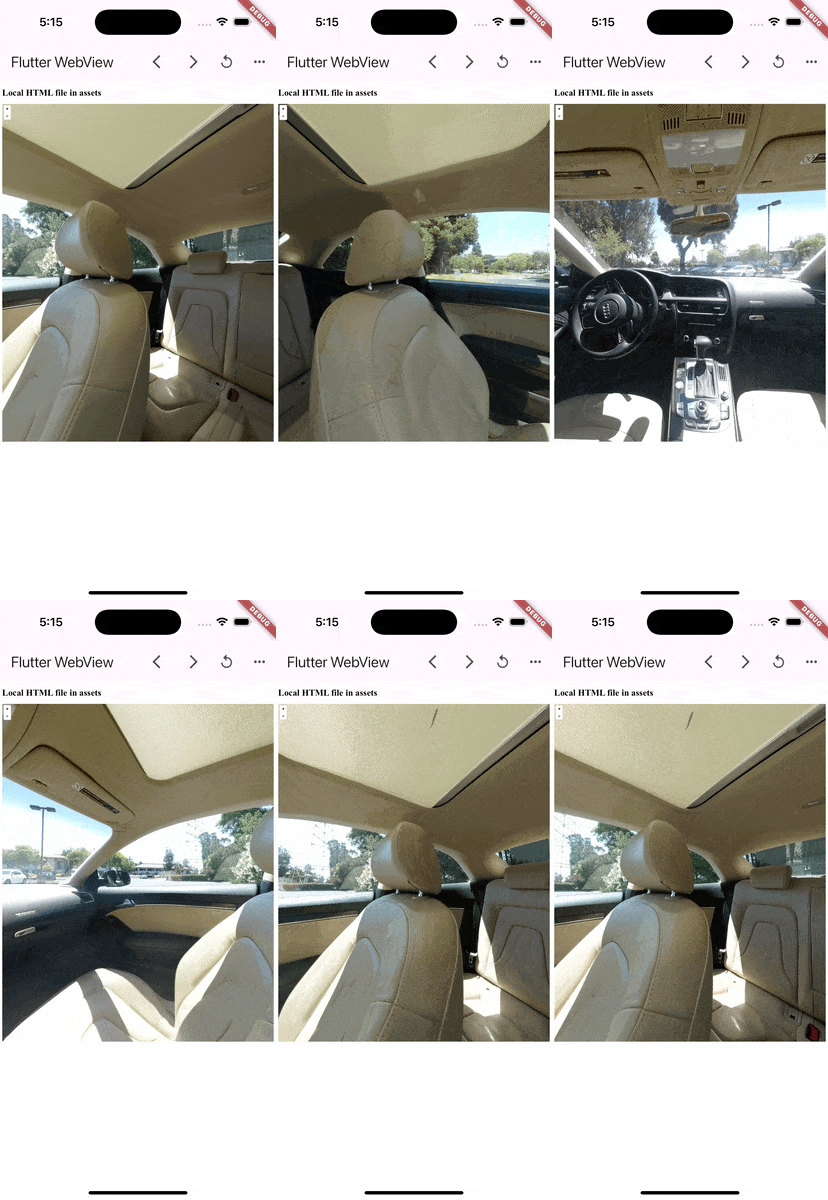
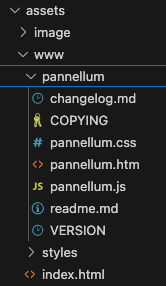
Ease of Integration: Pannellum is a very easy tool to integrate into your build. You can use any of the methods: API, or the Cdn approach. For faster integration, I’d recommend using the cdn approach as that helps you to easily integrate the tool via two cdn links: one for CSS in your head tag inside your main html file and the other is the script link. Note, that Pannellum is web-based and not fully supported for mobile usage but guess what, there is a way forward. When trying to integrate into a mobile build you can simply make use of a webView. This serves more like a container that helps you to have a native web experience on mobile.
Performance: From the description of this tool on the official github repo page, you’d see the keyword “lightweight” and after an implementation, I agree to that. The tool loads up very fast even when it is loading up a large 360° image. Performance is a reason why this tool stands out. Also, user interactions like zooming and panning are highly responsive and smooth. Thanks to WebGL, images maintain high quality, even during rapid movements or zoom.
Customization: A good tool should give its users the ability to customise it in a way that suits their preferences. Three categories of customization that I found interesting are UI (tweaking the UI via the Viewer’s parameters), Annotations (adding text-based annotations or labels), and Environment Behaviour (you can set the default view, limit the field of view, or restrict panning angles).
Features: Pannellum offers a wide range of features which makes it an ideal option for viewing 360° images. For the purpose of this guide I’d mention a few important ones. They are:
- Hotspots: With this, you can add clickable points inside the panorama for navigation or information.
- Zoom Functionality: Users can zoom in and out of the panorama with smooth transitions.
- Gyroscope Support: On mobile devices, Pannellum supports gyroscope controls, making it easier for users to navigate panoramas with device movement.
- Auto Rotation: Automatically rotate panoramas by passing in numerical values to the
autoRotatemethod..
VR Capabilities: Though not a full-fledged VR tool, Pannellum supports basic VR viewing via WebVR, adding immersive capabilities.
Browser Compatibility: Pannellum is fully supported by all the major modern web browsers including Firefox 23+, Chrome 24+, Safari 8+, Internet Explorer 11+, and Edge.
License: Pannellum is distributed under the MIT License, which means it’s free for personal and commercial projects. Here is the link to the license.
Note, that the documentation for Pannellum is an informative yet minimalistic doc that guides users on all that they need to do using Pannellum from basic to advanced usage. Akin to that is the vibrant community that embodies the tool plus it’s open-source—developers can explore the source code and contribute to its improvement.
A-Frame
A-Frame is a powerful and versatile open-source framework for building 3D and Virtual Reality (VR) experiences on the web. A very powerful platform that helps users build and render 3D effects. Its focus on WebVR ensures that your projects will work across a wide range of platforms, from websites to full-fledged VR experiences, making it a top choice for VR and 3D development.
Cross-Platform Compatibility: A-Frame’s compatibility is one of its features that stood out for me. It works seamlessly with traditional browsers on desktops, mobile phones, and various VR headsets (such as Vive, Oculus Rift, Daydream, and GearVR). This wide range of compatibility adds the value of being able to reach users on any form of major device—meaning your build can be easily accessed by users of various gadget types.
Usage: This tool can be used to create engaging 3D, web VR/AR experiences which makes it suitable for educational purposes (creating educational contents that are very engaging and interactive aiding learners to grasp things faster), it can also be useful in the entertainment world (games, lifestyles, tours) and so on.
Ease of Use and Learning Curve: One of the great advantages of A-Frame is its ease of use. Developers familiar with HTML can start building 3D and VR experiences quickly, as A-Frame uses simple, declarative HTML syntax to define 3D objects and scenes. This reduces the learning curve compared to other 3D frameworks like Three.js, making it accessible to both beginners and seasoned developers alike.
Ease of Integration: A-Frame has very good and interactive documentation. To be sincere, it is very easy to set up and start using but when you decide to go deeper, it can be a bit steeper. Worry not, A-Frame has a roadmap and lots of resources ranging from good docs, blogs, newsletters, and a community of experts ready to help. In addition, A-Frame provides lots of options to test and integrate into your build but since I made use of React for my web build then I opted for the Node Package Manager (npm) option.
Customization and Interactivity: A-Frame provides extensive customization options. Developers can easily add interactive elements such as hotspots, animations, and camera movements. Combined with support for VR controllers, it allows for highly interactive, real-time 3D experiences. When testing it out, I added some 3D shapes over it using the a-entity method as a wrapper then used the specific pre-built component name for that shape. Just to add, A-Frame has a pre-built component which all you need to do is just grab it and integrate into your build if you need it. A-Frame is said to cut off too many hard-coded components by yourself which could affect the performance of your app and simply access these powerful experiences such as geometries, materials, lights, animations, models, raycasters, shadows, positional audio, tracked controllers by using their components.
Video Limitations on Mobile Browsers: A notable drawback is that video content does not work on mobile browsers, which could limit its functionality in certain mobile applications.
Browser Compatibility: Some advanced features may require the developer build of certain browsers, which could make testing and deployment more challenging, especially for developers targeting a broad user base.
License: It is MIT Licensed.
Photo Sphere Viewer
This is a free open-source JavaScript library to display 360° Panoramas. For this section, I’d just spot some key observations.
Documentation: Indeed Photo Sphere Viewer cracked the “docs-as-code” method of writing documentation. It is very easy to follow and user-friendly. In the docs, you get to see various demos and samples of both basic and advanced implementation.
UI Customization: Using this tool, you can easily customise things and do some tweaking to how some things are displayed like the appearance of the control bar, changing zoom settings, and configuring the starting orientation of the image. Also, I love a particular feature in the menu bar which is below (like a footer), which is the “download icon” which when clicked takes you to a new tab where you can view just the 360° image which can be needed.
Ease of Integration: Seamlessly install this package into your build using the “CDN” import method or the Package manager method via “npm” or “yarn” (this what what I used since I was using a web framework).
Performance: It loads pretty fast but there is a shimmering effect when panning or zooming. It also feels like it doesn’t respond quickly to movement from the cursor.
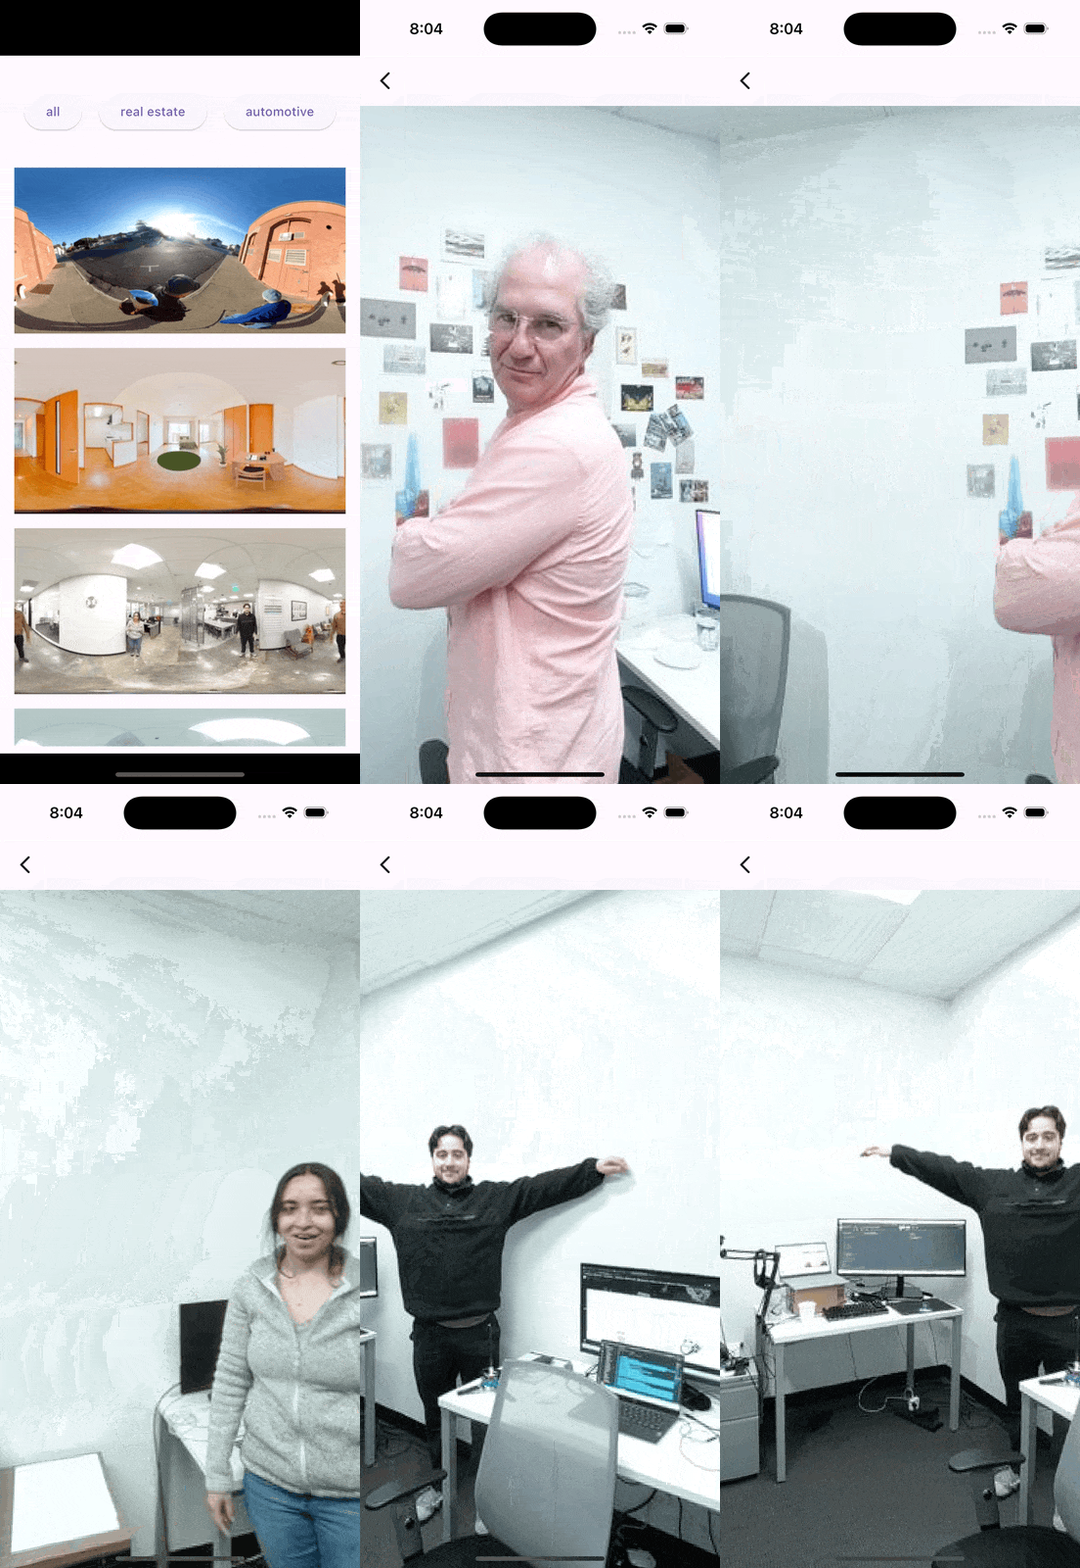
Usage: Photo Sphere Viewer is most appropriate for web pages that display 360° images with an external menu system, making it ideal for commercial sites like restaurants, real estate, or auto dealerships that showcase a series of images rather than fully immersive VR or virtual tours. It is well-suited for image galleries where users don’t need to interact inside the sphere but can explore the visuals through a menu or simple controls. For businesses looking to display 360° content without advanced VR/AR features, Photo Sphere Viewer offers a user-friendly, feature-rich solution.
Subject to Update: This tool is constantly updated and improved which can make it ideal and attractive for users as it tends to be better than it is at the moment. While checking through the docs, I found out that the last update was “February” this year which to me is quite recent for a package — you will often see packages that haven’t been updated in years.
License: It is licensed under MIT License, documentation under CC BY 3.0
Marzipano
Marzipano is a free, open-source 360° virtual tour viewer and panorama engine for the modern web. It allows users to easily create interactive virtual tours and display panoramic images in a variety of formats, including eqirectangular, and cubemap.
Ease of Integration: Marzipano is relatively straightforward to integrate into web projects. There are two major ways in which you can integrate it, you either obtain the marzipano.js file from the latest version of Marzipano on the official website or you use as a dependency using npm or yarn to inject it into your build.
Non-Techy User Friendly: Marzipano has a tool that can help you easily process your panoramas on the browser. Additionally, after processing you can simply export a virtual tour that can be deployed on any major hosting platform. This bridges the gap between the “absence of programming skills” and the “need to build a virtual tour”.
Performance: This tool uses WebGL to ensure high-quality rendering of panoramas and smooth transitions between scenes. It efficiently handles multi-resolution panoramas, which helps reduce the load time of large, high-quality images, making it responsive and scalable for projects with a large number of images. Additionally, Marzipano is well-optimised and lightweight: 55KB when gzipped.
Usage and Possibilities: Marzipano harnesses the usage of simple API to meet your needs and use cases. From the Demo section on the website you’d see that Marzipano is great for a lot, but to mention a few: Simple Tours, Single Resolution Cube panorama, Multiresolution cube panorama, Multiresolution flat panorama, Equirectangular (which is the most common one), playing 360° videos in equirectangular formats, adding layers over videos, editing equirectangular images and exporting it, adding device orientation, showcasing hotspot styles and effects created with CSS. From this, you’d agree with me that indeed this is a very robust tool that covers every major section of any client or user needs. This can be very useful to Streamers, Content Creators, Business owners, Teachers, Expatriates and many more.
Cross-Platform Usability: It is supported on all modern desktop, and mobile browsers and devices.
License: Here is the link to the Apache license 2.0. It is free and open-source.
Note: It feels like it is made by Google but it also says it is not an official Google Product.
Three.js
I will simply define Three.js as a high-end 3D graphics and experiences environment. With Three.js you can achieve a lot from creating games to modelling items in 3D, creating 3D versions of some 2D pages, interactive data visualizations and so on.
Top features of Three.js are:
- Cross-platform Support: Works on both desktop and mobile browsers.
- Industry Standard API: Three.js provides features like scenes, cameras, geometries, materials, lights, shadows, textures, and animation.
- Compatibility: Easily integrates with various frameworks and tools like React, Angular, and WebVR.
Performance: Far from what you expect since three.js handles very high-end graphics that it’d be lagging and all sorts of things like that. But that happens to be far from the truth as this powerful javascript library renders fluently without lags and is very smooth. The graphics are so sharp with great resolutions. It has an efficient rendering of complex 3D scenes with support for optimization techniques like frustum culling and levels of detail.
Usage
Three.js is suitable for a wide range of 3D experiences:
Interactive 3D Models: Product visualization. Are you a business owner? You can simply model your product and render it to share with your clients or customers.
- Games and Simulations: Web-based 3D games with real-time rendering.
- Data Visualizations: Create stunning visualizations for scientific or financial data.
- Augmented/Virtual Reality: Supports WebVR/WebXR for AR and VR experiences.
Resources: Three.js happens to have lots of interesting and engaging resources for you to learn about from the official Documentation to a 3-part series resource which you can find in the “resources” segment of the official site to a vibrant community of experts in modelling, web developers and many more. There is even a forum made specially for asking questions you might have and getting prompt answers - what a gem.
License: It is MIT licensed and here is the link.
In my most unfiltered opinion, I’d say Three.js is the best option for anything 3D, 360° media experience. But for simply viewing a 360° image it just might be an overkill but I added it just in case you want to do more than just view the image, per adventure you want to add some interactivity features to it.
Similarities of these Image Viewers
- All these tools supports both “equirectangular” panoramas and “cube face formats”.
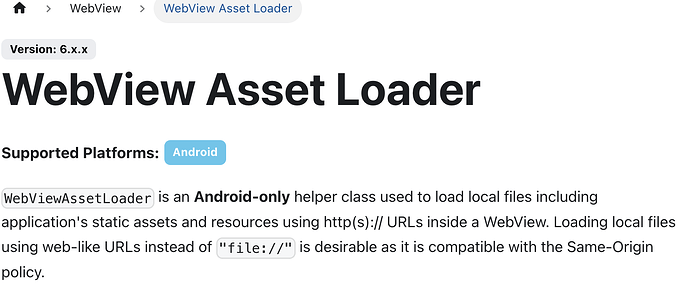
- The majority of these tools require that you use the
webViewmethod when integrating it into a Mobile build to get the best experience.
Conclusion
There are a lot of 360° image viewers and I just mentioned five that stood out for me while testing and researching about them. Things that caught my attention while picking these ones are the community, forums, ease of integration, features, license (free and Open Source - one thing is to use a tool and be grateful for it and another is contributing to it, which to be is a major flex).
