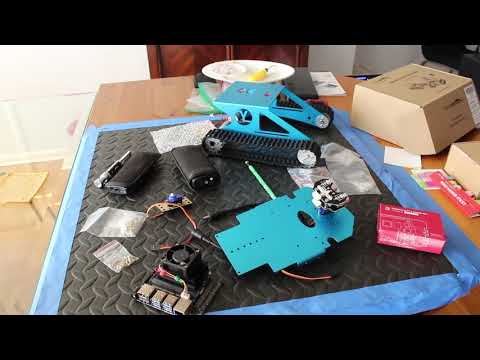
Review of a cheap $100 (on sale) robot to use as a prototype platform for RICOH THETA streaming and USB API tests.
First post on Sept 29, 2020
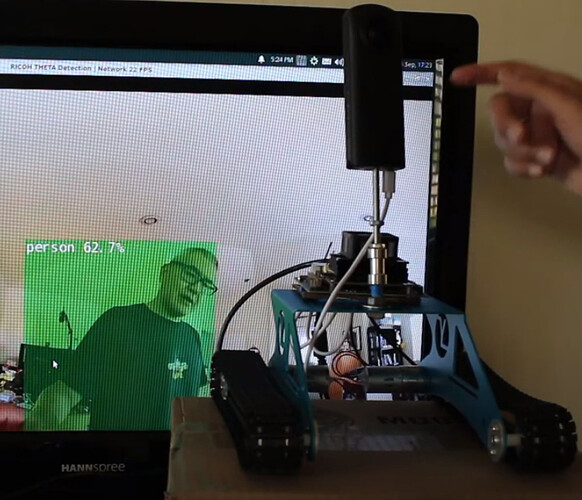
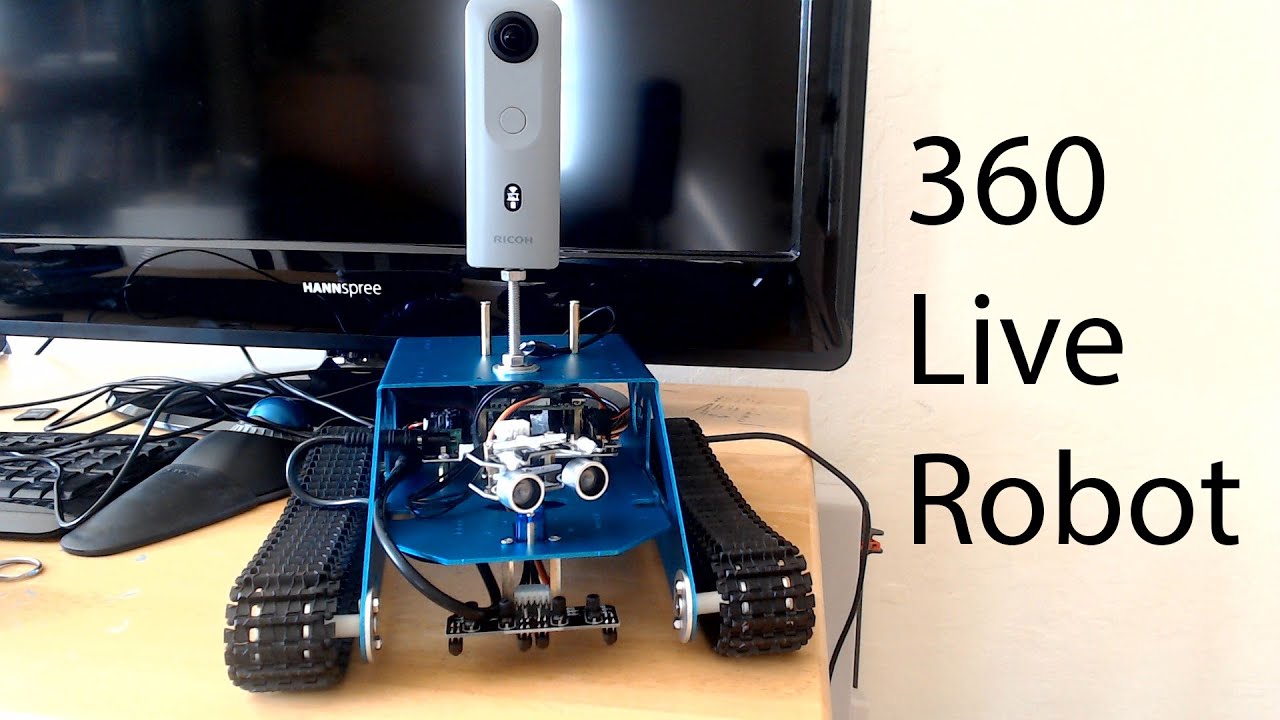
During a work day, the THETA is in a tripod next to my desk. This setup doesn’t expose my brain to enough real-world problems with video transmission, power, and heat. To help me understand usage problems, I’ve mounted the THETA onto a cheap robot. The video above provides my favorable assessment of the kit, which is $140 now.
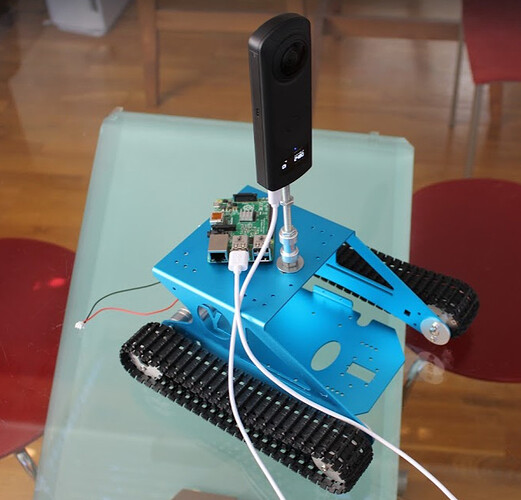
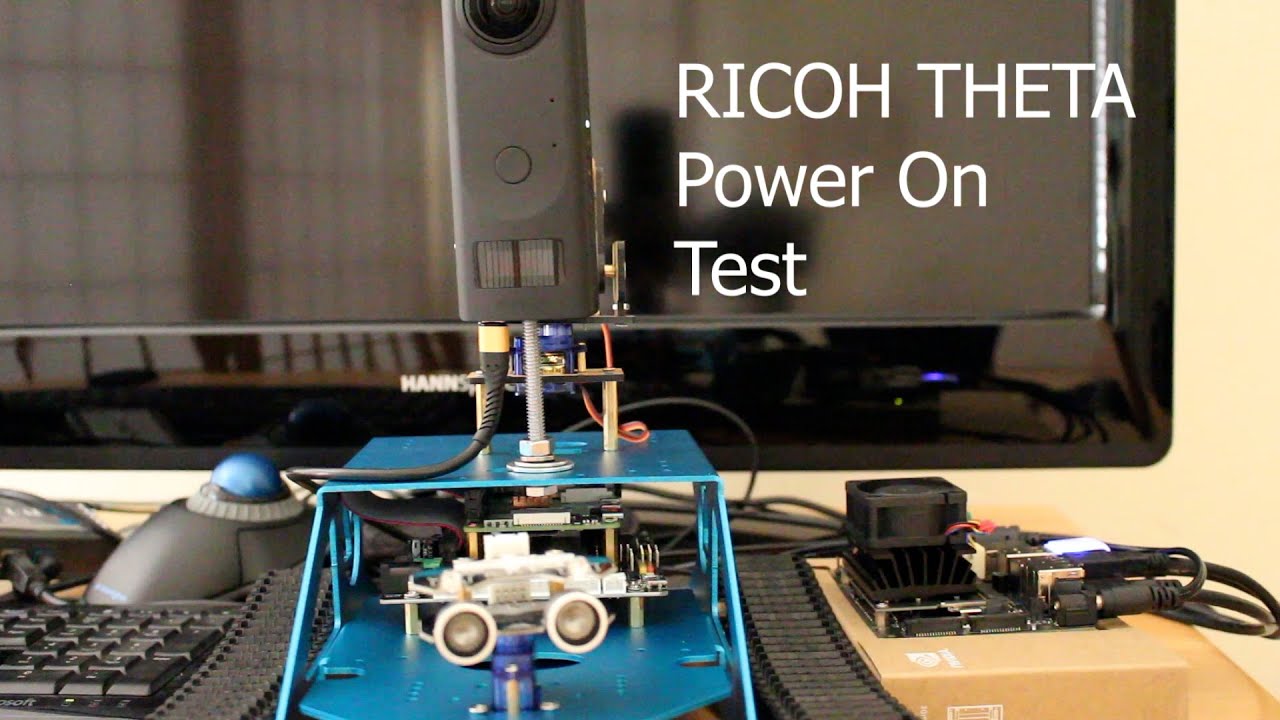
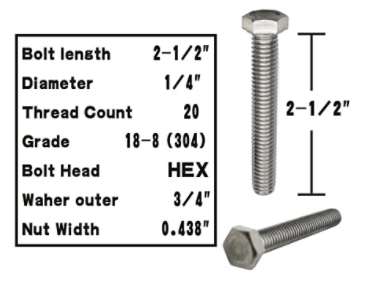
I mounted the THETA Z1 using a 1/4" by 20 tpi stud.
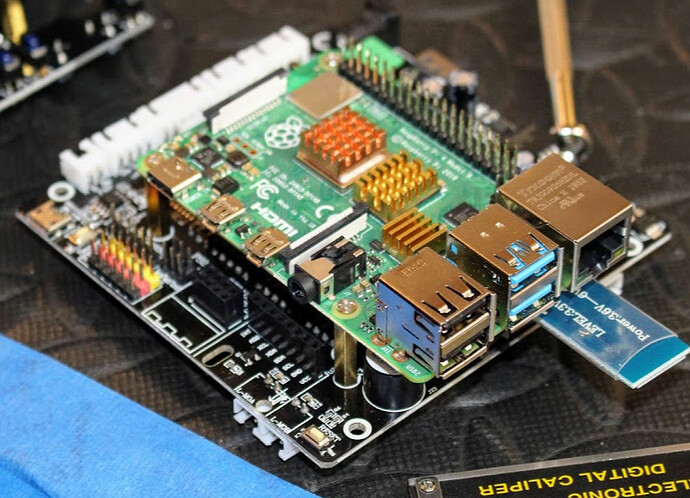
Initially, I considered using a Raspberry Pi 4, 4GB model. However, after several hours of testing, I was not able to get the hardware acceleration working for h.264 decoding using gstreamer, libuvc (patched), and the THETA gst sample. These software components are covered in detail in other topics on this forum. If you have questions about the components, please ask.
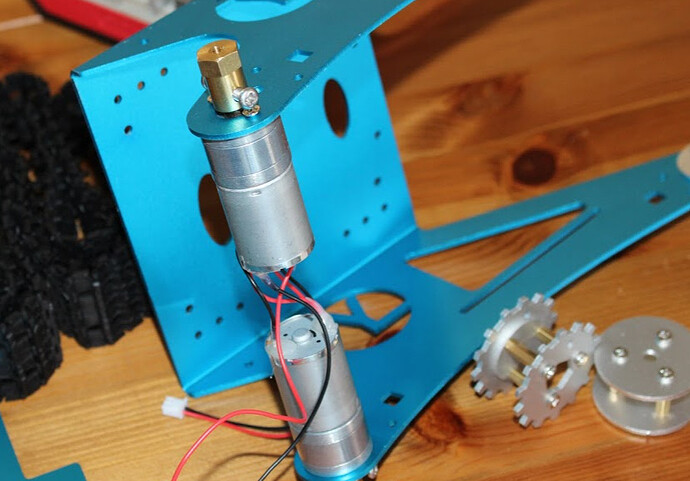
The motor and drive train look adequate for light duty. This should be perfect for my tests, which simulate industrial use, but are not designed for actual use. The tracks are plastic, not rubber.
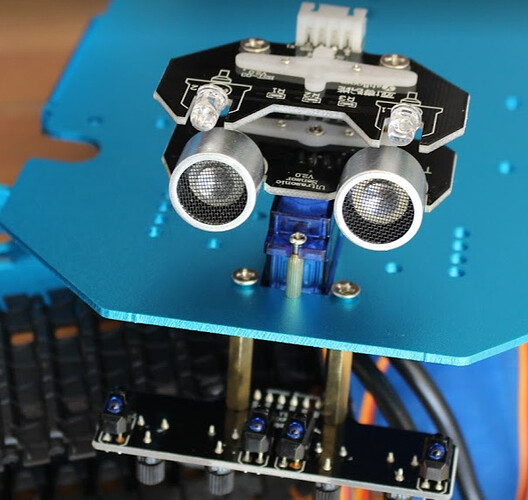
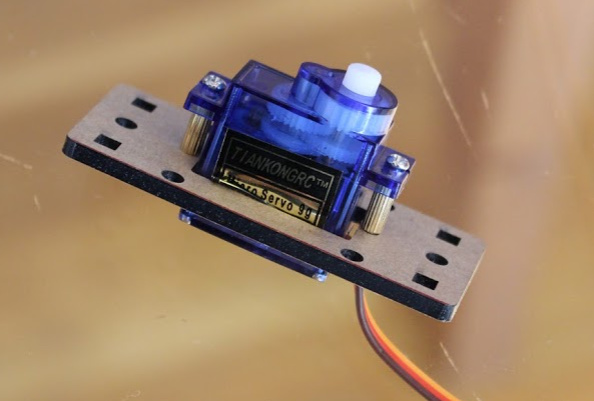
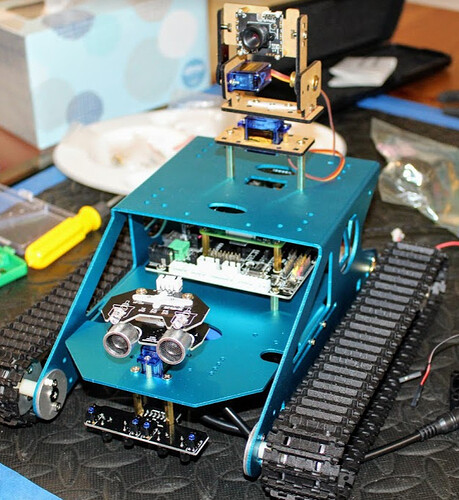
The kit comes with ultrasonic sensors and 3 servos
I only intend to use one of the servos. The two other servos are for a camera that came with the kit. I intend to replace the kit camera with a RICOH THETA.
To build the kit, many small pieces need to be connected together. The components look like they are high quality.
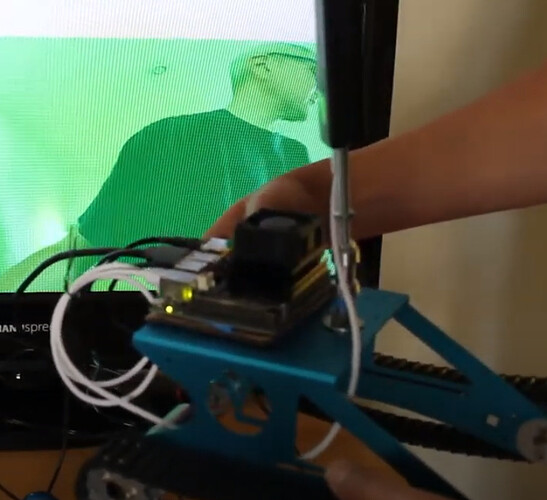
The top part of the chassis is a good mounting point for both the THETA and the Jetson Nano.
There’s a lot of wires in this shot because I have the Nano connected to a monitor, mouse, and keyboard for testing.
I’ll likely zip-tie or pop-rivet the nano onto a piece of foam core and then hot glue or tape the foam core onto the top of the robot. In this sizing prototype, I am using cardboard scavenged from the shipping box the kit came in and tape.
As a baseline, I’m going to complete the kit with the normal camera it came with first. After functionality and usage testing, I plan to replace the top camera with the THETA and attach the nano for camera control and media processing. Although the nano can control the full robot with something like ROS, I’m planning to limit my experimentation to camera control or camera media transmission and rely on the kit software for the movement portions.
If you have a moment, check out the video listed at the top of the article.
Power On Test
Updated Oct 2, 2020
- THETA Z1 is connected to Jetson Nano with USB
- Nano is connected to Wi-Fi network using cheap USB Wi-Fi “dongle”
- Windows 10 computer acts as dashboard or “control center” and send ssh command to Nano to turn on THETA
- THETA powers on from an “off” state
Preparing controller for motors, servos, and ultrasound.
Installed camera that came with kit for baseline testing before setting up THETA.
Mechanical Test Prior to Connecting THETA
Oct 4, 2020
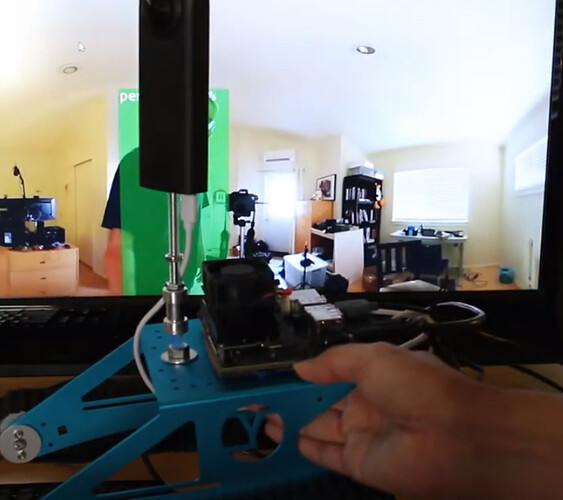
THETA Live Streaming in Equirectangular and 360 View Over Wi-Fi
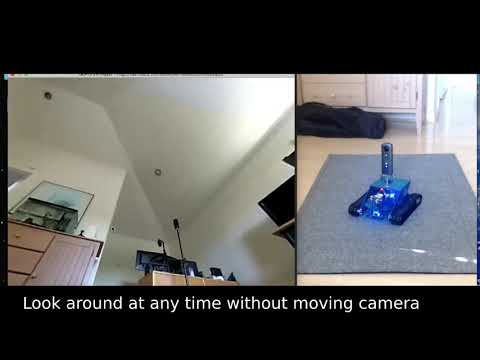
First test using RTSP to desktop computers. Robot and THETA V are both connected to Wi-Fi router in my office. My desktop computer is connected to the same router. In half of the video, I have a web cam pointed at the robot to show what is doing. In the other half, I have the video stream from the THETA as displayed on my computer.
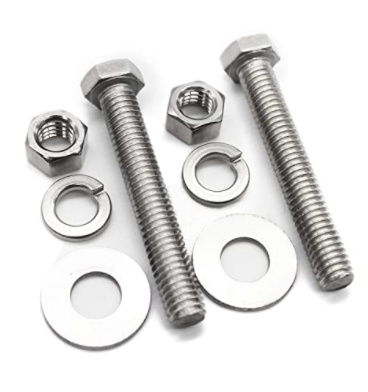
I have established a satisfactory mount for the THETA using this type of bolt.
I selected the robot chassis because it is 3mm aluminum with pre-drilled holes. This works great, but I feel that by stacking wider washers, I could have gone cheaper with an acrylic chassis. As I bought the kit on sale, there was no difference in price and the 3mm aluminum is much better. If you’re getting the cheapest possible kit for learning, acrylic would likely work. The weight of the chassis and battery is likely helping with the stability. I may be able to take it offroad.
Oct 6, 2020 - MotionJPEG test with SC2
Ran a simple test with SC2 to see how it compares to RTSP. Significantly more latency in the first test.
Oct 25
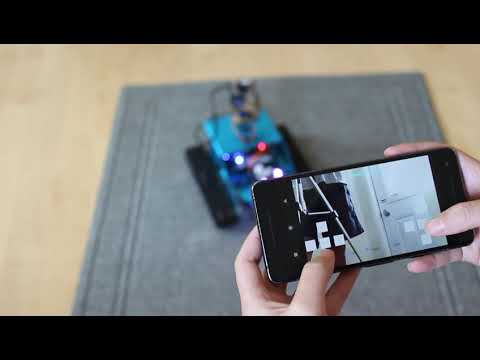
The guy below is using the tank for similar experiments with a standard camera.
