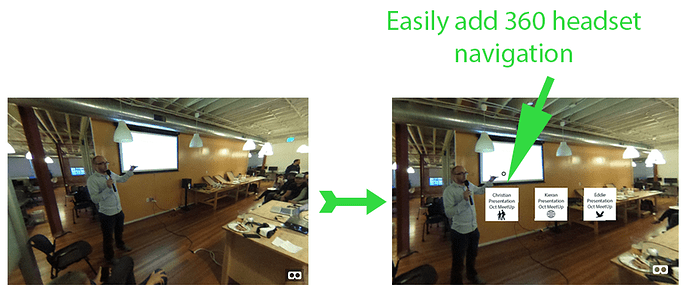
Using the open source A-Frame JavaScript library, you can write a few lines of code and get THETA 360 images working in a headset or Cardboard with navigation.
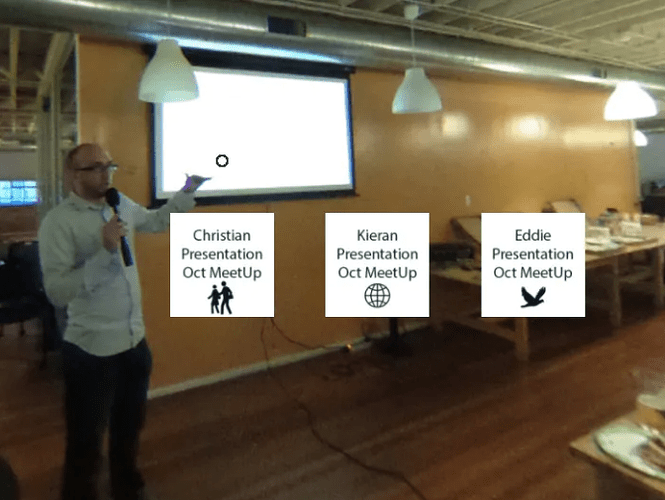
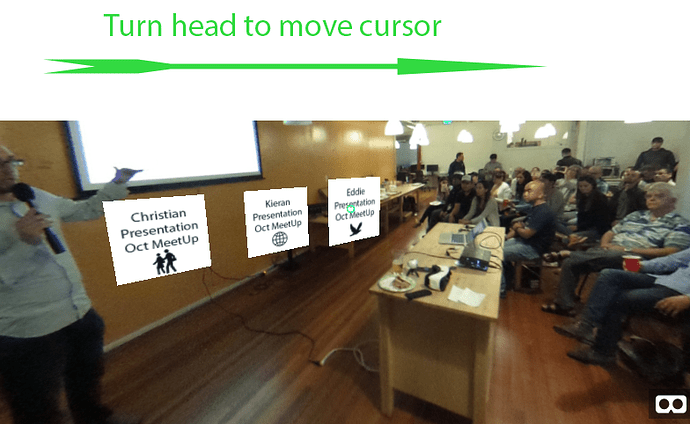
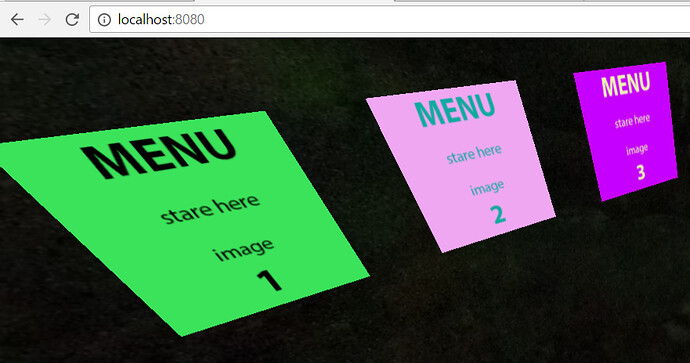
Headset navigation works by displaying a round cursor inside the headset view that corresponds to the focus of your attention. If you turn the headset so that the cursor is on a menu, you will jump to another sphere. In actual use, it feels natural. You just stare at a menu for a second and then the jump occurs. The delay for the stare is configurable within your code.
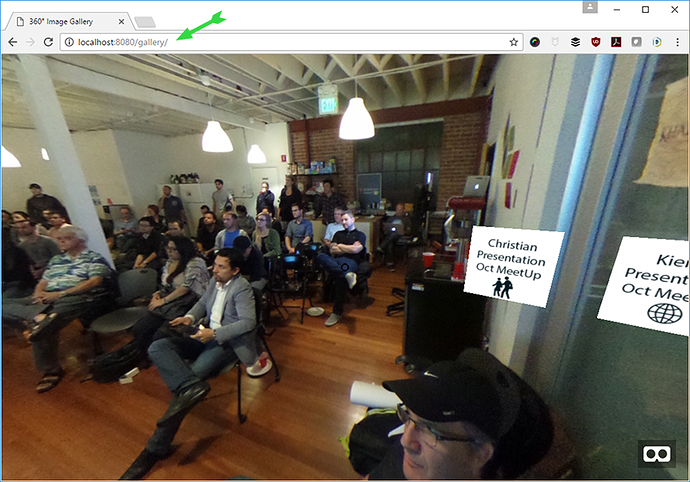
In this example, the menus are stuck to a location in the sphere. Moving your head causes the menus to move.
Creating Menus
Download Boilerplate Code from GitHub
Fork the demo on GitHub and clone to your local drive.
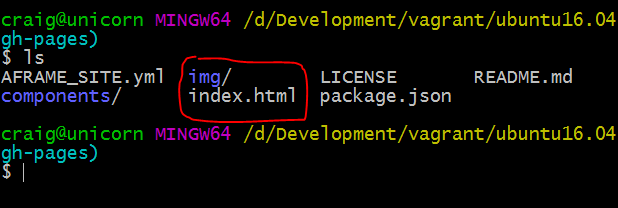
Drop your 360 images from the THETA into img/. Open index.html in your editor.
Create Thumbnail Images
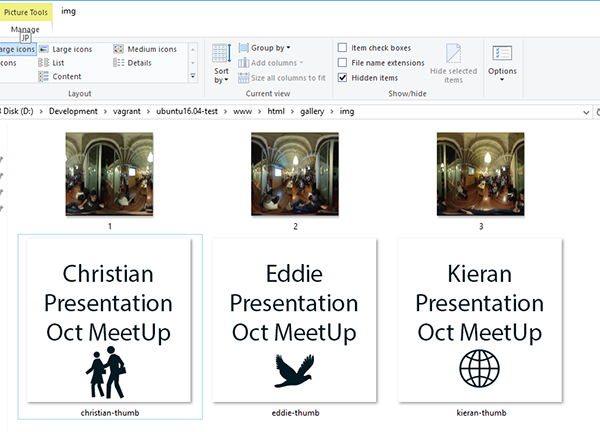
Using an image editor like PhotoShop create thumbnail images that are 240x240 pixels. For this example, I’m using bitmap image text menus. You can also drop in small images as the navigational menu.
Edit File Names and ID Links
In your editor, change the id and the src to match your files. If you are new to programming, simply overwrite 1.jpg in your /img folder with your own image file first for testing. If you use the same image file names, you do not need to edit the code at all.
<body>
  <a-scene>
    <a-assets>
      <img id="kieran" src="img/1.jpg">
      <img id="kieran-thumb" crossorigin="anonymous" src="img/kieran-thumb.png">
      <img id="christian-thumb" crossorigin="anonymous" src="img/christian-thumb.png">
      <img id="eddie-thumb" crossorigin="anonymous" src="img/eddie-thumb.png">
      <audio id="click-sound" crossorigin="anonymous" src="https://cdn.aframe.io/360-image-gallery-boilerplate/audio/click.ogg"></audio>
      <img id="christian" crossorigin="anonymous" src="img/2.jpg">
      <img id="eddie" crossorigin="anonymous" src="img/4.jpg">
Assuming you are changing the file names, then edit the code for the menu links.
<!-- 360-degree image. -->
<a-sky id="image-360" radius="10" src="#kieran"></a-sky>

<!-- Image links. -->
<a-entity id="links" layout="type: line; margin: 1.5" position="0 -1 -4">
  <a-entity template="src: #link" data-src="#christian" data-thumb="#christian-thumb"></a-entity>
  <a-entity template="src: #link" data-src="#kieran" data-thumb="#kieran-thumb"></a-entity>
  <a-entity template="src: #link" data-src="#eddie" data-thumb="#eddie-thumb"></a-entity>
</a-entity>
Push to GitHub Pages
That’s it. Add all your files to your local git repo, commit, and push to your forked repo, gh-pages branch.
You should then be able to view your app at username.github.io/360gallery/
Running an HTTP Server Locally for Testing
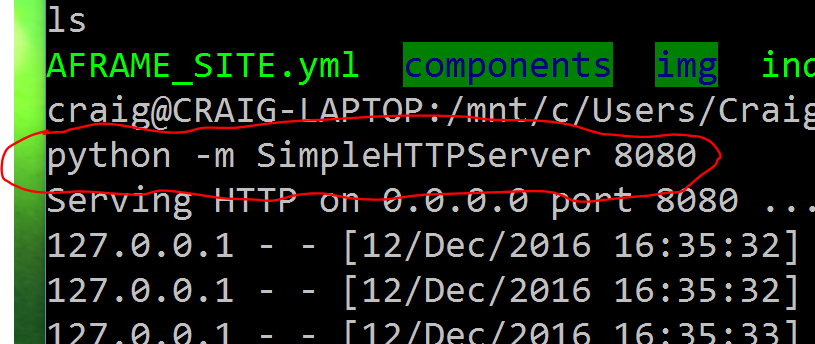
You won’t be able to open the index.html file locally for testing due to CORS security. For testing, I’m running the Apache2 web server on Ubuntu 16.04 in Vagrant. I’m running Vagrant on Windows 10 Anniversary Edition. I then use Firefox or Chrome running on my Windows 10 host to view the 360 images in the Linux VM. I’m editing the files using Atom running natively on Windows 10. The files are inside of the Linux VM, but I can access them from Windows. The end result is that I can access http:localhost:8080/gallery and test my application locally.
If this sounds like too much hassle, just load the files up to GitHub Pages.
