How To: Edit and Stitch RAW DNG Images From RICOH THETA Z1 with Adobe Lightroom Classic CC and THETA Stitcher

This article contains

  • links to example images processed from RAW DNG images from the Z1
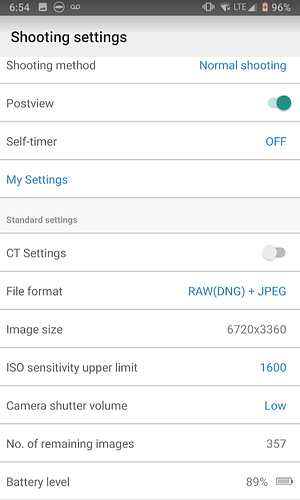
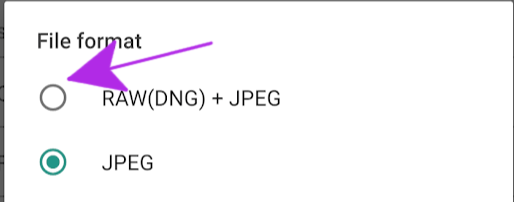
  • How to set Z1 to take RAW(DNG) images
  • Configuration of Lightroom Classic CC Plug-in

The RICOH THETA Z1 is a major improvement over the THETA V, offering superior image quality and features such as RAW that are valuable for many industries, including real estate, tourism, training, construction, used car sales, and visual special effects (VFX).

Higher resolution and more color and light information in each picture mean greater detail on the zoom and better shots in low light or shots with bright and dark sections. The Z1 takes images at 6720x3360, a major improvement over the 5376x2688 of the V.

You can see great use of THETA Z1 DNG images by Sam Rohn in this article.

RICOH developed a plug-in for Adobe Lightroom Classic CC that makes it easy to stitch the RAW DNG images in a smooth workflow with Adobe Lightroom Classic CC.

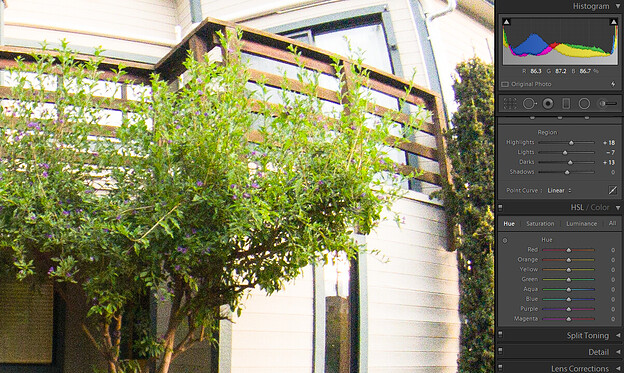
I tested the RICOH THETA Z1 in early morning low light conditions. Even with my below-average photography skills, I found that Z1 handles the light/dark balance better than the V. I also compared the resolution and found that in pictures of my garden, the Z1 offers much better details of the leaves. For a better example of images, see the article on Sam’s images.

How to Set the Z1 to Take RAW(DNG) Images

Setting the Z1 to take RAW images is easy with the mobile app.

Lightroom Classic CC Plug-in to Stitch DNG Images with Conversion to TIFF or JPEG

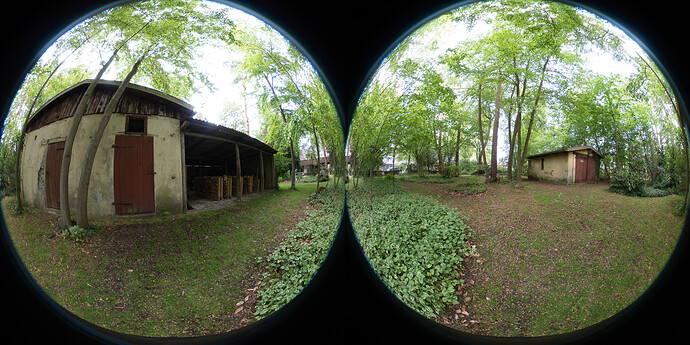
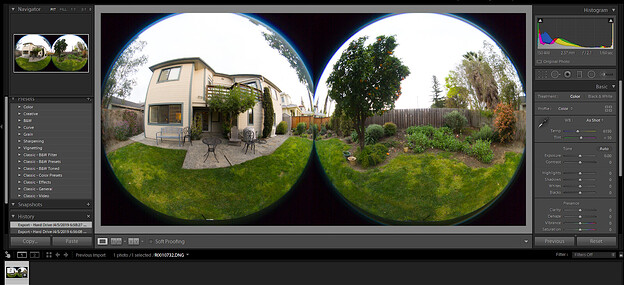
RICOH created a Lightroom Classic CC Plug-in to easily stitch the dual-fisheye RAW images into equirectangular.

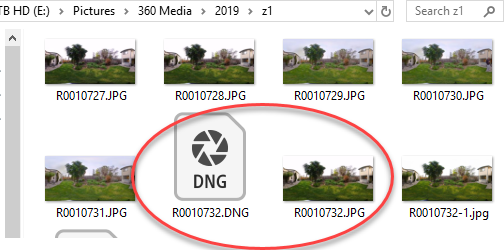
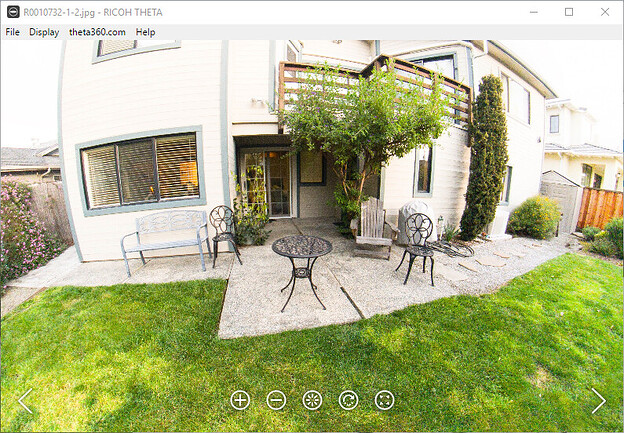
The DNG file is created alongside a standard JPG file.

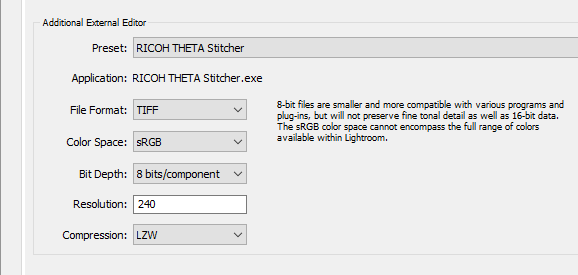
Configure the Lightroom Plug-in To Use the THETA Stitcher

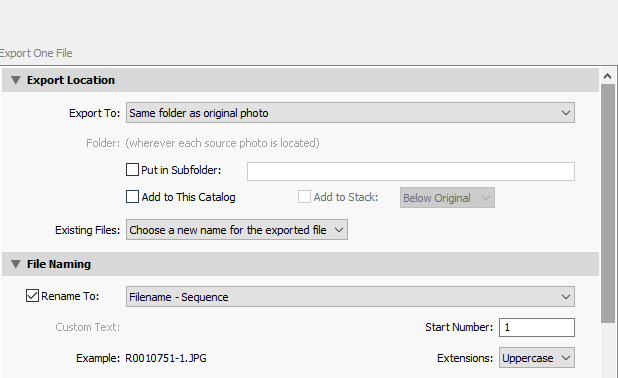
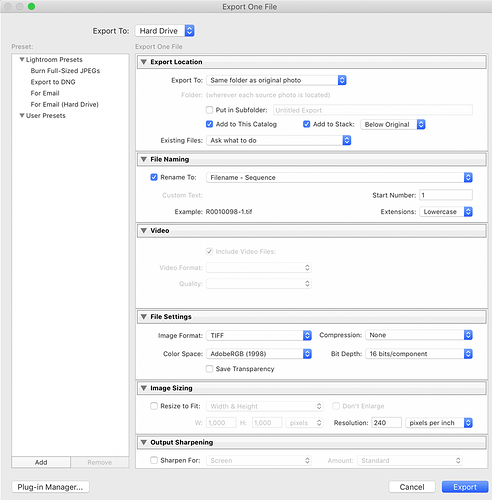
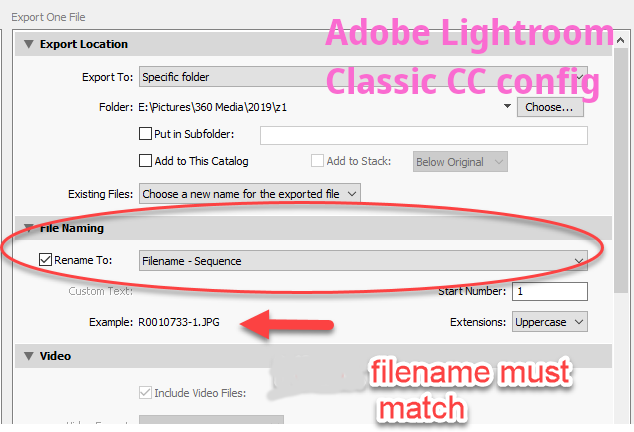
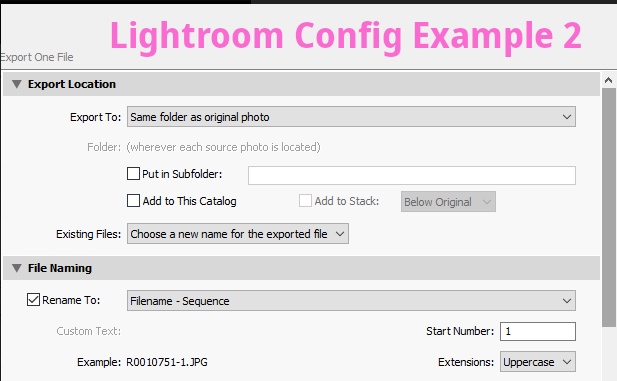
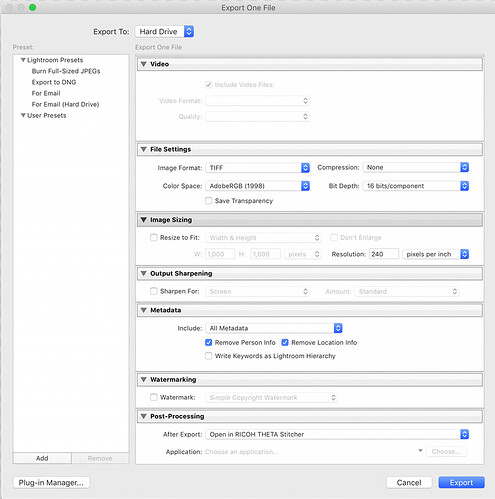
Please pay attention to the following screenshots for usage of the plug-in. Note that you must keep the filename of the stitched file the same as the DNG file.

Windows
image

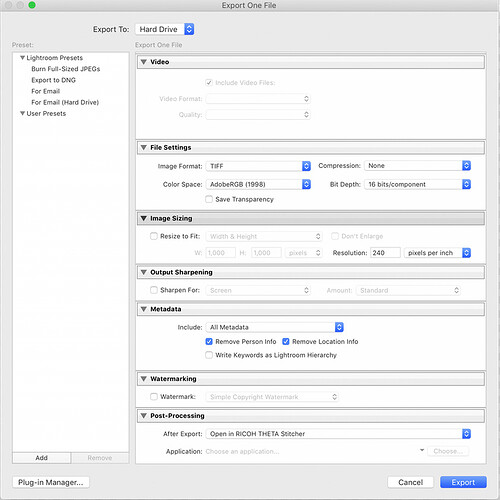
Mac - Cick On Image for Larger View

Select the Application “RICOH THETA Stitcher.exe” on your local computer, then save as a Preset.

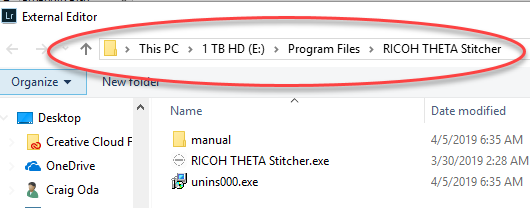
On my computer, this is the location of the RICOH THETA Stitcher.

Mac Screenshot - Click on Image for larger image

Editing DNG Images in Lightroom

You have a wide range of editing tools.

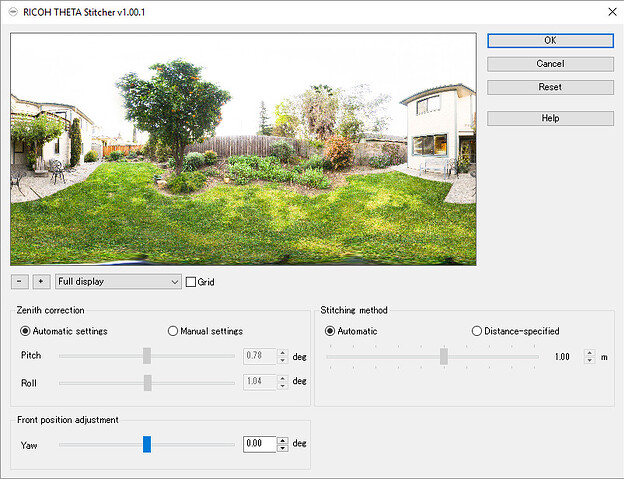
Within Lightroom Classic CC, the stitching app can automatically be called up at time of export.

Set up Post-Processing -> After Export: and select “Open in RICOH THETA Stitcher.exe”

After you press “OK”, an image is saved to disk that can be used in 360 viewers.

Reference Information on Metadata and File Size

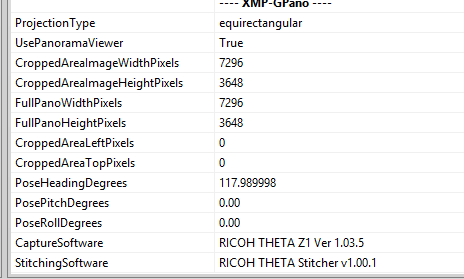
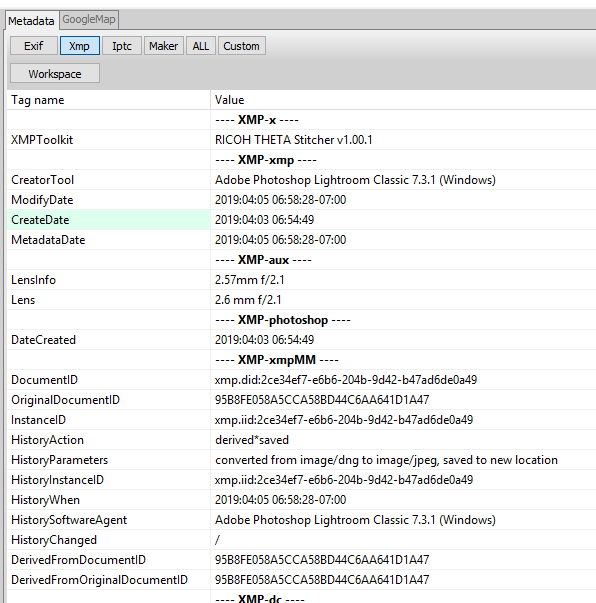
The metadata of the exported image is preserved. The test below was done with exiftoolgui.

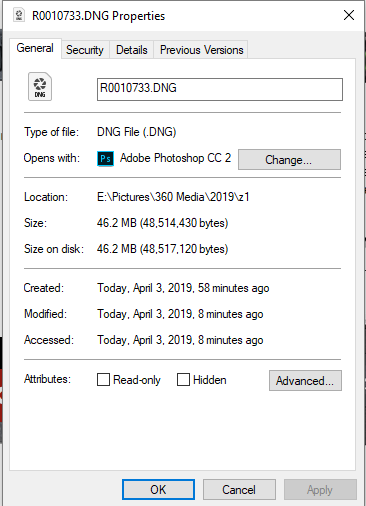
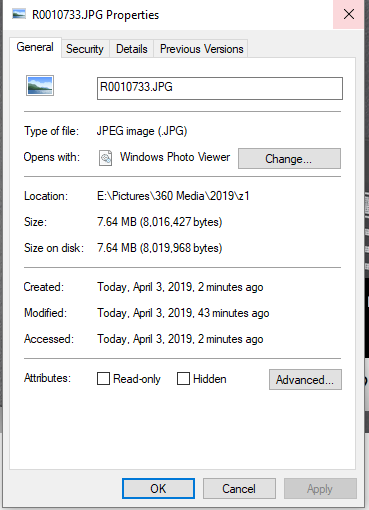
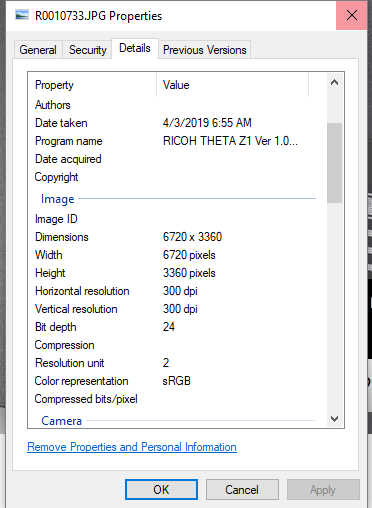
As the RAW image format has so much flexibility, I spent additional time comparing the RAW DNG file to the JPEG file. The DNG file is 46MB in size.

JPEG images are 7.6MB

Summary

This is a first quick look at the THETA Z1 images. Due to the improvements in image resolution, light, and color data, the Z1 images offer much great flexibility for color and light editing compared to the images from the THETA V. The stitching app for Adobe Lightroom Classic CC is a great addition that allows the DNG images to be used easily. The increased resolution will also help computer vision and object recognition projects.
3 Likes

Hi, thanks for this information. Can you please run through which slider tools and which settings in Lightroom develop module you can use without affecting the stitch line of the resultant final equirectangular image? I am not sure how all this works, a video of screen capture would be extremely useful of your entire workflow. Can you apply creative Lightroom presets, and then stitch the DNG to achieve a seamless result? If so that will open up enormously the creative potential. I realise some tools such as vignetting are irrelevant, but the basic tools, detail tools, tone curve, split toning, HSL/Color, and what about sharpening and noise reduction processes? Thanks, Steve

1 Like

@Serendigity, thanks for your question. Unfortunately, we’re going to need to wait for more experienced photographers for help in providing a good workflow example.

I can help with testing the functionality of the software and the process of configuration of the software. I need help from creative people on testing the DNG editing process. I believe that you can apply a range of Lightroom presets to the DNG file and then achieve a seamless stitch. As far as I can tell, this opens up a range of artistic and creative possibilities.

Note that I added a workflow to use GIMP, darktable, and PTGui here. People can experiment with the techniques even if they don’t have Adboe Lightroom Classic CC.

I would love to see some techniques and examples posted here.

I have developed a Theta Z1 DNG in Lightroom and created a few different output files as JPG and put them in a Google Drive here:
https://drive.google.com/drive/folders/1KW5gCnPbtqoX7TJQcuymuIlF8VD9HTPm?usp=sharing

You are welcome to tinker with them. Re using PT Gui, I have downloaded the demo and I am having a play. Looks promising. :slight_smile:

2 Likes

@Serendigity Just even those different effects are pretty slick looking. :slight_smile:

3 Likes

I would also like to start designing my workflow with Lightroom and the Ricoh Stitcher vs. the PTGUI Stitcher.
However, I’m still waiting for my preordered Z1 for almost 2 months now and the delivery date is delayed again and again. :frowning:
Where can I find some DNG files and the Ricoh Stitcher for some initial testing?

1 Like

Curious as well where to find the Ricoh Stitcher…

Thanks

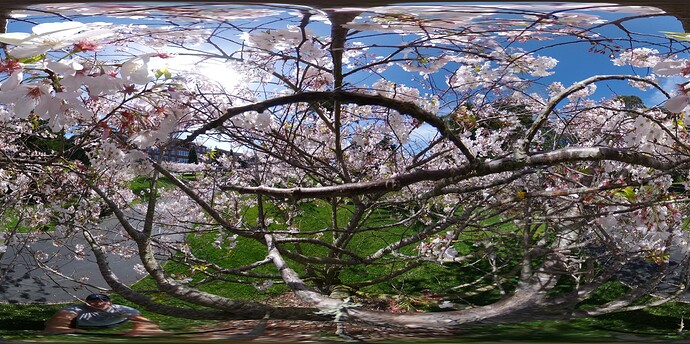
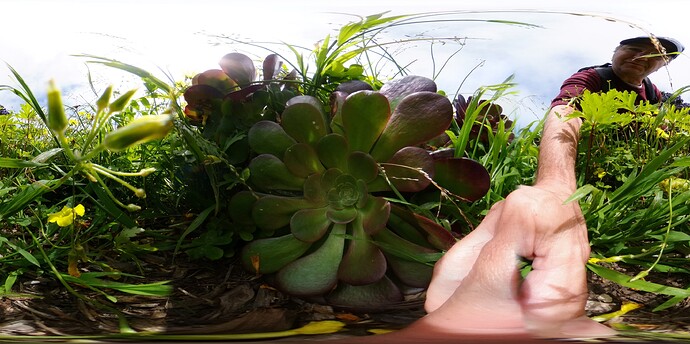
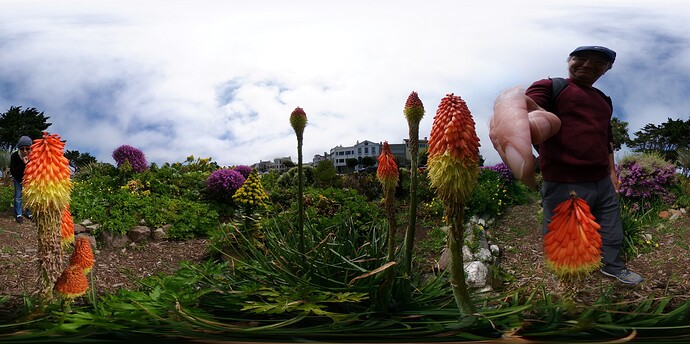
For anyone wanting to see some DNG examples, here are some that I took recently. Cherry blossoms, on a sunny day, and some garden close ups.

Since the DNG files are big (46MB), I’ve put them on Google Drive. For comparison and quick scanning, similar JPGs are included here. All auto settings.

https://drive.google.com/open?id=1xjEhkOYiMYZdiKTkaMC17sSEsLPw4G5D

https://drive.google.com/open?id=1lQ18C-3ipCya9p-O6YjcQSNg_kuDJjJ2

https://drive.google.com/open?id=1WIuqlpTkHOaNSWx_HV04kFDoZEKqQ7pi

1 Like

Thanks @jcasman!
Now I only need the Ricoh Stitcher … haven’t found it on Ricoh’s web site. Isn’t it available for download?. :frowning:

BTW: After waiting for more than two months, my Z1 has been shipped today and will probably arrive until end of this week! :slight_smile:

1 Like

@CorLeone, that’s great news! You should do a box-opening video and post it here. Let us know when you get it!

And, yea, I’ve looked for the Ricoh Stitcher online. I’ve looked here - https://thetaz1.com/en/ - and I couldn’t find a link so far. I’m guessing with the Z1 now shipping that that will change soon.

OK, got it today and currently trying to get everything working (sorry, no unboxing video).

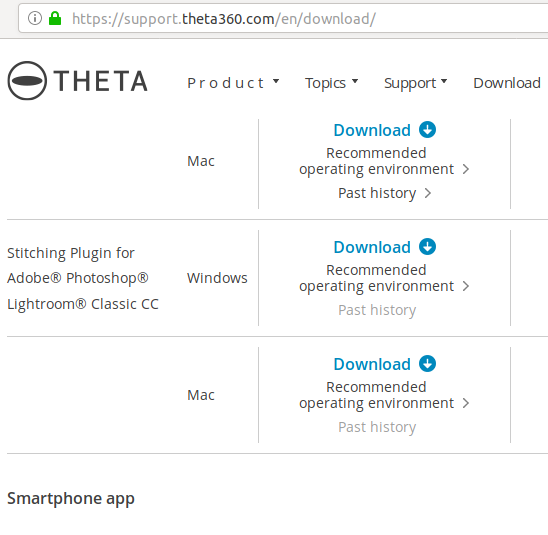
Fortunately, Ricoh also published the software (apps, stitcher, etc.) today as well!
However, the sticher is currently only available on the German page:
https://support.theta360.com/de/download/
Not on the English page:
https://support.theta360.com/en/download/
Is German preferred over English by the localization team? :wink:

2 Likes

Oh, @CorLeone, good eye! I went to look on the English site, didn’t see it. Nice sleuthing.

now on English site.

2 Likes

Tips on Using Stitcher

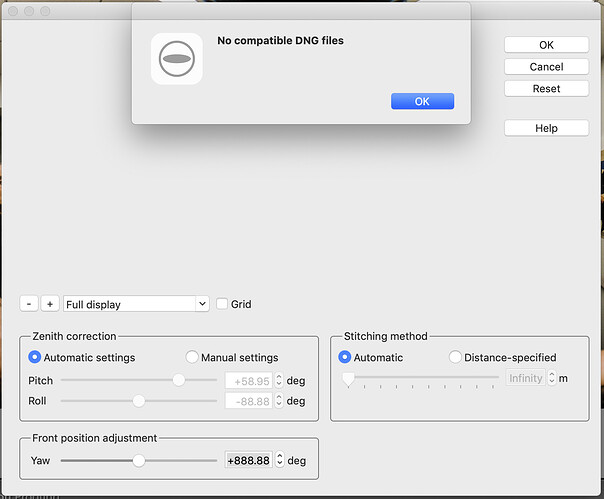
Problem: No compatible DNG files

Solution: Check filename and directory

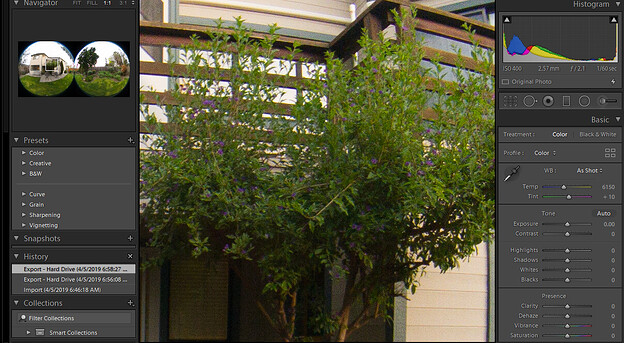
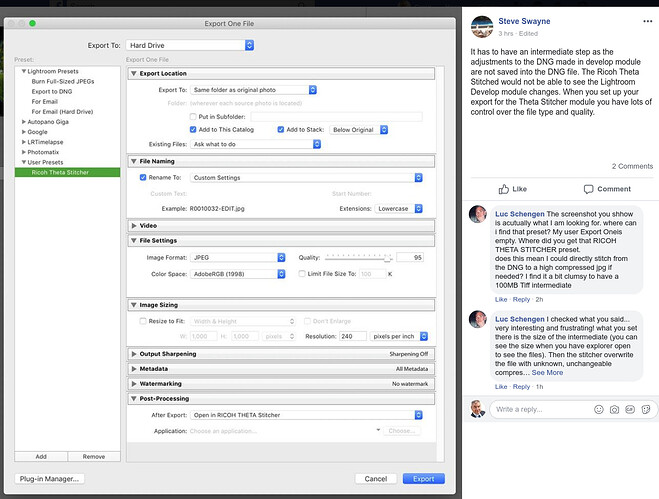
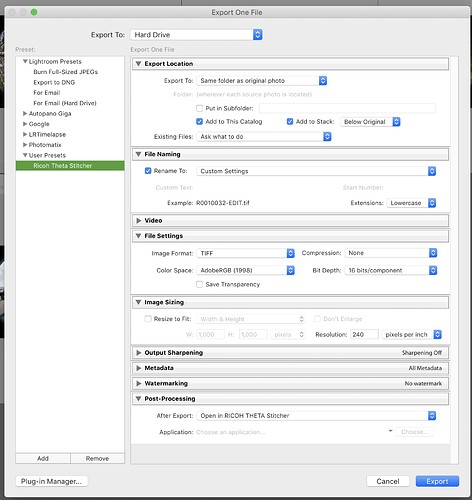
The filename and the directory of the output of Lightroom Classic CC must match the original DNG file location and name.

Example

Click on images to get larger view.

image

image

More working examples

Example from Steve Swayne on Facebook.

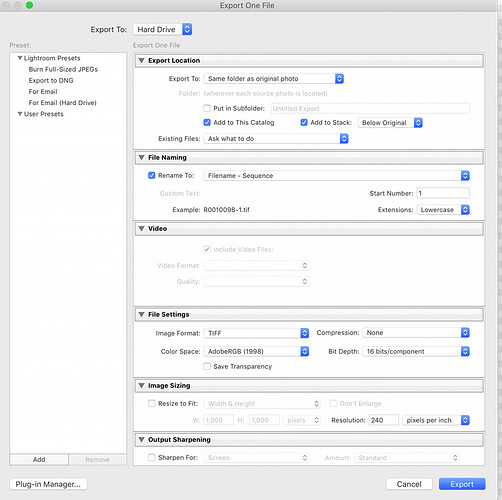
Having explored some more, I now recommend using TIFF and not JPG as I showed in that screen grab. It seems the stitcher returns the file to Lightroom in the same format it gets, thus an uncompressed TIFF would be the obvious choice to reduce the introduction of additional artefacts and image degradation through another save into JPG format.

2 Likes

Steve, thanks for your help with these tips. This is all new to me and I could use all the advice you’re willing to provide. TIFF at 16 bits/compressed is good?

1 Like

Thanks for this tip, Steve. Really helpful.

TIFF at 16 bits/compressed is good?

Yes, 16 bit TIFF is the right choice. You can also use Zip compression which is lossless but doesn’t gain much on photographic subjects (maybe 10-20%).

1 Like

My initial tests show that going via the DNG workflow results in significantly better results than the out-of-camera JPEGs. Maybe I can post some examples later. Will also compare the Z1 with its grandma S (or is it the grandpa?) …

2 Likes

Here’s a sample image to illustrate my previous statement.

Just to give an overview of the scene, this is the DNG (scaled down):

This was taken with 100 ISO and f2.1.

Then two detail sections from this exposure …

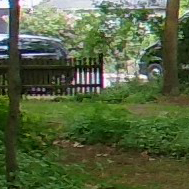
First, from the out-of-camera JPEG (‘OOC JPEG’):
z1_detail_ooc-jpeg

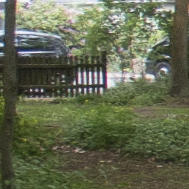
Second, from the DNG, developed in Lightroom (default settings, no tweaks) and stitched in Ricoh’s stitcher (AKA ‘processed DNG’):
z1_detail_dng

Comparing the results shows:

  1. The size of the two images is slightly different:
    OOC JPEG: 6720 x 3360
    processed DNG: 7296 x 3648
  2. The OOC JPEG shows unnaturally saturated colors
  3. The OOC JPEG shows fewer details due to strong noise reduction and sharpening applied

This is all with default settings. The processed DNG can probably be further improved by fine-tuning the development.

Conclusion: If you want the best image quality, use the raw image data in the DNG file and an appropriate workflow!

(NB: What’s not visible from this sample are differences in the dynamic range. But, of course, the DNG is expected to win in this discipline as well …)

2 Likes