Since RICOH THETA app (iOS/Android) updated, we can much more easily, instantly and flexibly shoot multiple different exposure images than that of Multi bracket Mode.
Rquirement:
Basic app iOS ver.2.20.0, Android ver.2.5.0, Camera firmware ver.2.10.3
How to use:
-
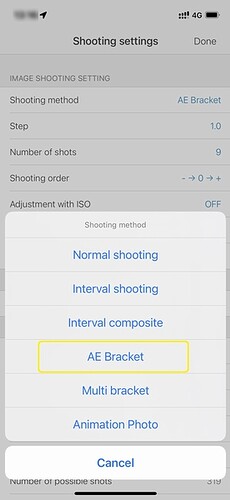
Set to AE Bracket in Basic app
-
Settings of AEB mode
(1) select shooting steps as below
0.3
0.7
1.0
1.3
1.7
2.0
2.3
2.7
3.0
(2) decide number of shots in 3-5-7-9. I recommned you to set “always 9”.
(3) Which do you prefer 0>->+ or ->0>+? mine is ->0>+
(4) Adjustment is made with ISO sensitivity when the maximum exposure time is reached. OFF is recommended.
(5) Self-timer is not needed. You can use wi-fi remote with preview in Basic app.
(6) CVR must be always “off” due to the feature for Big Thumb shooters.
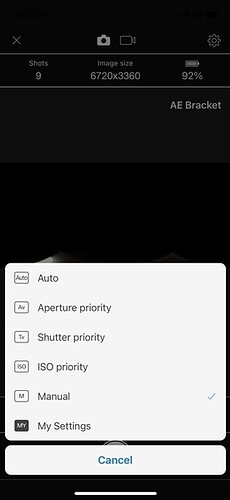
(7) Input the Aperture/ISO/Shutter Speed manually or other methods.
*AWB is ok for RAW development.
- HDR Rendering
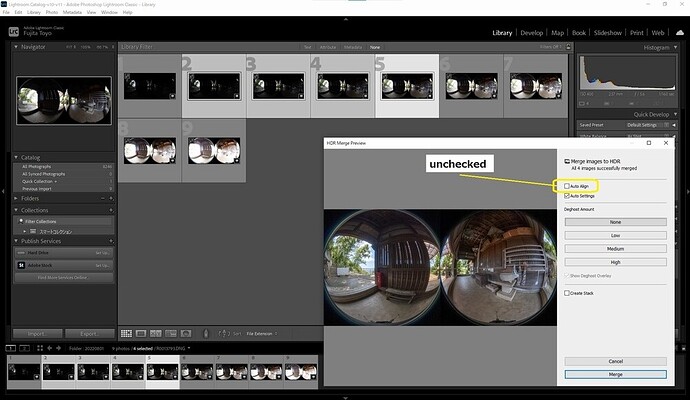
The HDR merged images in Lightroom Classic is always no problem when stitching in Ricoh Theta Stitcher. You do not need to use all the bracketing images. Just avoid the brightest/darkest ones.
***Noticed again; Uncheck “auto align”, otherwise RTS doesn’t work properly.
- Done!
See the result in Google Maps.
DFE/DFR users should give it a try for AEB shooting and creating images. In case of low contrast you can make the panos with the single dng. And you can flexibly choose your favorite exposure, HDR, or #SingleDNG within the 9 shots.
- Notes
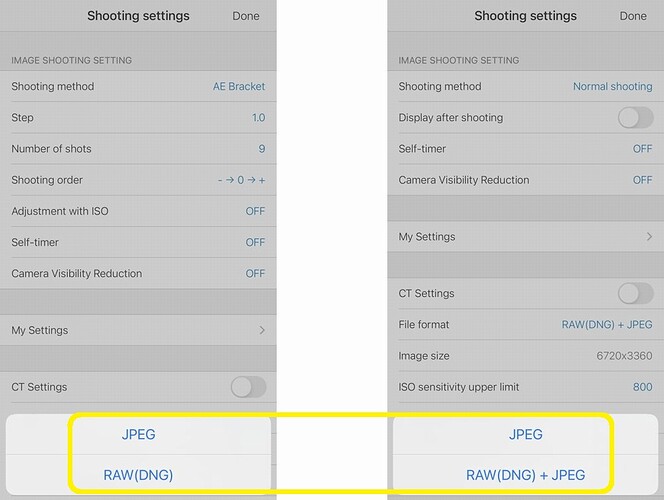
AE Bracket mode supports the format “JPEG” or "RAW(DNG). This means there’s no unwanted JPGs and no more damn thumbnails(equirectangular) embedded in .dng format. That’s why AEB is the real feature for the professional photographers.
Good luck!
Toyo
PS.
I wish I could add this article in Ricoh Theta app List page. However, this website has not fixed “Images gone” issue yet. Please look it into again.
