Thanks a lot for let me test this beta, unfortunatly, no changes, i have the same error : 0x00010505.
1 Like
Thank you for beta testing this update. I will report back the results.
Thanks to you codetricy 
I can’t get Stitcher to work in Lightroom on a Mac run Mojave. I have followed the instructions in the manual and also followed all the three on line video tutorials, but the stitcher window never comes up in Lightroom, Instead a get a warning saying a DNG File is required for the (Export Location) of the JPEG/TIFF file. Refer to the help instructions" which I have done. The action also creates a Tiff file but no stitcher window Spent hours on the phone with Adobe support and they won’t help because it is not their program,
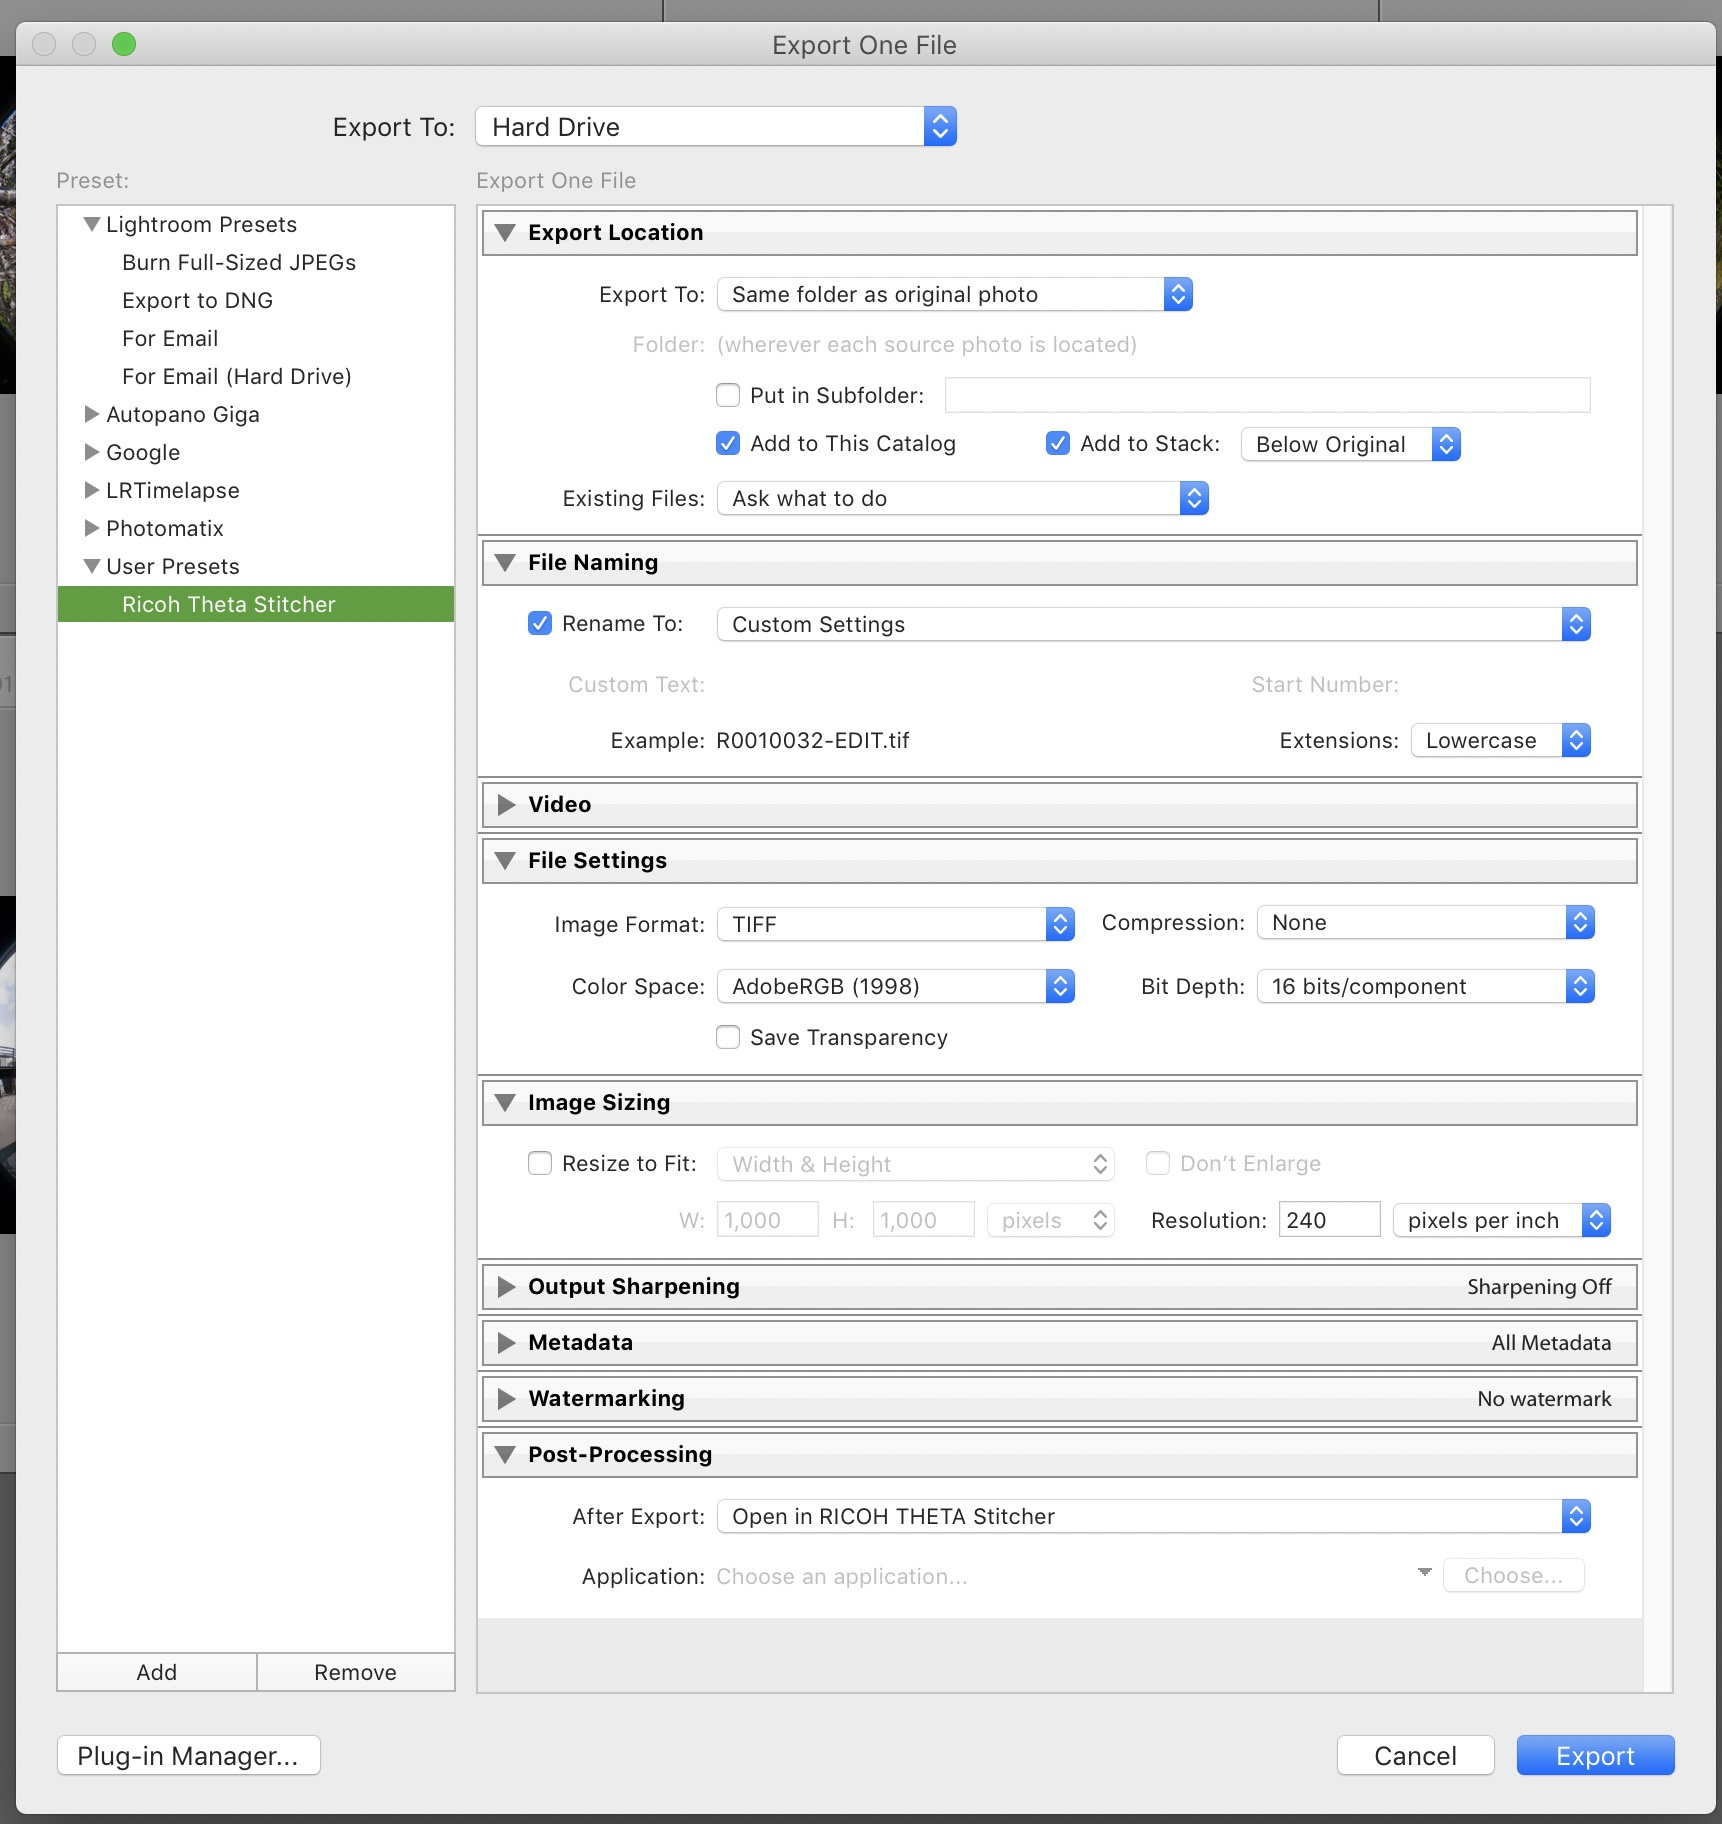
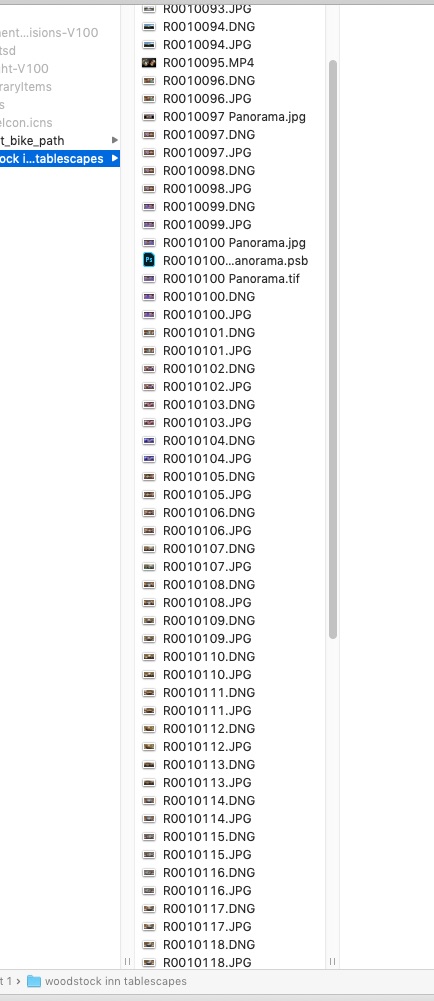
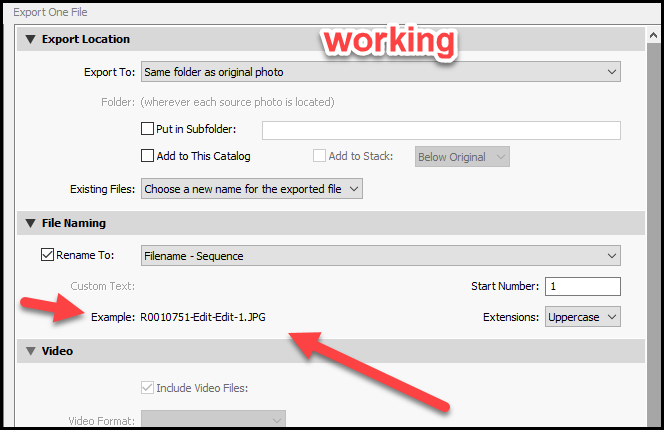
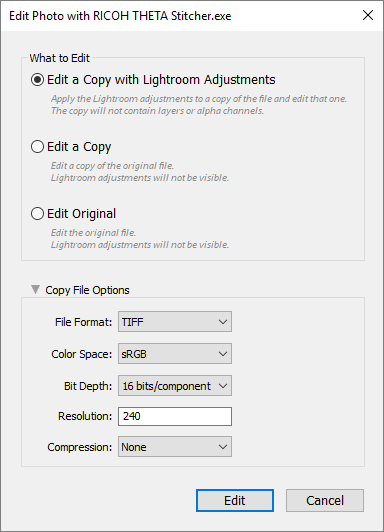
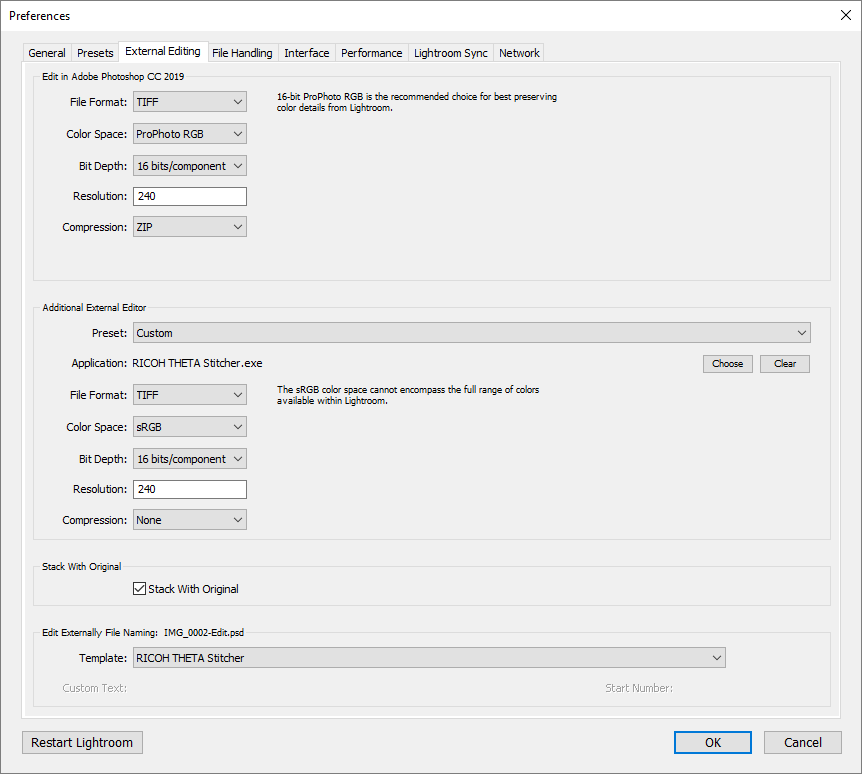
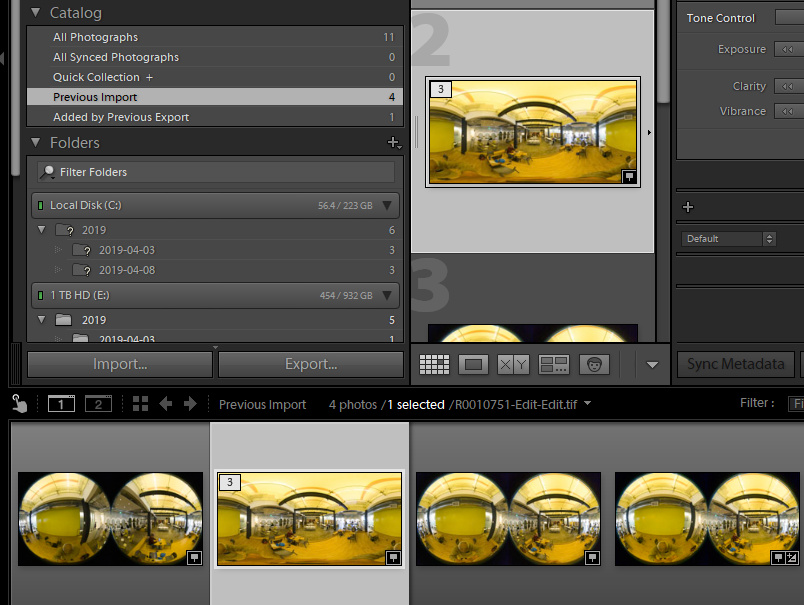
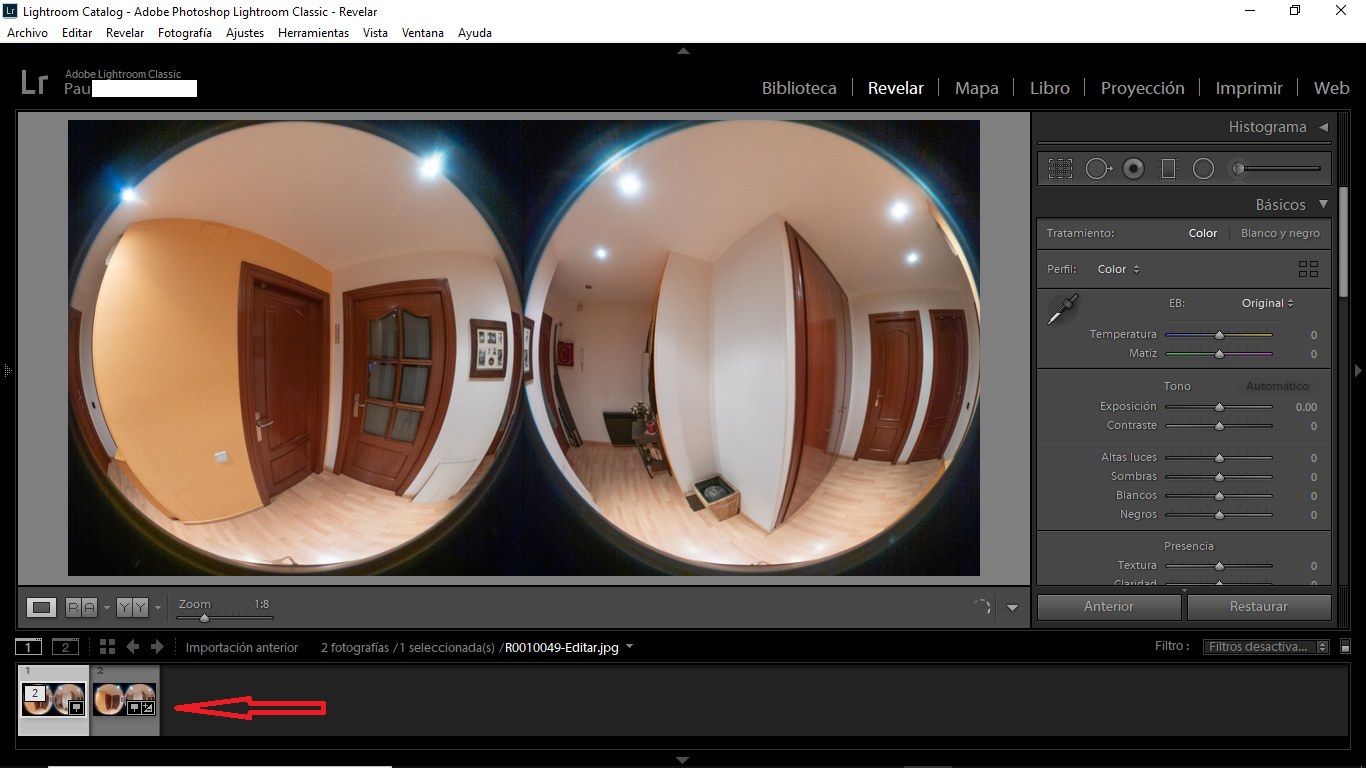
Please post your settings similar to the screenshot below. In particular, the file name of the stitched JPG or TIFF must follow the same naming convention of the original DNG file. Take a screenshot of your settings and post the image. You can copy and paste it into the window you’re typing in.
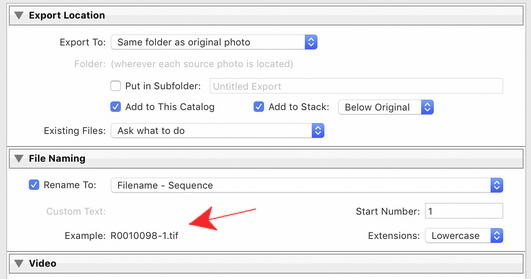
Thus, something like R0010098-1.tif or R0010098-customname.tif will work. However, something like customname.tiff alone will not work.
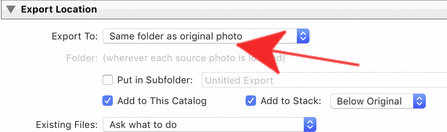
Export to Same folder as original photo

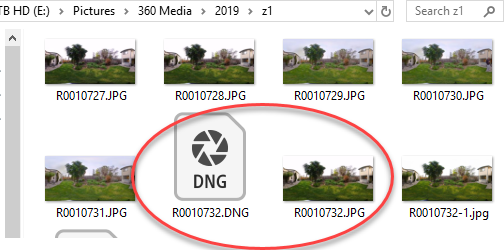
Is the original DNG file still something like R000132.DNG?
When you saved the edits from Lightroom, maybe you changed the name of the DNG? The stitcher needs to find the R000132.DNG (or equivalent) in the same directory.
I don’t know how to use Lightroom or edit DNG files that well, but I’ve seen this type of problem before that was related to either the location or the name of the file you’re trying to stitch.
Can you try it on a structure that looks like this first before you do the edits and change the filename?
I used the Theta exporter to copy files from the camera to my hard drive. Then I picked one of the dng files to try things out.
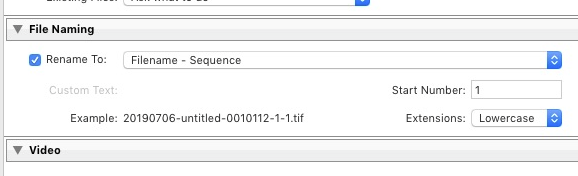
On my system, the “Example” file in Lightroom is always R0010XXX-extension.JPG
In your example filename, the file is 20190706.
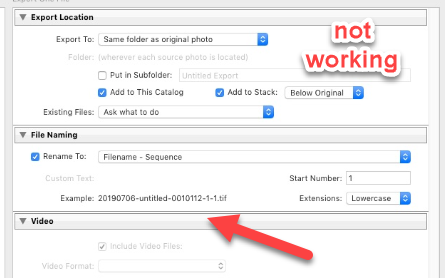
I’m not sure what the exact problem is, but you may need to get the example to be in the R0010XXX-extension.JPG format.
I’ll put more screenshots of my settings below in the hope that maybe something will help.

I am sorry, but I have cancelled my Adobe monthly subscription. There was just too much aggravation with Lightroom on my Mac. To begin with, I kept on getting the dreaded server application quitting alert every time I started the program. I spent hours with Indian tech support who eventually fixed it, but ten minutes later, the error was back again. The tech refused to help me with the Ricoh plugin, saying he was being recorded. I tried a whole lot of combinations, but just gave up and felt very annoyed that I was paying Adobe for the annoyance! So I have gone back to Darktable which seems to have far more control over DNG files, and stitching with PTGUi. I edit the nadir with Affinity Photo as a final step. Incidentally, I am rather disappointed in the camera’s resolution when stitching a single DNG. The HDR jpeg option seems to yield a far more detailed image. Anyone else found this?
I would also like to add that I also contacted Ricoh support about the plugin. The tech told me that he’d been unable to install it either!
Well, I decided to have another go at this and re enlisted in LR. Have discovered that some Mac macihines won’t work with stitcher, but others will. This is my case. I decided to try another Mac machine and it worked! Very very strange…Contacted Adobe support and I my case in currently escalated as they put it. I decided to have another go because the resolution of the Darktable/PTGI was not as good as the resolution produced by the Ricoh desktop app, Although this app does not produce a full size image, what it does do looks good. This made me think that there is something in the Ricoh stitching program that produces higher resolution images. The LR/Ricoh root is also very convenient. I found that LR reads the images in the camera directly, imports them, processes them and stitches them. You then have the choice of exporting as a DNG, TIFF, JPEG etc. I am currently cloning the drive in the machine that works and intend to copy the whole thing to the other machine that has a problem.Actually, I already did this with an external drive which I then booted from. Stitcher worked.
Exactly, you are correct.
In the latest firmware, stitching around nadir has been greatly improved.
original

touched by GIMP
Result;
Hope you enjoy.
Toyo
3 Likes
Yes, indeed! The new option “Don’t over-optimize and screw-up the nadir” should be the default.
Unfortunately, it affects only the in-camera stitching of the JPEGs which are not adequate to the image quality, the Z1 can create.
Therefore, the LR plug-in should get the same option - I hope, this is already on the TODO list!
1 Like
I don’t think that this is inevitably the case, as everything in this workflow can be parametrized and therefore optimized to match your requirements.
Can you provide a sample?
Somewhere, I once saw a similar statement with an example. Was this by you?
That example had significant color noise in the dark image areas.
Color noise seems to be a weakness of the Z1 despite the large image sensor.
So, during raw development, the color noise has to be adressed and eliminated!
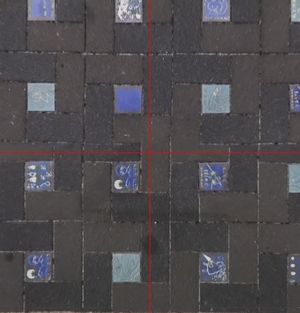
Here is a stitch made before the Ricoh update and with Darktable, PTGUI and Affinity Photo. You can clearly see the stitching problem in one of the windows and in the ceiling
https://drive.google.com/file/d/15raYUBlc9D-cZOrilYtdlEBx5bttNvdQ/view?usp=sharing
Yes, this is the image I was remembering.
Actually, I think the stitching is quite good, only found the issue on the ceiling.
With a good template, this can probably be improved further.
More room for improvement is in the raw development as there are noise and compression artifacts:
Which image format do you use to feed PTGui from Darktable?
16 bit TIFF is the best, JPEG the worst.
Note that the later versions of PTGui can read the DNG from the Z1 directly, processing them internally via LibRaw.
However, using a dedicated raw developer such as Darktable or Lightroom (ACR) is probably a more flexible and powerful solution.
1 Like
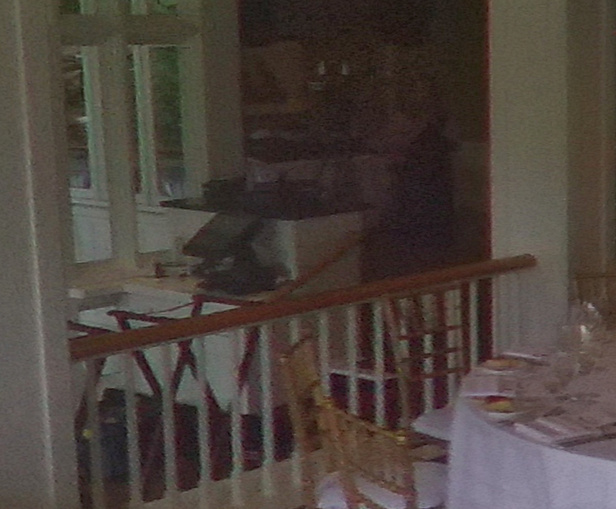
Here is the same photo processed with Lightroom and the Ricoh Stitcher, output as a TiF, the opened in Affinity Photo for nadir placement. Tried to do this in Photoshop, but far, far easier in Affinity.
https://drive.google.com/file/d/1bODNzhOTAroZ-FxPorsZeAqB3da4Fw0b/view?usp=sharing
Image is sharper and stitching is better.
Still have not been able to solve dynamic link server error on my first mac…it is resulting in the failure of the Ricoh stitcher, I am sure
Help with the Ricoh Theta Stitcher & Lightroom plugin.
Hi,
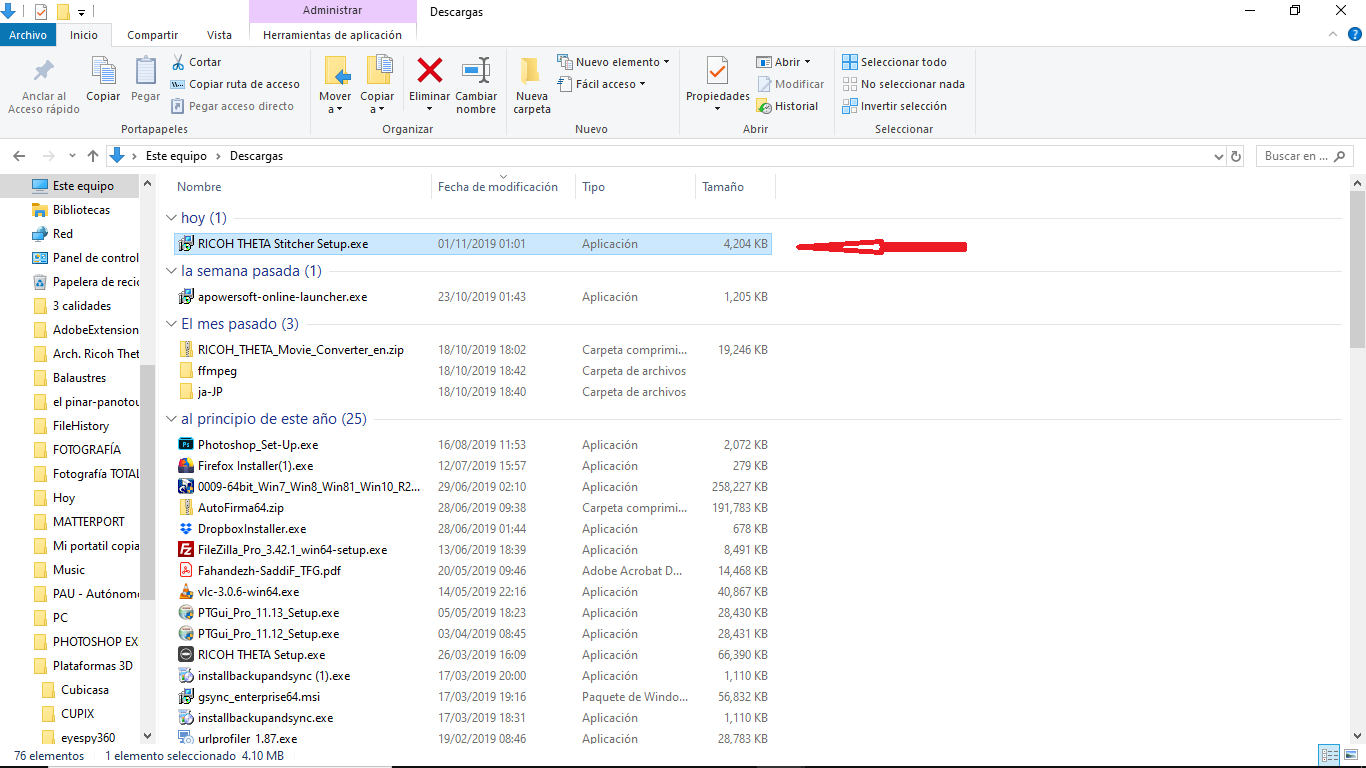
I have installed and undocked the Ricoh Theta Stitcher complement several times and from the first time the same thing always happens to me.
These are the steps:
1-I install the Ricoh Theta Stitcher plug-in
2-I open the file in Lightroom and once the desired changes have been made in the Develop module, click on the file with the right mouse button and select Edit in RICOH THETA Stitcher.
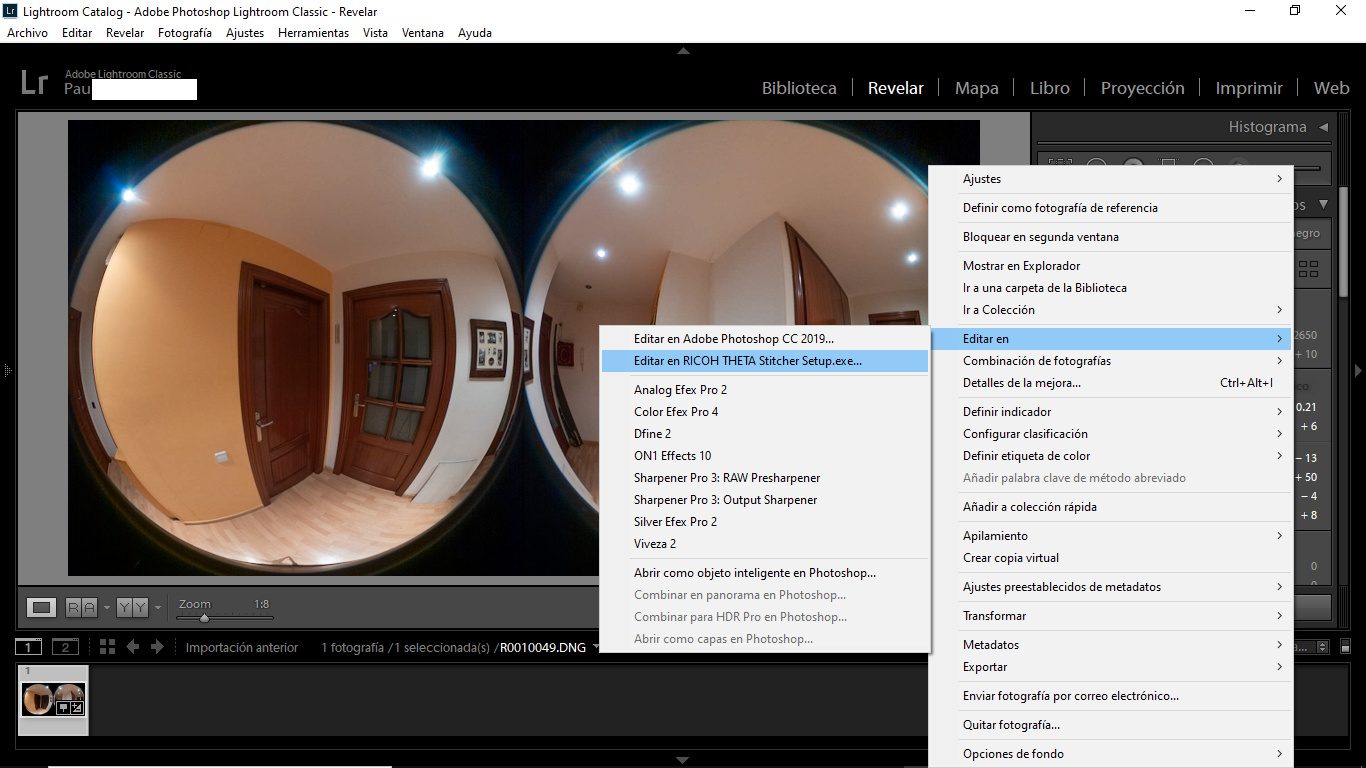
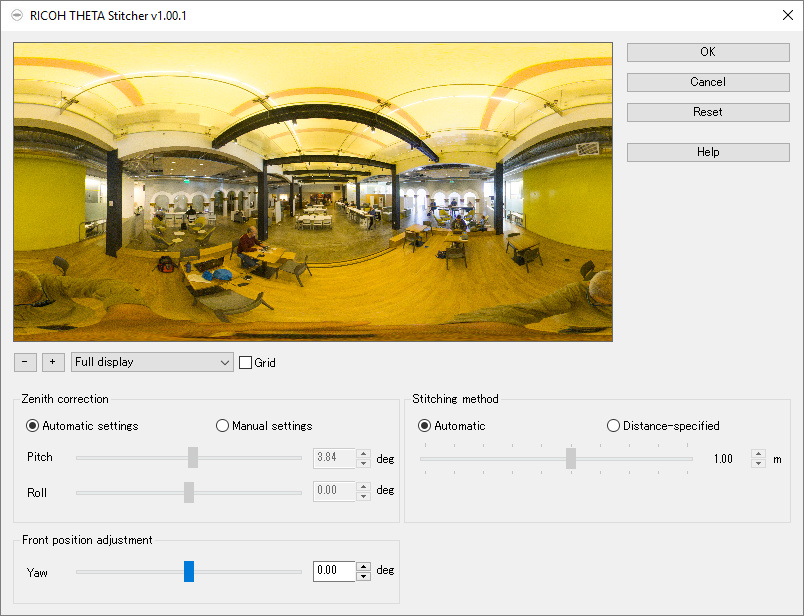
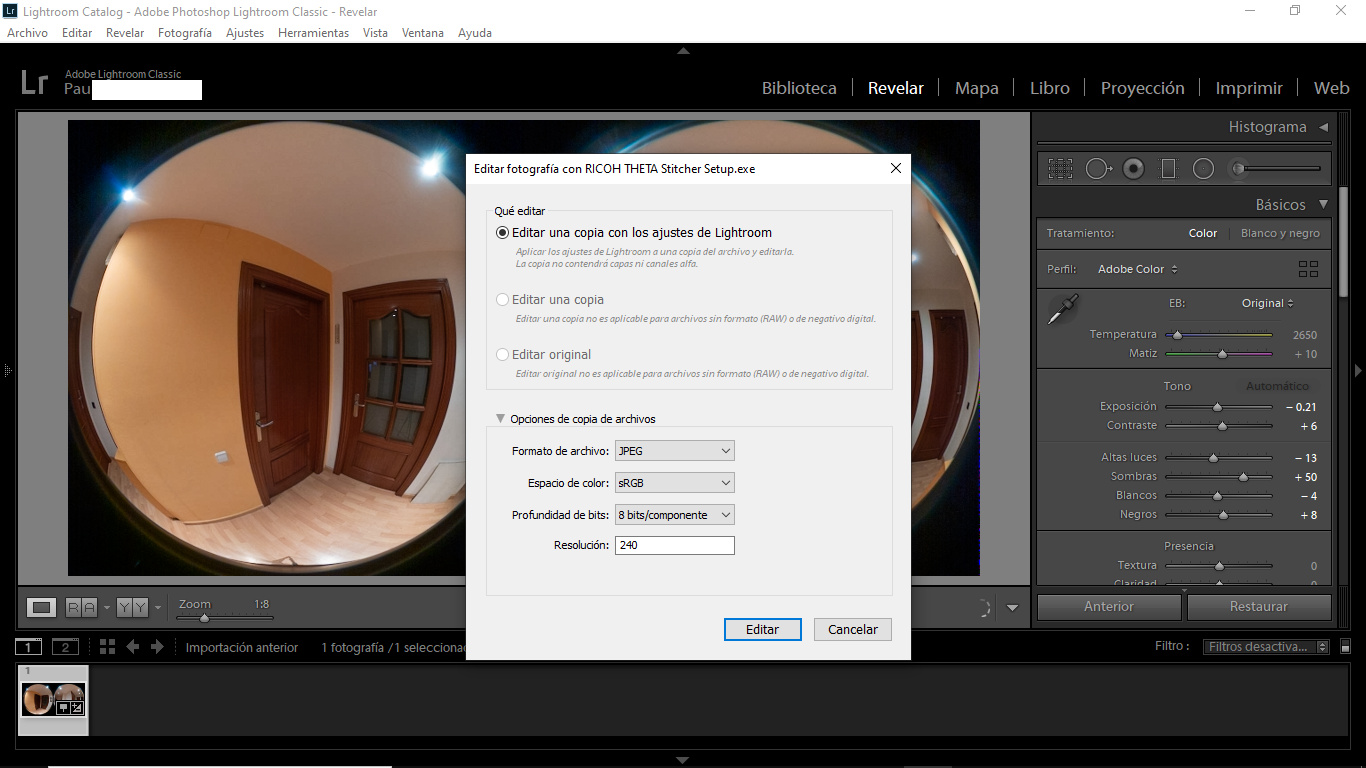
3-The complement window opens and click Apply.
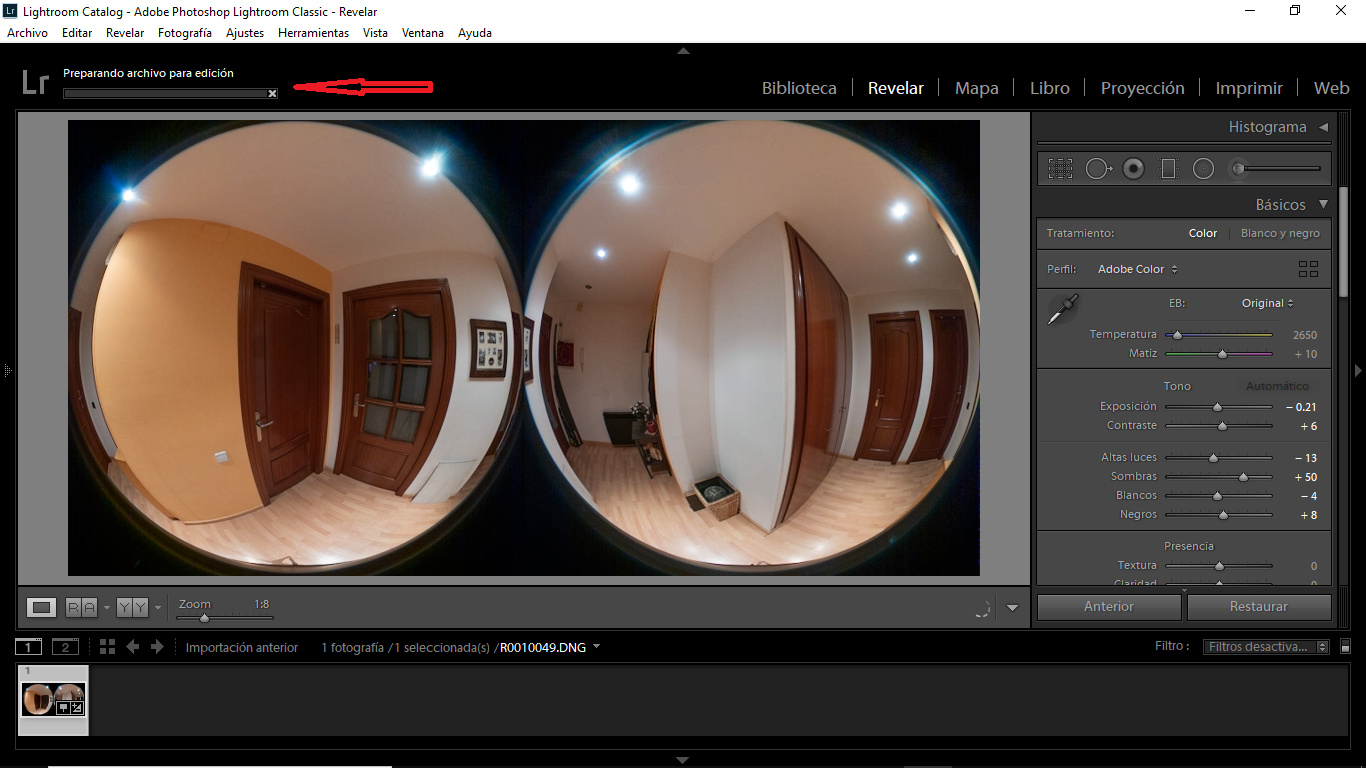
4-The file preparation bar opens
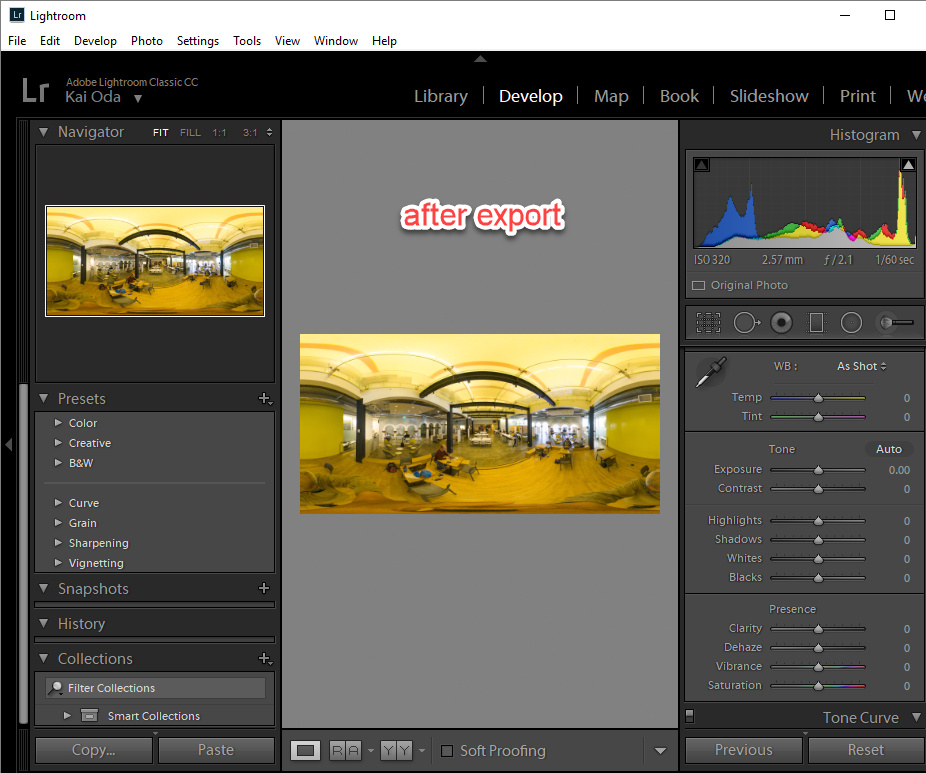
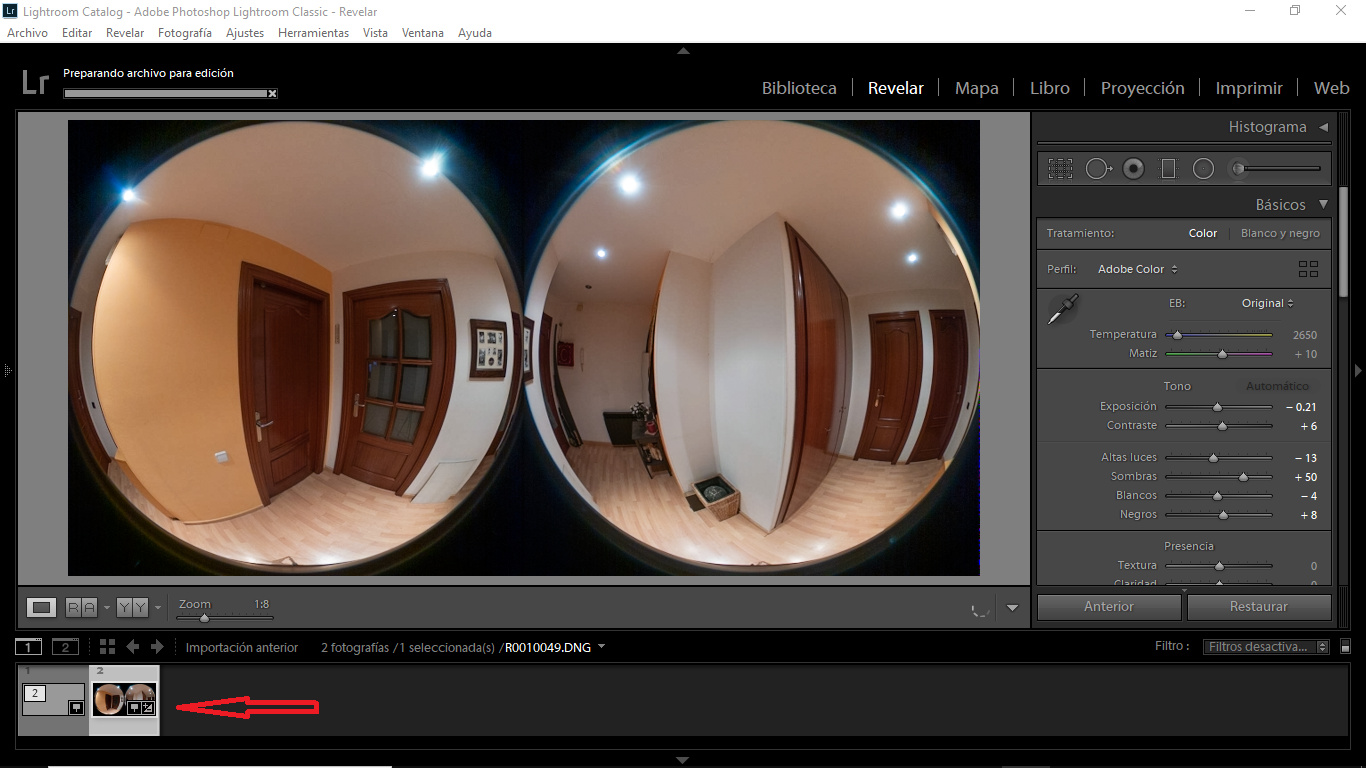
5-The thumbnail is shown with the Develop settings
The error begins: Now the window with the sewing options and to adjust the central position of the image should be opened
6-But a new window opens just like when I install the plug-in. Click yes
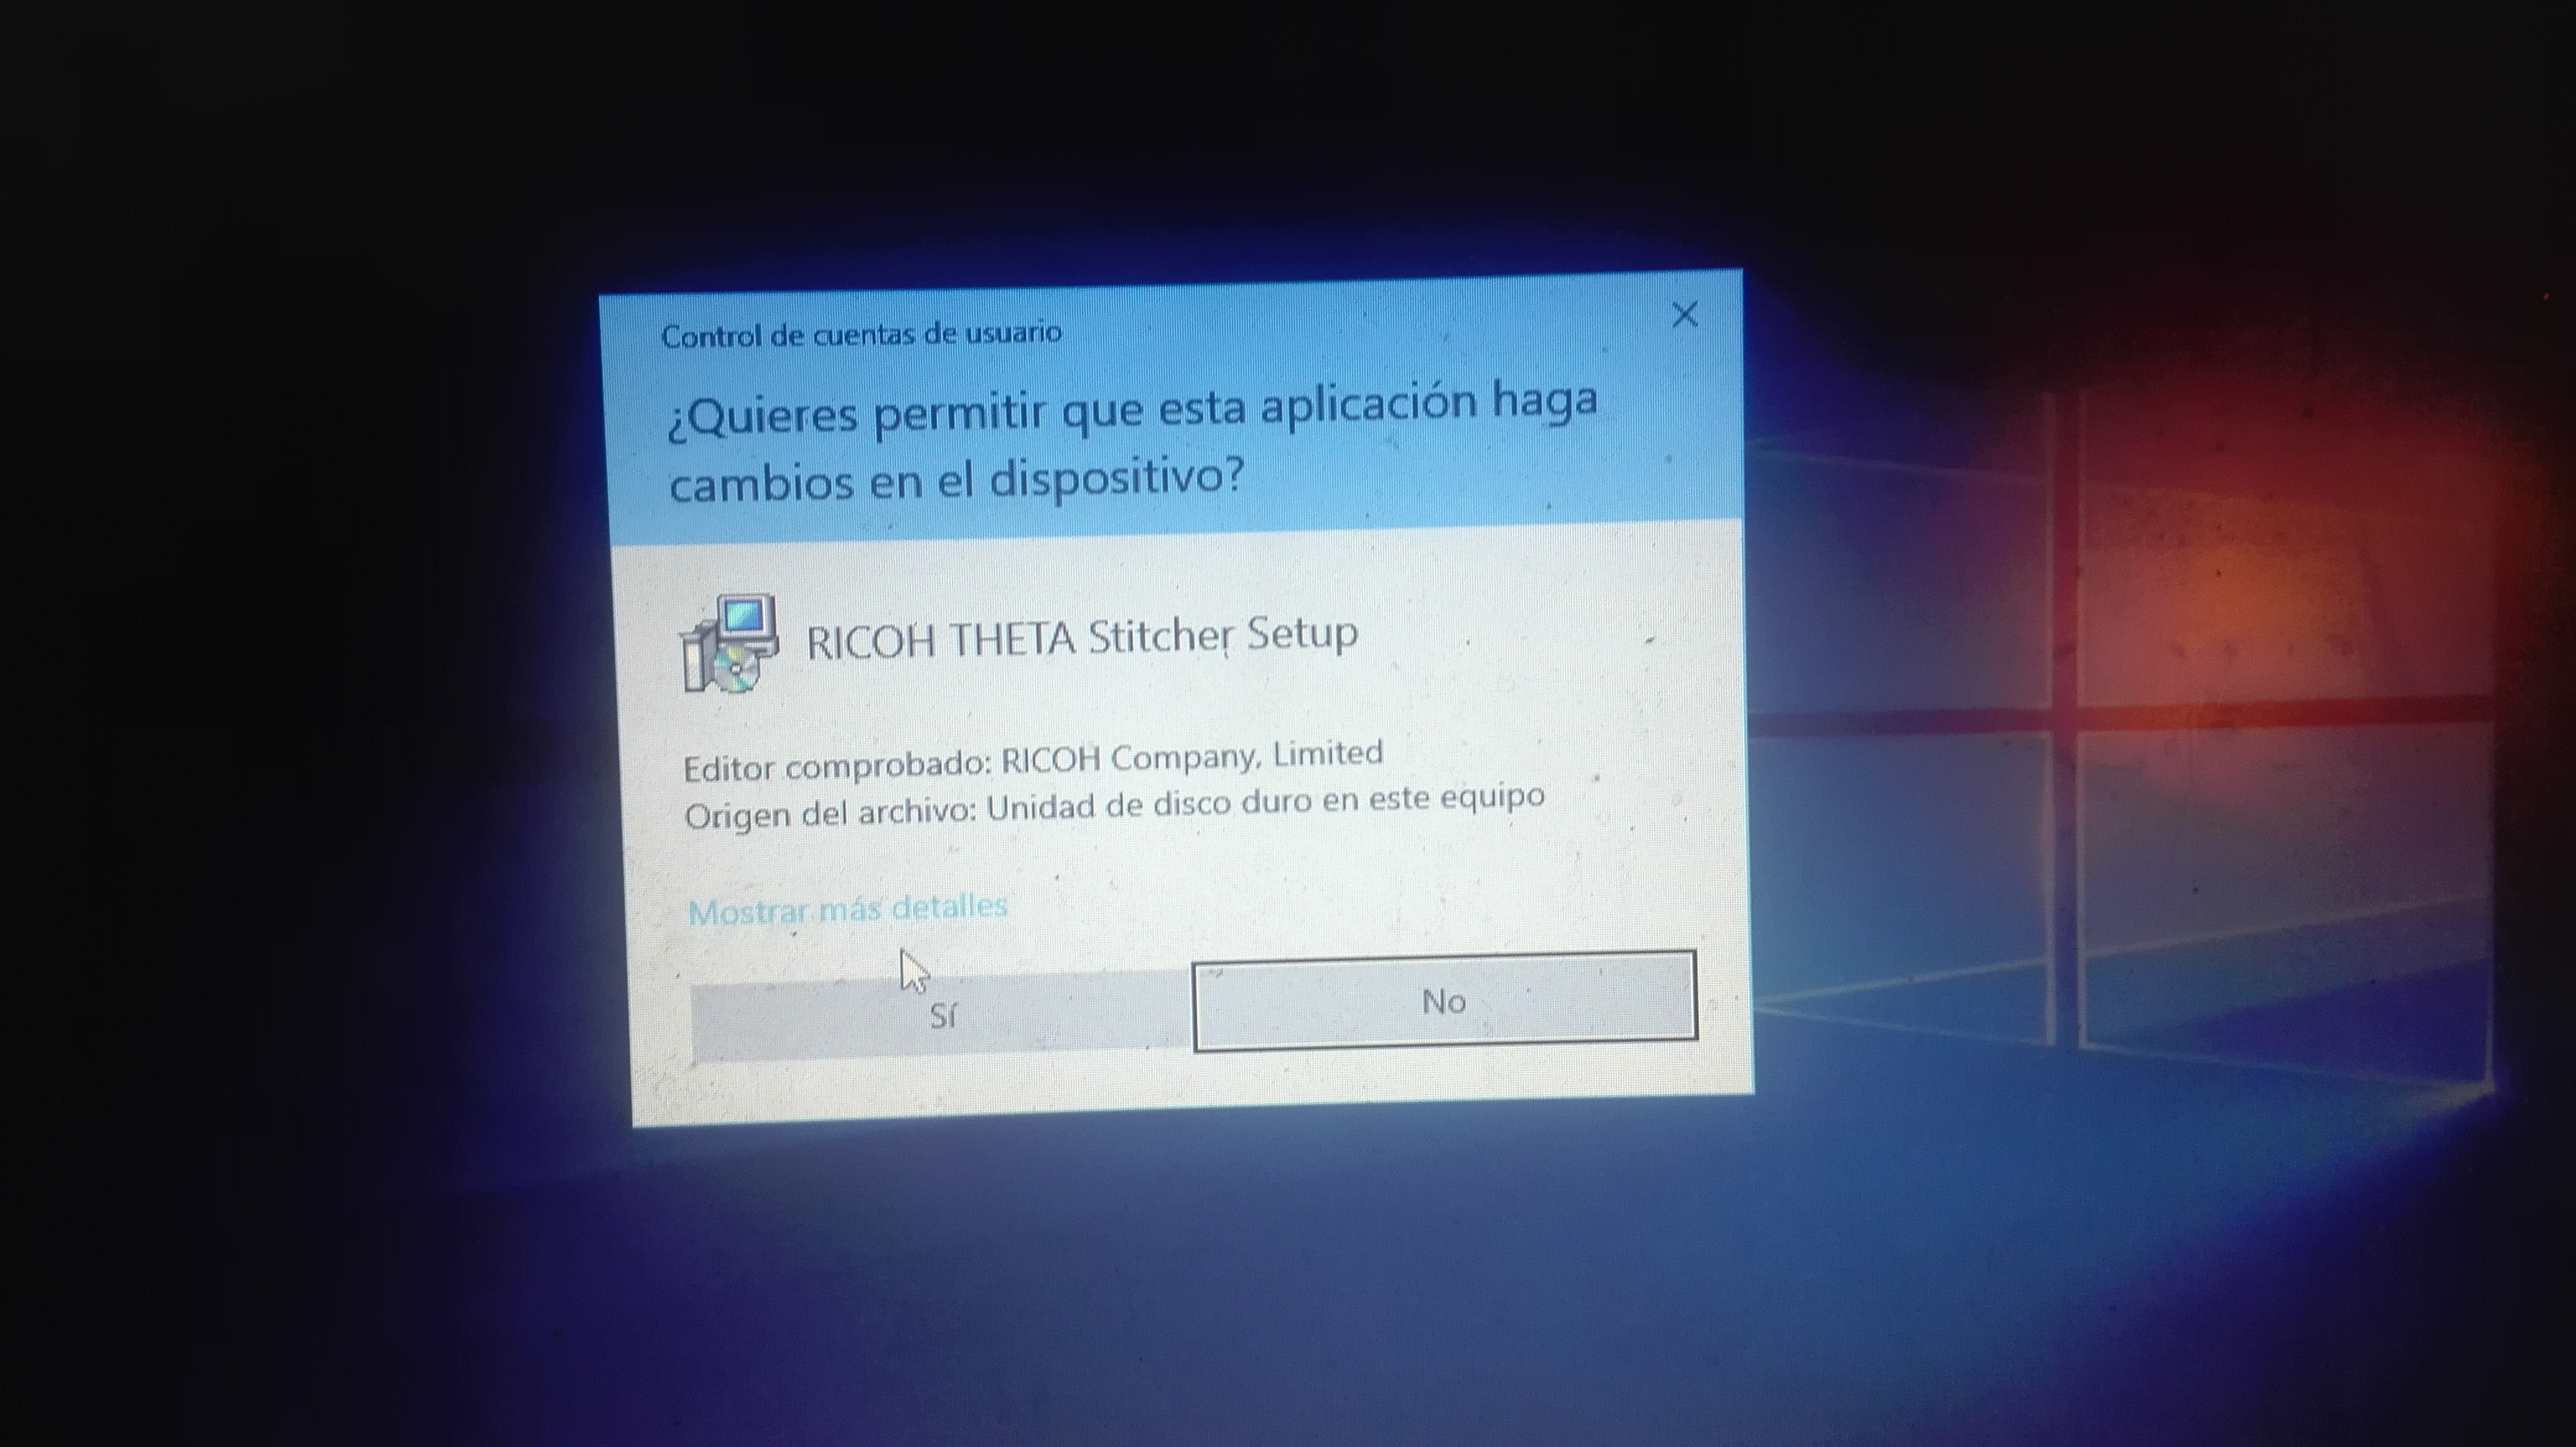
7-Click on OK
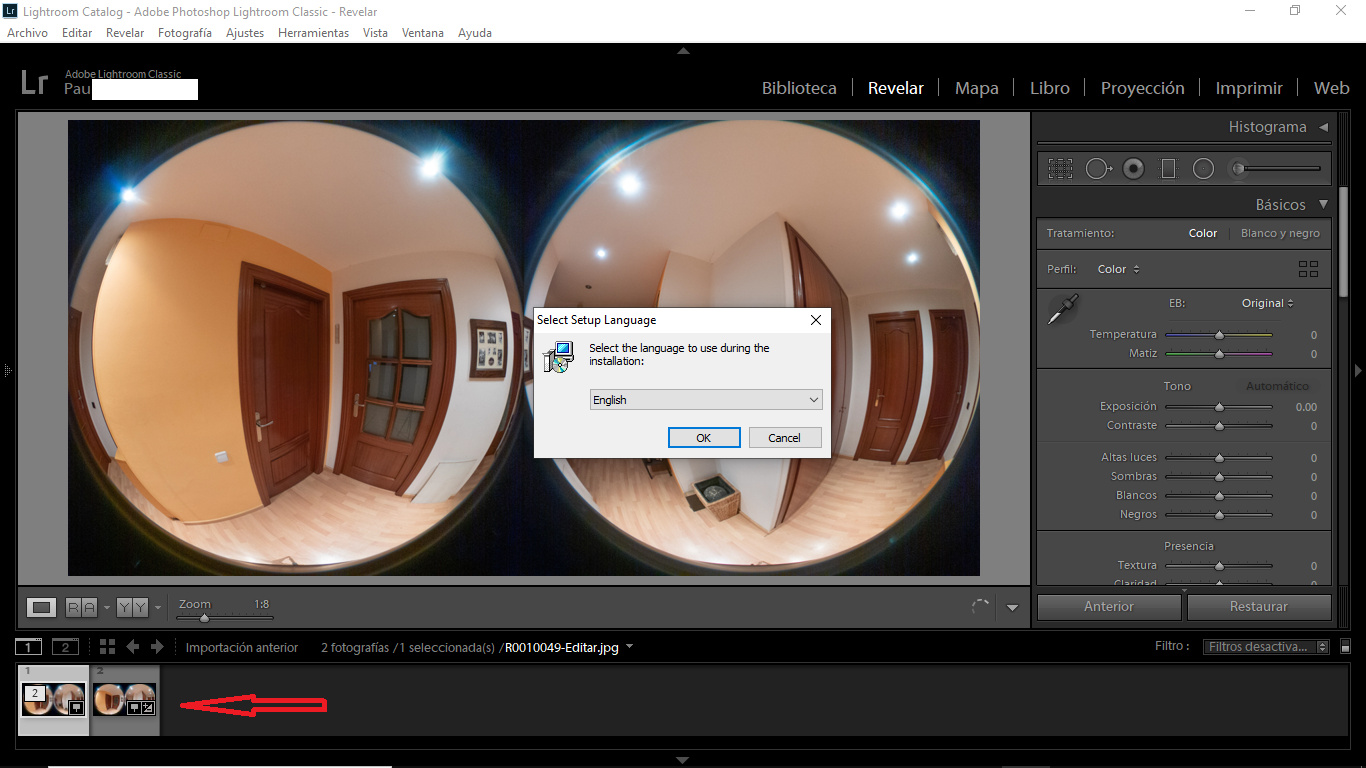
8-Click on Install
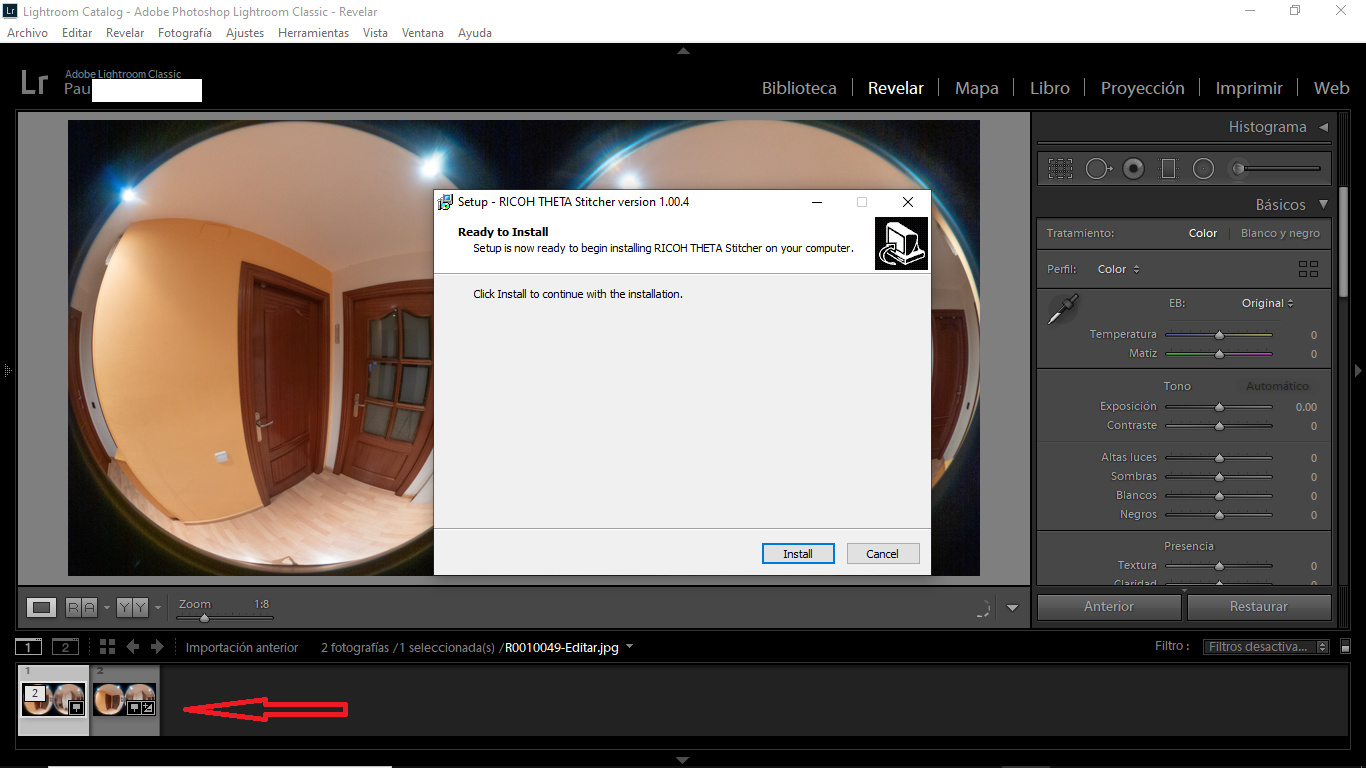
9-Click Finish
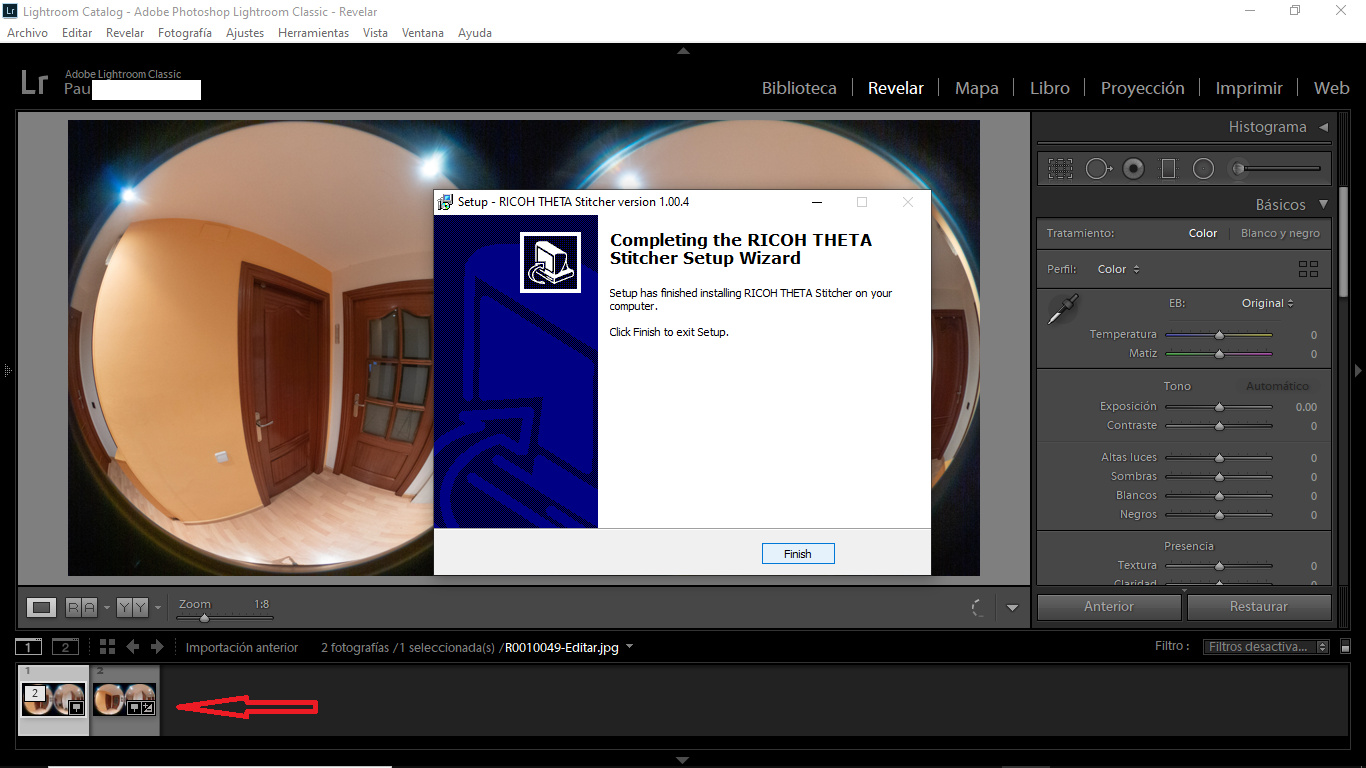
10-I continue in the Develop module. The thumbnail is still displayed with the Development settings.
If there is someone who can help me. I searched for the error online but found nothing.
Greetings and thanks!