How To: THETA Z1 OLED Customize Text and Graphics

The THETA Z1 comes with a 128x24 OLED display that you can display images and text on.

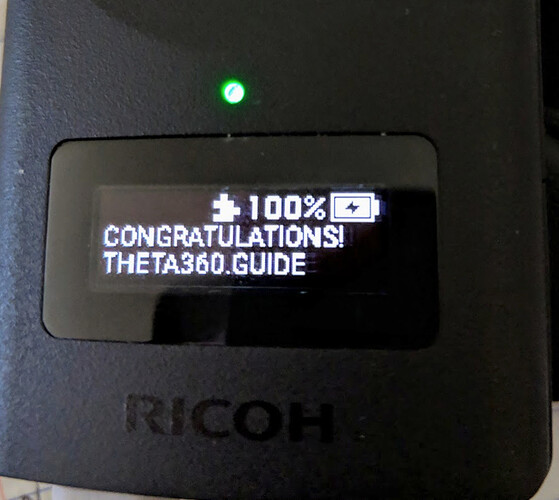
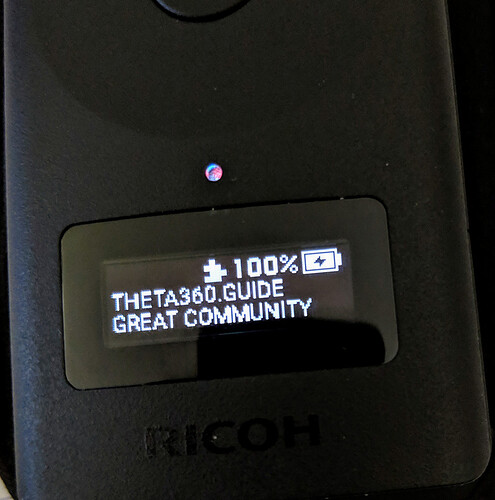
Using RICOH’s official documentation, I was able to quickly customize the display with theta360.guide branding. The documentation provides information on Broadcast Intent keys and values. If you are new to Broadcast Intent, see my article Simple Explanation of Broadcast Intent for RICOH THETA Development.

Code Example

If you are eager, this is the core code example in this tutorial:

    public class MainActivity extends PluginActivity {

        @Override
        protected void onCreate(Bundle savedInstanceState) {
            super.onCreate(savedInstanceState);
            setContentView(R.layout.activity_main);
            setAutoClose(true);
            notificationAudioSelf();

            Intent oledIntentSet = new Intent("com.theta360.plugin.ACTION_OLED_DISPLAY_SET");
            oledIntentSet.putExtra("display", "plug-in");
            sendBroadcast(oledIntentSet);

            Intent oledIntent = new Intent("com.theta360.plugin.ACTION_OLED_TEXT_SHOW");
            oledIntent.putExtra("text-middle", "theta360.guide");
            oledIntent.putExtra("text-bottom", "great community");
            sendBroadcast(oledIntent);

        }
    }

Steps

Open Android Studio

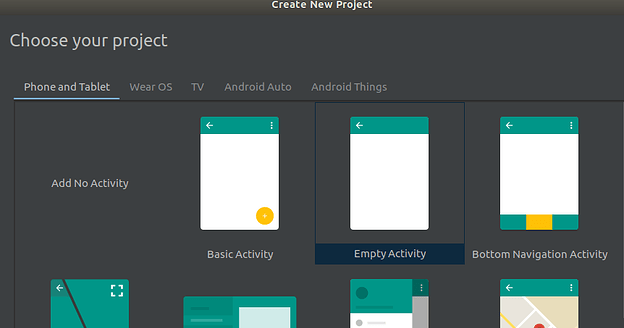
Create Empty Activity

  • Create New Project
  • Create Empty Activity

Add pluginlibrary

Project: build.gradle

allprojects {
    repositories {
        google()
        jcenter()
        maven { url 'https://github.com/ricohapi/theta-plugin-library/raw/master/repository' }
        
    }
}
App: build.gradle

dependencies {
   ...
    implementation 'com.theta360:pluginlibrary:2.0.0'
}

Set MainActivity to extend PluginActivity

The rest of the steps refer to MainActivity.java

public class MainActivity extends PluginActivity {

You need to import PlugActivity with Alt-Enter.

Set plug-in to close

Put this line in onCreate

setAutoClose(true);

If the camera locks up. You can force close it by pressing the Wi-Fi button and holding down the power button.

Enable Plug-in to Control OLED

You need this step to allow the plug-in to control the OLED display. If you don’t set the display to “plug-in”, your intent to control the display will be ignored.

Intent oledIntentSet = new Intent("com.theta360.plugin.ACTION_OLED_DISPLAY_SET");
oledIntentSet.putExtra("display", "plug-in");
sendBroadcast(oledIntentSet);

Set Your Message

There are two lines. If you extend beyond the display, the text will scroll.

Intent oledIntent = new Intent("com.theta360.plugin.ACTION_OLED_TEXT_SHOW");
oledIntent.putExtra("text-middle", "theta360.guide");
oledIntent.putExtra("text-bottom", "great community");
sendBroadcast(oledIntent);
Congratulate Yourself!

1 Like

This is really cool. Shows a lot of potential for communicating info to the end user.

1 Like

We can pull the settings information through the API and display whatever we want. Does the normal camera (not plug-in) display settings? I haven’t read the user manual yet. It doesn’t appear to be listed on this site yet: https://support.theta360.com/en/manual/

Have you seen the user manual for the THETA Z1? I’m curious on how to use the function button more effectively.

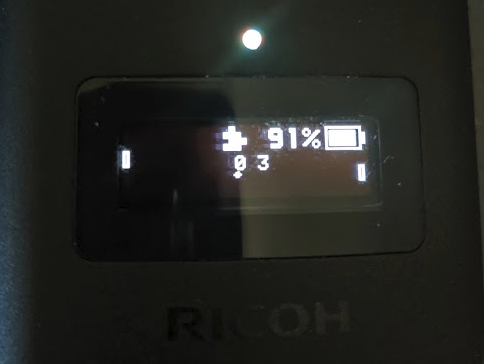
Normal usage shows a fair amount of information. Setting for Shutter, Battery Level, Top 3 Active Plug-ins (which you can toggle through) and more. I’ll add some screenshots soon.

Can you see additional settings? For example, my scuba one needs to show color temperature.

I’m also interested in showing this:

KA-2 wrote a great article about controlling the Z1 OLED. The article is in Japanese. You can apply machine translation with Google Translate.

I only had time to go through one of his many examples.

image

image

image

There’s a GitHub repo of my tests here.

You can get an apk here.

1 Like

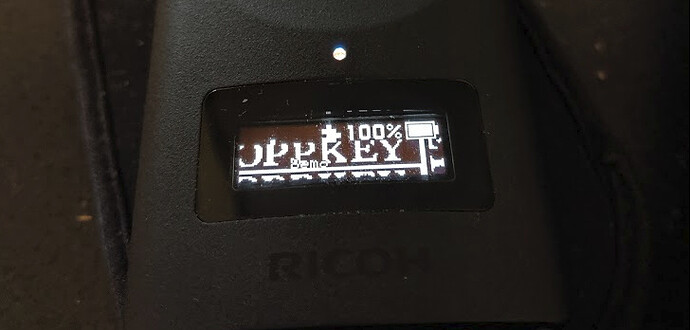
Downloaded the apk, installed, using the RICOH THETA desktop app to set it as one of the 3 active plug-ins, then picked it using the OLED screen on the Z1. Runs like a charm. Pretty cool to see, actually.

1 Like

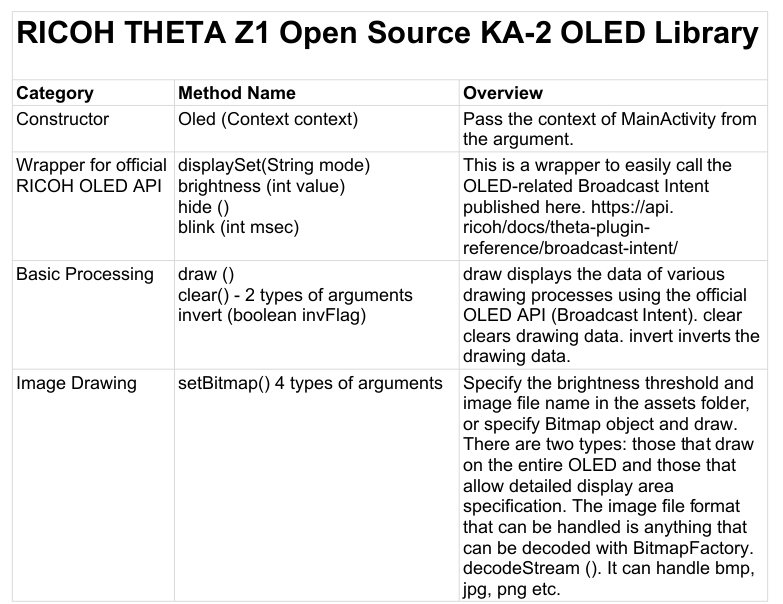
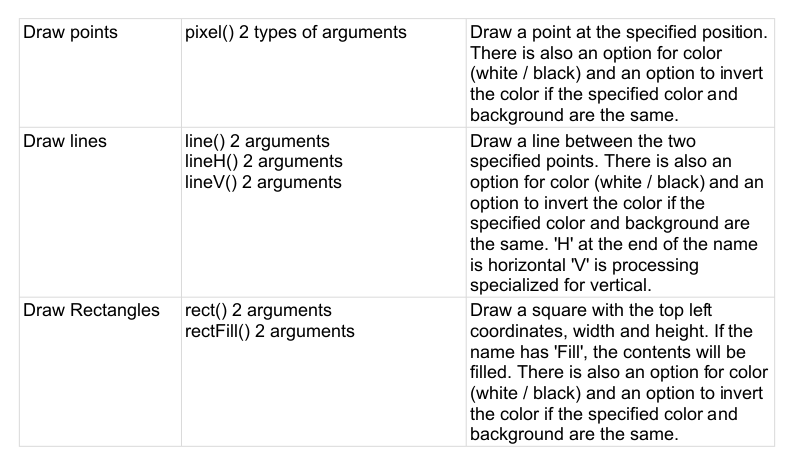
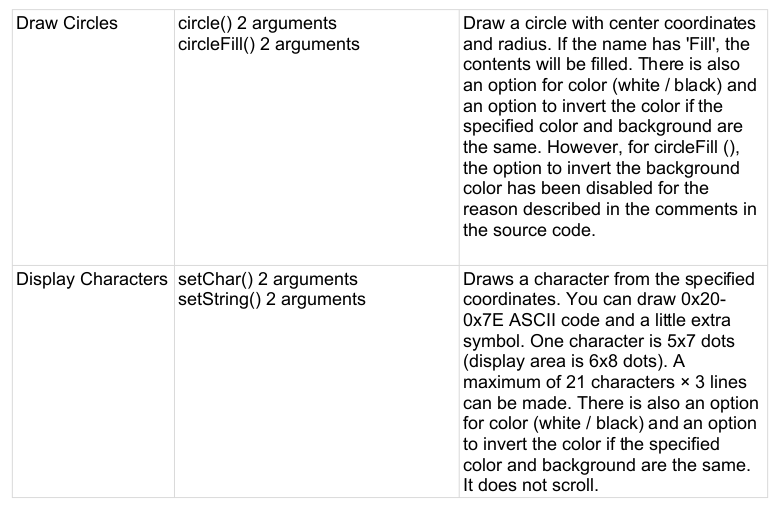
He built a library to make the THETA z1 screen easier to use.

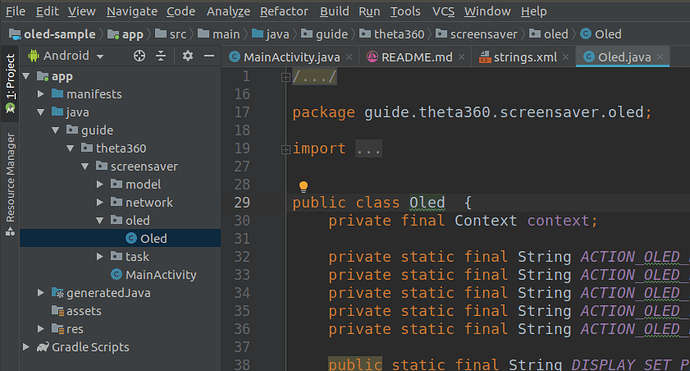
Save Oled.java in a folder oled

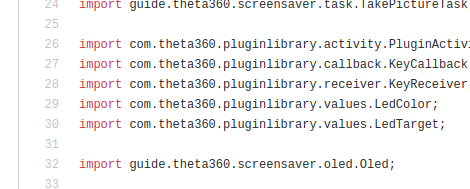
import into MainActivity.java

image

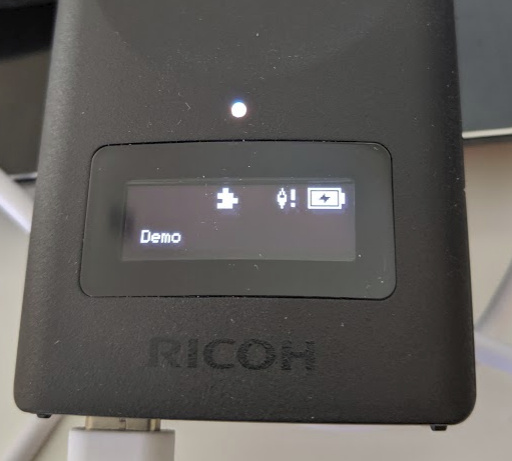
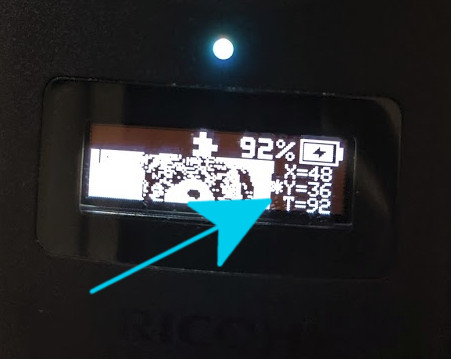
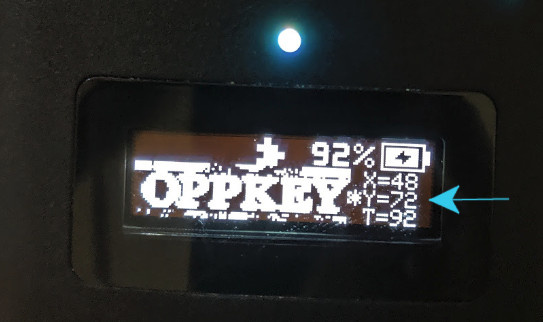
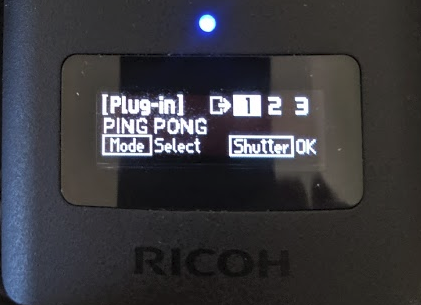
Z1 OLED Demos - Bitmap Image and Ping Pong Game

Bitmap Demo - Source Code and Pre-compiled

How to Use the Bitmap Demo

First screen will be screensaver.

Long-press Wi-Fi button to put into Bitmap demo mode.

bitmap 1

Long press Function button to move between “x”, “y”, and “t”.

Short press Wi-Fi and mode to adjust x, y, t values.

adjust 1

Short press function to swap pixel values.

image


Ping Pong Game

ping-pong-1

ping-pong-2

ping-pong-3


Standalone Library

The OLED graphics library can be used independently of the demos.

Get the library and documentation at this gist.

1 Like

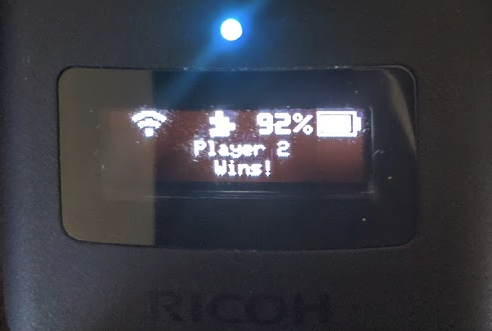
Player Two Wins!!

https://gph.is/g/ZPOrY9k

1 Like

Epic battle with wild angles!

https://gph.is/g/4zw2xQA

1 Like

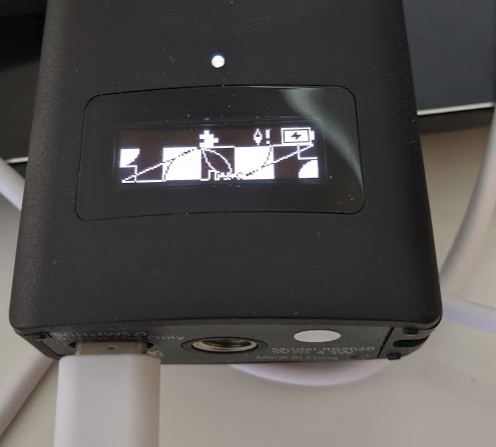
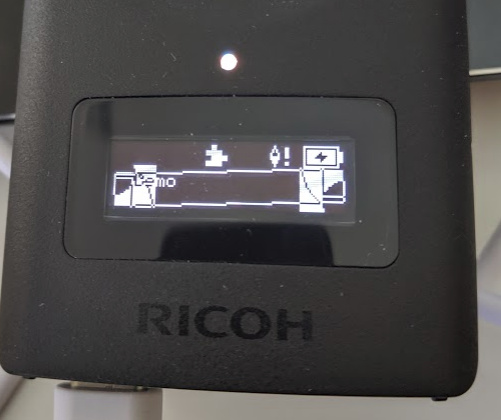
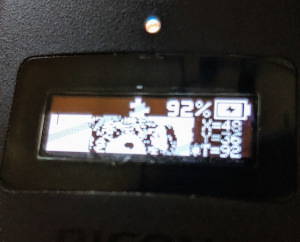
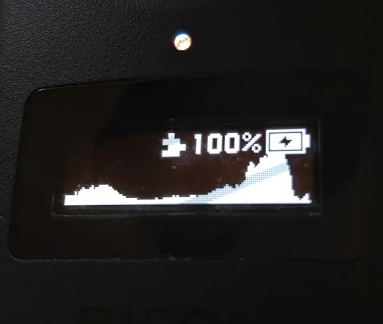
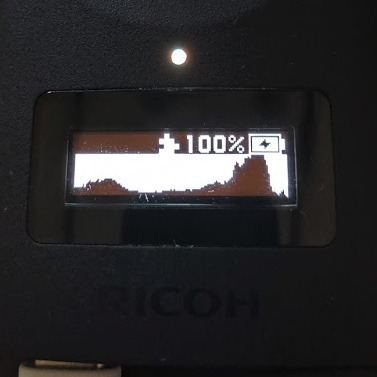
Plug-in Idea - Histogram

image

image

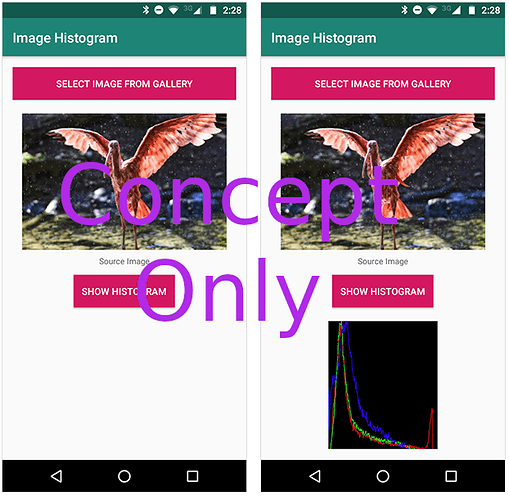
This is a mockup only. The plug-in doesn’t actually display the accurate histogram values. I am using a bitmap image to test the concept.

What is a histogram?

Possible Development Tips

https://inducesmile.com/android/draw-image-histogram-in-android-with-opencv/

It looks feasible to use the tutorial above and build a histogram.

If you like this concept and want to see it built, put your comment here or like this post.

1 Like

Good idea! A histogram is an important tool to rate exposure.

Is it possible to render this for the preview before taking the image (as other cameras do)?

2 Likes

Thank you for the feedback. Someone on the Facebook Users Group page came up this idea. Was it you? I’ve been trying to remember who contributed the idea. It was more than a month ago.

It’s possible to produce the histogram from the preview. This is great feedback. The plug-in has access to the live preview camera stream so it’s possible to grab a frame from the “preview” and process the histogram that way.

Here’s an example of of preview processing with OpenCV using information from a “frame”. The histogram creation example above uses OpenCV. @jcasman was just at CVPR and met with several people interested in OpenCV. Maybe we can find a match with the idea and a developer.

In general, I think the developers are struggling to find good ideas for the plug-ins.

We’ve been trying to help developers get the ideas from photographers by organizing some information on this site. http://ideas.theta360.guide/ I’d like to give the person that came up with the idea attribution for the idea if possible.

No, that wasn’t me but it’s nevertheless a good idea. :wink:

This feature fits into the plugin category ‘give the Theta the UI features any normal camera has’. Currently, we have to use either the app, which is a pain in the ass, or the direct 4-button interface, which is even worse.

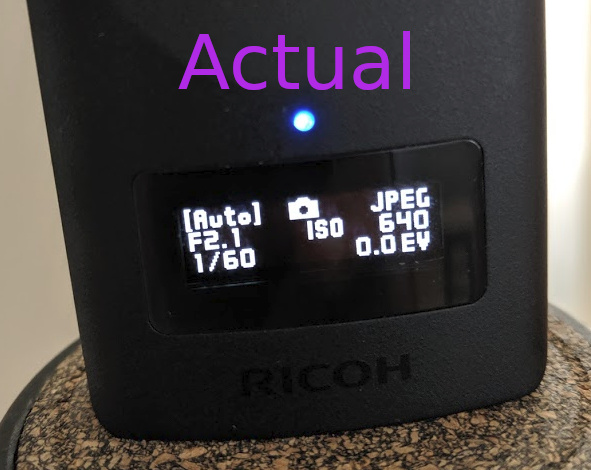
So, the OLED display could used to display the usual data other cameras display: shutter, f-stop, ISO, exposure correction, etc. Not even the app shows this data for the values selected automatically!

For illustration: When doing street photography with the THETA, I often can’t use a tripod or have enough time to setup exposure with the app. Instead, I have to rely on mode Auto. But in this mode, I have no clue which shutter is actually selected and whether it is short enough to do the shot handheld.

1 Like

Is this different from the current feature of the Z1 that displays the settings using the long-press Fn button prior to shooting?

image

The Z1 is new, so maybe it’s hidden from common use?

2 Likes

Well … this is … um … er … exactly what I meant! :blush:
Thanks for pointing this out!

Perhaps I should spend some time reading the user guide to identify such hidden gems …

1 Like

Thanks for the feedback. I think we’re all learning about the camera as it is new.

To be honest, I just learned about this feature myself from a guy at RICOH. I was actually talking to him about your feature request and he gave me the tip.

The histogram feature, if we can find someone to build it, would be new.

2 Likes