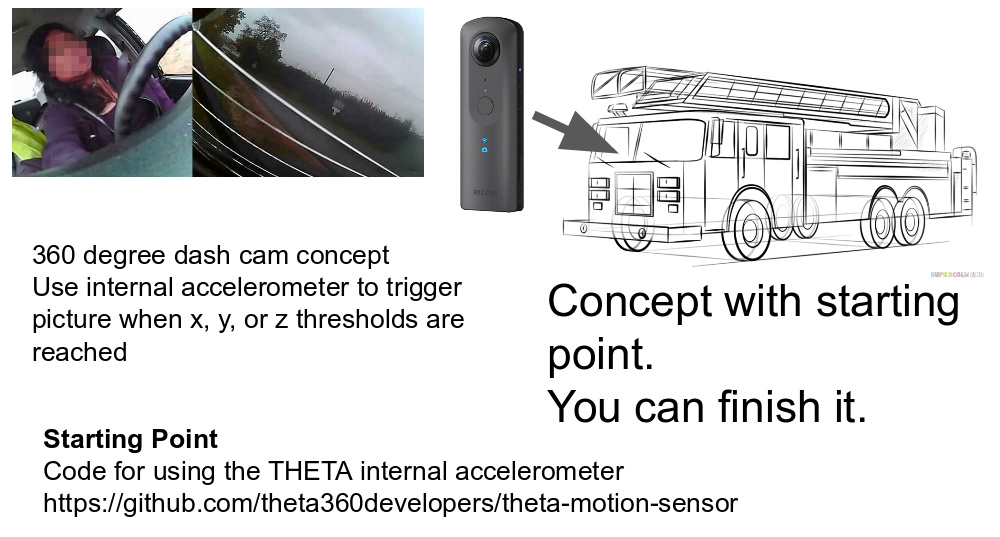
I recently read an article by @yokazuya on using the THETA motion sensors to take a picture.
He used the Android Sensor class.
I went through his article and was able to successfully get data from the THETA internal accelerometer. I’m displaying the data to both logcat and using it to trigger the shutter of the THETA. The working repo I used for my test is below. Make sure you set the plug-in permission after installing it. I’m using a mock location.
https://github.com/theta360developers/theta-motion-sensor
If you want to test it out first, the apk is below.
https://github.com/theta360developers/theta-motion-sensor/releases/tag/v0.1-alpha-1
Kaz’s article was impressive as he is filtering out gravity in addition to simply grabbing the sensor values.

I’ve translated the relevant portions of Kaz’s article below.
Import the following classes.
import android.hardware.Sensor;
import android.hardware.SensorEvent;
import android.hardware.SensorEventListener;
import android.hardware.SensorManager;
Your application can access THETA motion from the internal accelerometer with the following:
- implement SensorEventListener interface
- set up and cancel event listeners
- acquire SensorManager
- control acceleration at onResume event
Specify the sensor when registering the event listener. For acceleration, use Sensor.TYPE_ACCELEROMETER. For the gyroscope, use Sensor.TYPE_GYROSCOPE
The code below filters out gravity and noise.
AccelerationGraSensor.java
package com.theta360.pluginapplication.AccelerationSensor;

import android.hardware.Sensor;
import android.hardware.SensorEvent;
import android.hardware.SensorEventListener;
import android.hardware.SensorManager;

import java.util.List;

public class AccelerationGraSensor implements SensorEventListener {

    private static final float FILTER = 0.1f; // filter coefficient

    private float[] currentGravityValues      = {0.0f, 0.0f, 0.0f};
    private float[] currentAccelerationValues = {0.0f, 0.0f, 0.0f};

    public synchronized float getX() {
        return this.currentAccelerationValues[0];
    }

    public synchronized float getY() {
        return this.currentAccelerationValues[1];
    }

    public synchronized float getZ() {
        return this.currentAccelerationValues[2];
    }

    public AccelerationGraSensor(SensorManager sensorManager) {
        // register event listener
        Sensor s = sensorManager.getDefaultSensor(Sensor.TYPE_ACCELEROMETER);
        sensorManager.registerListener(this, s, SensorManager.SENSOR_DELAY_UI);
    }

    @Override
    public void onSensorChanged(SensorEvent event) {
        if (event.sensor.getType() == Sensor.TYPE_ACCELEROMETER) {
            // extract gravity values in the low-pass filter
            currentGravityValues[0] = event.values[0] * FILTER + currentGravityValues[0] * (1.0f - FILTER);
            currentGravityValues[1] = event.values[1] * FILTER + currentGravityValues[1] * (1.0f - FILTER);
            currentGravityValues[2] = event.values[2] * FILTER + currentGravityValues[2] * (1.0f - FILTER);

            synchronized (this) {
                // remove gravity
                currentAccelerationValues[0] = event.values[0] - currentGravityValues[0];
                currentAccelerationValues[1] = event.values[1] - currentGravityValues[1];
                currentAccelerationValues[2] = event.values[2] - currentGravityValues[2];
            }
        }
    }

    @Override
    public void onAccuracyChanged(Sensor sensor, int accuracy) {

    }
}
Instead of implementing MainActivity as a class, we’re using SensorEventListener to control acceleration.
In lines 15 to 25, getters are defined to allow the acceleration to be accessed from other classes.
Event listener is registered from line 27. You need to define the which sensor to use. I’m using Sensor.TYPE_ACCELEROMETER for acceleration.
When the value of the sensor changes, onSensorChanged is called in line 37. The gravity is extracted with a low pass filter.
In line 52, onAccuracyChanged indicates that the accuracy of the sensor changed.
Testing Acceleration
Use Android Studio’s debugging features to check acceleration value by using Log.D.
MainActivity.java
private SensorManager graSensorManager;
private AccelerationGraSensor accelerationGraSensor;

private static final int ACCELERATION_INTERVAL_PERIOD = 1000;
private Timer timer;

@Override
protected void onCreate(Bundle savedInstanceState) {
    super.onCreate(savedInstanceState);
    setContentView(R.layout.activity_main);

    // Set state to take acceleration
    graSensorManager = (SensorManager)getSystemService(SENSOR_SERVICE);
    accelerationGraSensor = new AccelerationGraSensor(graSensorManager);
}

@Override
protected void onResume() {
    super.onResume();
    timer = new Timer();
    timer.schedule(new TimerTask() {
        @Override
        public void run() {
            // output log, acceleration
            Log.d("accelerX", String.valueOf(accelerationGraSensor.getX()));
            Log.d("accelerY", String.valueOf(accelerationGraSensor.getY()));
            Log.d("accelerZ", String.valueOf(accelerationGraSensor.getZ()));
        }
    }, 0, ACCELERATION_INTERVAL_PERIOD);
}

@Override
protected void onPause() {
    super.onPause();
    timer.cancel();
}
Define SensorManager in the onCreate method. Define a new onResume method and use the timer to output the acceleration to the log. You can define the interval to acquire acceleration in ACCELERATION_INTERVAL_PERIOD. In this example, we are getting acceleration every 1000 milliseconds.
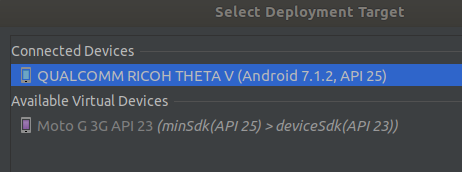
Run app in Android Studio.
With the THETA plugged in, you should see it when you hit the play icon.

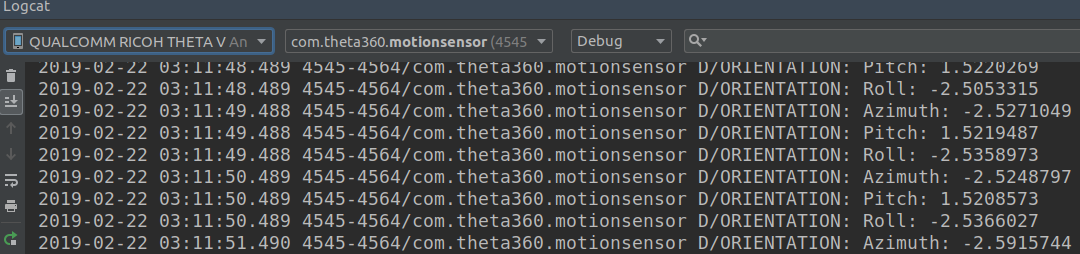
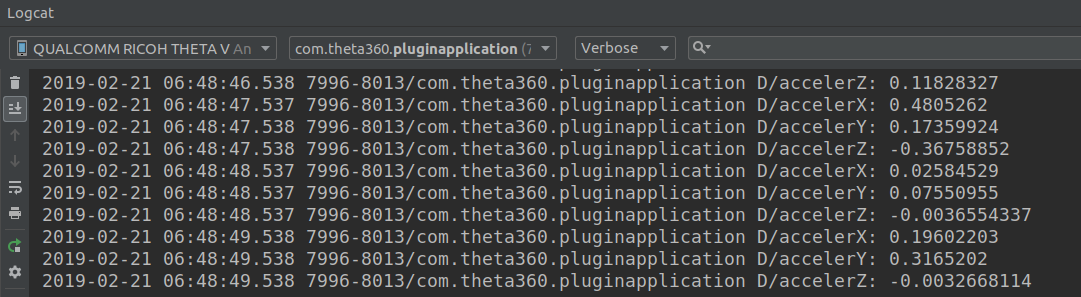
Use Logcat
Sensor values are updated at 1000 millisecond intervals.
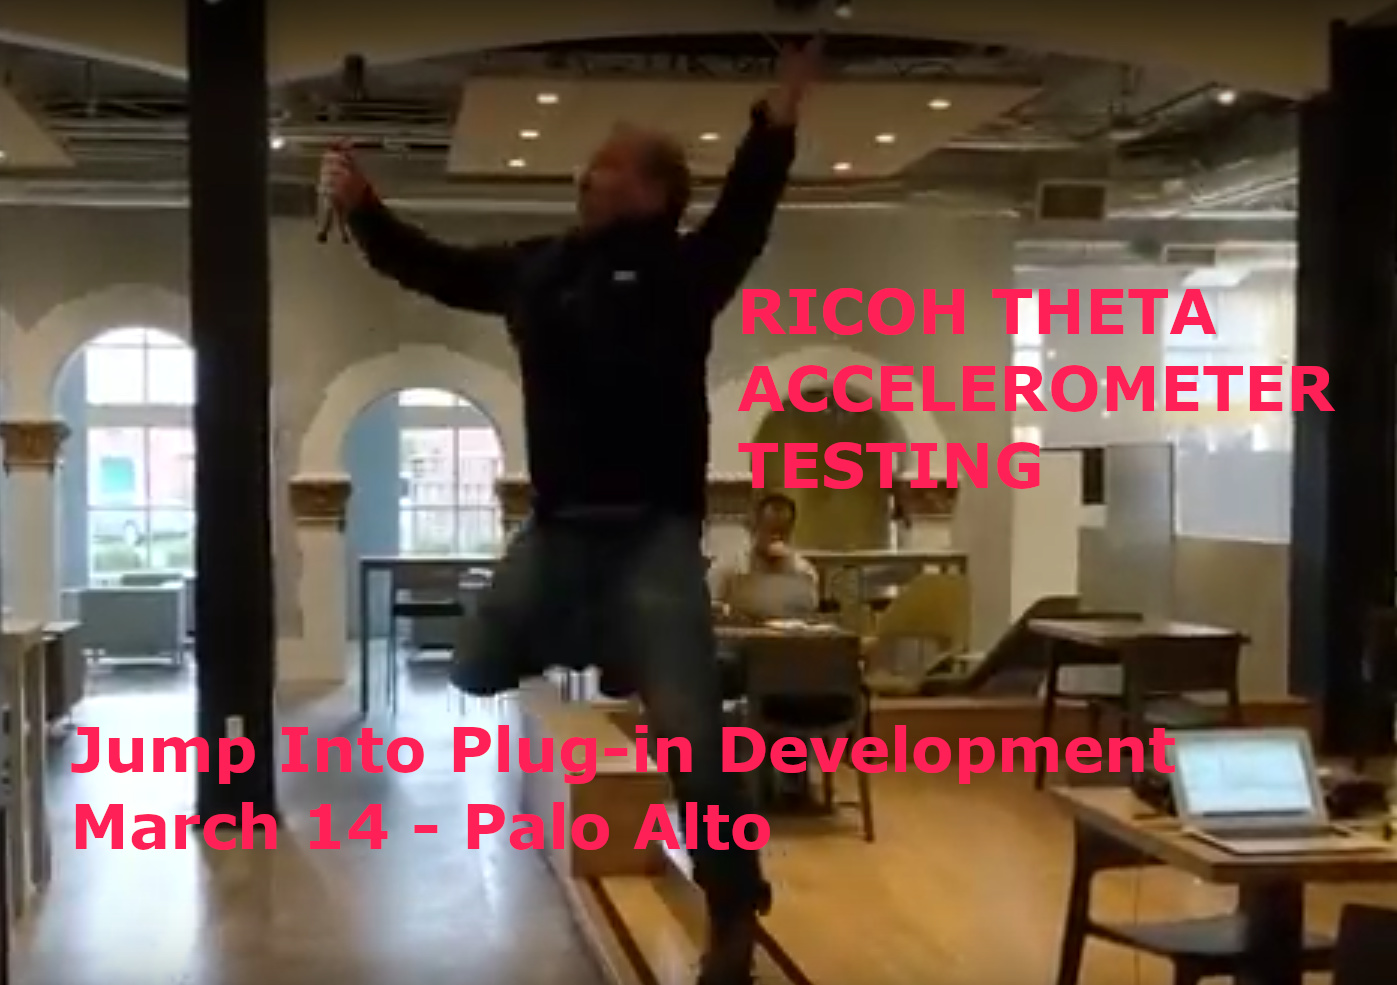
Shake THETA to Take Picture
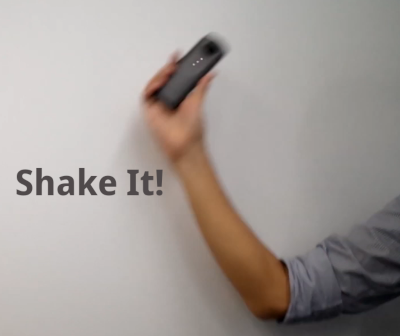
Kaz shaking THETA
Change code to take a picture. In the run() method check to see if an acceleration threshold is passed and then take picture.
Make sure to add onDestroy() to unregister the listener.
MainActivity.java changes
private static final float ACCELERATION_THRESHOLD = 3.0f;

@Override
protected void onResume() {
    super.onResume();
    timer = new Timer();
    timer.schedule(new TimerTask() {
        @Override
        public void run() {
            // shoot picture if acceleration threshold is exceeded
            if (Math.abs(accelerationGraSensor.getX()) > ACCELERATION_THRESHOLD ||
                Math.abs(accelerationGraSensor.getY()) > ACCELERATION_THRESHOLD ||
                Math.abs(accelerationGraSensor.getZ()) > ACCELERATION_THRESHOLD) {
                    new TakePictureTask(mTakePictureTaskCallback).execute();
            }
        }
    }, 0, ACCELERATION_INTERVAL_PERIOD);
}

@Override
protected void onPause() {
    super.onPause();
    timer.cancel();
}

@Override
protected void onDestroy() {
    super.onDestroy();
    if (graSensorManager != null) {
        // release event listener
        graSensorManager.unregisterListener(accelerationGraSensor);
    }
}
Summary
The developer, Kaz, emphasized that this is greatly simplified sample code with inaccurate sensor detection. Although it is easy to grab the sensor data from the accelerometer, it is tricky to get accurate acceleration and angular velocity. The sample code works for the purpose of starting you on the path to using the accelerometer, but you should build your own algorithm for production use.