Last week I put together an Introduction to HDR on the THETA.
While I was doing that, I wanted to figure out how to make my own HDR images so I could have more control over them. After fumbling around online for awhile, I was finally able to make my own HDR image on GIMP. This tutorial is specifically for GIMP, as I’m not familiar with other photo-editing software. I’m sharing the results with the hope that it saves you all some time.
If you’re familiar with HDR, you’ll know you want to take several captures at different brightness levels in order to consolidate the best parts into one image. For this project I took five captures, but only ended up using 3 (and then 4) of them. The exposures I started with were with shutter speeds 1/80, 1/40, and 1/20.
The first thing you want to do is open all your captures as layers. You can do this by hitting the “File” tab and scrolling down to “Open as layers.” When you have your 3 layers (you can do as many as you want, but I started with 3), order them so the lowest layer is your middle exposure. In my case, that made my bottom layer my 1/40 exposure. Above that I had my 1/80 exposure, and at the top was my 1/20 exposure.
You can rearrange these layers by going to the “Layer” tab, hitting “Stack,” and choosing either to raise or lower the layer.
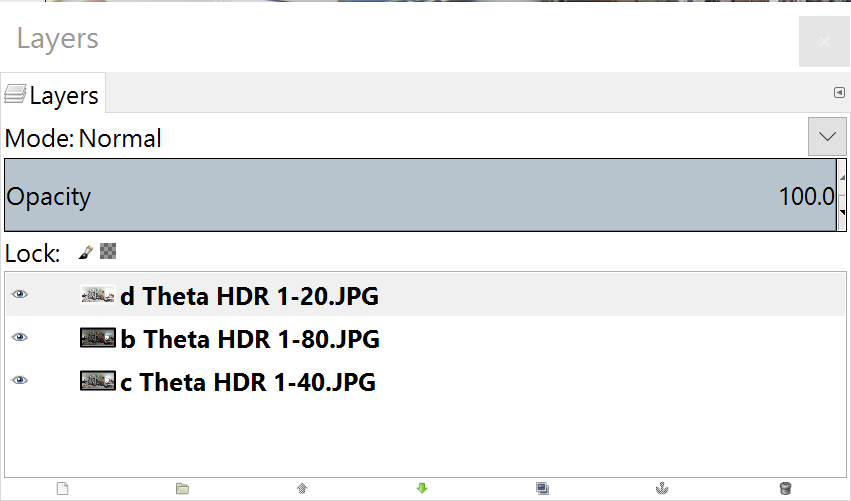
The eyeball icons to the left of each layer are for visibility. Check or uncheck them to change whether a layer is visible or not.
Leave your middle exposure (the bottom layer) alone and start with your dark exposure (the middle layer). Make sure you have the correct layer selected or the changes you apply will happen somewhere else. You’ll probably forget and find out the hard way, like I did, but fair warning.
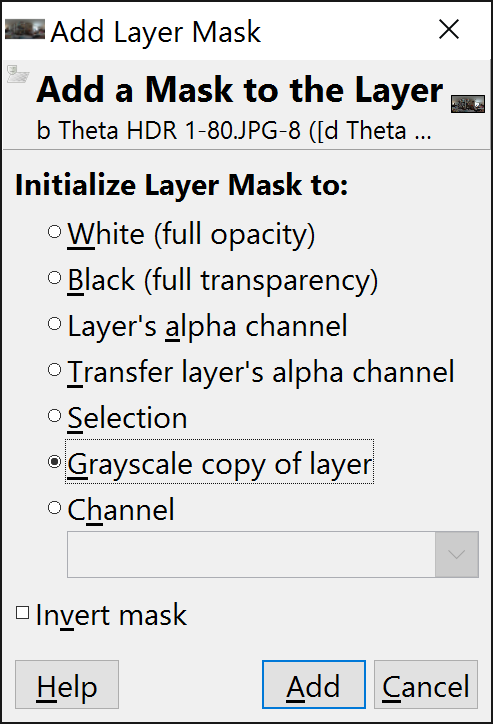
With the correct (dark) layer selected, go to the “Layer” tab, select “Mask,” and “Add Layer Mask.” Check “Grayscale copy of layer” and hit “add.”
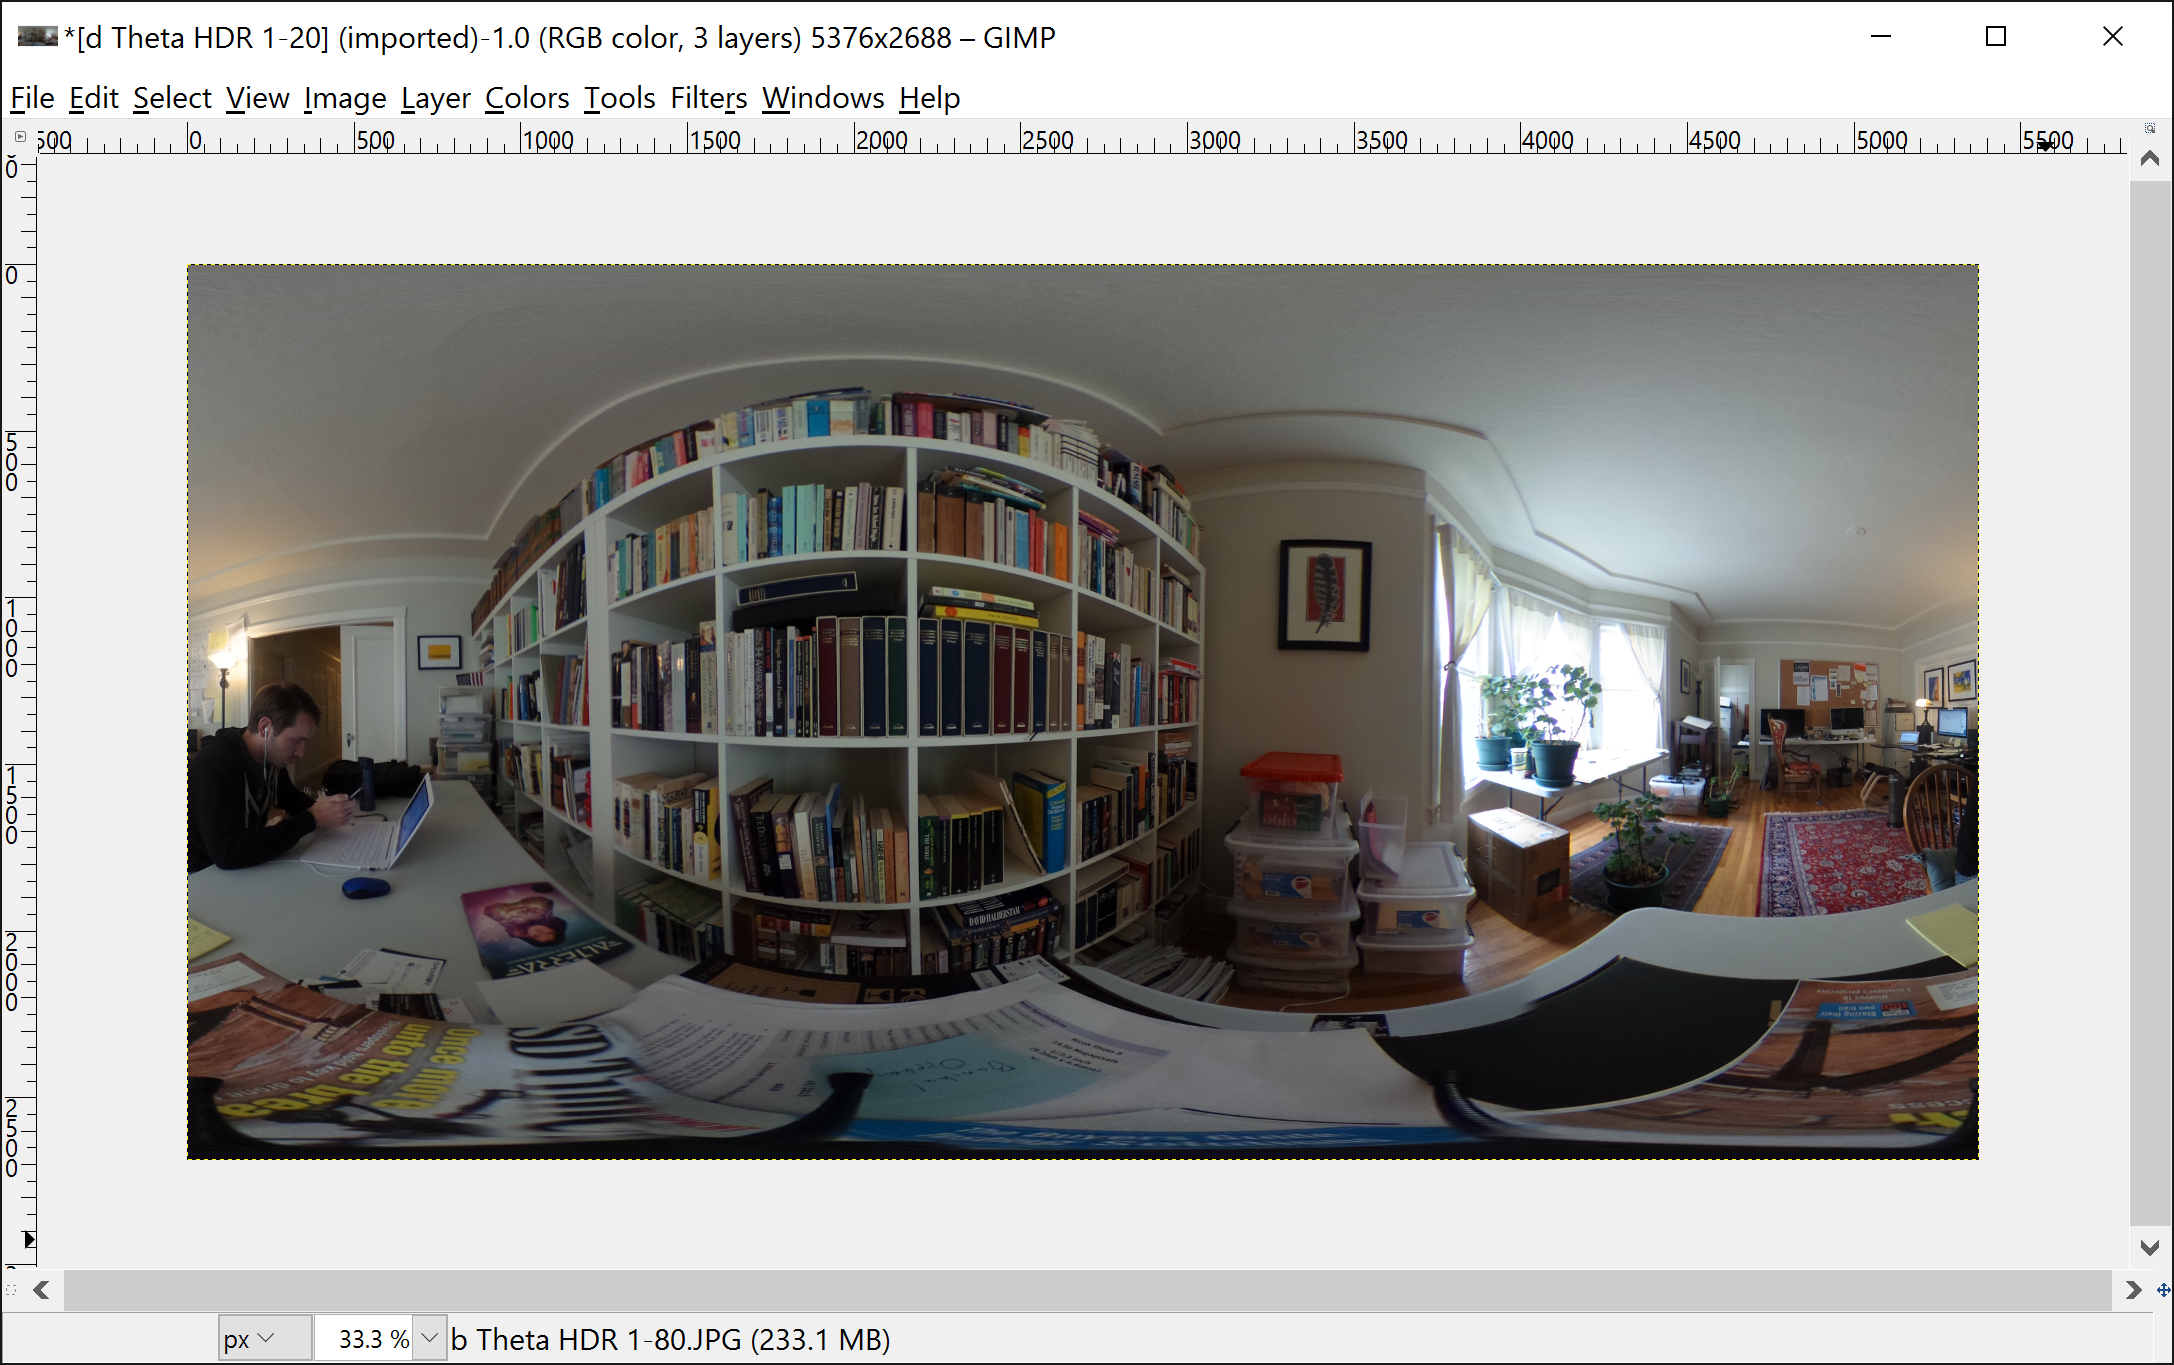
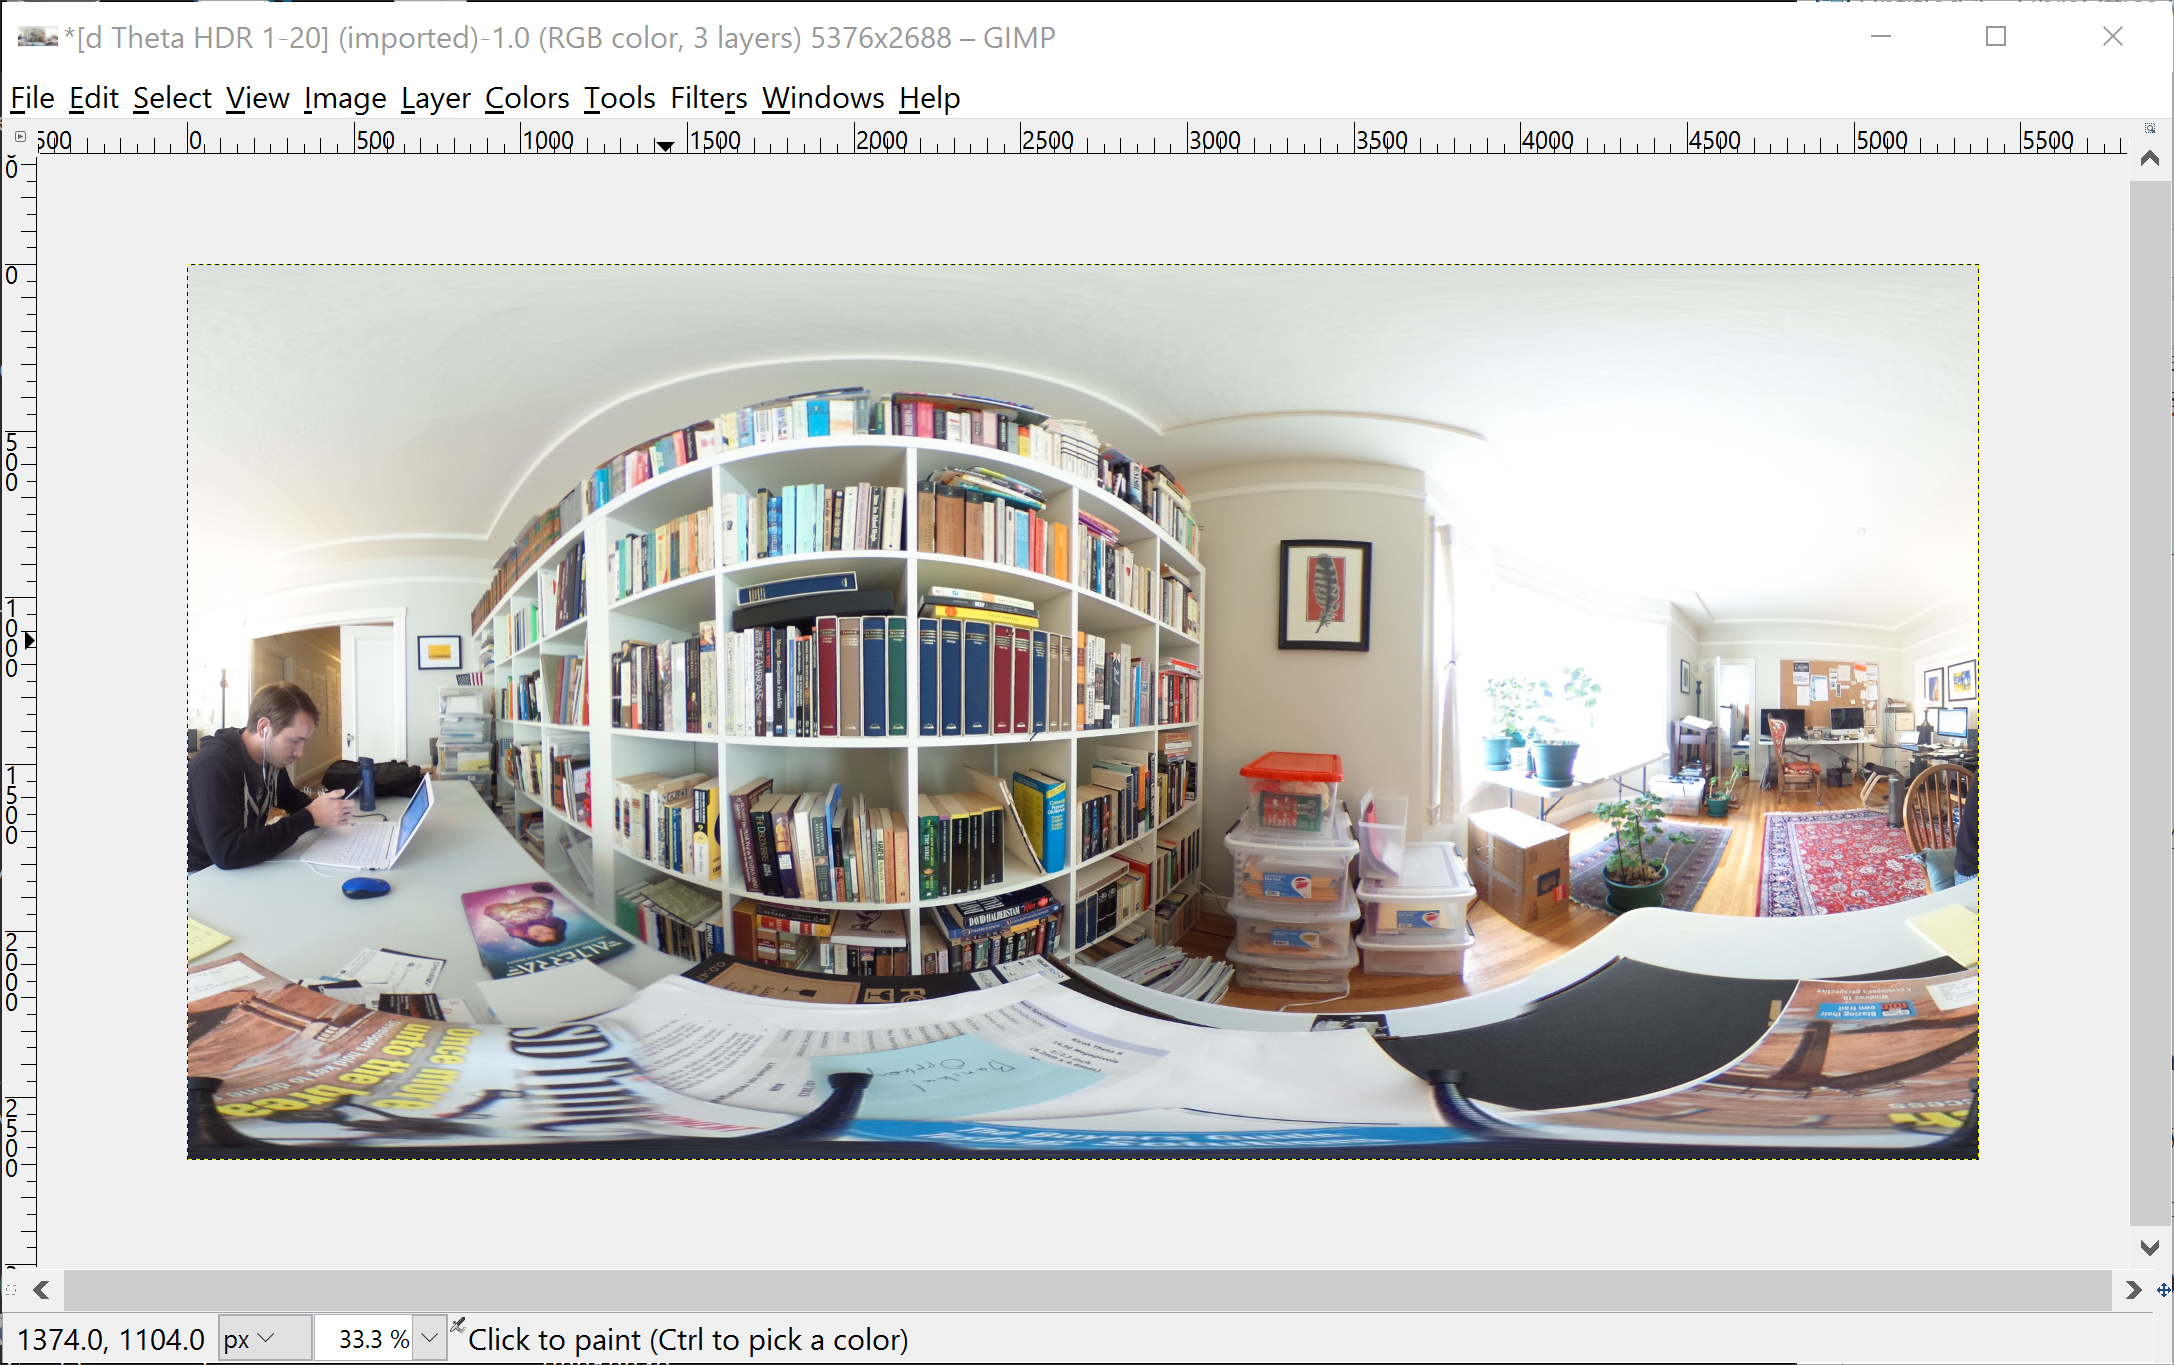
If you do this correctly, your dark layer will turn from this:
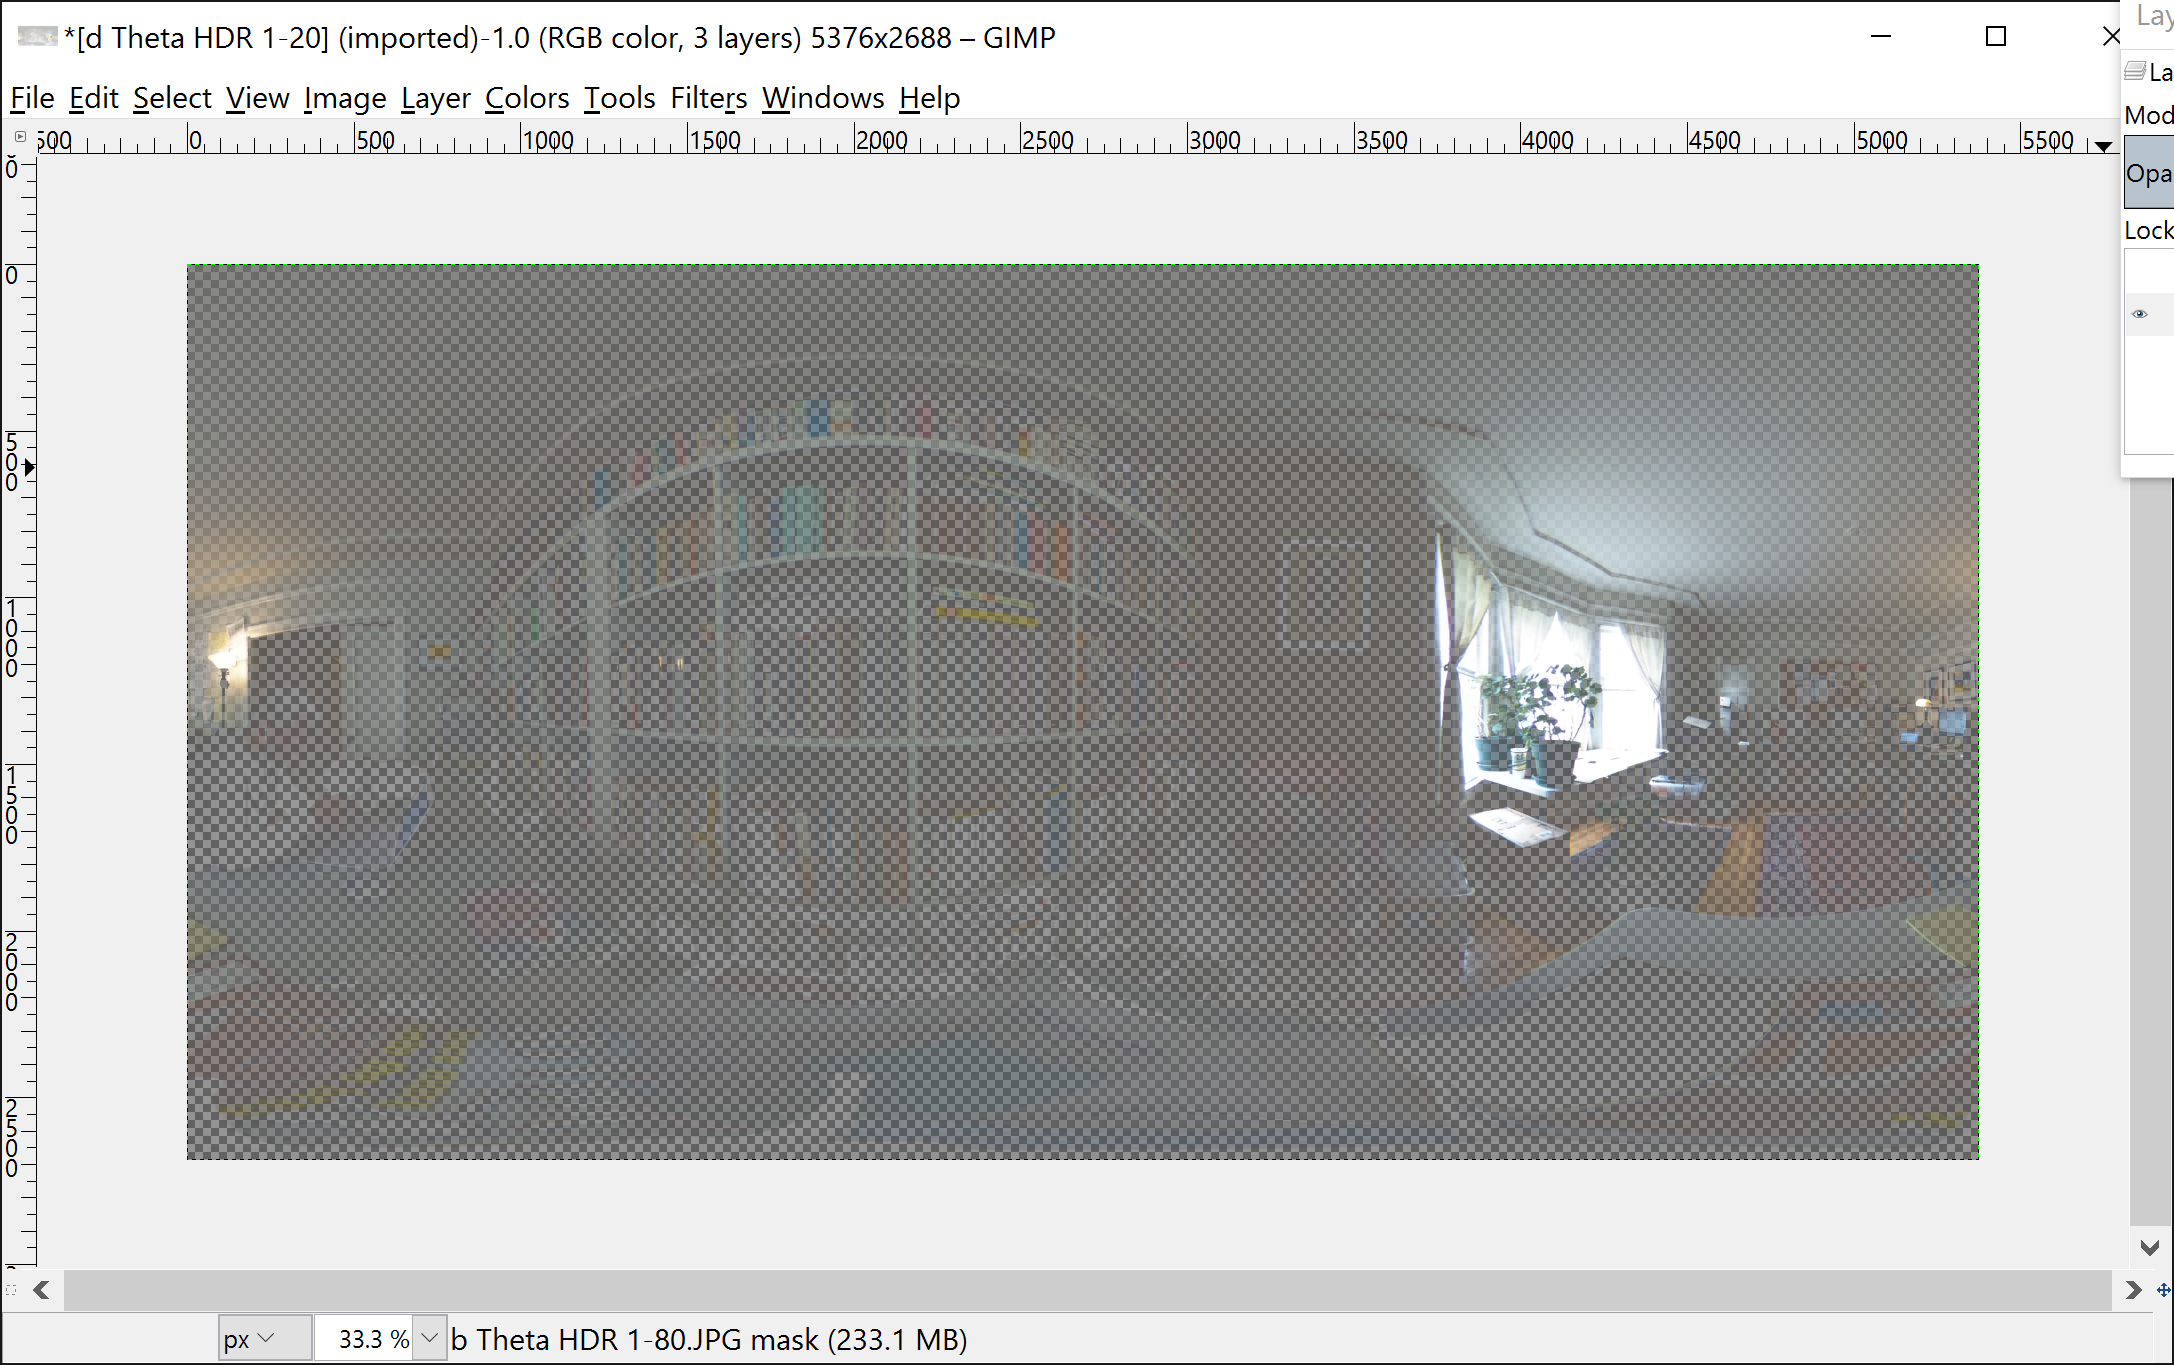
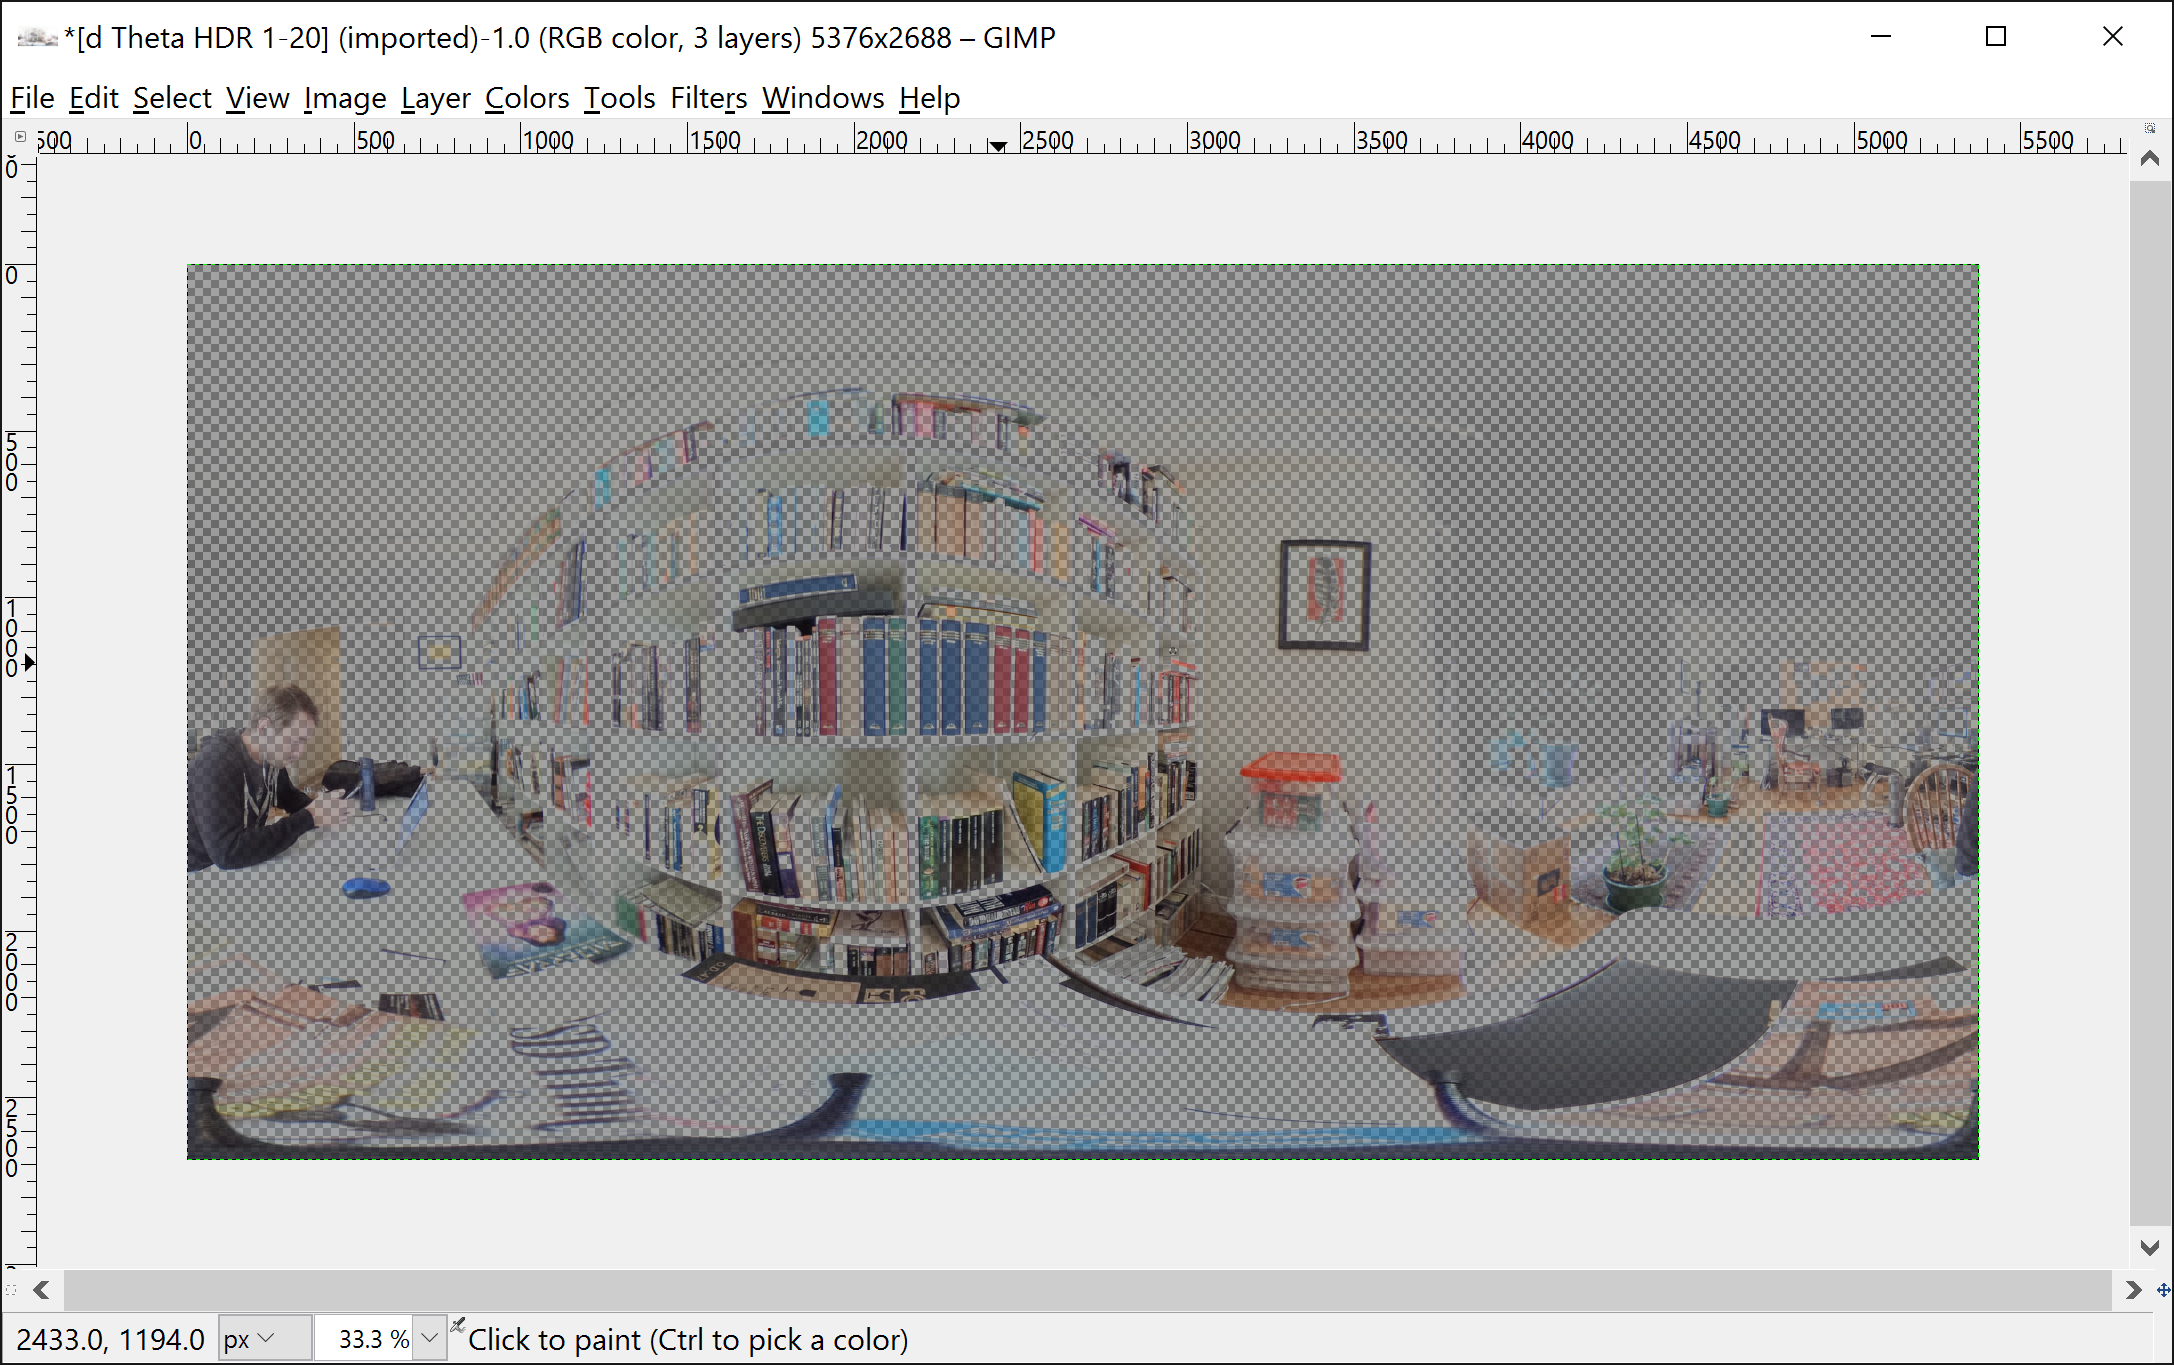
to this:
Now you want to do ALMOST the same thing to your bright layer. So go to your bright layer and add a layer mask, but this time, after you check the “Grayscale copy of layer,” make sure you hit “Invert mask.”
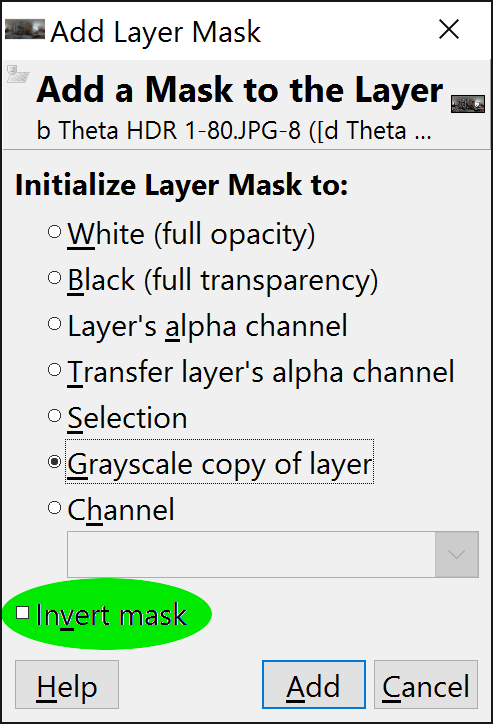
The default setting for adding a layer mask is to make the brighter parts of the layer more opaque while making the darker parts more transparent. If you don’t invert the grayscale copy on your bright layer, you’ll be negating the work you just did with your dark layer!
If you do this correctly, your bright layer should turn from this:
to this:
Now if you check the visibility eyeballs on each of your layers, you should have an image that consolidates all of your work into a more crisp and detailed HDR image. You can export this image from gimp as a JPEG file and it will still retain the 360 metadata (I at least was able to successfully post on Facebook).
My image went from these three exposures:

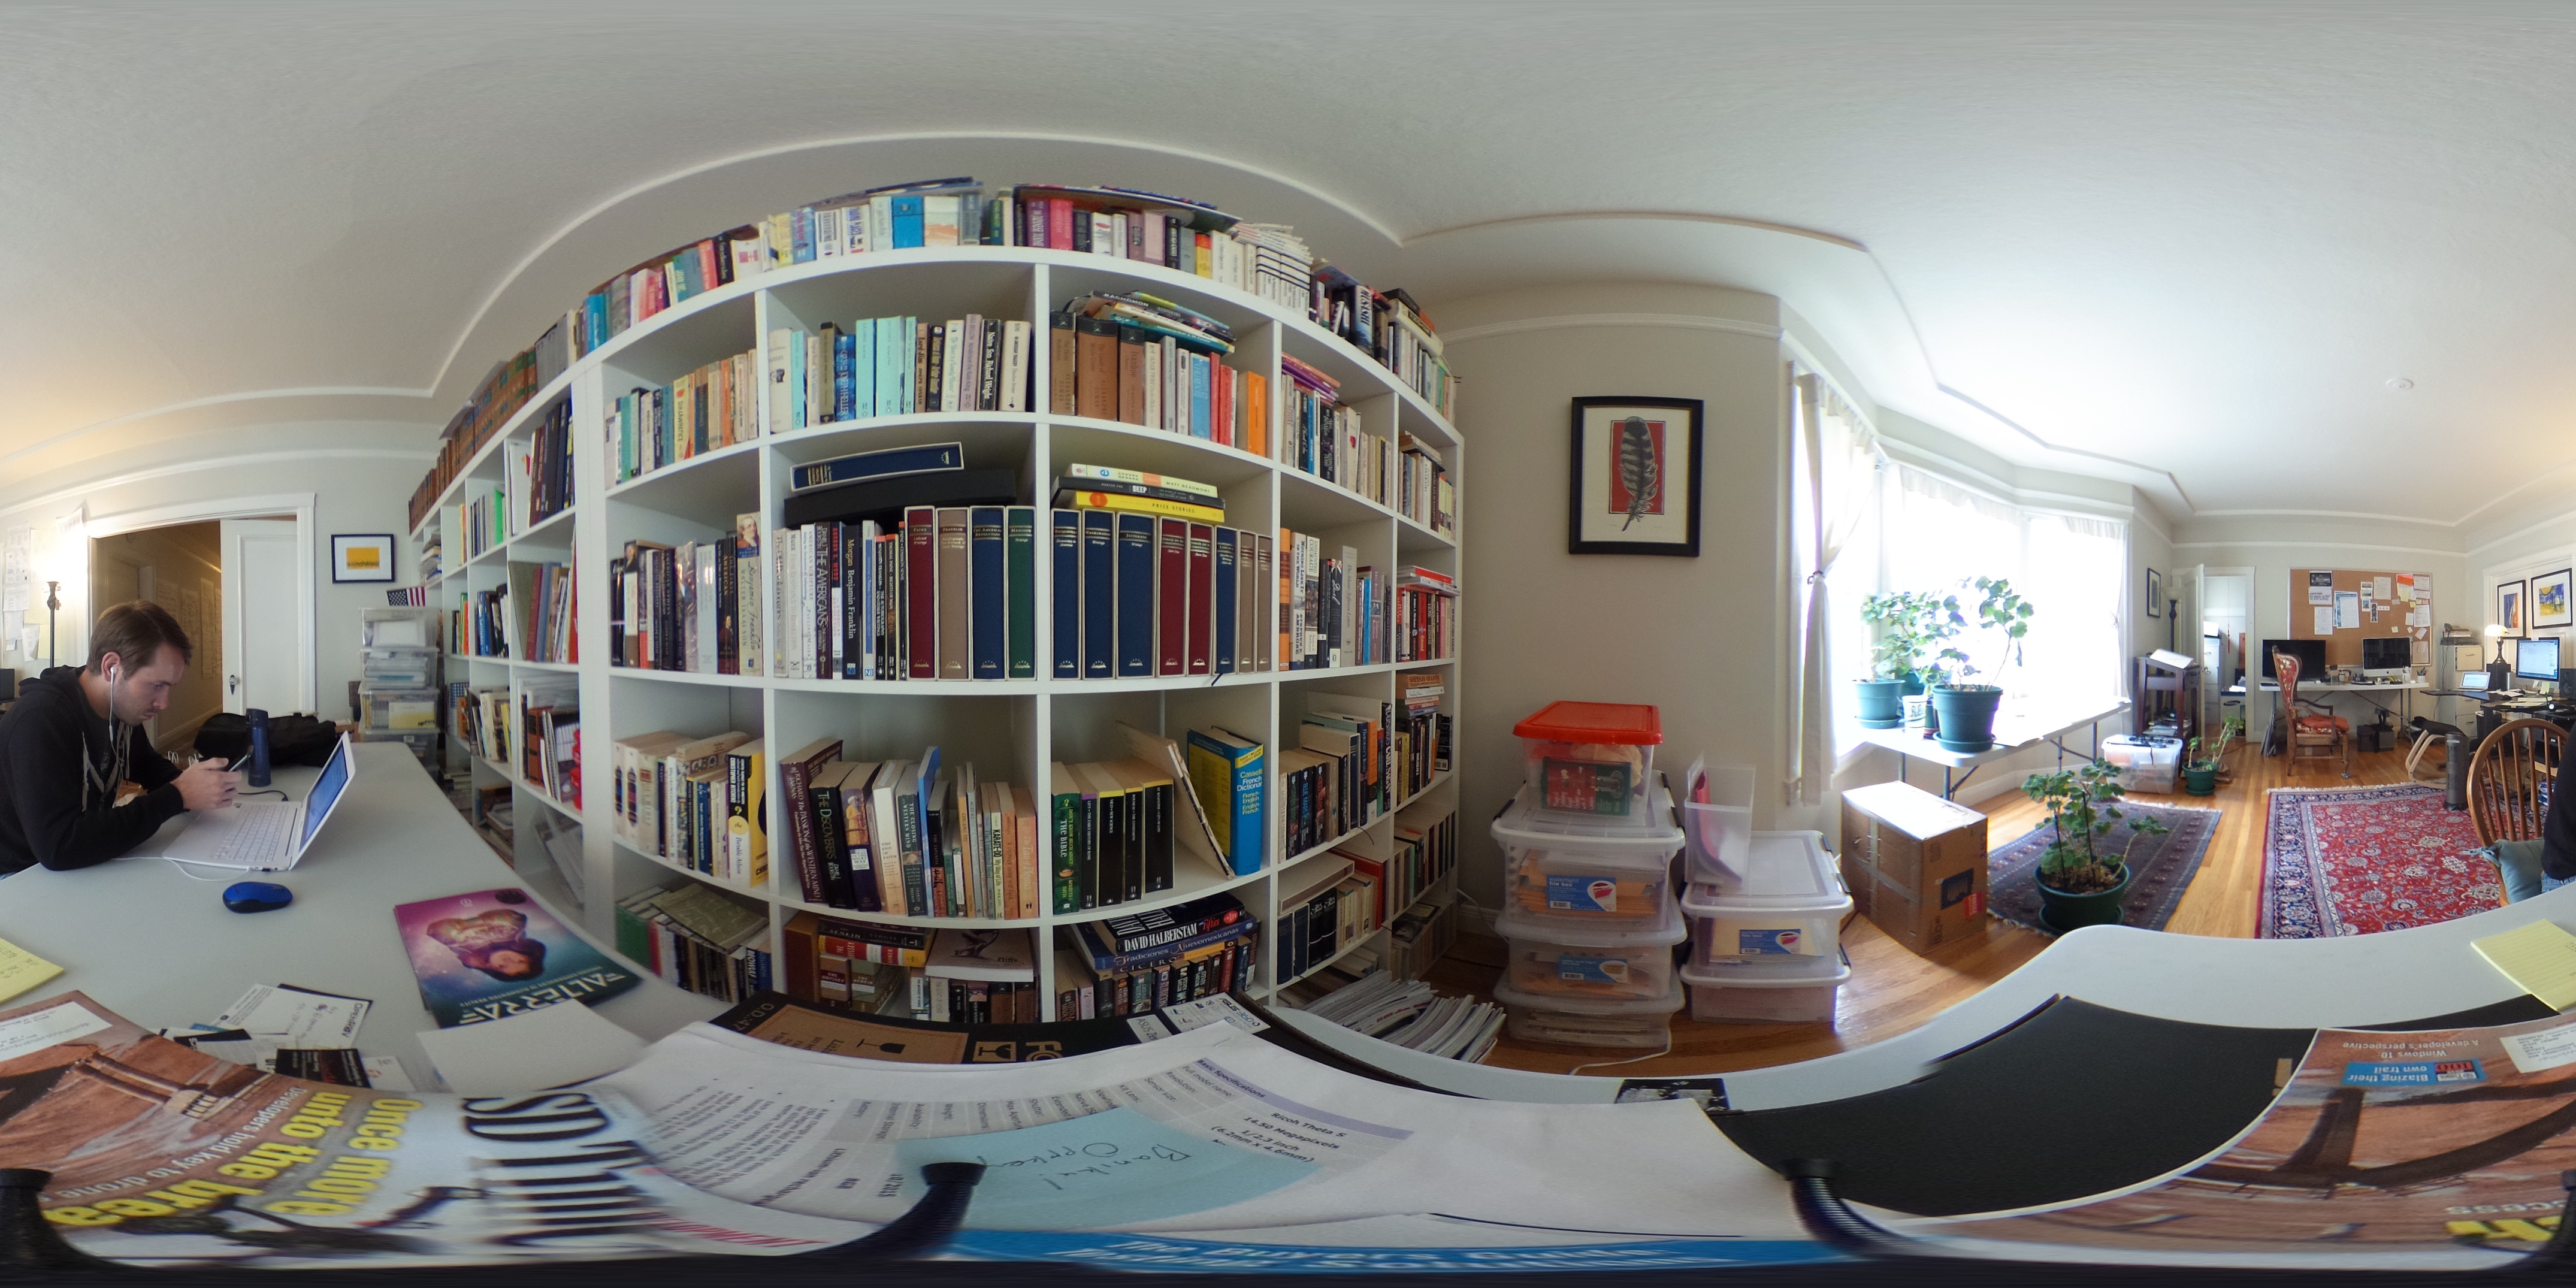

to this final HDR image:

When I compared this image to the HDR image that the THETA app captures automatically, it seemed much brighter. Here’s the THETA automatic HDR image:
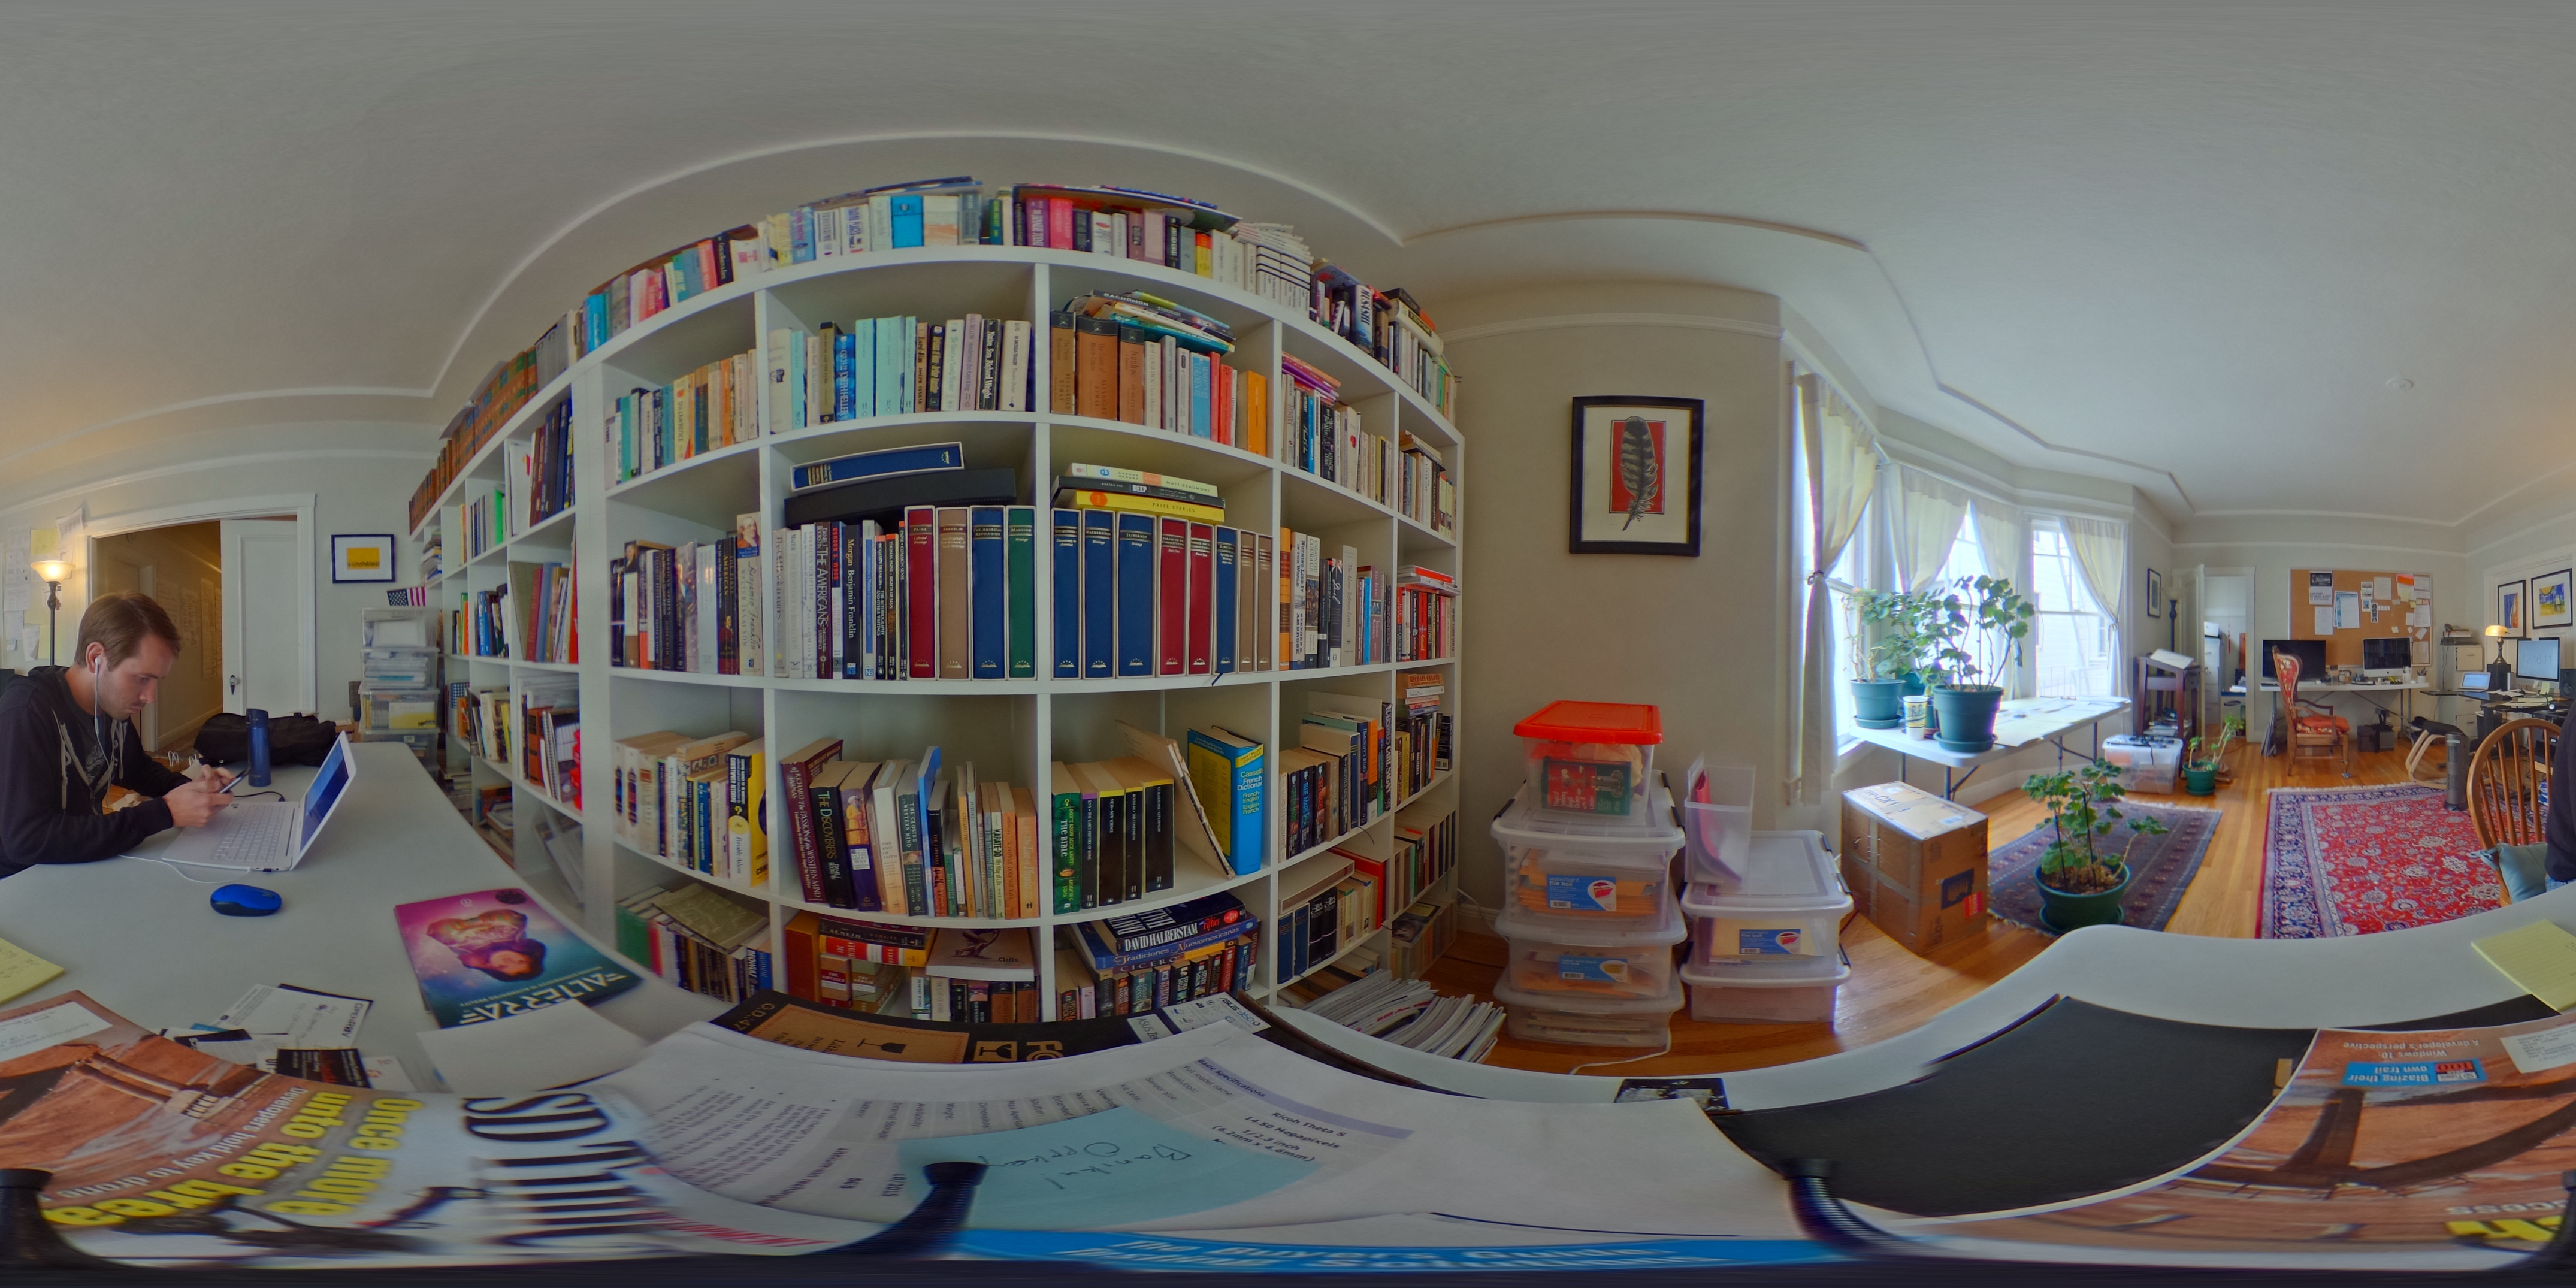
I didn’t like that my image was brighter, so I went back and added a fourth darker layer. This new layer was a 1/160 exposure, and the addition definitely helped me lower the overall brightness of the HDR image. This is what I came away with:
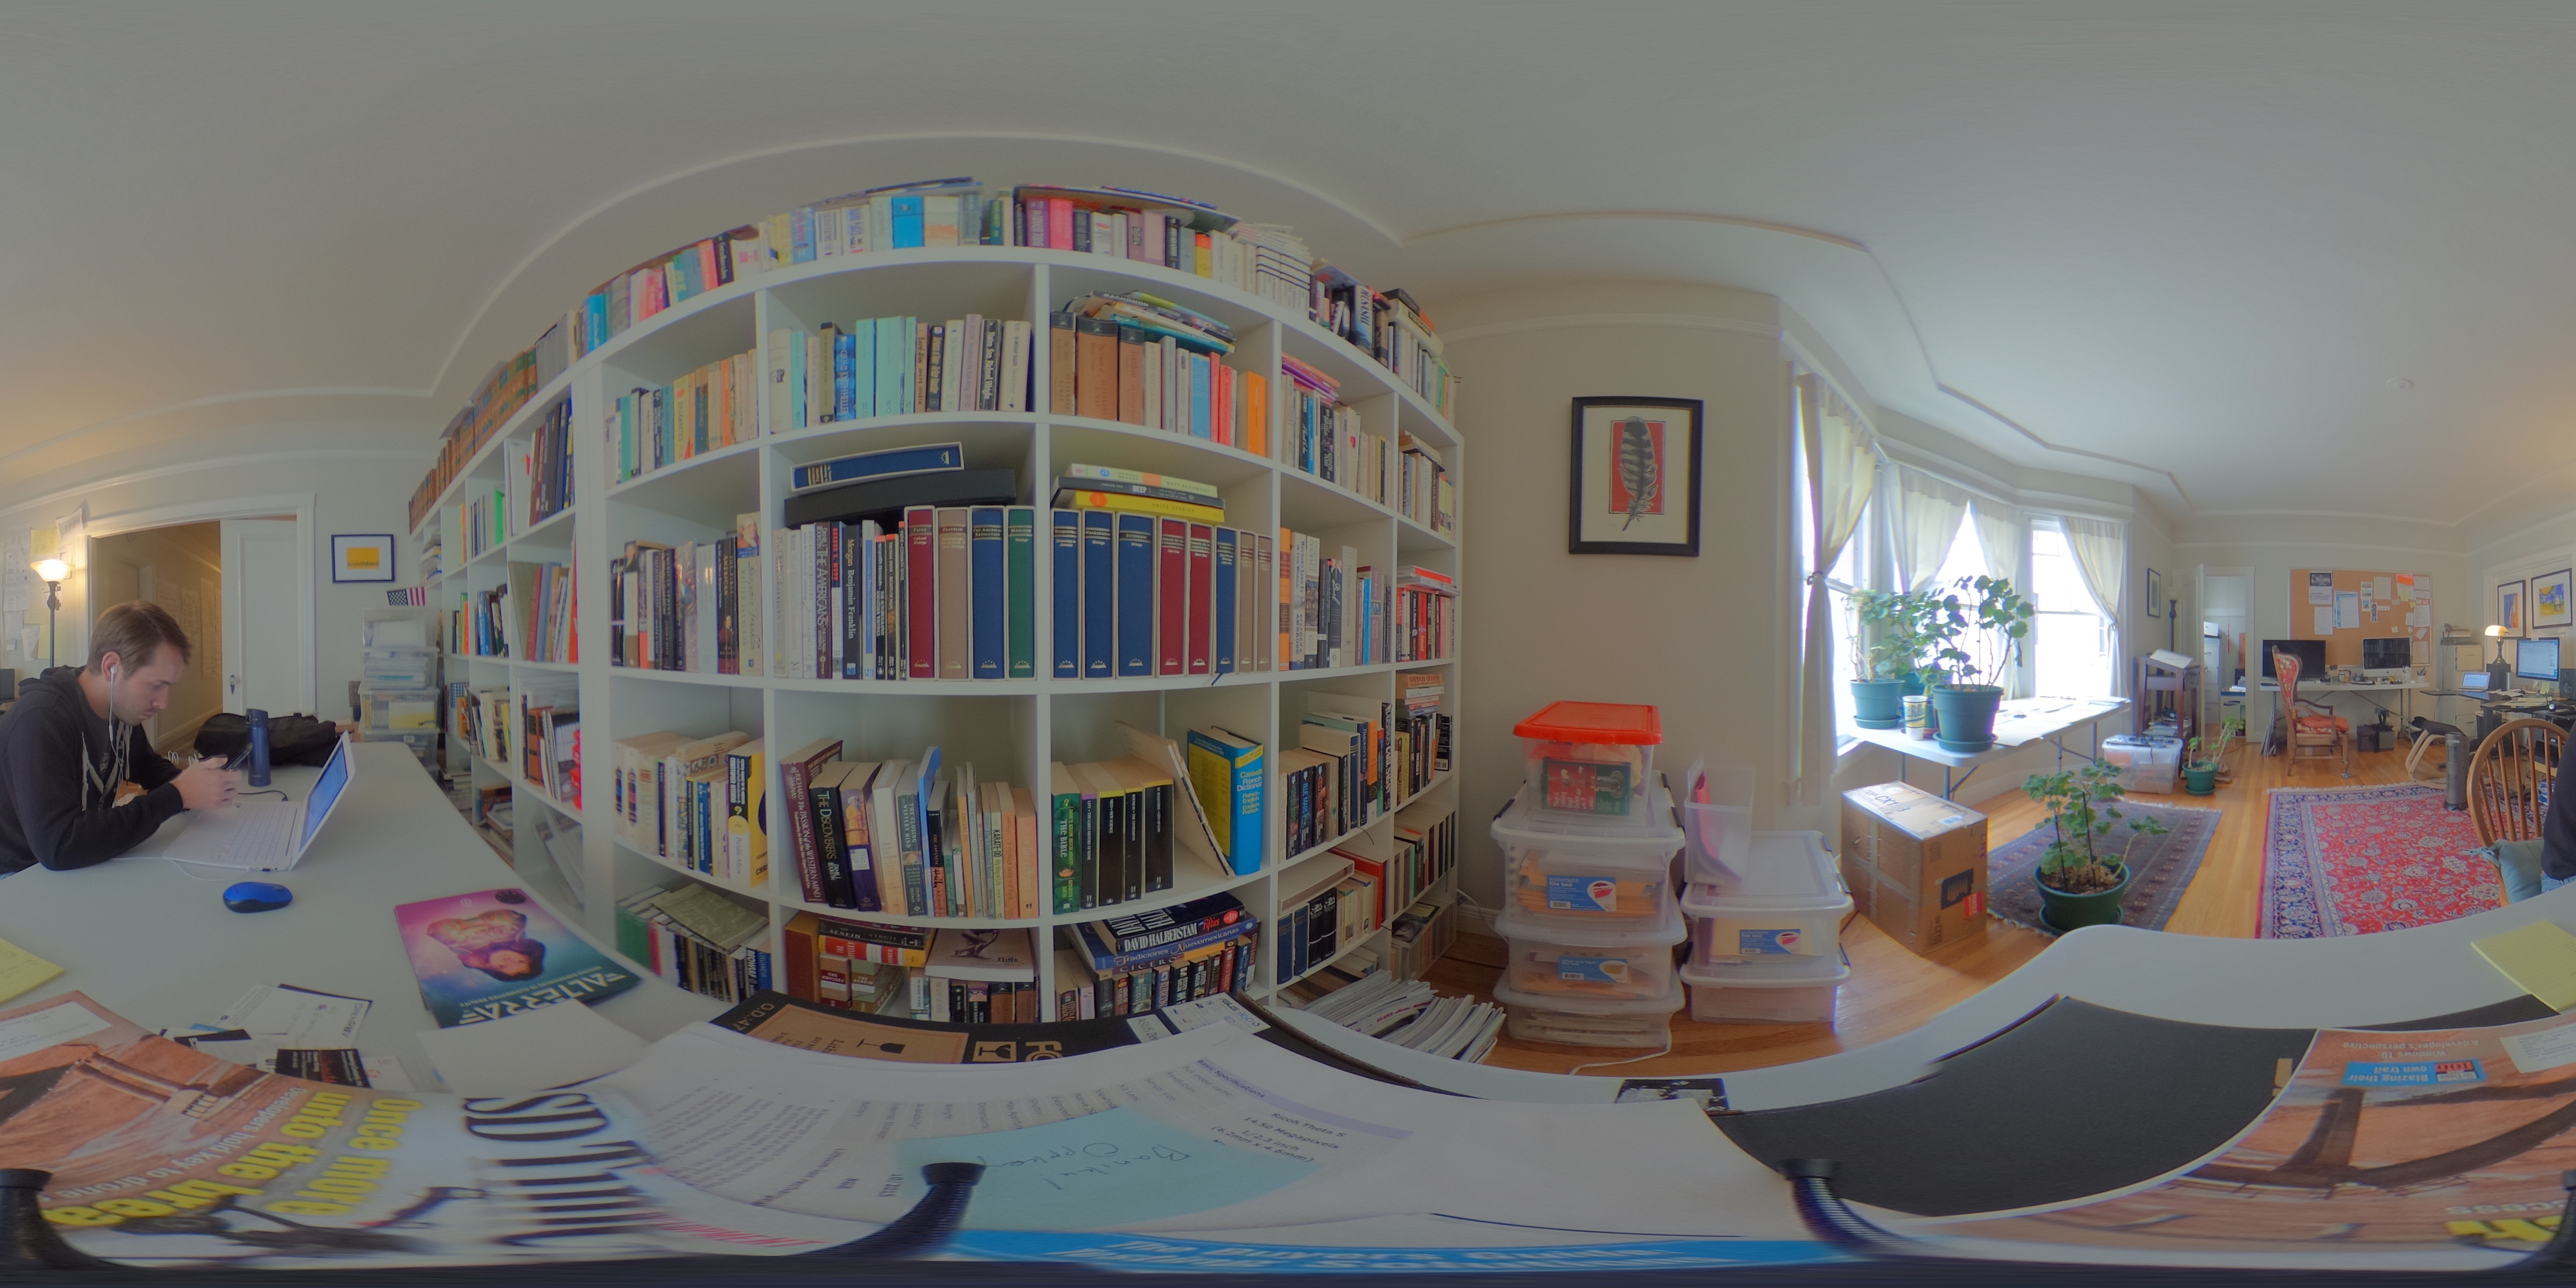
It isn’t perfect, and it still doesn’t quite match up to the THETA’s auto HDR image. The camera must have set its exposure range to capture darker images than I did manually. So I still have a lot of work to do, but I’m pretty happy with it for a first try. Most of all, I’m excited to be at a point where I can start experimenting with my own HDR settings, controlling the images myself.