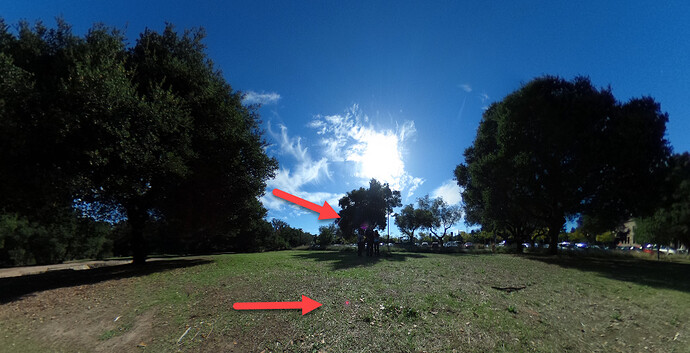
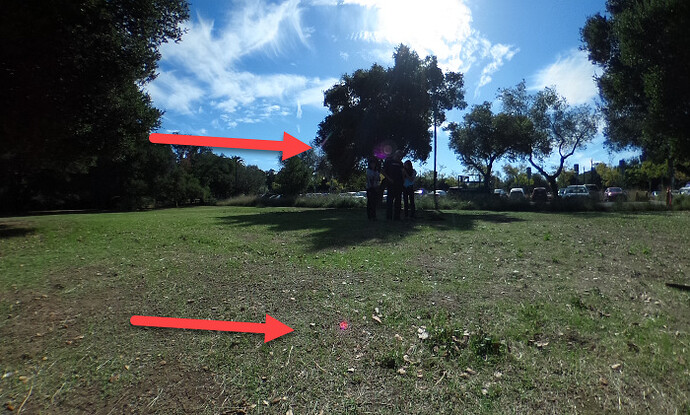
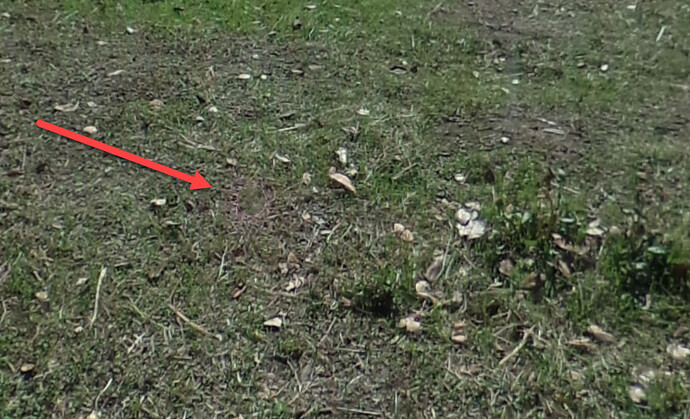
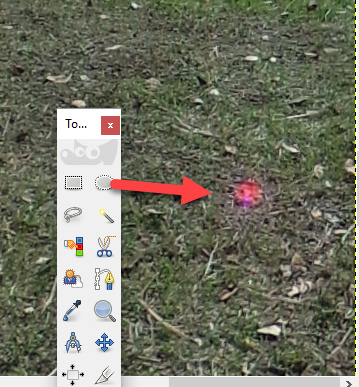
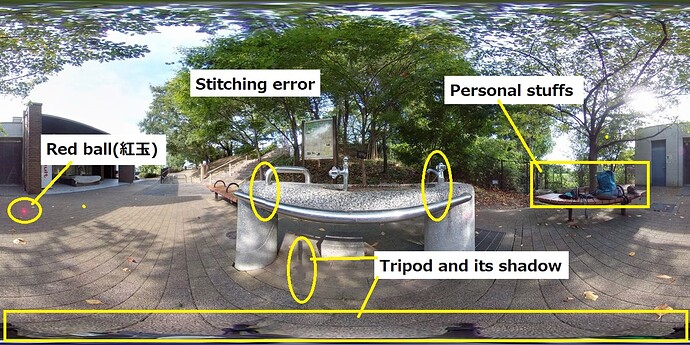
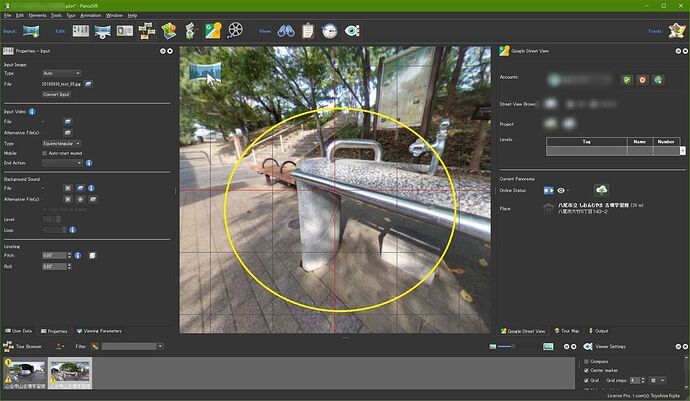
An enthusiastic community member recently told me how to remove the red dots on THETA image in seconds with the free software GIMP. While I’ve known about this technique for a while, this is the first time that I used the Heal Selection and Resynthesizer plug-in technique.
Like many of you, I’ve been living with the red dots.
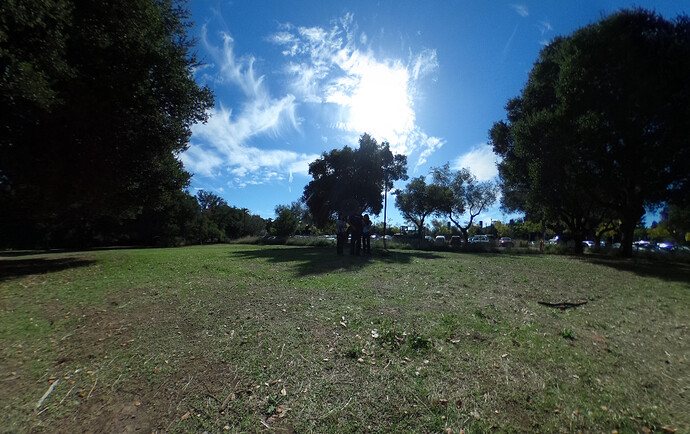
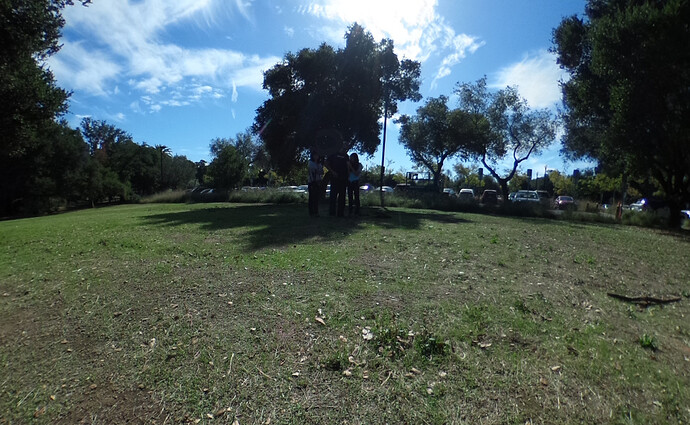
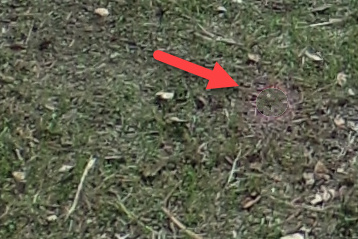
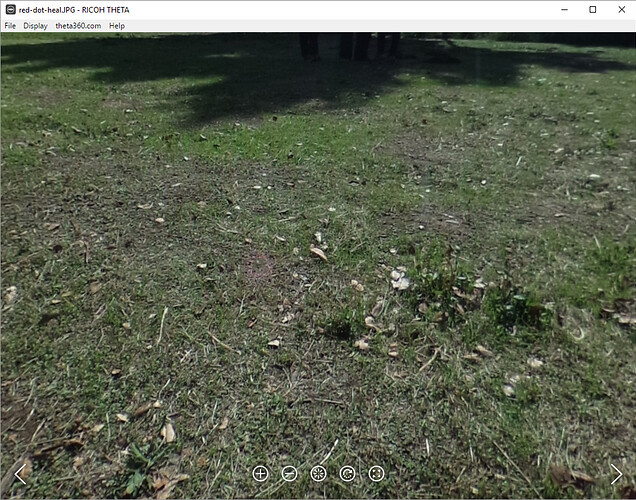
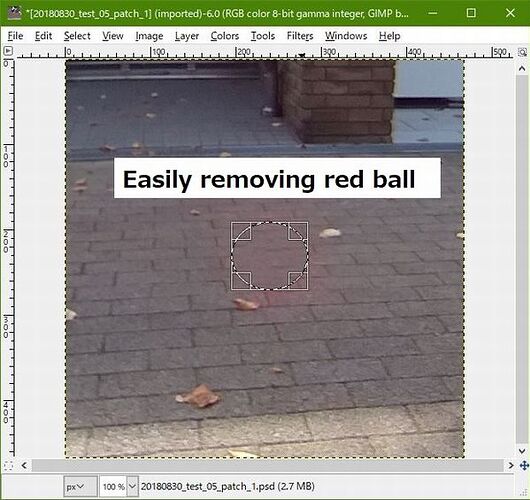
However, with a quick selection and Heal, I easily eliminated the dots.
You can barely see the healed spot in the THETA image viewer at maximum zoom. This is with default settings.
Steps
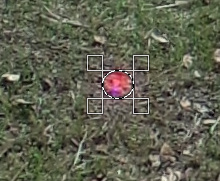
Open THETA in GIMP. Use 100% zoom or greater. Use the ellipse selection tool to select the red dot.
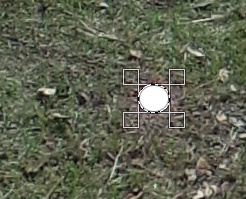
Press delete key.
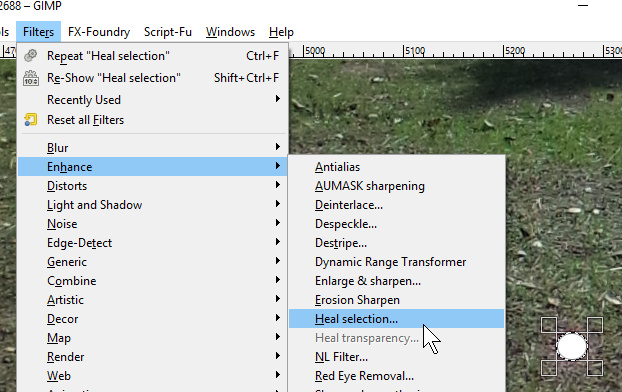
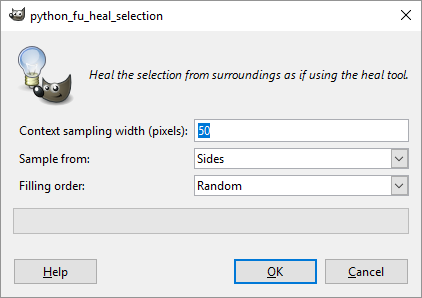
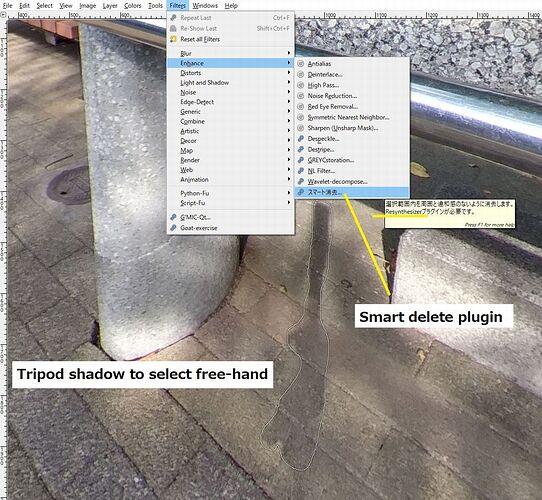
Select Filters → Enhance → Heal selection
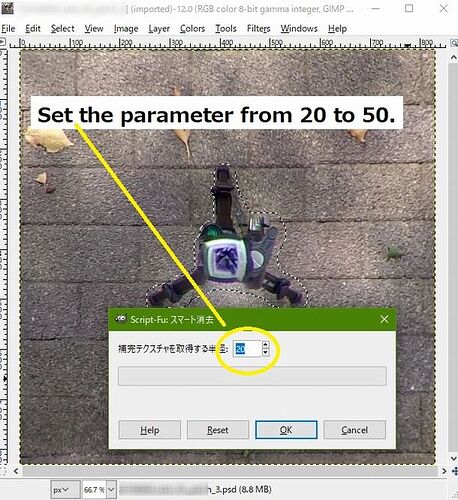
For this test, I used the default settings.
Results were good.
For different backgrounds, you may need to use the blur tool to blur the outline. To test a fast workflow, I only applied the heal and did not apply an edge blur.
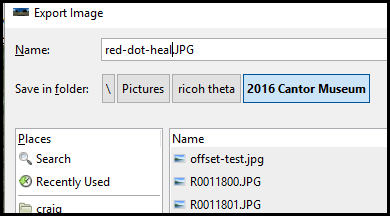
Export to jpg.
Inspect results in THETA desktop viewer.
Be free of the red dots!
Installing Gimp Plug-ins
I did not have the plug-ins on my default GIMP installation. To get these useful plug-ins, I installed the GIMP Extensions Pack for Windows.
On Debian-based Linux systems like Ubuntu, you can install the gimp-plugin-registry package with apt install gimp-plugin-registry
If you want more information about the plugin prior to installing it, you can use apt-cache search or apt-cache show for details.
~$ apt-cache search gimp-plugin-registry
gimp-plugin-registry - repository of optional extensions for GIMP

~$ apt-cache show gimp-plugin-registry |grep resyn
Replaces: gimp-refocus (<< 0.9.0-2), gimp-resynthesizer, gimp-save-for-web
Provides: gimp-resynthesizer, gimp-save-for-web
Breaks: gimp-refocus (<< 0.9.0-2), gimp-resynthesizer (<< 0.16-2~), gimp-save-for-web
   * resynthesizer (2.0): Resynthesizer
Information on Mac OS X is here:
