photo credit: Caitlyn
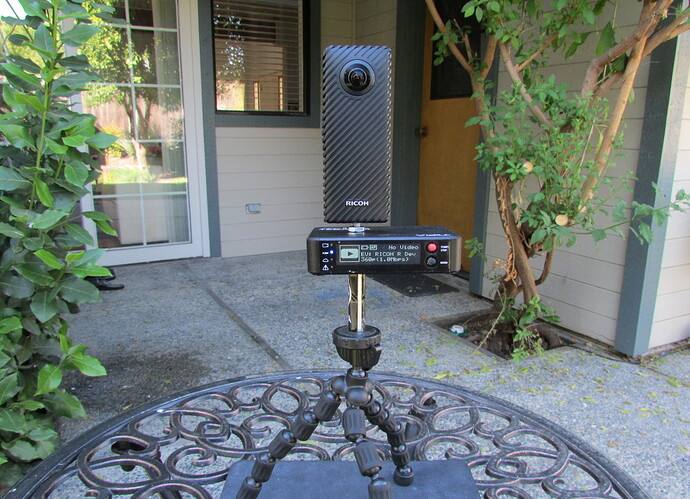
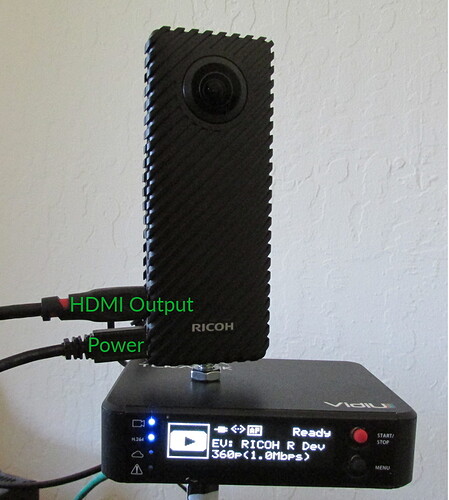
After reading about the Ricoh R Dev Kit in their forum, I was able to borrow a unit and and Teradek VidiU to test live streaming 360 video to YouTube and Facebook on the go. The VidiU unit and Ricoh R Dev Kit can be mounted together on a single tripod. In the photo below, I am using a common 1/4" by 20 tpi stud that I bought at a hardware store and will connect and HDMI output from the Ricoh R Dev Kit to encoder.
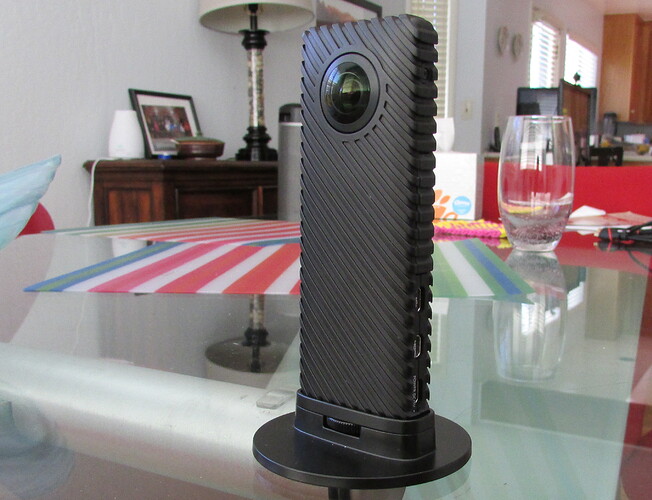
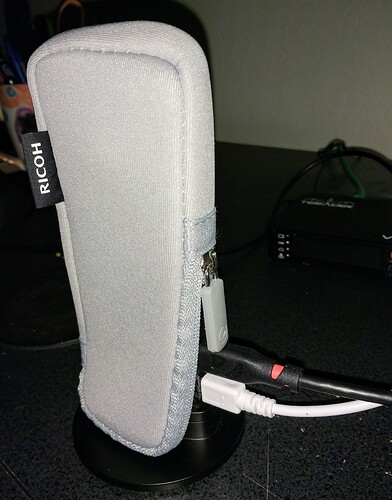
The RICOH R Dev Kit also ships with a compact stand, enabling live stream in a small form with no tripod.
photo credit: Caitlyn
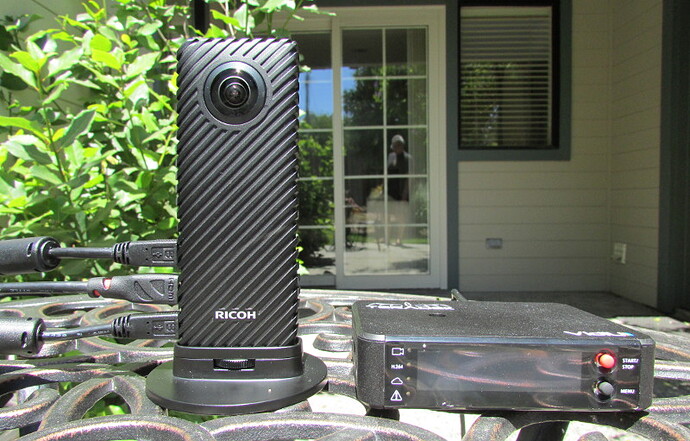
Although I’ll focus on the HDMI output of the RICOH R Dev Kit, it also outputs USB live streaming and can be used with a normal computer, similar to the RICOH THETA S. As HDMI output in equirectangular format is an unique feature of the RICOH R Dev Kit, this guide focuses on HDMI output and the popular VidiU unit. In the photo below, all the cables are attached. The Teradek VidiU unit is next to the THETA.
photo credit: Caitlyn
Configuration and Setup
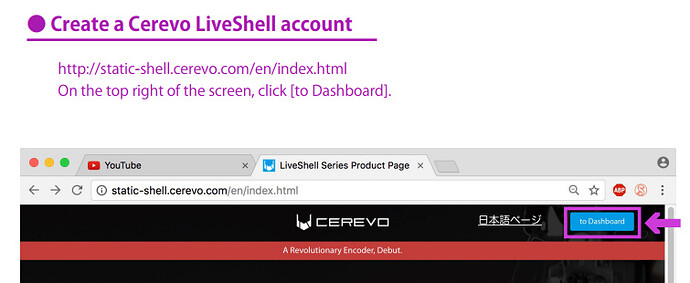
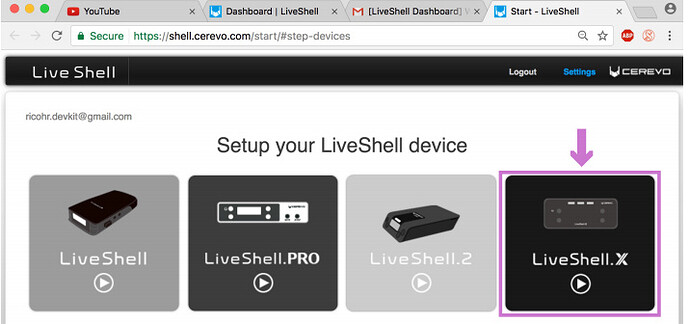
This guide focuses on VidiU confirmation. Ricoh also uses the LiveShell at events. However, you do not need a specialized VidiU or LiveShell unit to use the RICOH R Dev Kit. You can use a normal computer. Refer to the Live Streaming Guide for information on using live streaming with USB. There is a new section on RICOH R Development Kit USB configuration.
And the RICOH R Development Kit forum is here.
Plug RICOH R Dev Kit Into Power and VidiU
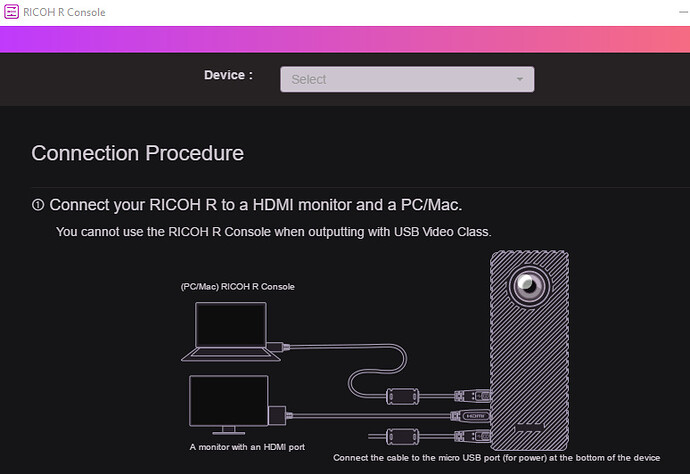
Connect the RICOH R Dev Kit to the Teradek VidiU unit with HDMI. You must also plug the RICOH R Dev Kit into a USB power source. In this case, I am using a powered USB hub. You can also use a portable battery that is capable of 5V/1.5 Amp.
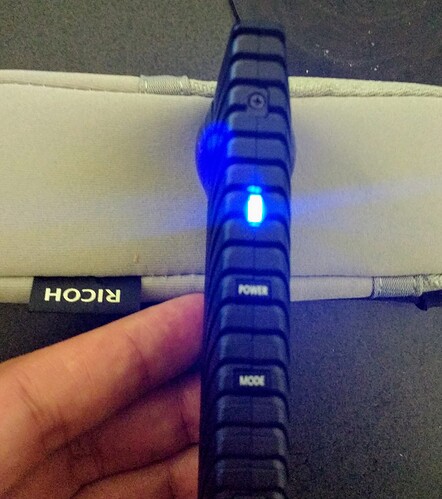
Confirm the Blue LED indicator is on
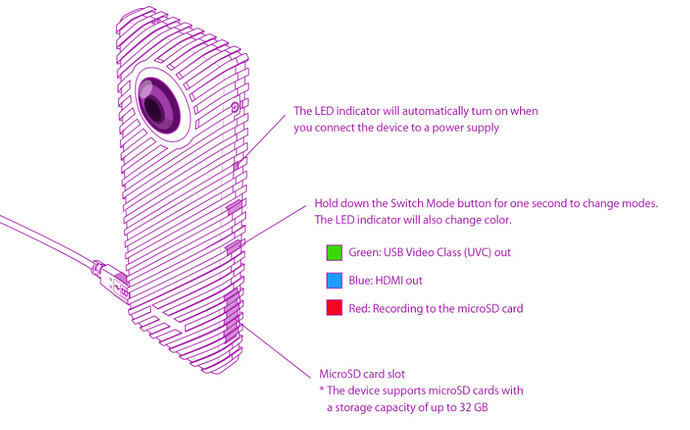
The LED indication on the RICOH R Dev Kit must be blue. If it is not blue, press the mode button for one second to cycle through the modes. See this diagram from the RICOH R Dev Kit manual.
Teradek VidiU
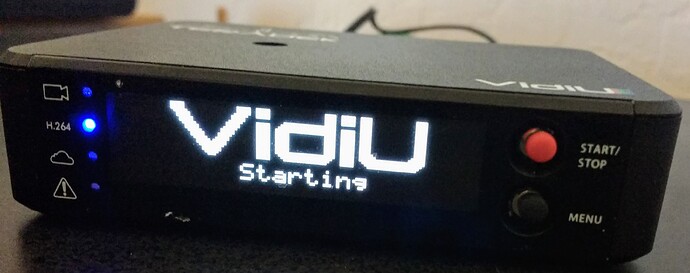
Turn on Teradek VidiU
Configure Teradek
The steps vary depending on whether you use a mobile app or a web browser. Also, configuration will be different depending on whether you use WiFi, Ethernet, or mobile. In this setup, I am using Ethernet and the web browser.
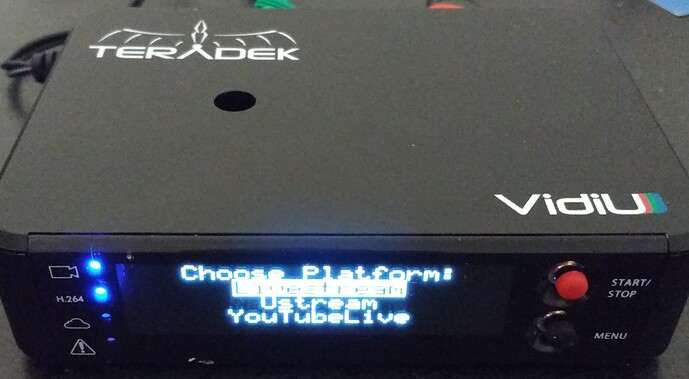
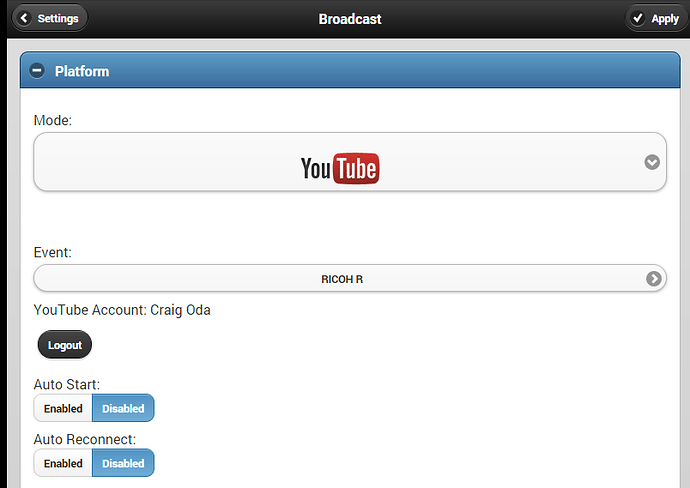
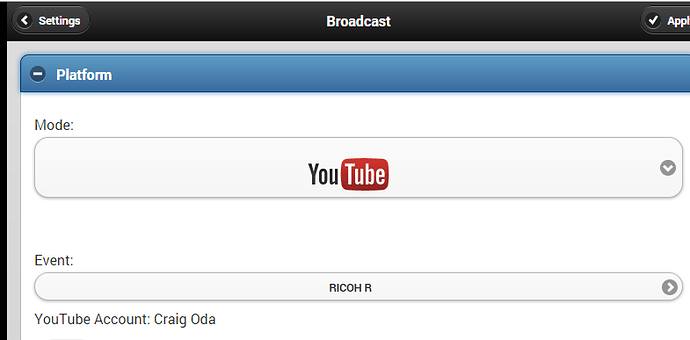
Set YouTubeLive as Platform
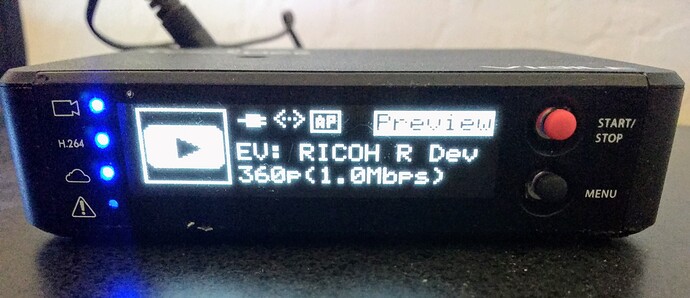
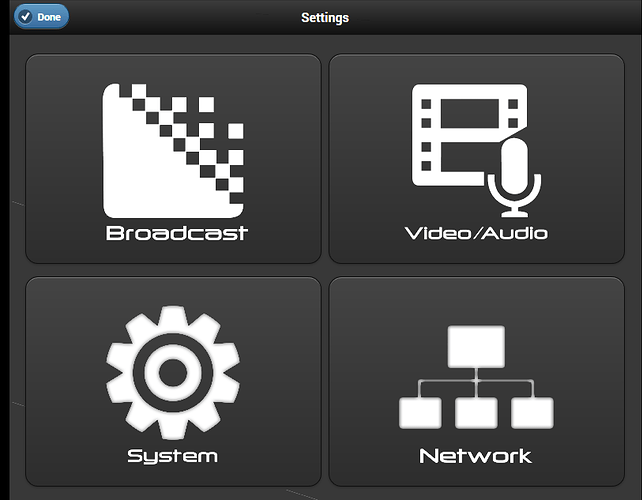
Use the black menu button to select your platform as YouTubeLive.
Configure Google Device Code
If this is your first time, you will need to register the VidiU with Google. Once the VidiU is registered with Google, your VidiU device will be able to auto-configure the YouTube Live Event.
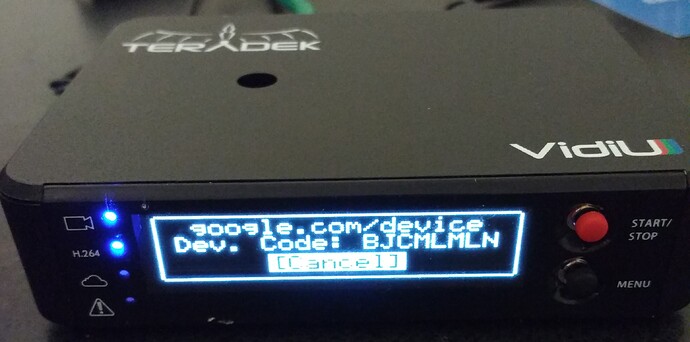
The VidiU screen will display a device code. Write this code down or refer to the VidiU screen for the code when you access Sign in - Google Accounts in a web browser.
Input the code on the Teradek screen into the Google Device box. You access the Google Device box at https://google.com/device/
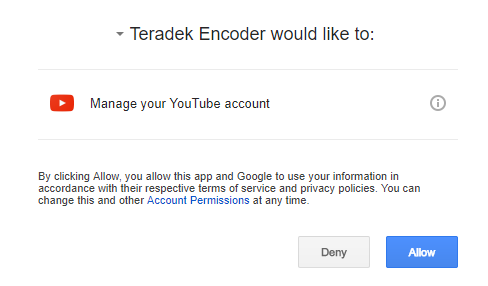
Allow the Teradek Encoder to manage your YouTube account.
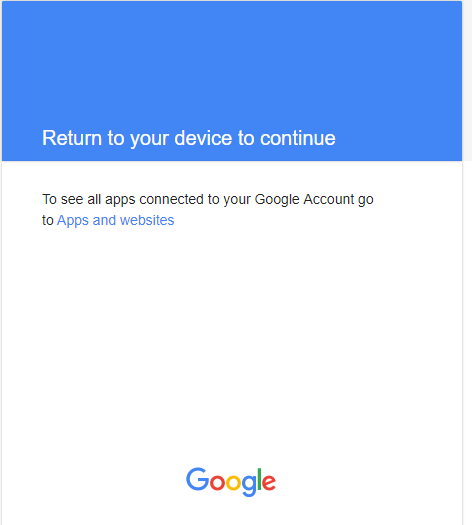
Once you click on Allow, you will see the screen below on your web browser.
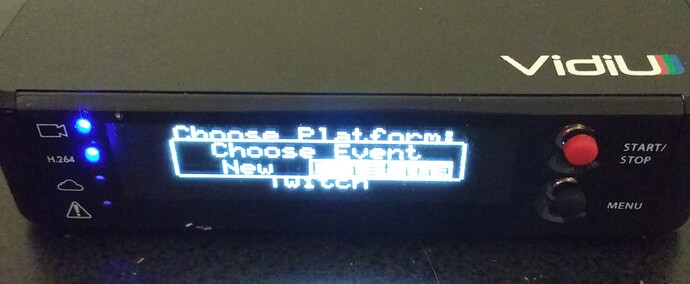
Go back to your Teradek VidiU and Choose Event New
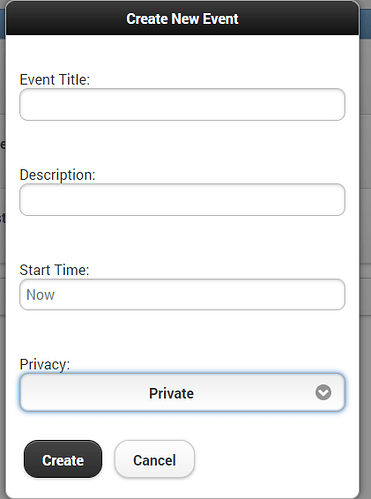
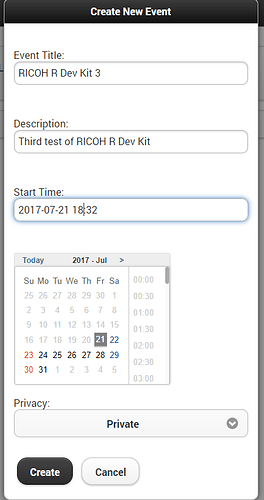
Enter the name of your YouTube Live 360 Event. Example: “360 Buffalo and Wolf Standoff in Yellowstone”. Select the privacy and create the event. Note that you can also use the web interface or an iOS mobile app to create events. You don’t have to add the event characters into the VidiU unit.
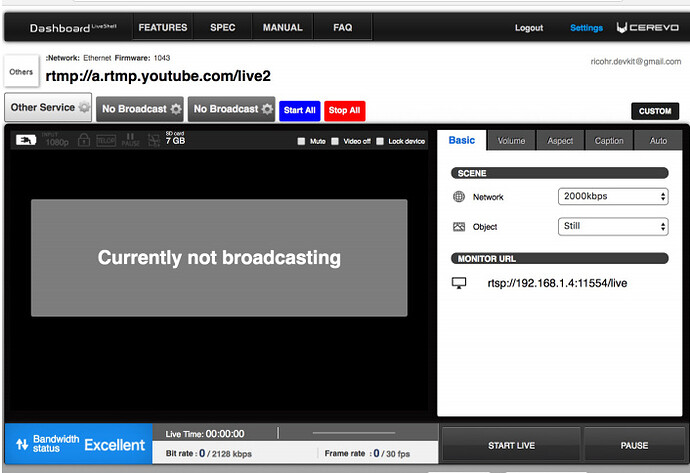
The web interface looks like this.
Teradek web-based application
To use the Teradek web-based application, you need to find the IP address of your VidiU.
Find IP Address of VidiU
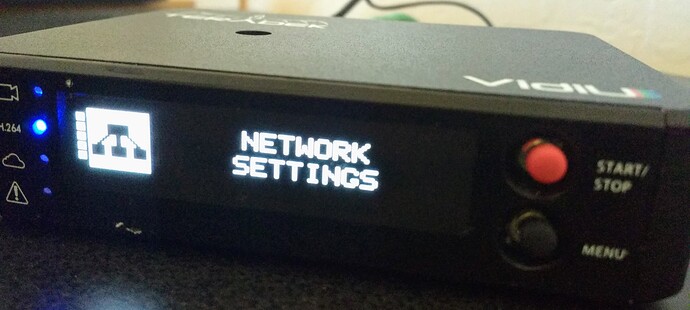
Use the menu button on the Teradek VidiU front panel to access network settings.
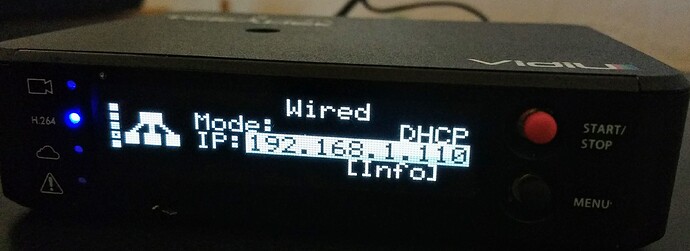
In my case, I have wired network. Select Wired.
Get the IP address.
Go to the IP address of your VidiU unit in a web browser. You got the IP address from the VidiU in the step above.
The Event Title, Description and Start Time can be accessed from the Teradek web-based application.
I was not able to find a way to enable a Live 360 Event from the Teradek web application. To set the event as a Live 360 Event, I used the YouTube Control Room.
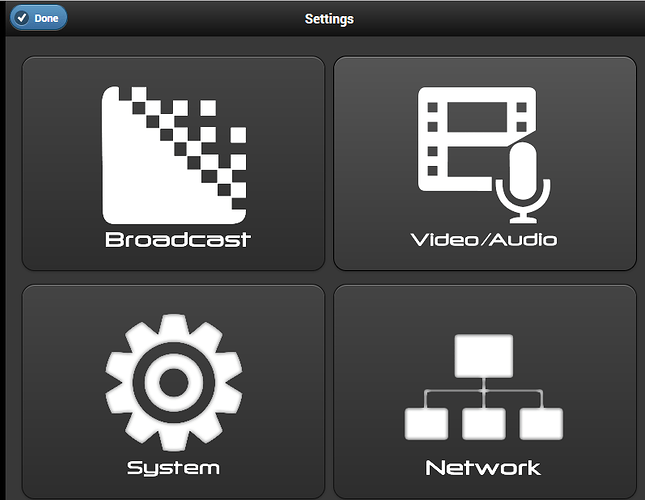
Settings can be tuned using the Teradek web application.
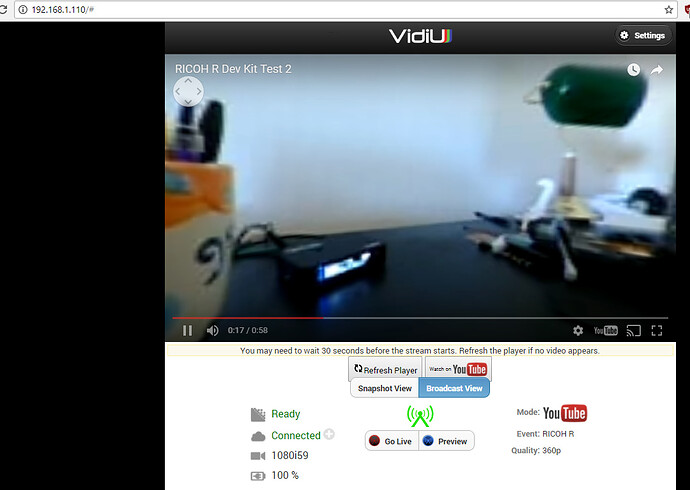
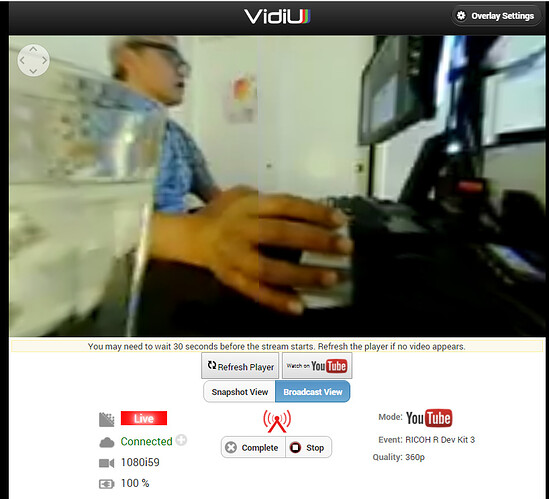
You can preview your event within the Teradek application.
I’ve provided a brief explanation of the Teradek web application. You should watch the
Teradek Video Tutorial for YouTube Live Setup for step-by-step configuration of your Teradek VidiU.
YouTube Control Room
As I was not able to set 360 streaming inside of the Teradek application, I used the YouTube Control room to configure it.
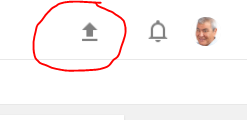
You can access the Control Room and by going to https://www.youtube.com/ and clicking on the upload button.
Press the upload button
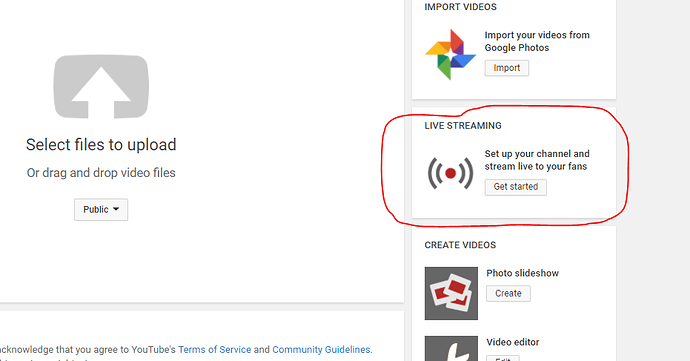
Select Live Streaming Get Started
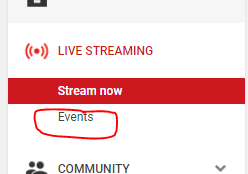
Select Events
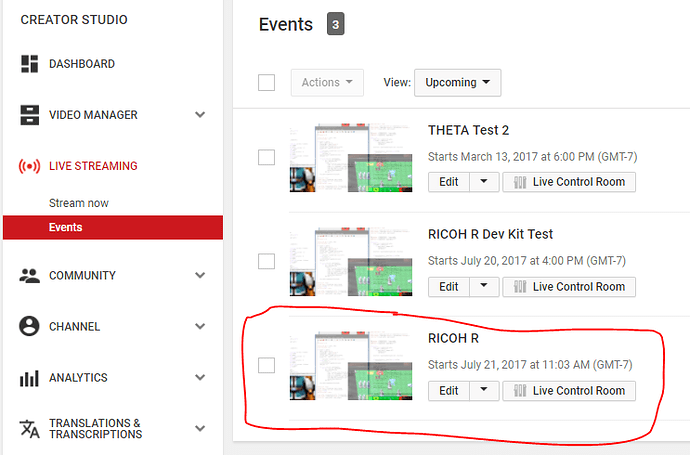
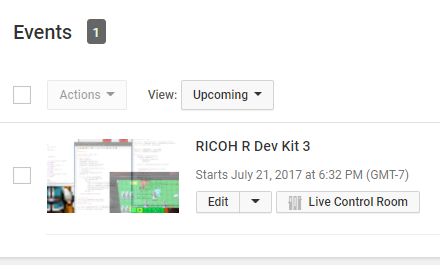
Select Live now or Upcoming. In the example below, I selected the event RICOH R, which is the same event I created on the the Teradek app.
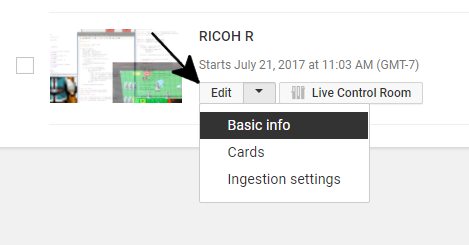
Select the Edit button and select Basic Info
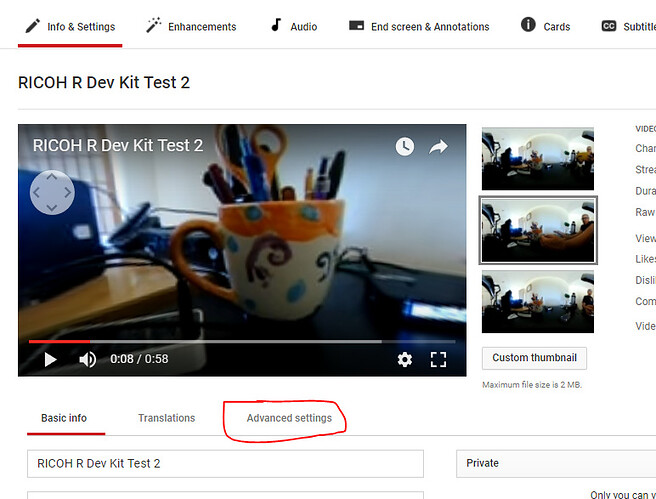
From the Basic Info page, there is a tab for Advanced Settings
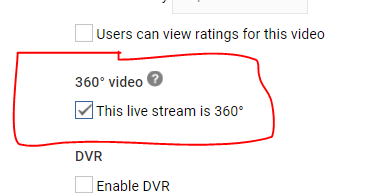
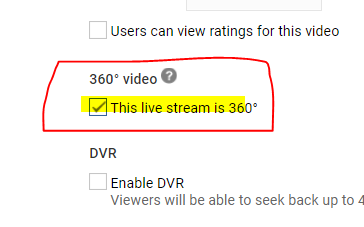
In the Advanced settings tab, make sure the the box This live stream is 360 is checked.
Preview Mode
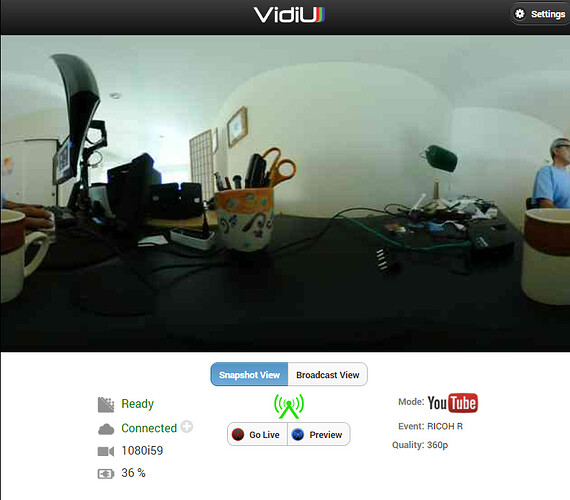
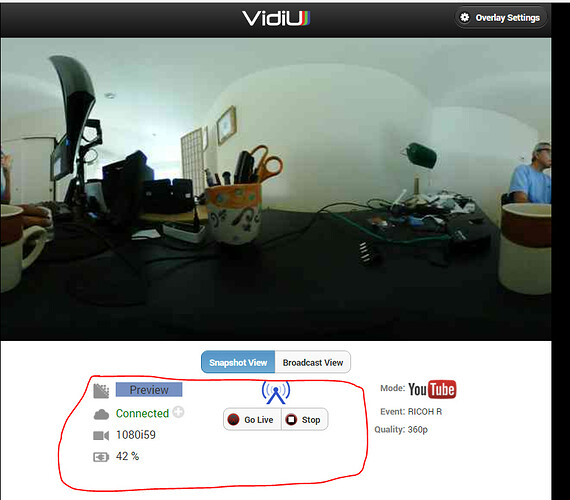
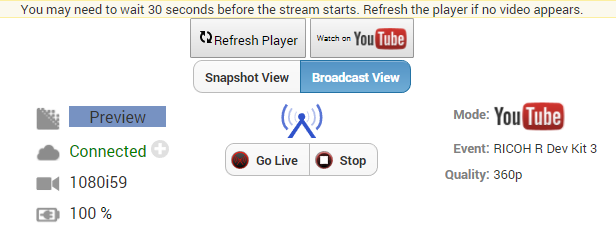
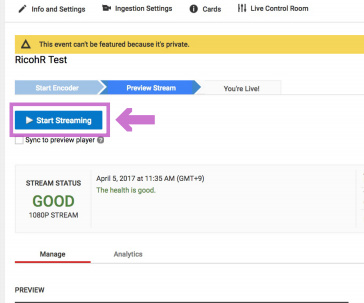
In the web-based application, start Preview mode.
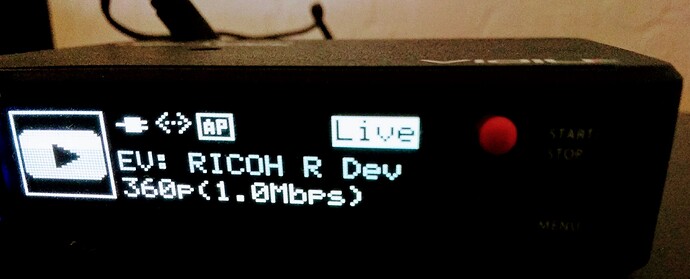
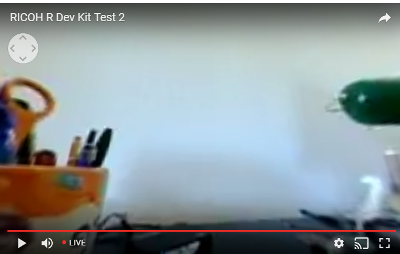
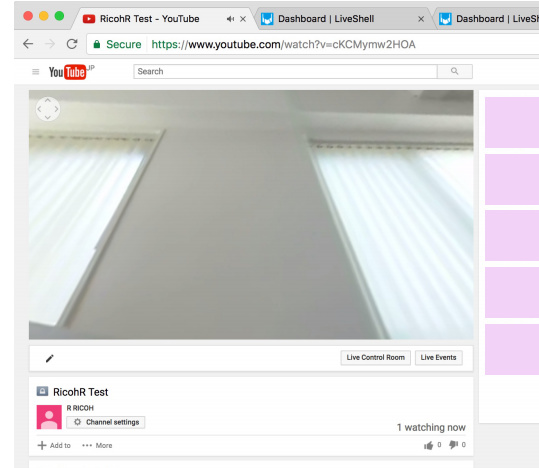
The RICOH R Dev Kit outputs at 1080p. In the example below, the VidiU selected 360p from my home office because I have poor Internet bandwidth. This is not a limitation of the RICOH R Dev Kit. If you have higher bandwidth, you should get 1080p.
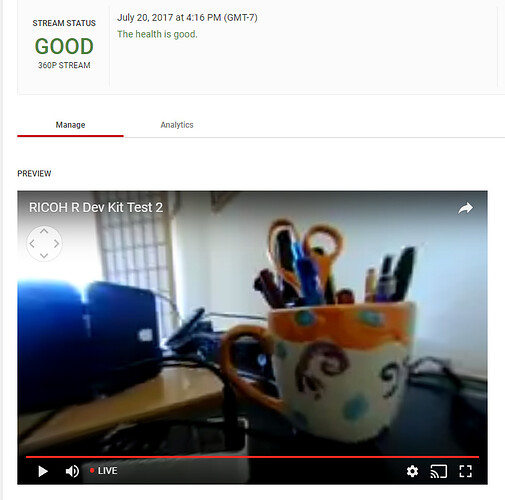
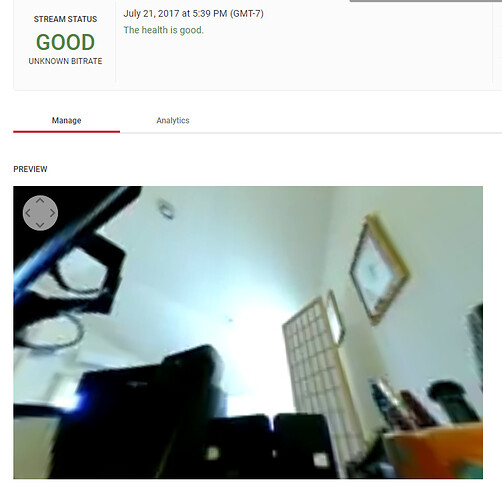
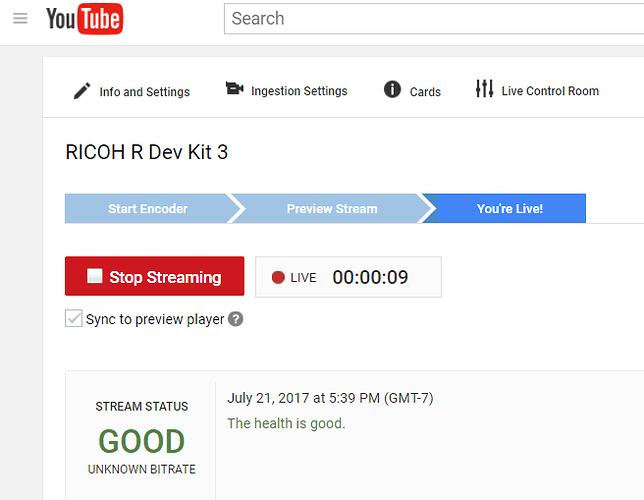
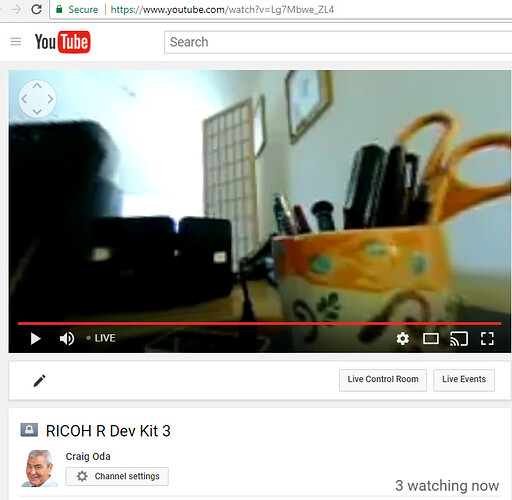
The Teradek VidiU devices needs to be in preview mode to send data to the control panel of YouTube.
Note: The low resolution of 360p is due to my low Internet bandwidth at my home office.
Live
Troubleshooting
More Information
RICOH R Console
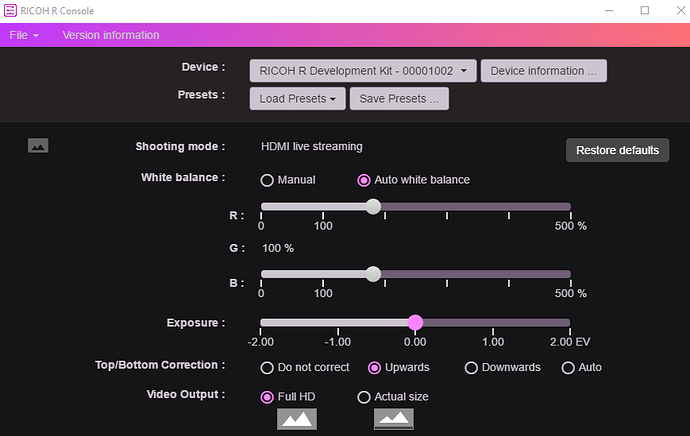
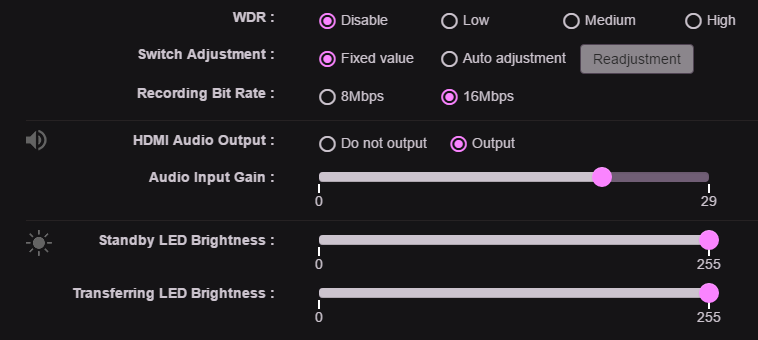
The RICOH R Console provides a way to adjust video settings.
- White balance (RGB)
- Exposure
- Top/Bottom Correction
- Video Output
- WDR
- Switch Adjustment
- Recording Bit Rate
- HDMI audio disable/enable
- audio input gain
- LED brightness
Download RICOH R Console Now
Included Case
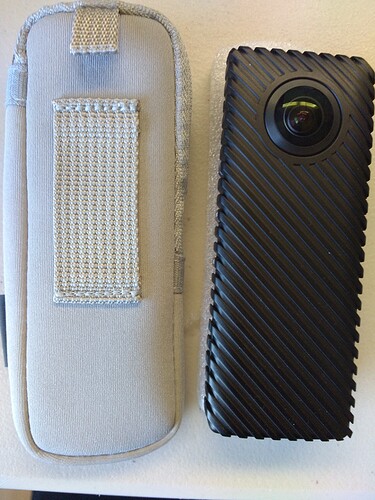
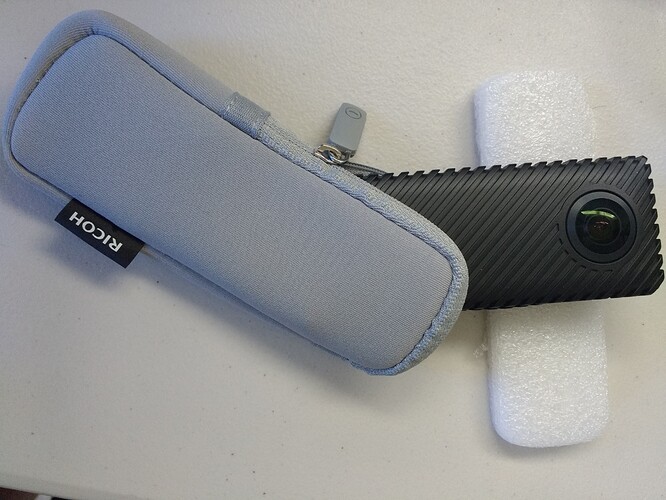
The RICOH R Dev Kit ships with a nice case that has a loop attachment and belt loop.
The case has a zipper.
The case is designed so that the case can protect the lenses with the cables still attached and the RICOH R Dev Kit upright in the stand.
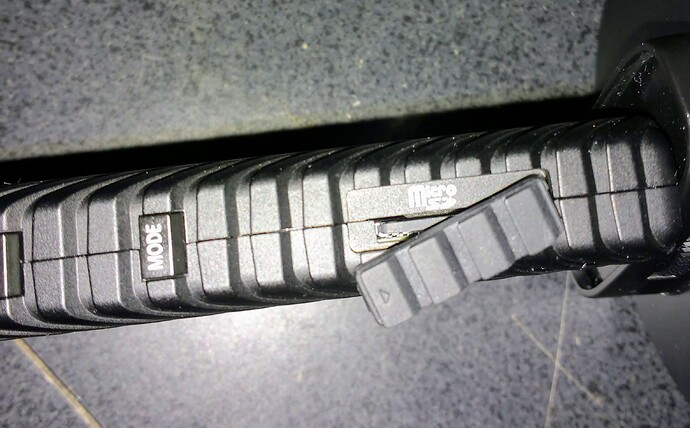
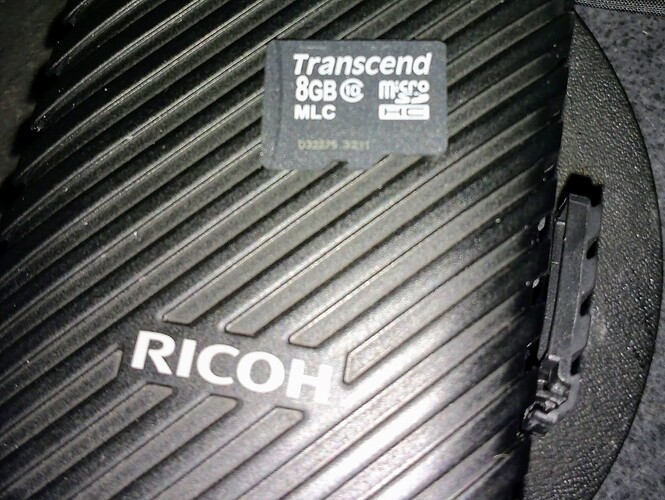
Removable MicroSD Card
Side Screws
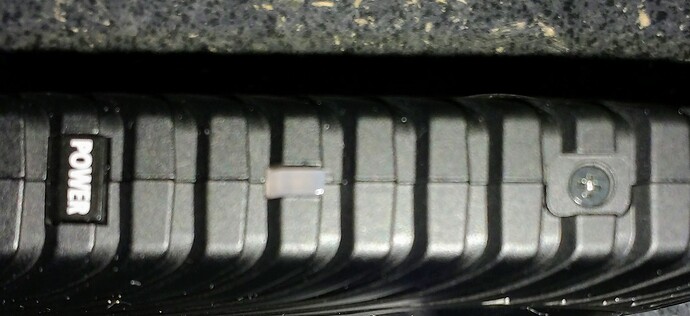
Each side of the RICOH R Dev Kit has a screw that looks easily accessible. It’s a normal phillips plus screw. I’m wondering if this is done intentionally to aid in the hackability of the hardware.
Forum
Go to the dedicated RICOH R Development Kit forum here.
Conclusion and Recommendations
The RICOH R Development Kit is a more expensive than the RICOH THETA S, but has more features for live streaming. If your business or application is built around 360 live streaming, you should give the RICOH R Development Kit a look.
Advantages Over THETA S
- HDMI output is in equirectangular, making it easier to use with broadcast equipment like Teradek VidiU and LiveShell.
- Specifies 24-hour non-stop streaming at 30C or less. THETA S does not specify streaming time
- Turns on automatically when power is applied (THETA S requires two buttons pressed)
- Live stream parameters can be controlled
- Removable microSD card (THETA S card is not designed to be user accessible)
- Real Time Orientation System (camera will recalculate video based on camera orientation)
Disadvantages Compared to THETA S
- Cost
- No internal battery
- Can’t take pictures
- No WiFi API and thus no mobile app control
- Smaller user and developer community
