It’s common to use the Wi-Fi API or the USB API to control the THETA either from a small Linux computer or a PC kiosk.
Controlling the THETA from node allows the developer to easily add a web interface and keep the backend and frontend languages the same.
Four Types of THETA API HTTP Requests
There are five types of HTTP requests:
- GET - primarily limited to grabbing camera info and opening the plug-in page
- POST with no payload - some commands such as state have not data payload
- POST with simple data payload and no parameters - almost all the commands use a data payload. You’ll likely use /osc/commands/execute the most.
- POST with data payload and parameters - note that the key in the parameters is a string. You need to use quotes
- binary data stream response - the camera.getLivePreview command returns a binary data stream that you need to handle
This basic article covers the first four types of HTTP requests. If you want to handle the live preview data stream on a web page, you can refer to this article and GitHub repo by Jake Kenin.
Network Configuration
The RICOH THETA has two Wi-Fi modes:
- access point (AP) mode - Wi-Fi LED is blue. Camera is hotspot
- Client Mode - Wi-Fi LED is green. Camera is a client that connects to your home or office Wi-Fi hotspot or router.
Client Mode is not covered in this basic article. Refer to Developing THETA Client Mode Applications for information on client mode application development.
Connecting to Internet and THETA at the same time
Workstation has two network interfaces.
- Internet Access - Ethernet is connected to router on 192.168.2.100
- THETA Connection - USB Wi-Fi dongle is connected to THETA on 192.168.1.1
Using this setup, I can access the RICOH THETA and the Internet at the same time.
You can substitute the Ethernet interface for a second Wi-Fi dongle.
RICOH THETA Access Point Connection
With the blue Wi-Fi LED flashing on your THETA V, the SSID will be the serial number of your THETA in the format shown below.
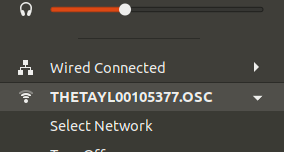
The Wi-Fi password is the serial number of your THETA. In this case, the password is 00105377.
Installing Node on Windows 10
It’s possible to install node directly on Windows. I prefer to use Windows Subsystem for Linux (WSL), which provides access to Linux commands, including the bash shell and the Linux package management systems.
If you want to experiment with the cutting edge, you can install node and the node version manage (nvm) on WSL2.
Create Project and install express, request, body-parser
- npm init
- npm install express
- npm install request body-parser
Create index.js and index.html
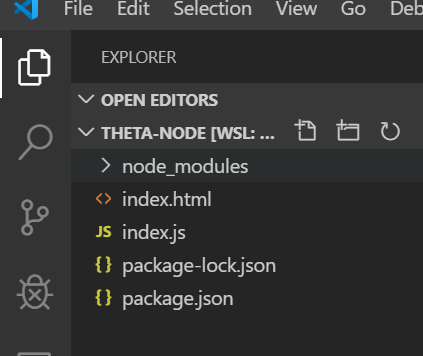
index.html
Note that I have bootstrap implemented for the styling of the button and fonts.
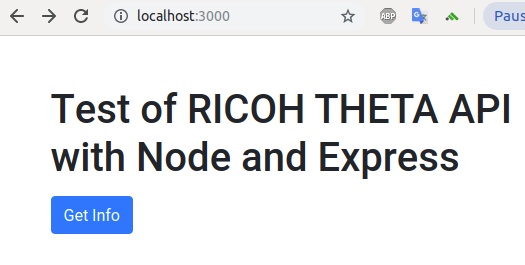
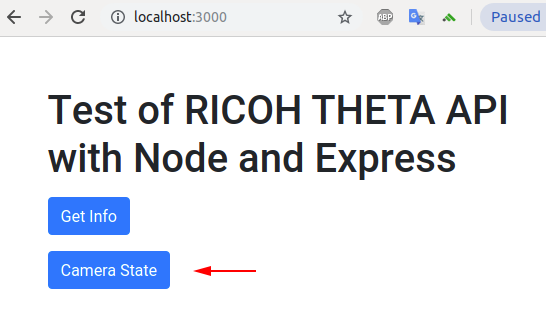
        <h1>Test of RICOH THETA API with Node and Express</h1>
        <div class="pt-2">
            <form action="/" method="POST">
                <button class="btn btn-primary" type="submit" name="info">Get Info</button>
            </form>
        </div>
index.js
//jshint esversion:6
const express = require("express");
const request = require("request");
const bodyParser = require("body-parser");
const app = express();
app.use(bodyParser.urlencoded({extended: true}));
app.get("/", (req, res)=> {
res.sendFile(__dirname + "/index.html");
console.log("get request")
});
app.post("/", (req, res)=> {
request("http://192.168.1.1/osc/info", (error, response, body)=>{
let data = JSON.parse(body);
console.log(response);
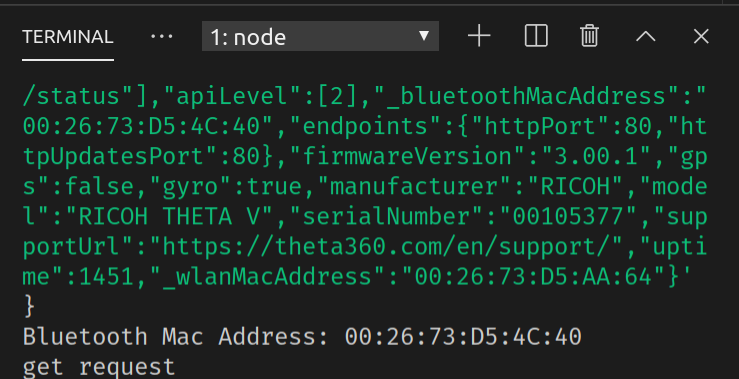
console.log("Bluetooth Mac Address: " + data._bluetoothMacAddress);
res.send(response);
});
});
app.listen(3000, ()=> {
console.log("THETA Node Server running on port 3000.");
});
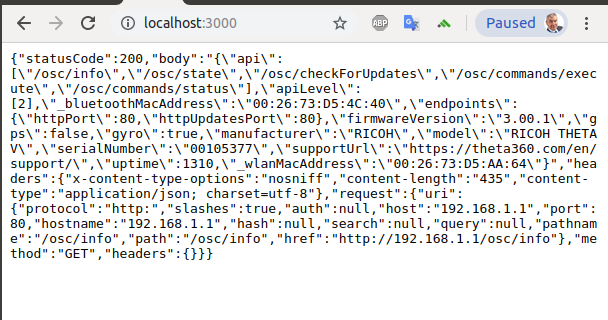
response on console
output on HTML page
Explanation of Basic Points
The example uses three common node modules: express, request, and bodyParser.
The RICOH THETA uses both GET and POST requests using a simple HTTP API. This example only uses GET to http://192.168.1.1/osc/info
The response from the THETA is JSON.
JSON.parse is used to store the response in a variable called data.
You can then access individual pieces of data such as the BluetoothMacAddress easily with
data._bluetoothMacAddress
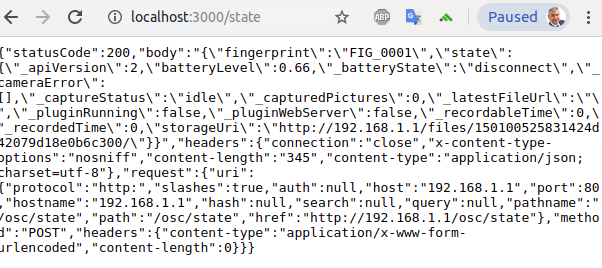
Simple POST example with no payload
For the POST example, I’m specifying the header.
app.post("/state", (req, res)=> {
  request.post({
    headers: {'content-type': 'application/json;charset=utf-8' },
    url: "http://192.168.1.1/osc/state",
    }, (error, response, body)=> {
      console.log(response);
      res.send(response)
    });
  });
The HTML snippet to get the camera state.
 <form action="/state" method="POST" class="pt-3">
       <button class="btn btn-primary" type="submit" name="state">Camera State</button>
</form>
Button on interface web page.
HTML page output of state.
To get a single piece of data such as the battery state, refer to the previous GET example using JSON.parse(body)
POST Example with Payload - takePicture
app.post("/takePicture", (req, res) => {
  request({
    headers: {
      'content-type': 'application/json;charset=utf-8'
    },
    url: "http://192.168.1.1/osc/commands/execute",
    method: "POST",
    json: {
      name: "camera.takePicture"
    }
  }, (error, response, body) => {
    console.log(response);
    res.send(response);
  });
});
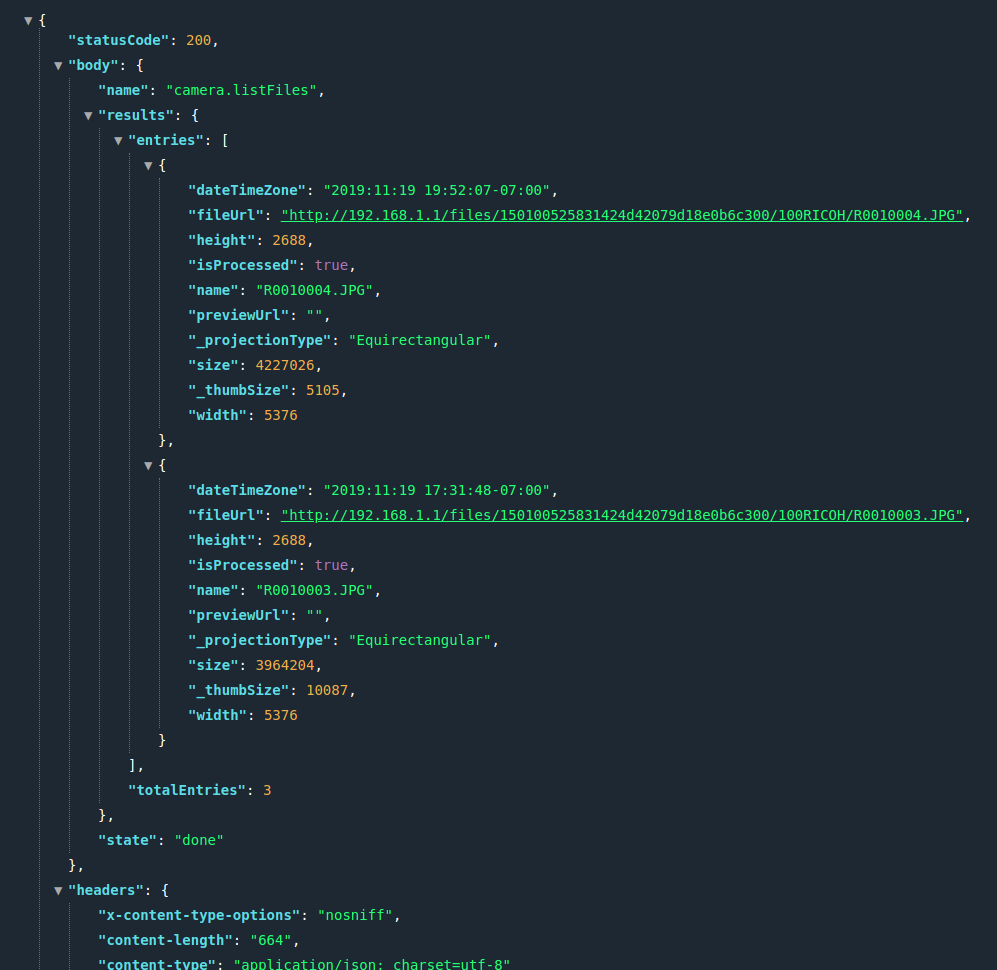
POST example with payload and parameters
Note that the keys for the parameters are in quotes.
// example of POST with payload and parameters
app.post("/listFiles", (req, res) => {
  request({
    headers: {
      'content-type': 'application/json;charset=utf-8'
    },
    url: "http://192.168.1.1/osc/commands/execute",
    method: "POST",
    json: {
      name: "camera.listFiles",
      parameters: {
        "fileType": "image",
        "entryCount": 2,
        "maxThumbSize": 0
      }

    }
  }, (error, response, body) => {
    console.log(response);
    res.send(response);
  });
});
Response shown in Chrome using the Chrome extension Awesome JSON Viewer. Click on image to enlarge.
Displaying Image
The images are available on the camera from URIs. We can access the individual image and display it on a web page.
app.post("/listFiles", (req, res) => {
  request({
    headers: {
      'content-type': 'application/json;charset=utf-8'
    },
    url: "http://192.168.1.1/osc/commands/execute",
    method: "POST",
    json: {
      name: "camera.listFiles",
      parameters: {
        "fileType": "image",
        "entryCount": 2,
        "maxThumbSize": 0
      }

    }
  }, (error, response, body) => {

    let secondImageUri = body.results.entries[1].fileUrl;
    console.log("first image uri = " + secondImageUri);
    let webPage = "<h1>Body of response</h1>" + "<pre>" +
      JSON.stringify(body, null, 2) + "</pre> + <hr>" ;
    webPage = webPage + "<img width='500' src='" + secondImageUri + "'>";

    res.send(webPage);
  });
});
Explanation
The request module has many options for the parameters. First set the method to POST.
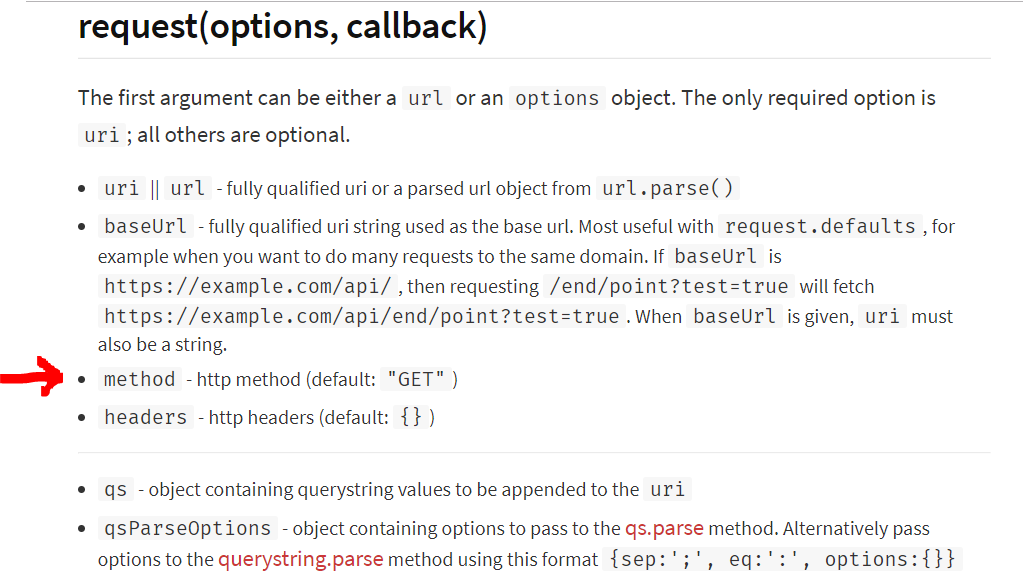
Further down in the documentation, there is an option json

In my example, I am setting the HTTP header, but it is likely redundant as the json option adds the proper header.
The image is displayed with a standard <img src= tag.
"<img width='500' src='" + secondImageUri + "'>"
The image will be displayed in equirectangular format. To view it in 360, we’ll need to use a library such as A-Frame.
