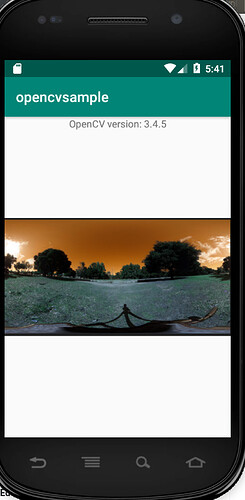
This example shows how to use an Android AVD to build a plug-in that runs inside the RICOH THETA V
camera. Even though I have a camera, I sometimes use the Android Virtual Device emulator for development instead of a physical camera. If you do not have a RICOH THETA V or Z1 handy,
you can still develop with the AVD emulator.
Code for the no-camera-opencv demo is available on GitHub. The code will run on both emulators and physical device cameras with only minor modifications.
As OpenCV uses the NDK, I first tried to use an arm64 system image instead of the x86 one. Unfortunately, this was too slow. The good news is that the same code ran on the x86 emulator with
only a minor change.
Using x86 Emulator
in build.gradle app
in Application.mk

This worked fine.
Using Physical Device RICOH THETA V
Application.mk
build.gradle app
Sync Gradle
Clean Project
Rebuild
Selected RICOH THETA V
works as expected
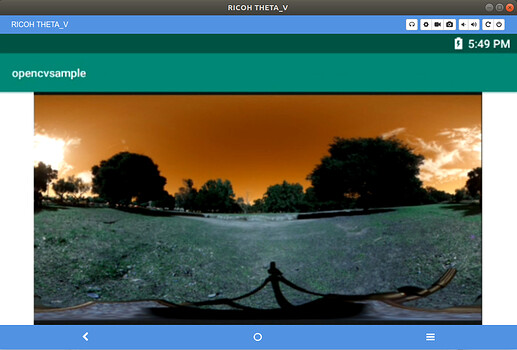
Running OpenCV on Physical Camera When Picture is Taken
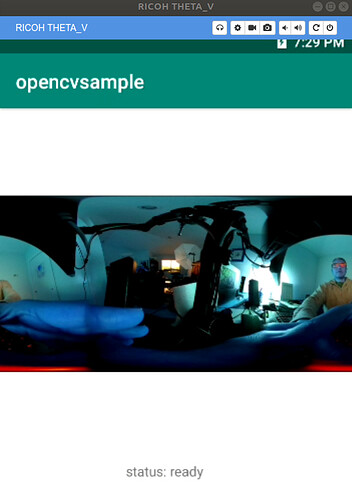
This is a view from Vysor of the physical device RICOH THETA V. The picture was taken by pressing the physical camera button. The image is processed with OpenCV by using the Wi-Fi button on the side of the camera.
Running OpenCV on AVD emulator
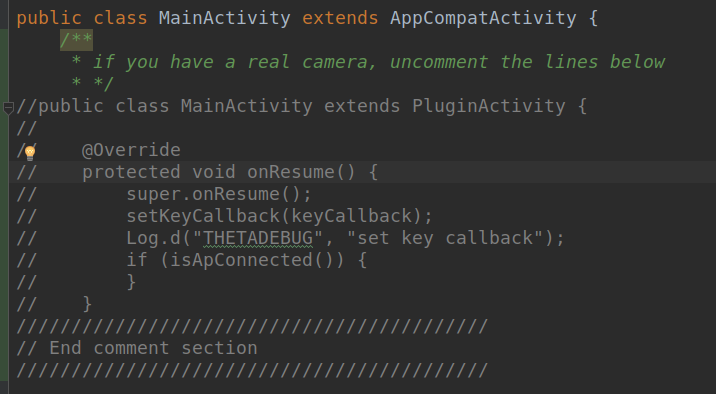
Comment Out Camera-specific Code
Change Application.mk
Change APP_ABI: = arm64-v8a to
APP_ABI: = x86
Change build.gradle (app)
build
- sync gradle
- clean project
- play (build and install)
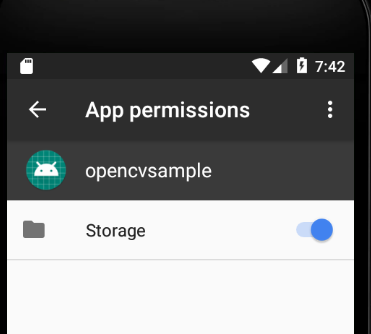
Set Storage Permissions
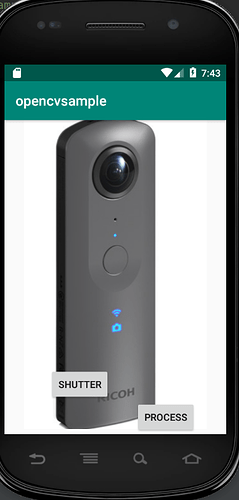
Run App
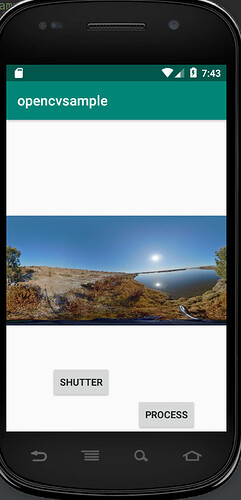
Press Shutter
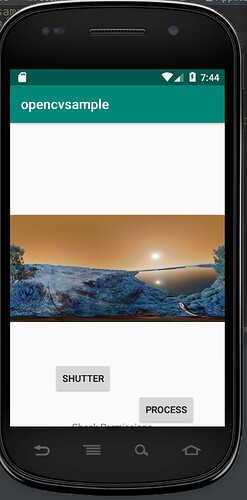
Press Process
This is equivalent to pressing the Wi-Fi button of the physical device camera.

