Dual-Fisheye Image Enhancement Test With Gigapixel AI from Topaz Labs

Introduction

A community member suggested that I would get better results from image enhancement software if I used dual-fisheye images. As the RICOH THETA Stitcher was just released as a standalone stitcher, I thought it was a good time to retest Gigapixel AI and see if I could stitch an enhanced dual-fisheye image.

Original DNG

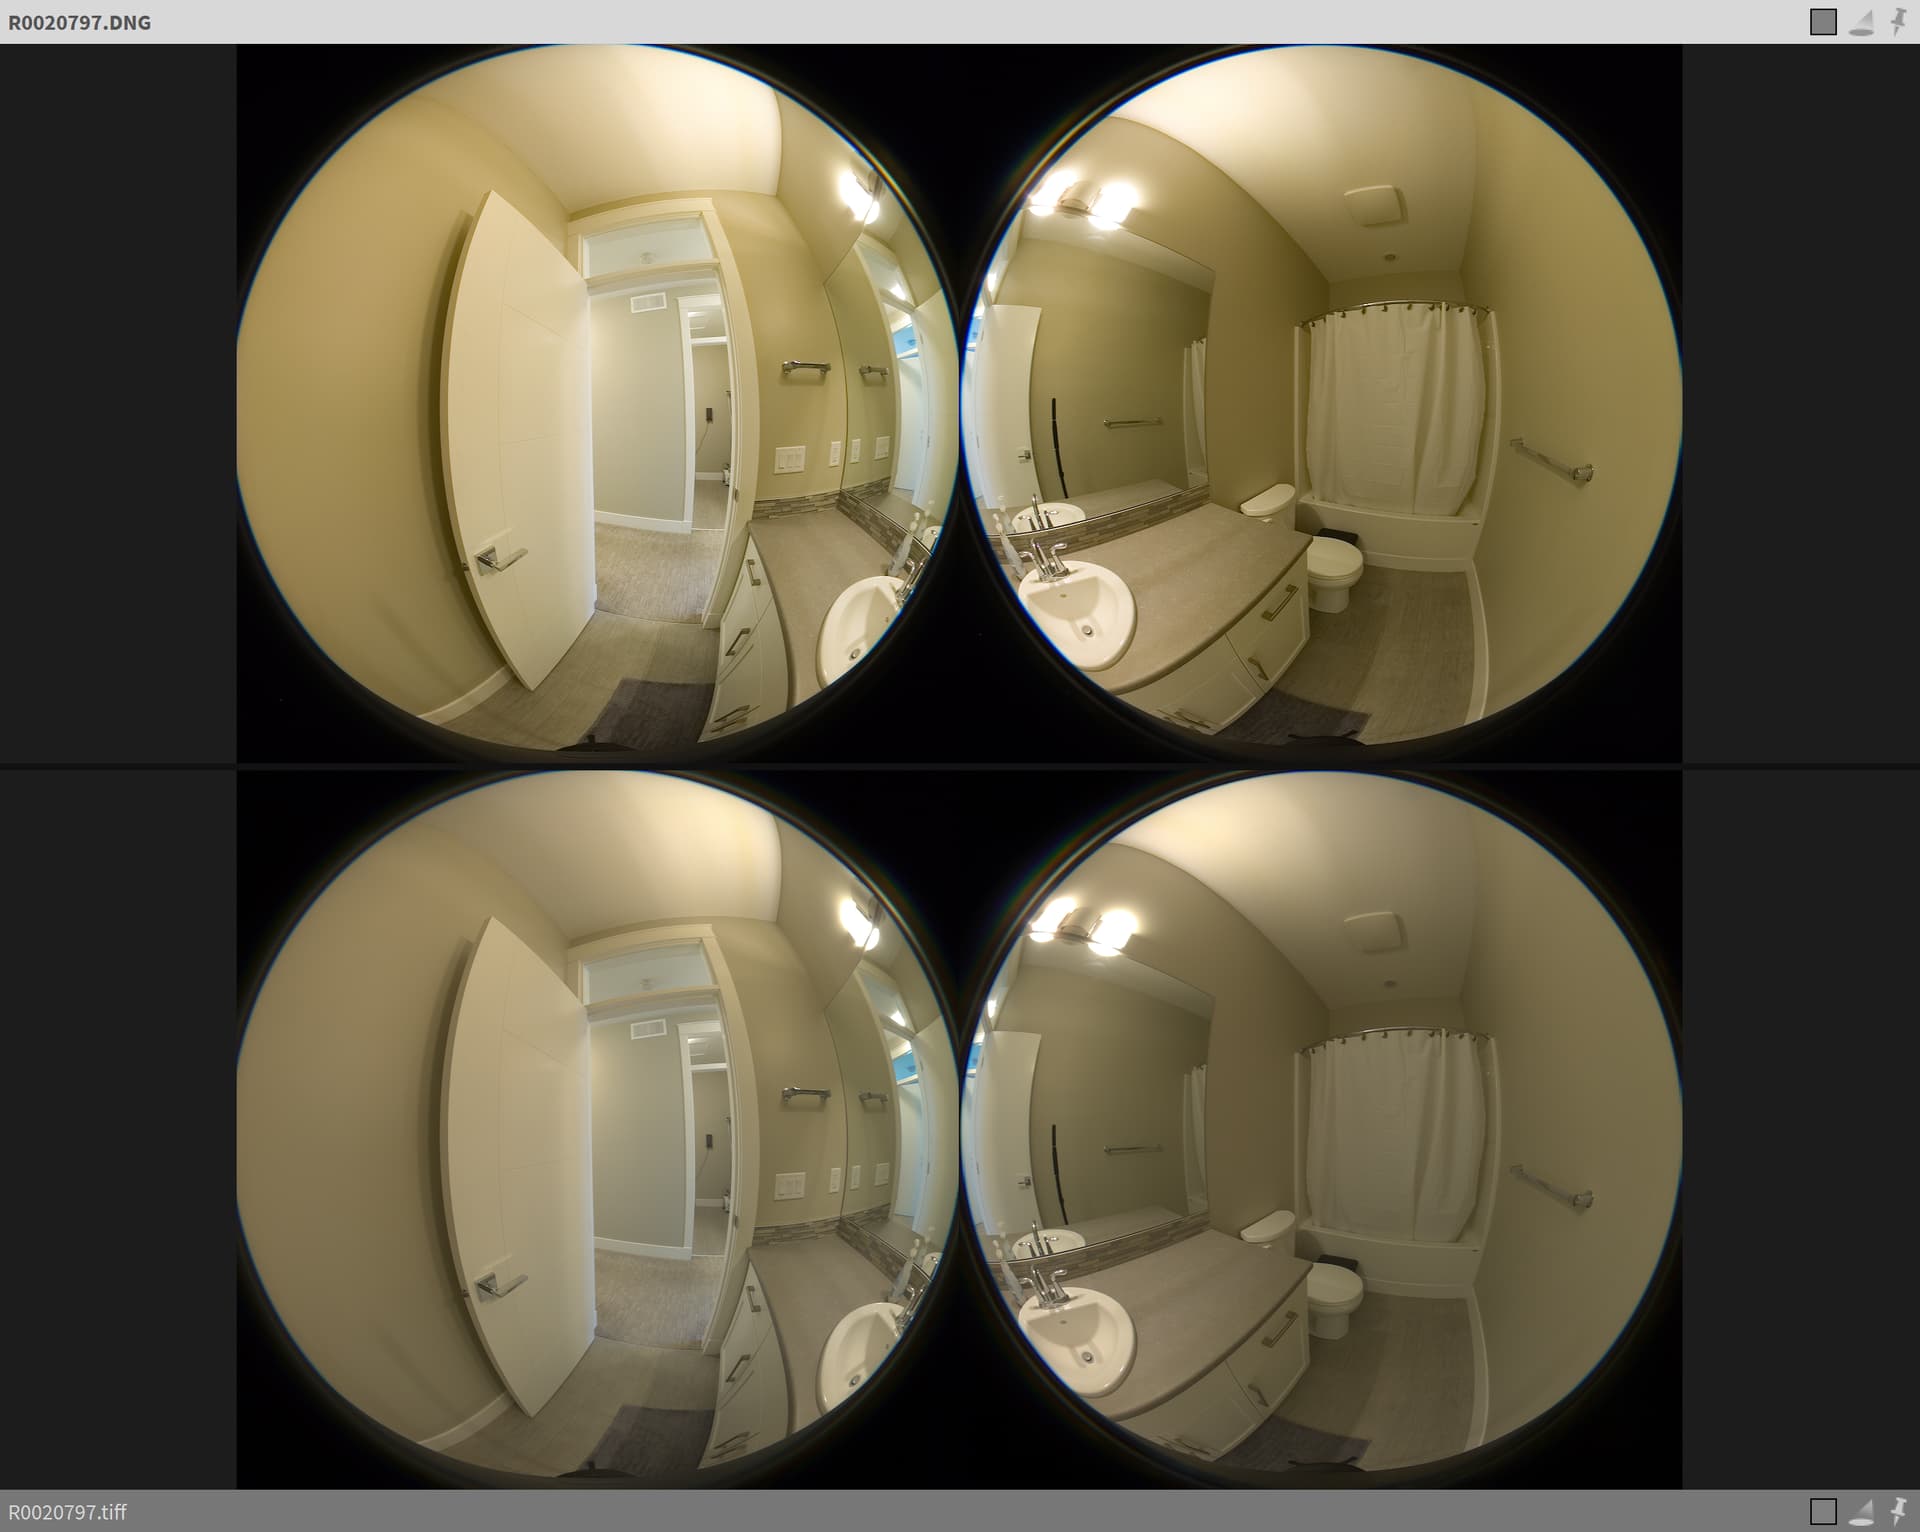
Loading 47MB DNG file into Gigapixel AI.

  • 4x scale
  • remove blur max
  • suppress noise max

Required a 58MB download of a model file for 4x scale

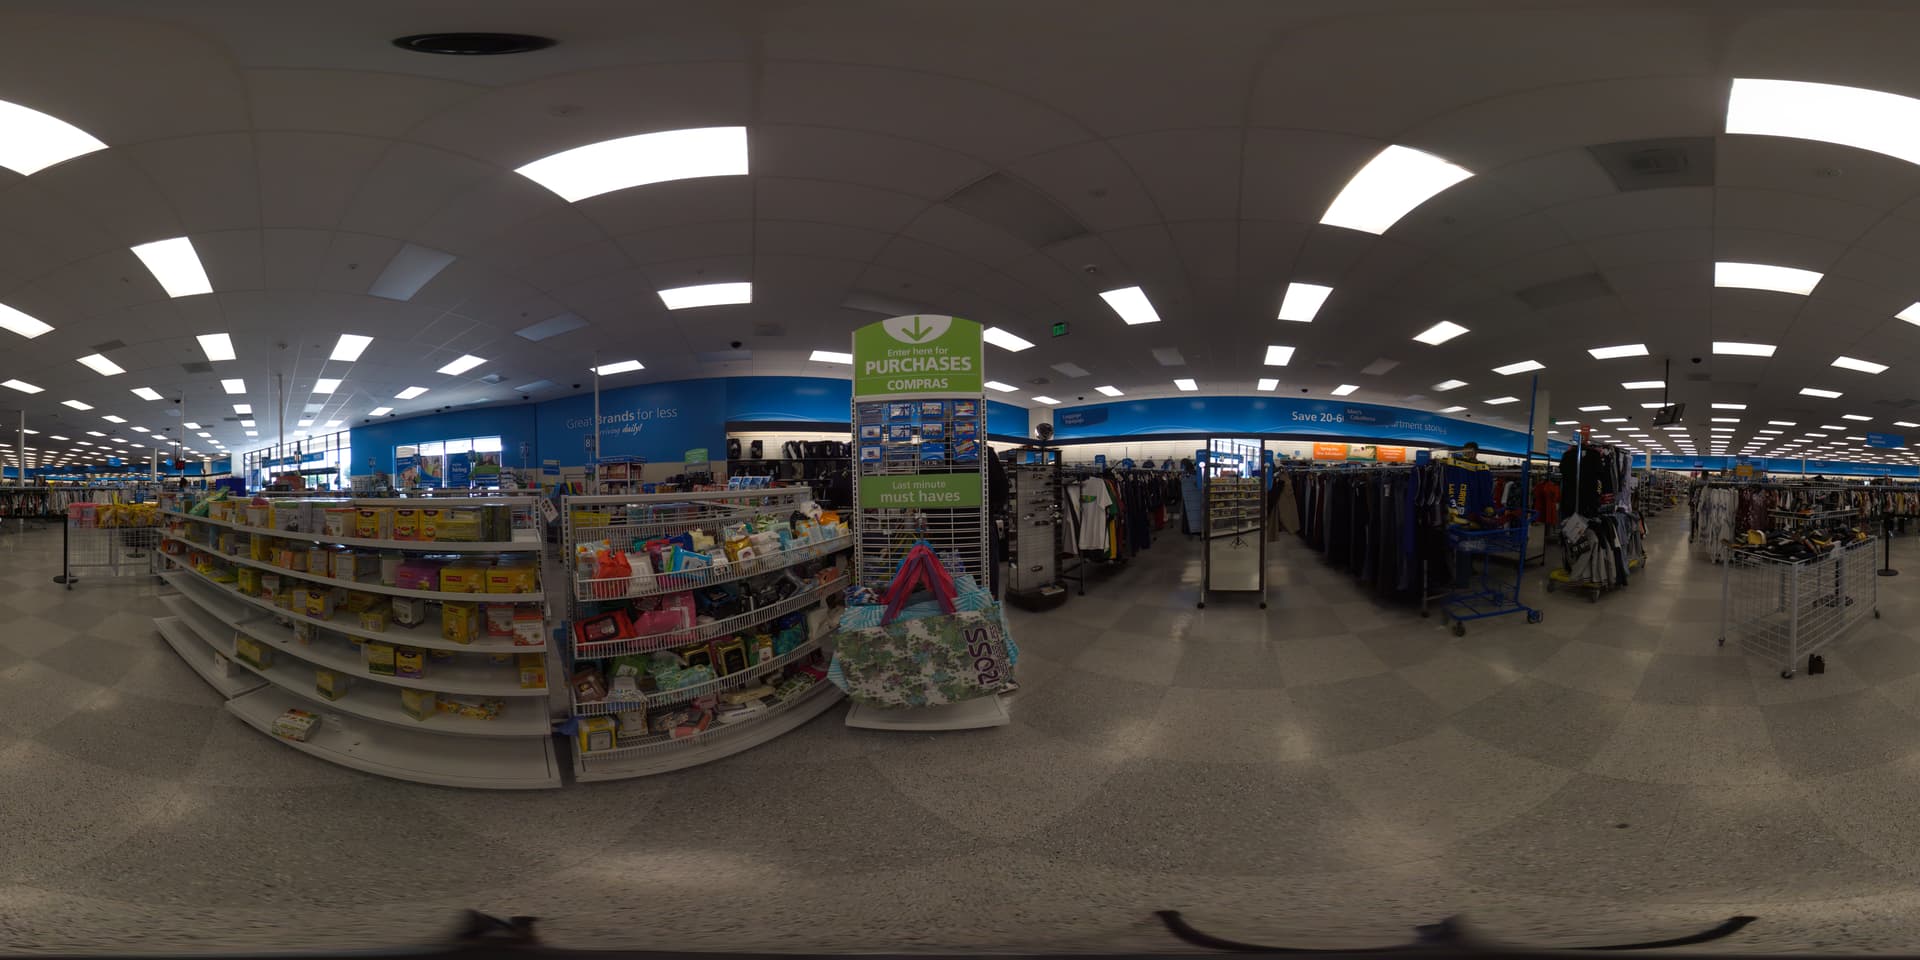
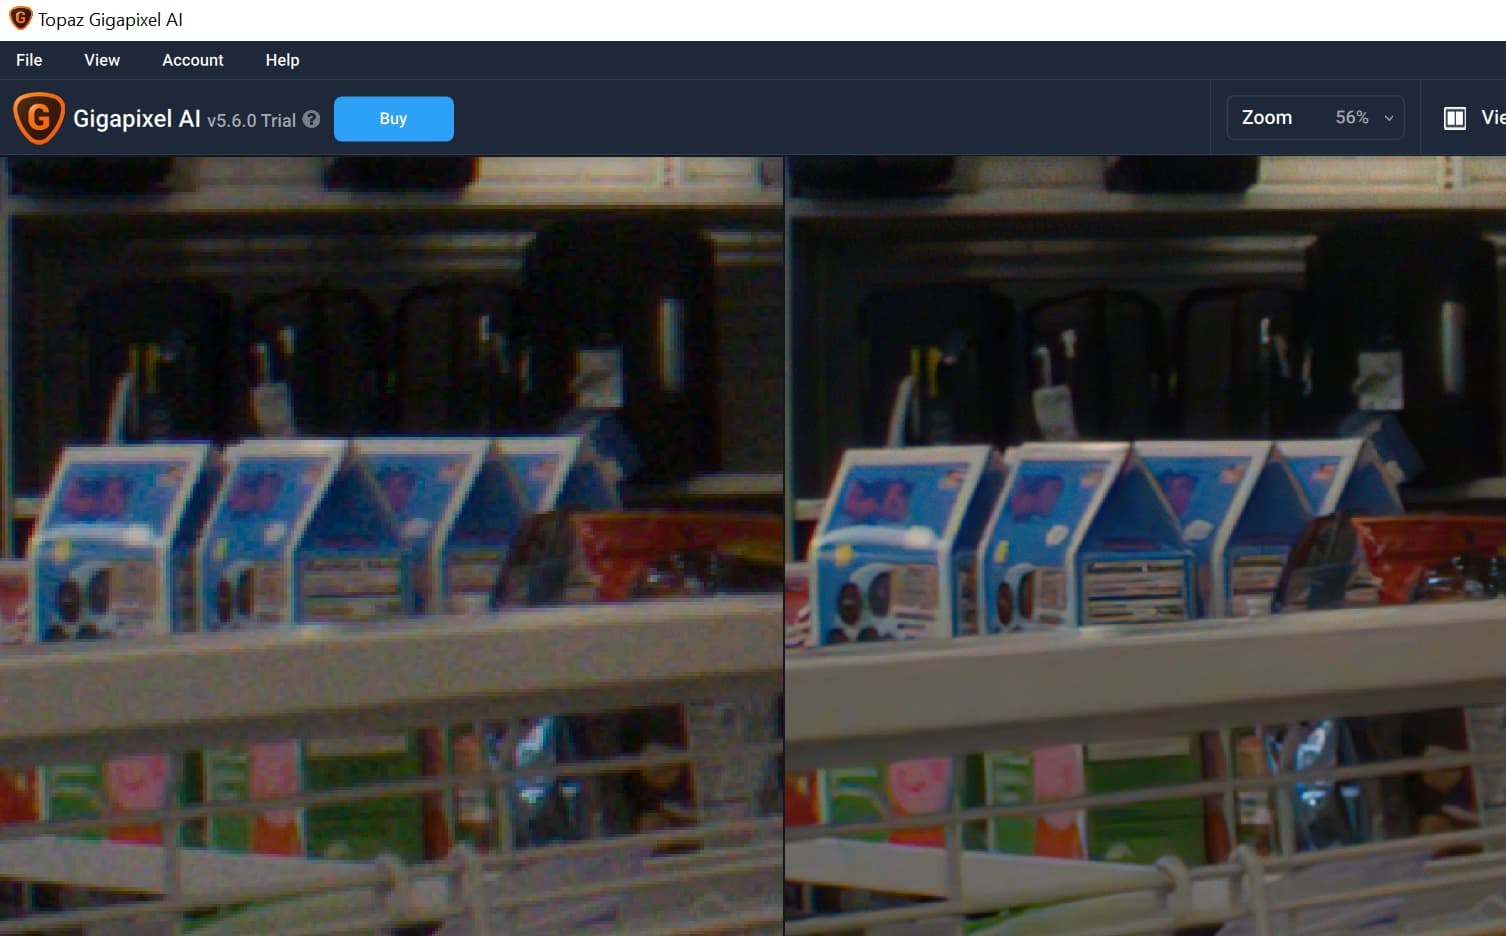
Significantly clearer.

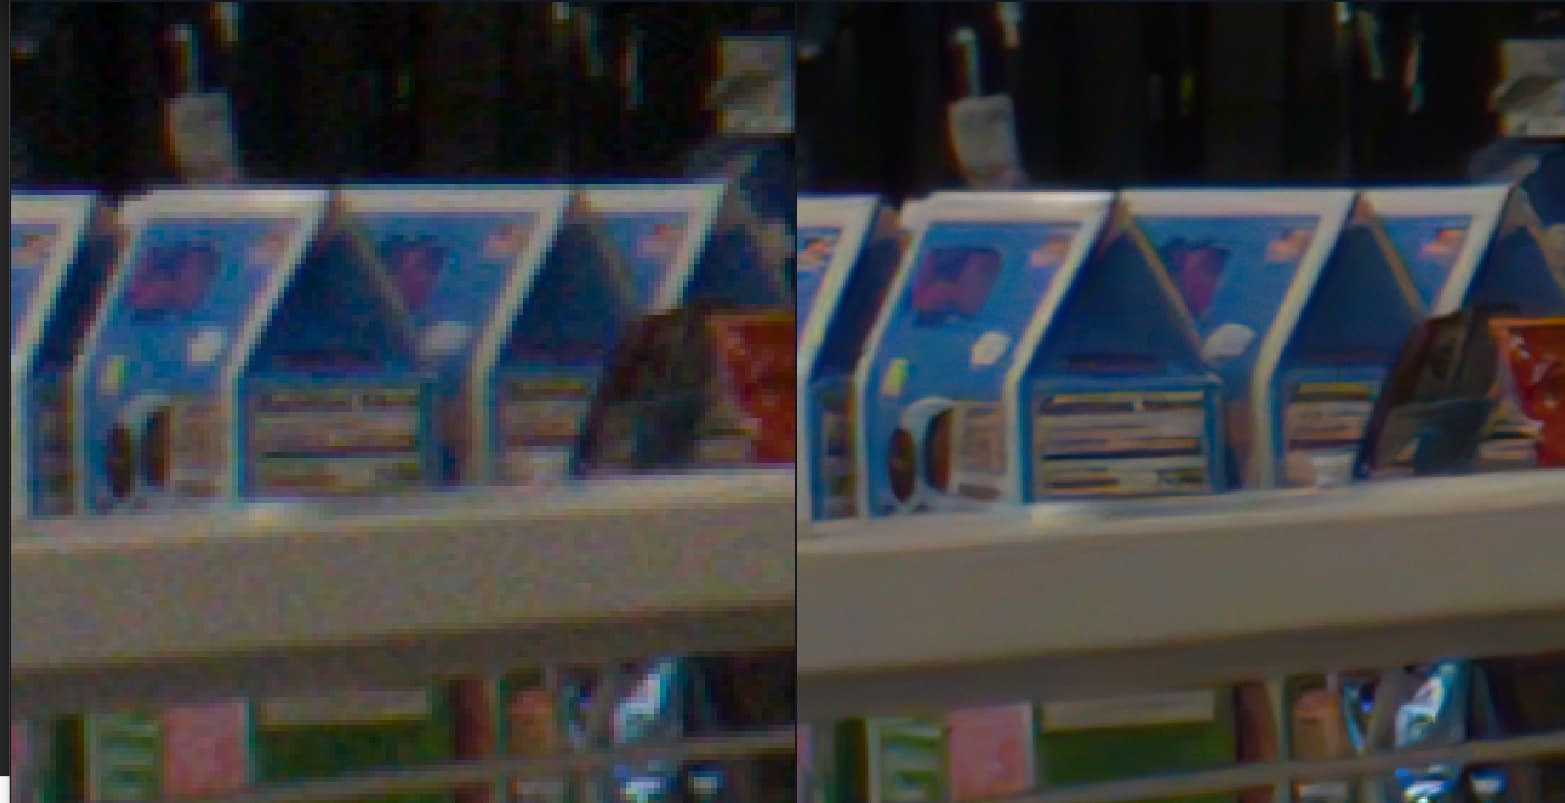
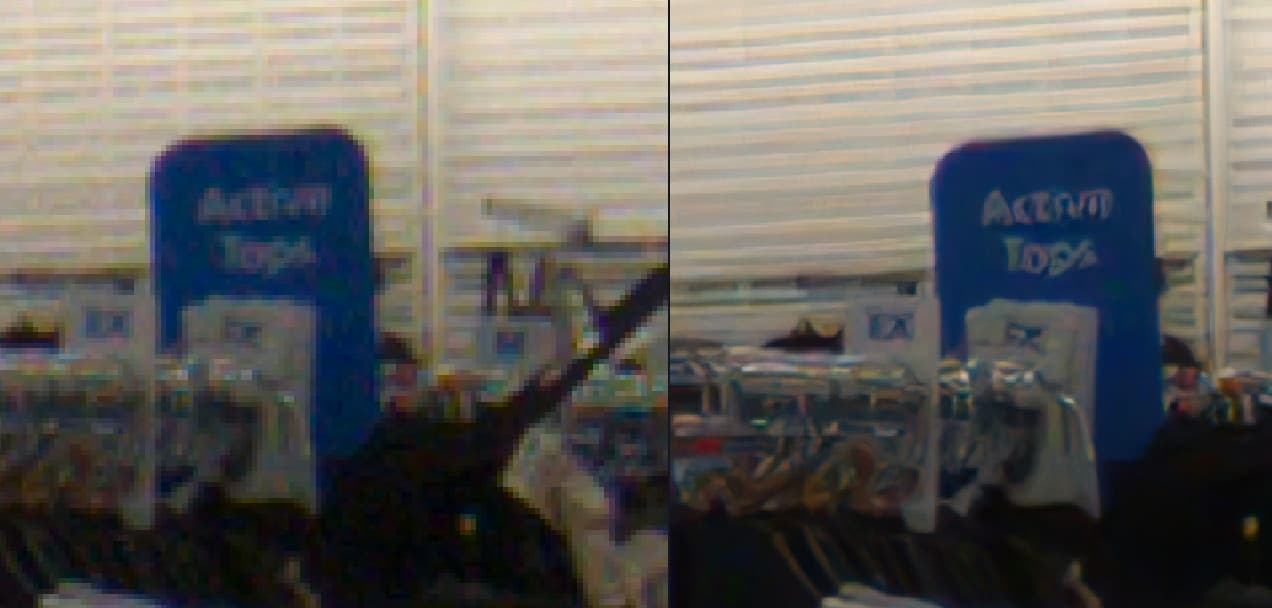
some clarity improvements and some incorrect text.

Output Enhanced DNG

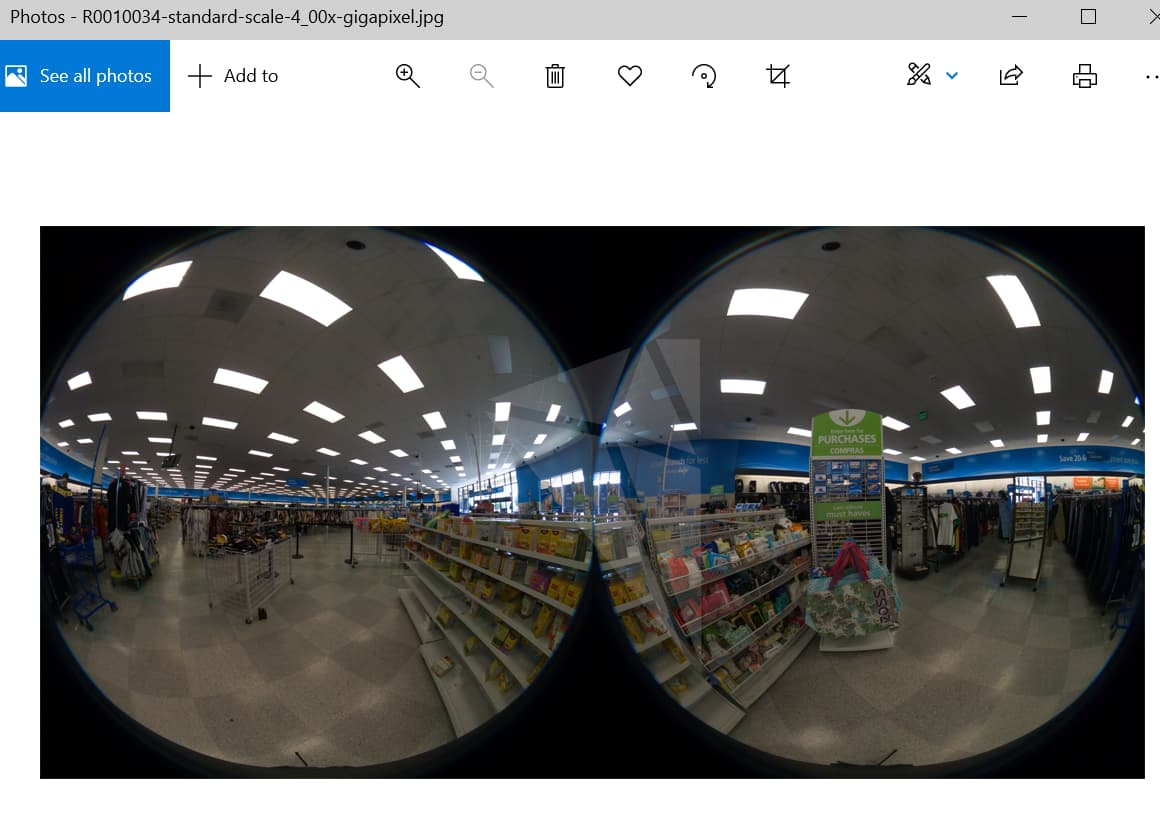
exported as 260MB JPG image with some lighting artifacts

Stitching

Using new standalone RICOH THETA Stitcher version 3.0.0, released Aug 24, 2021.
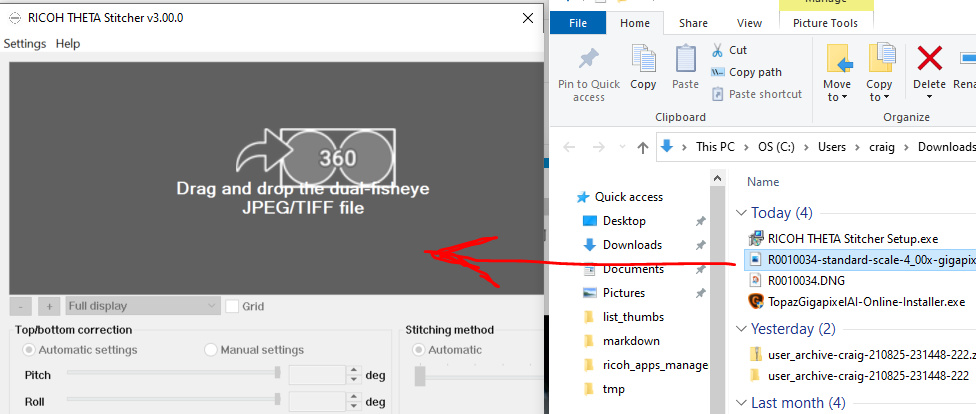
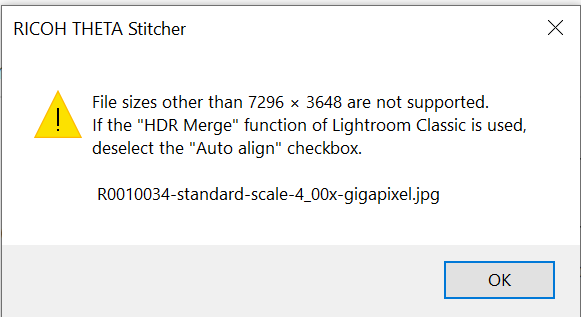
download stitcher

Failed to stitch. :frowning:

image

Scale Back Down

Somewhat defeats the purpose. But, let’s see. We’ve come this far.
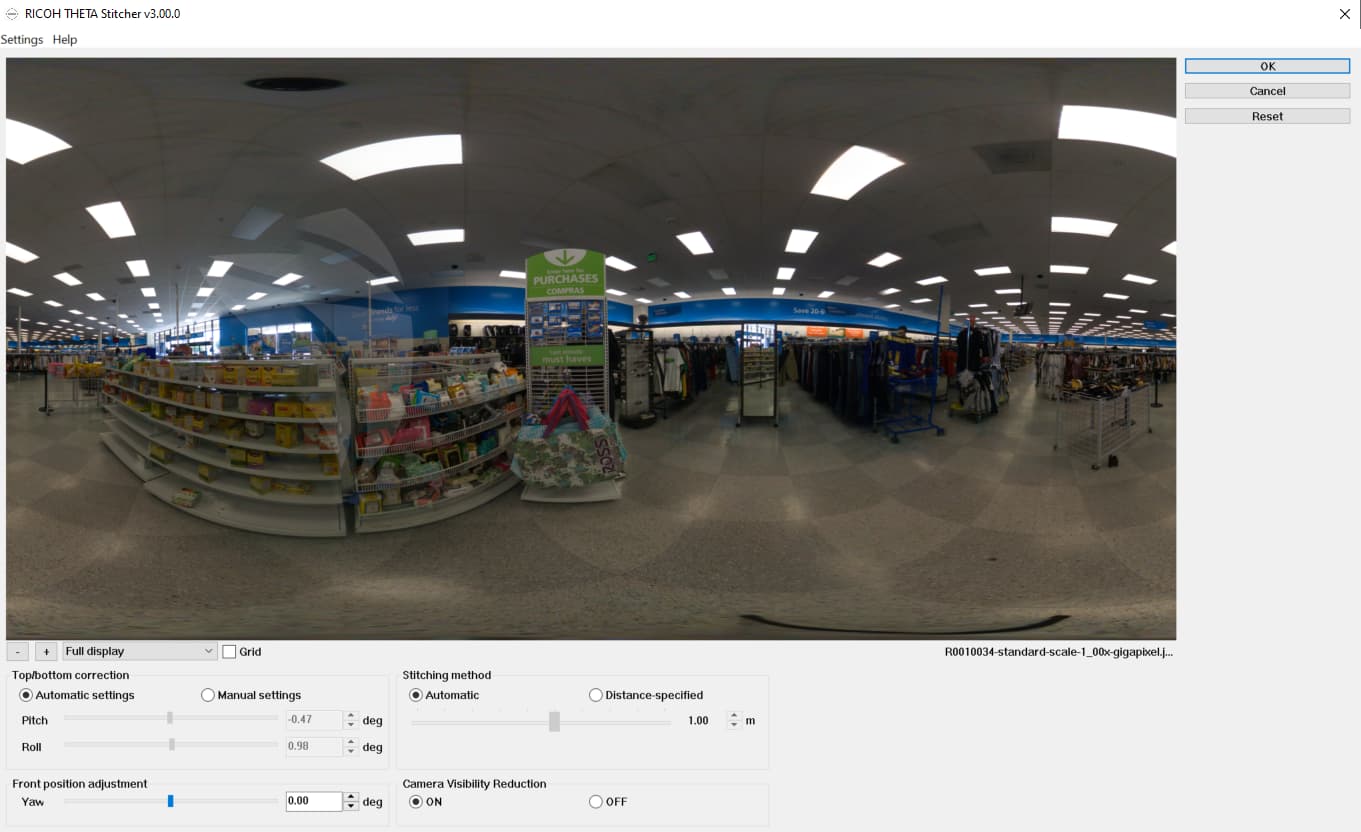
Stitching Again

Some artifacts from lighting.

Summary Results

Gigapixel AI image enhancement shows great promise. However, it is tricky to eliminate the lighting artifacts in my test image. Likely, this can be improved with practice. The original DNG is here . Please post your results if you can get a better image.

I was not able to stitch the enhanced image with the RICOH THETA Stitcher as the size needs to be the original size of the DNG, 7296x3648.

As portions of the images look significantly better, it’s worth doing another test in the future.


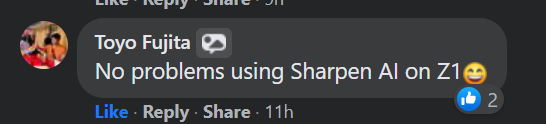
Updates from the community.

Clay Morehead

original post

Because Gigapixel AI causes artifacts at zenith and nadir, it’s better to run it on the unstitched fisheye images then stitch in Ptgui.

Gigapixel AI images will probably not be accepted automatically by Ptgui so you’ll have to manually set up your first stitch.

Seems like an inordinate amount of effort to try to make a silk purse.

1 Like

Gigapixel is always the very last step in my workflow. It will cause visible seams if used before stitching with the Theta Stitcher. PTGui may avoid this, but I’ve found the Theta Stitcher does a better job at stitching.

My workflow:
Batch correct DNG in Affinity Photo > Batch in AuroraHDR > Batch Stitch > Batch in Gigapixel

2 Likes

In my experience, a single DNG will produce too much noise when you try to exposure balance the image and then Gigapixel will interpret the noise as texture and enhance it.

Here’s your image exposure balanced and then enlarged 2x:

If I convert straight to TIF then enlarge 2x:

If you’re using DF already you might as well take brackets and make an HDR or use DF in-built HDR. Less noise = less AI artifacts in Gigapixel.

Here’s the DNG enhanced in Gigapixel without enlargement, exported to TIF, stitched and converted to JPG:

There are clear stitching errors on the right side stitch line and if you try to exposure balance the TIF before or after stitching you’ll get seams and color issues.

2 Likes

@mcworen You’re amazing! I’m going to send your tips to RICOH. This is great. Thank you for your help.


More comments on the Facebook Group discussion.

image


More comments from Topaz Labs

In regards to the images you wanted some input on, this is likely because Gigapixel AI and our other programs aren’t trained to work with 360 panoramic images. Although some images work better than others, there isn’t much we can really advise further but I will add this ticket to our feature request list so that your input can be reviewed by the development team. This isn’t an uncommon request, and we greatly value our users’ feedback and take each request into consideration when working on updates and improvements.

To avoid artifacts, generally speaking, you can try different models, or tone down the sharpening in the App. If the image had artifacts already, they are likely to intensify in the App, so if you eliminate artifacts beforehand, this would help as well.

2 Likes

You’re very welcome and there’s also another reason not to use DNG with Gigapixel…

Gigapixel doesn’t really have the capability to do proper developing of a raw ‘digital negative’ file. DNG files require developing to display the correct hue, saturation and luminosity.

Here’s an example of what I mean:

  • Top image is DNG with no corrections applied.

  • Bottom image has been developed in Affinity Photo’s Raw Engine (like Adobe Camera Raw) with no corrections or lens profiles applied, I simply hit ‘develop’.

It’s always a good idea to develop a DNG into TIFF before using further processing software like HDR or Gigapixel or you’ll end up exaggerating the incorrect raw colors, and it’s the main reason I don’t use the Theta Z1 HDR or DF HDR either. They are quick and easy but they don’t produce accurate colors.


With regards to your response from Topaz Labs, the settings I used yesterday in Gigapixel for the first exposure balanced and enlarged version of your image had sharpening at 0. This was to avoid creating artifacts from the noise generated by bringing up the shadows to balance the image.

Hope that helps :slight_smile:

1 Like

Wow, you’re super helpful and so generous with your time. Appreciate you sharing your knowledge. Thank you. Have a nice Sunday!

1 Like

Hi,

Thanks for all the info.

I’ve got a softball just to make sure I understand. When you do your batch-affinity then batch-Aurora, are you doing all photos to be worked on or bracketed photos?

If doing brackets do you do then one set at a time or multiple sets? If multiple sets I’d guess maybe they would be all have the same general lighting conditions. Correct?

Tia
Bill

My Affinity batch processing is just for defringing of the dng files since Theta Z1 suffers from unavoidable chromatic aberration. All photos, custom preset.

Batching in Aurora is for blocks of photos with similar lighting. Usually 3 categories: outside, inside near windows, inside no windows. I have created custom starting presets for each but I pick 1 photo (9 bracket) from each category to tweak the preset before batching the block.

It’s probly a longer workflow than most but I’m way pickier than most lol

1 Like