Getting the React Native demo running, Android emulator
theta-client 1.7.1
Windows 10, Node v18.17.1, Java version 1.8.0_371 and Java JDK v17.0.7
- Clone theta-client repository GitHub - ricohapi/theta-client: A library to control RICOH THETA
- In a new terminal, cd into demos/demo-react-native
- Start your Android emulator (more on how to get the emulator here
- Run “yarn install” in a new terminal
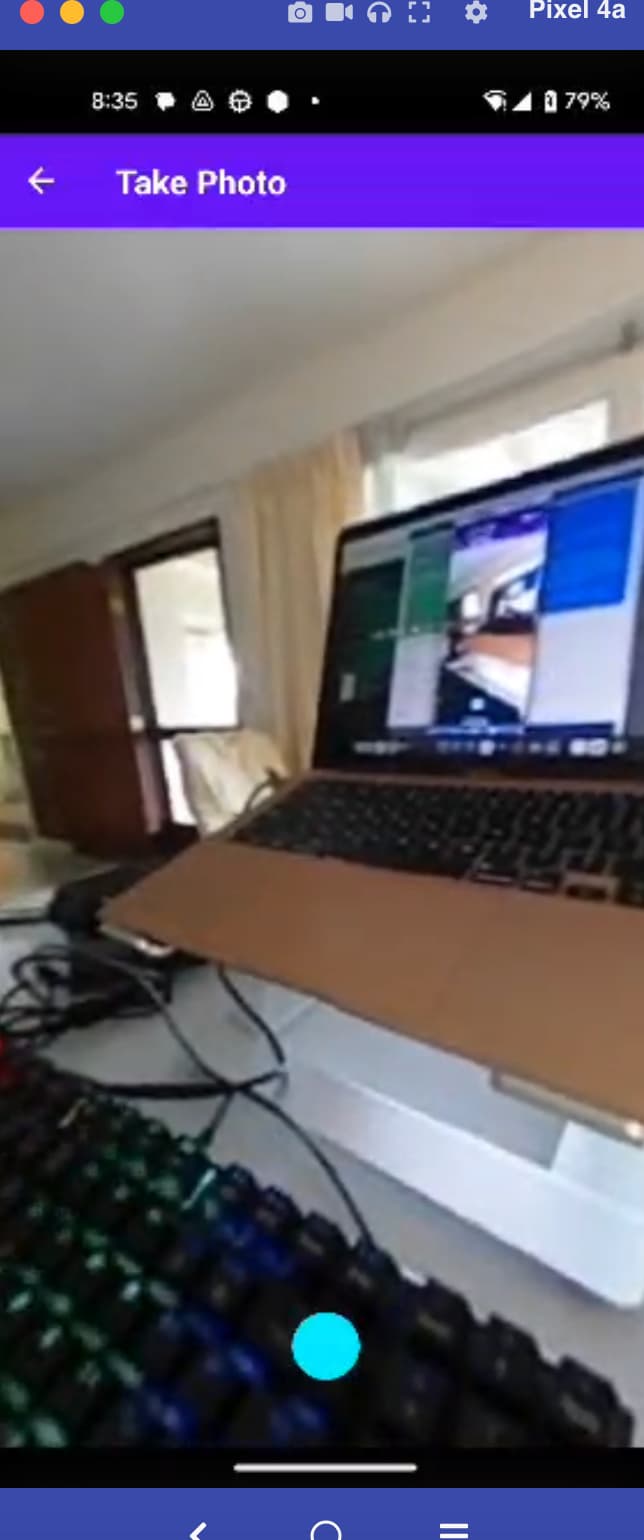
- In the src folder in demo-react-native, change const endpoint to ‘https://fake-theta.vercel.app’ for fake images to test in development
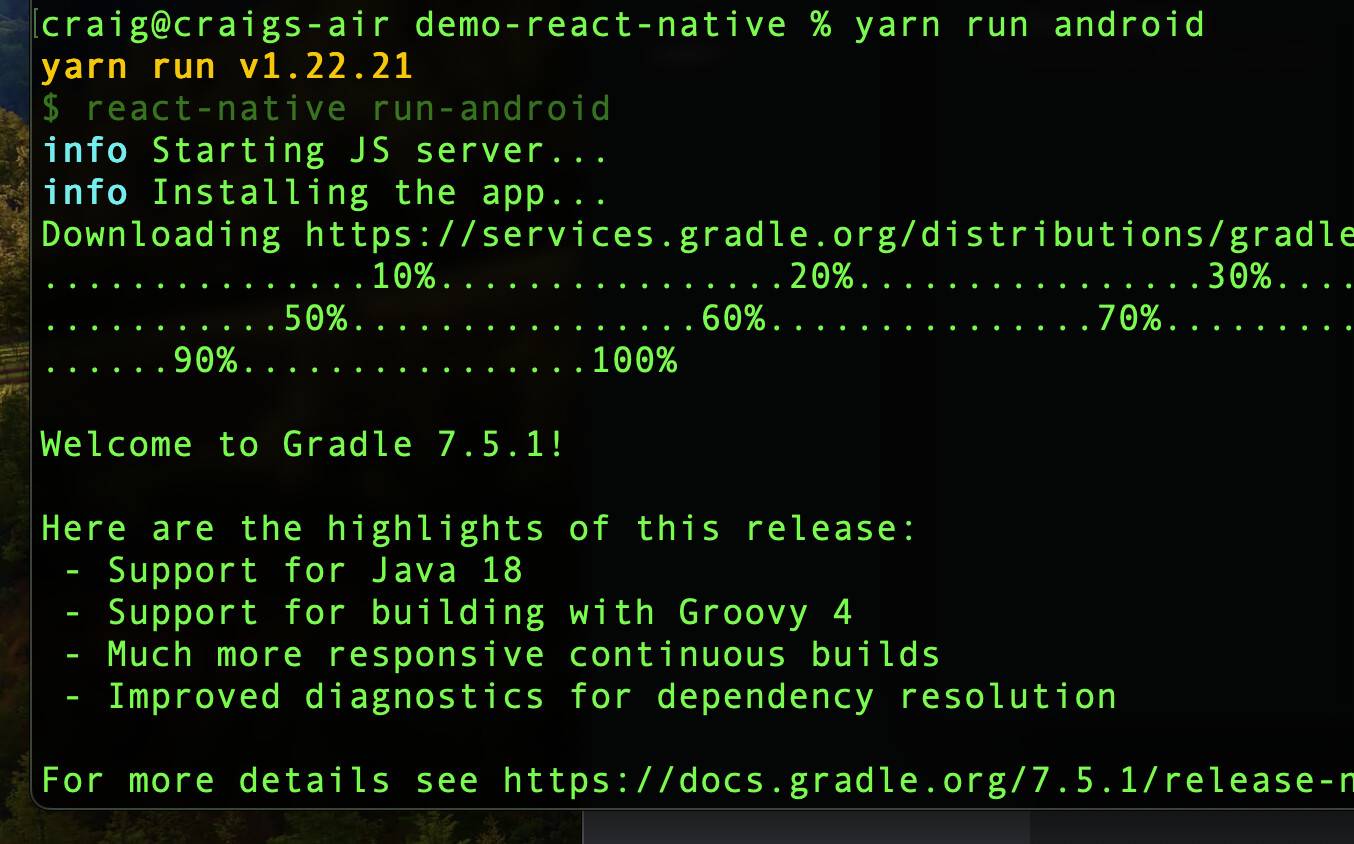
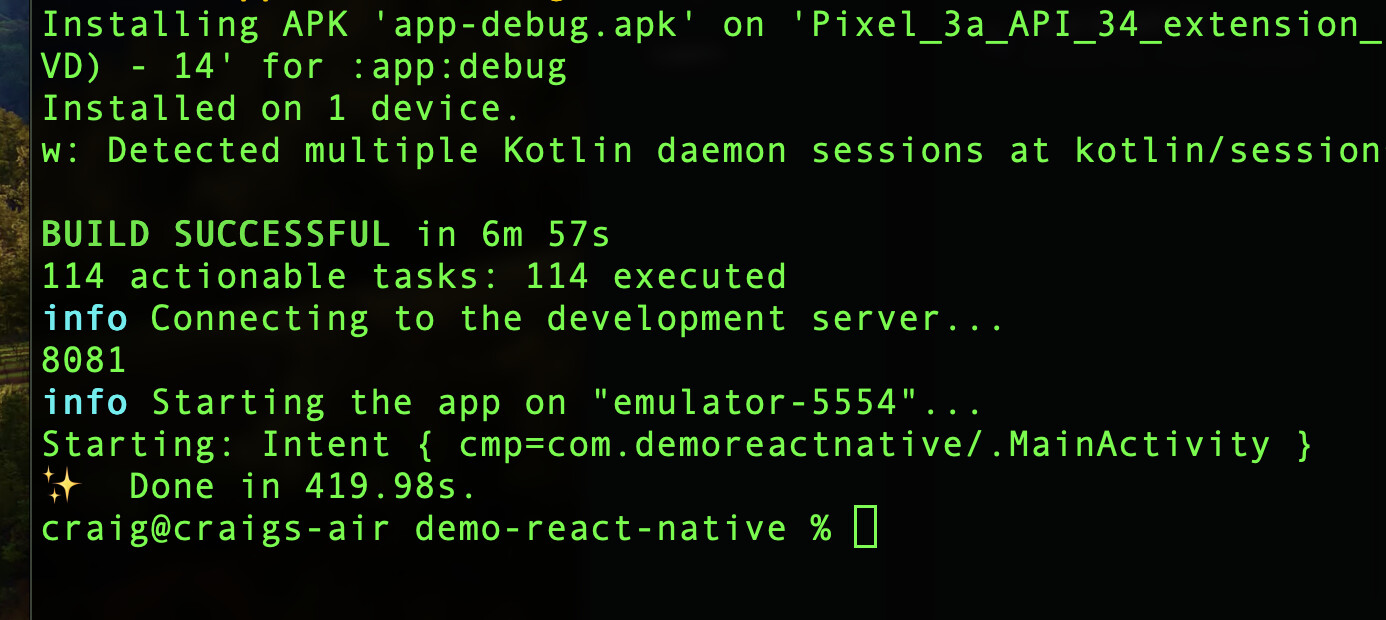
- Run “yarn run start” then click a to start app in your Android emulator
Development (theta-client React Native Demo creating a new button)
- All source files for the app is stored in src folder
- Page, style and home files are all stored in there
- MainMenu.tsx acts as the main/master component of the application with it importing the rest of the files as components
- App.tsx defines a set of routes by attaching a string reference to a component, routing to another page can be implicitly called with this string
To create a example button/feature on the home page,
- Create a new file NewFeature.tsx in src folder
- In the new file we just created, put the follwowing code :
import React, {useEffect, useState, useCallback} from 'react';
import {
  StatusBar,
  Text,
  View,
  Image,
  RefreshControl,
  ScrollView,
  TouchableOpacity,
  Dimensions,
} from 'react-native';
import {SafeAreaView} from 'react-native-safe-area-context';
import styles from './Styles';

const NewFeauture = ({navigation}) => {
  return(
    <View>
      <Text>This is a new feature.</Text>
    </View>
  )
};
export default NewFeauture;
- Import this new component in App.tsx and add a new <Stack.Screen/> to <Stack.Navigator/> in to define a new navigation route for it
import NewFeature from './NewFeature'

<NavigationContainer>
      <Stack.Navigator screenOptions={screenOptions}>
        <Stack.Screen
          options={{title: 'Theta SDK sample app'}}
          name="main"
          component={MainMenu}
        />
        <Stack.Screen
          options={{title: 'Take Photo'}}
          name="take"
          component={TakePhoto}
        />
        <Stack.Screen
          options={{title: 'List Photos'}}
          name="list"
          component={ListPhotos}
        />
        <Stack.Screen
          options={{title: 'Sphere'}}
          name="sphere"
          component={PhotoSphere}
        />
        <Stack.Screen
          options={{title:'New Feature'}}
          name = "newFeature"
          component={NewFeature}
        />
      </Stack.Navigator>
  </NavigationContainer>
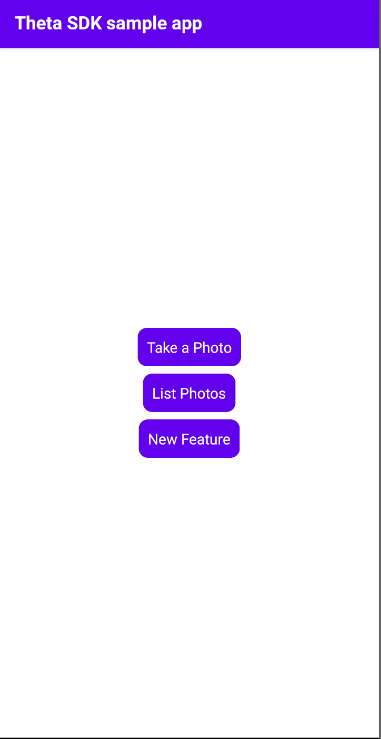
- In MainMenu.tsx, add a new navigation function for newFeature and create a new button ( in the that calls this function
const goNewFeature = ()=>{
    navigation.navigate('newFeature')
};
<SafeAreaView style={styles.container}>
      <StatusBar barStyle="light-content" />
      <TouchableOpacity style={styles.buttonBack}    onPress={goTake}>
        <Text style={styles.button}>Take a Photo</Text>
      </TouchableOpacity>
      <View style={styles.spacer} />
      <TouchableOpacity style={styles.buttonBack} onPress={goList}>
        <Text style={styles.button}>List Photos</Text>
      </TouchableOpacity>
<View style={styles.spacer} />
 <TouchableOpacity style={styles.buttonBack} onPress={goNewFeature}>
        <Text style={styles.button}>New Feature</Text>
      </TouchableOpacity>
</SafeAreaView>