Update Oct 29, 2018
Now with detailed YouTube video showing all the steps outlined in this article plus:
- screencast of using Luminance HDR
- shutter speed settings for 12 image HDRI file using the RICOH mobile app

Overview
Use a HDRI file made from RICOH THETA images for illumination and reflection in your MAYA scene with accurate light information.
Requirements
- HDRI file made from RICOH THETA 360 degree images. Other HDRI files should work.
- Autodesk Maya. Tested with 2018. Other versions should work.
Steps
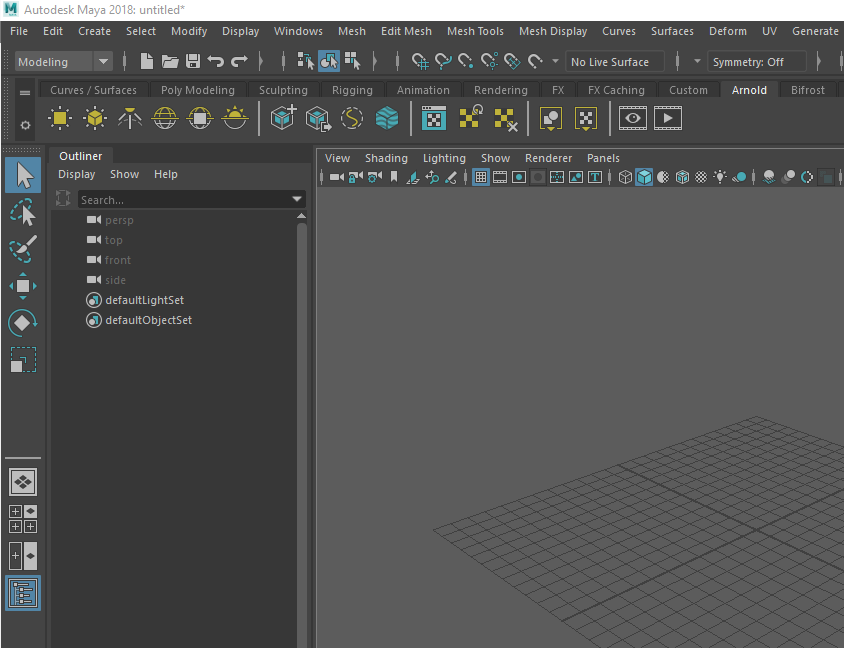
Start MAYA and save a new scene
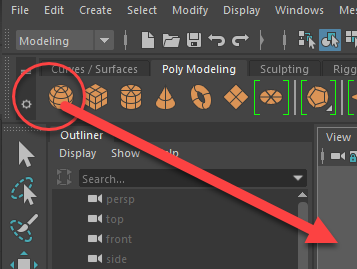
Add plane
Scale the plane
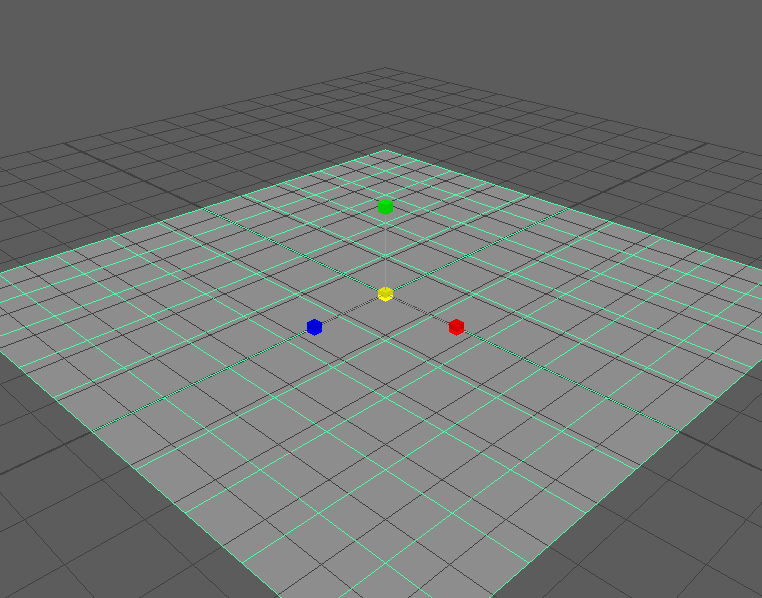
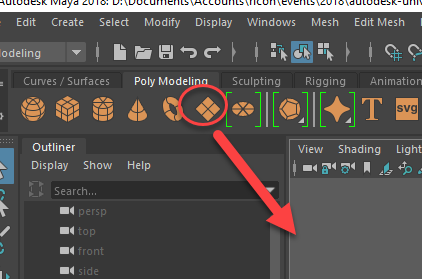
Add Sphere
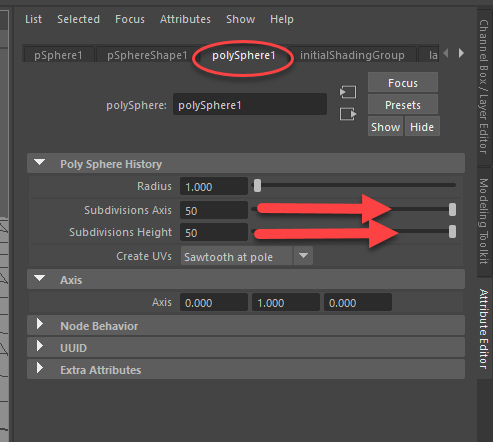
Smooth Sphere
Under polySphere1, right panel, Attribute Editor, set Subdivisions Axis and Subdivisions Height to 50.
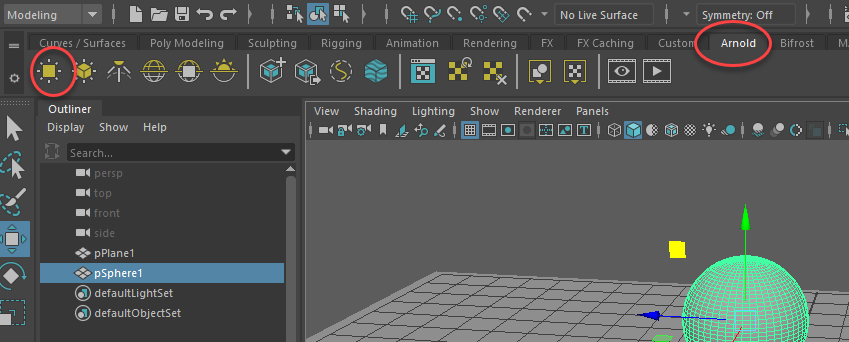
Create Area Light
- Arnold tab
- Area light
- Raise and position light to face sphere

Adjust Exposure Up
Render scene and check out lighting. Raise exposure.

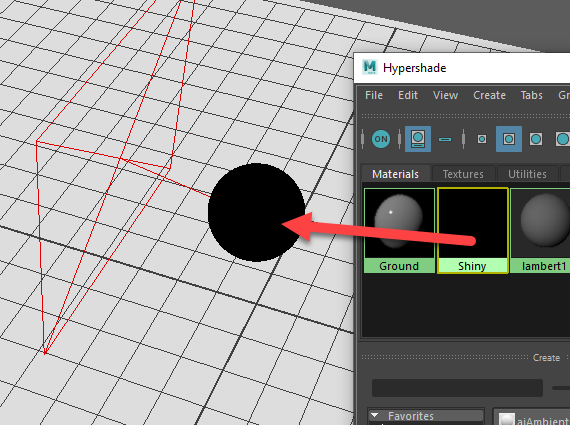
Create Materials in Hypershade
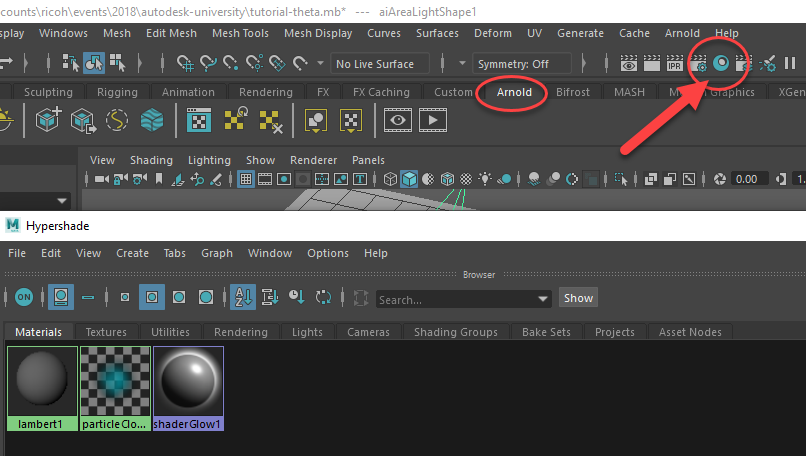
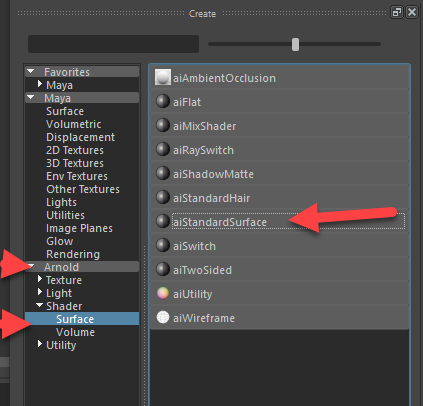
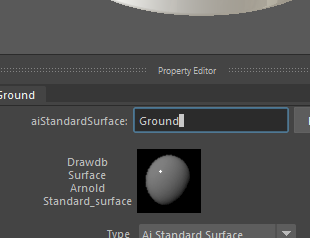
Create aiStandard Surface
Arnold -> Shader -> Surface -> aiStandardSurface
Call it Ground
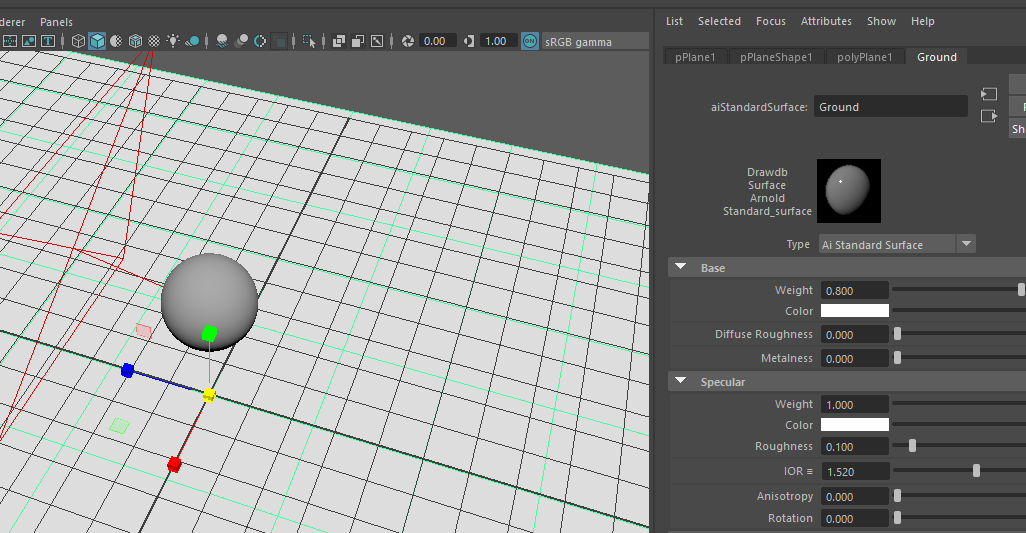
Middle Click and Drag Onto Plane
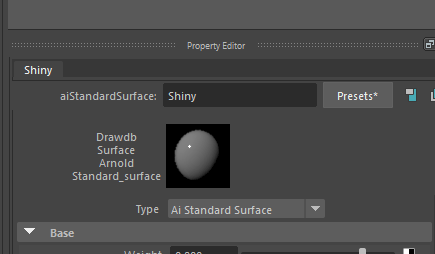
Create Another aiStandardSurface in HyperShade
Call it Shiny. This is for the sphere.
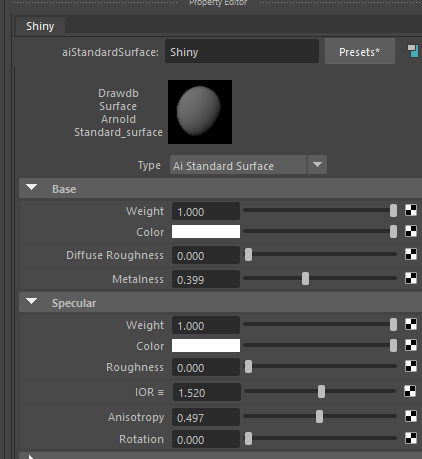
Decrease Roughness, Increase Weight

Drag Shiny Surface Onto Sphere
Middle-click and drag
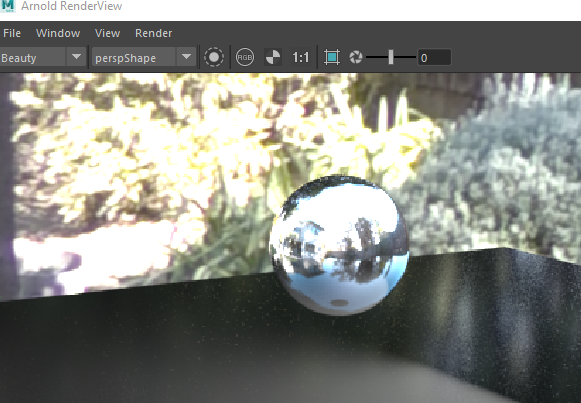
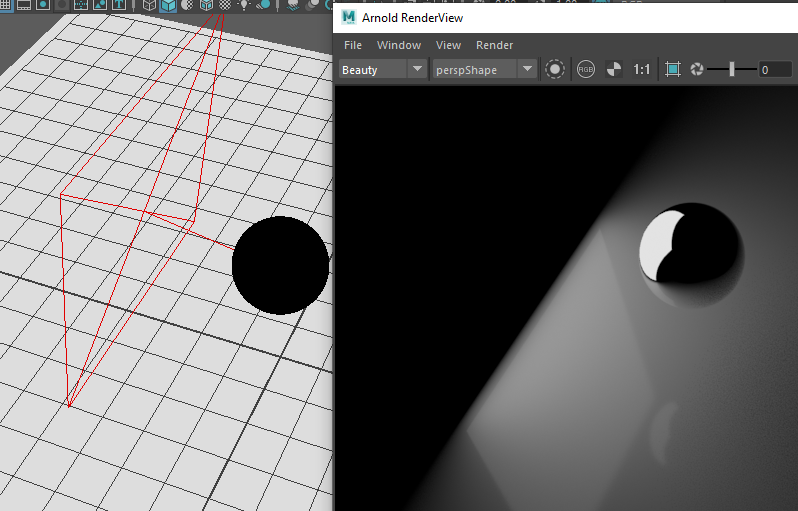
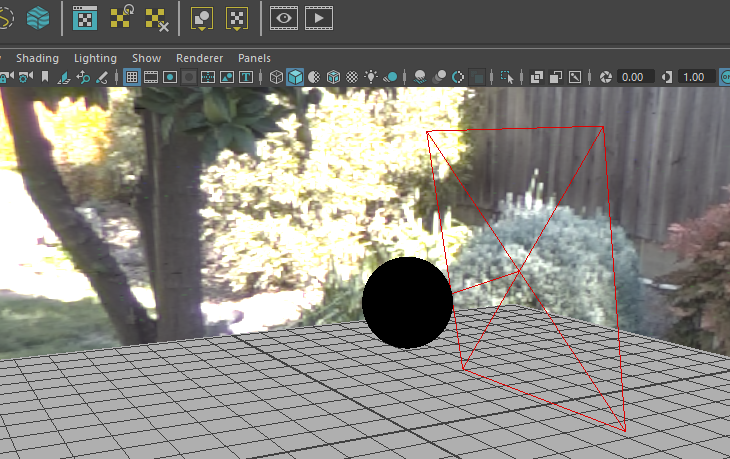
Render to Test Shiny Surface
Arnold -> Render
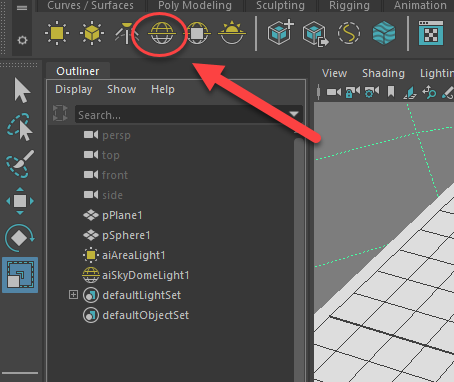
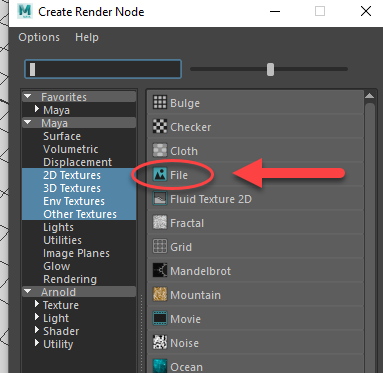
Add SkyDomeLight
Click on SkyDomeLight Color
Under AttributeEditor
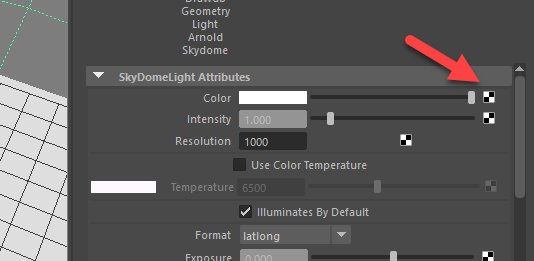
Choose File
Select Folder Icon to Browse for THETA HDRI File
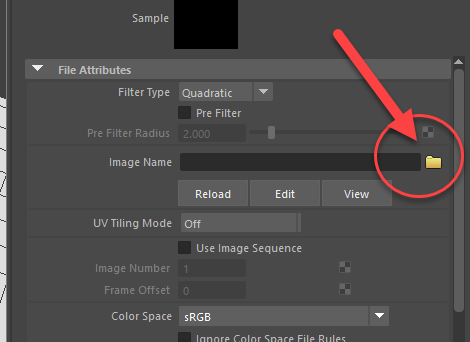
Select THETA HDRI File
Adjust Diffuse and Specular in aiSkyDomeLightShape1
If you just want to focus on reflection, drop down the “Diffuse” setting.
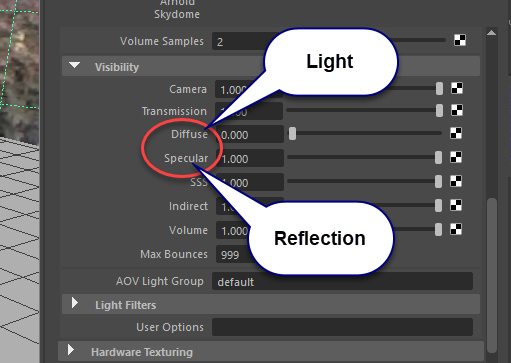
Disable Specular on Area Light
Visibility -> Specular