The hotspotis fairly simple - it consists of hotspot template, border, hotspot name text field and node image. To add the onhover scaling effect - both for node image and rectangular border - instead of actions i have used “logic block” feature with transition 0,4 sec.
In most cases the photo shoots were planned. People are aware that there will be 360 degree shooting and for long exposures or exposure bracketed panos I also asked them to not move while i take photograph. Whenever possible though, i prefer to shoot panos while people are naturally doing their thins - just trying to catch that perfect moment. This way, most people tend to be more natural and dynamic.
Wow, this is fantastic! Great use of 360 for introducing a school and a campus. How do you get it to correct back to a central view after the viewer has navigated away? Is that the “pinned and aligned” video? Is that a Pano2VR function? I think I need to spend some more time with Pano2VR. Really cool.
Thank you, Svend, for posting this
I guess we are not far from the possibility of creating this kind of tour using Pro-level Theta camera for photography. Hope Ricoh will be developing one. It would reduce workload dramatically and the main work would go in creating virtual tour skins.
Meanwhile you can see my works at http://www.tuur.ee/
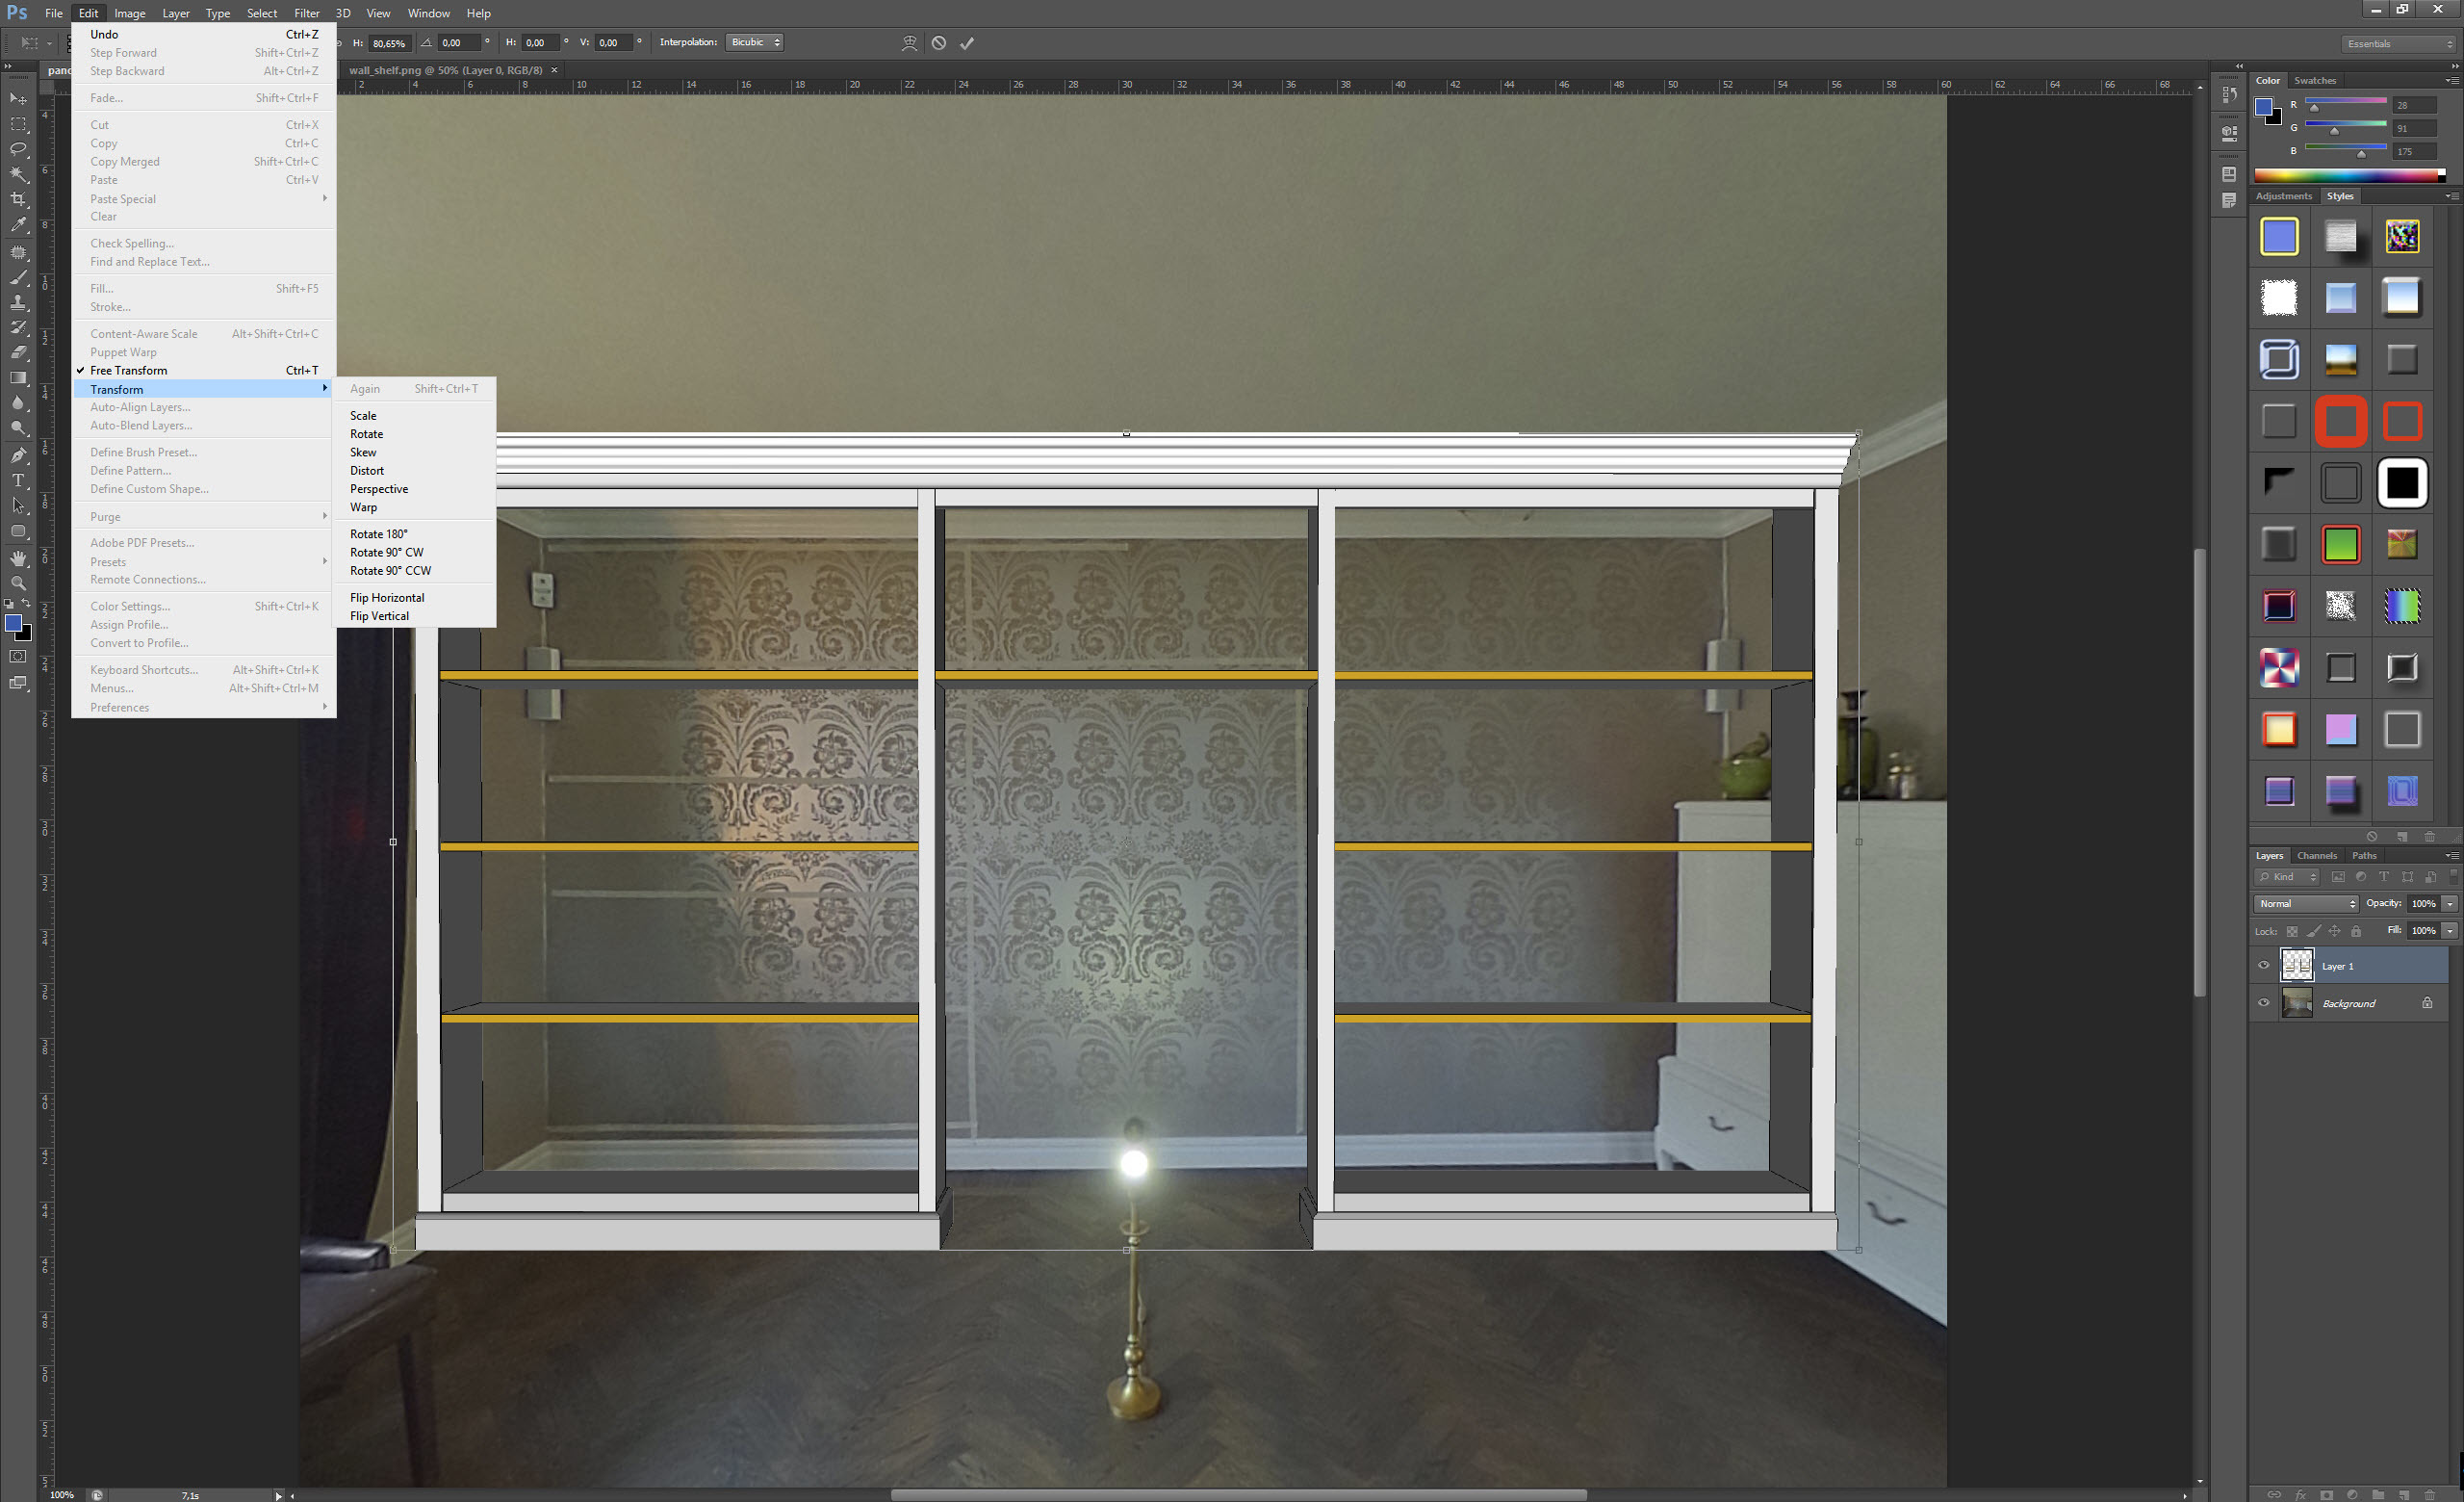
The Theta are wonderfull to work withwe use it together with Google Sketchup
to sketch furniture for our costumers.
We just shoot one or two shots in HDR and mount the Sketch on the wall
it makes it easy to imagine how it will be in reality, when the funiture are there.
the project are very fast and easy to create THETA S fun
How do you get the SketchUp image to fit the wall so nicely? In your example, which is awesome, the bookshelf or frame fits perfectly into the space. Do you produce a sketch with a best-guess size and then place it into the picture, adjusting each time?
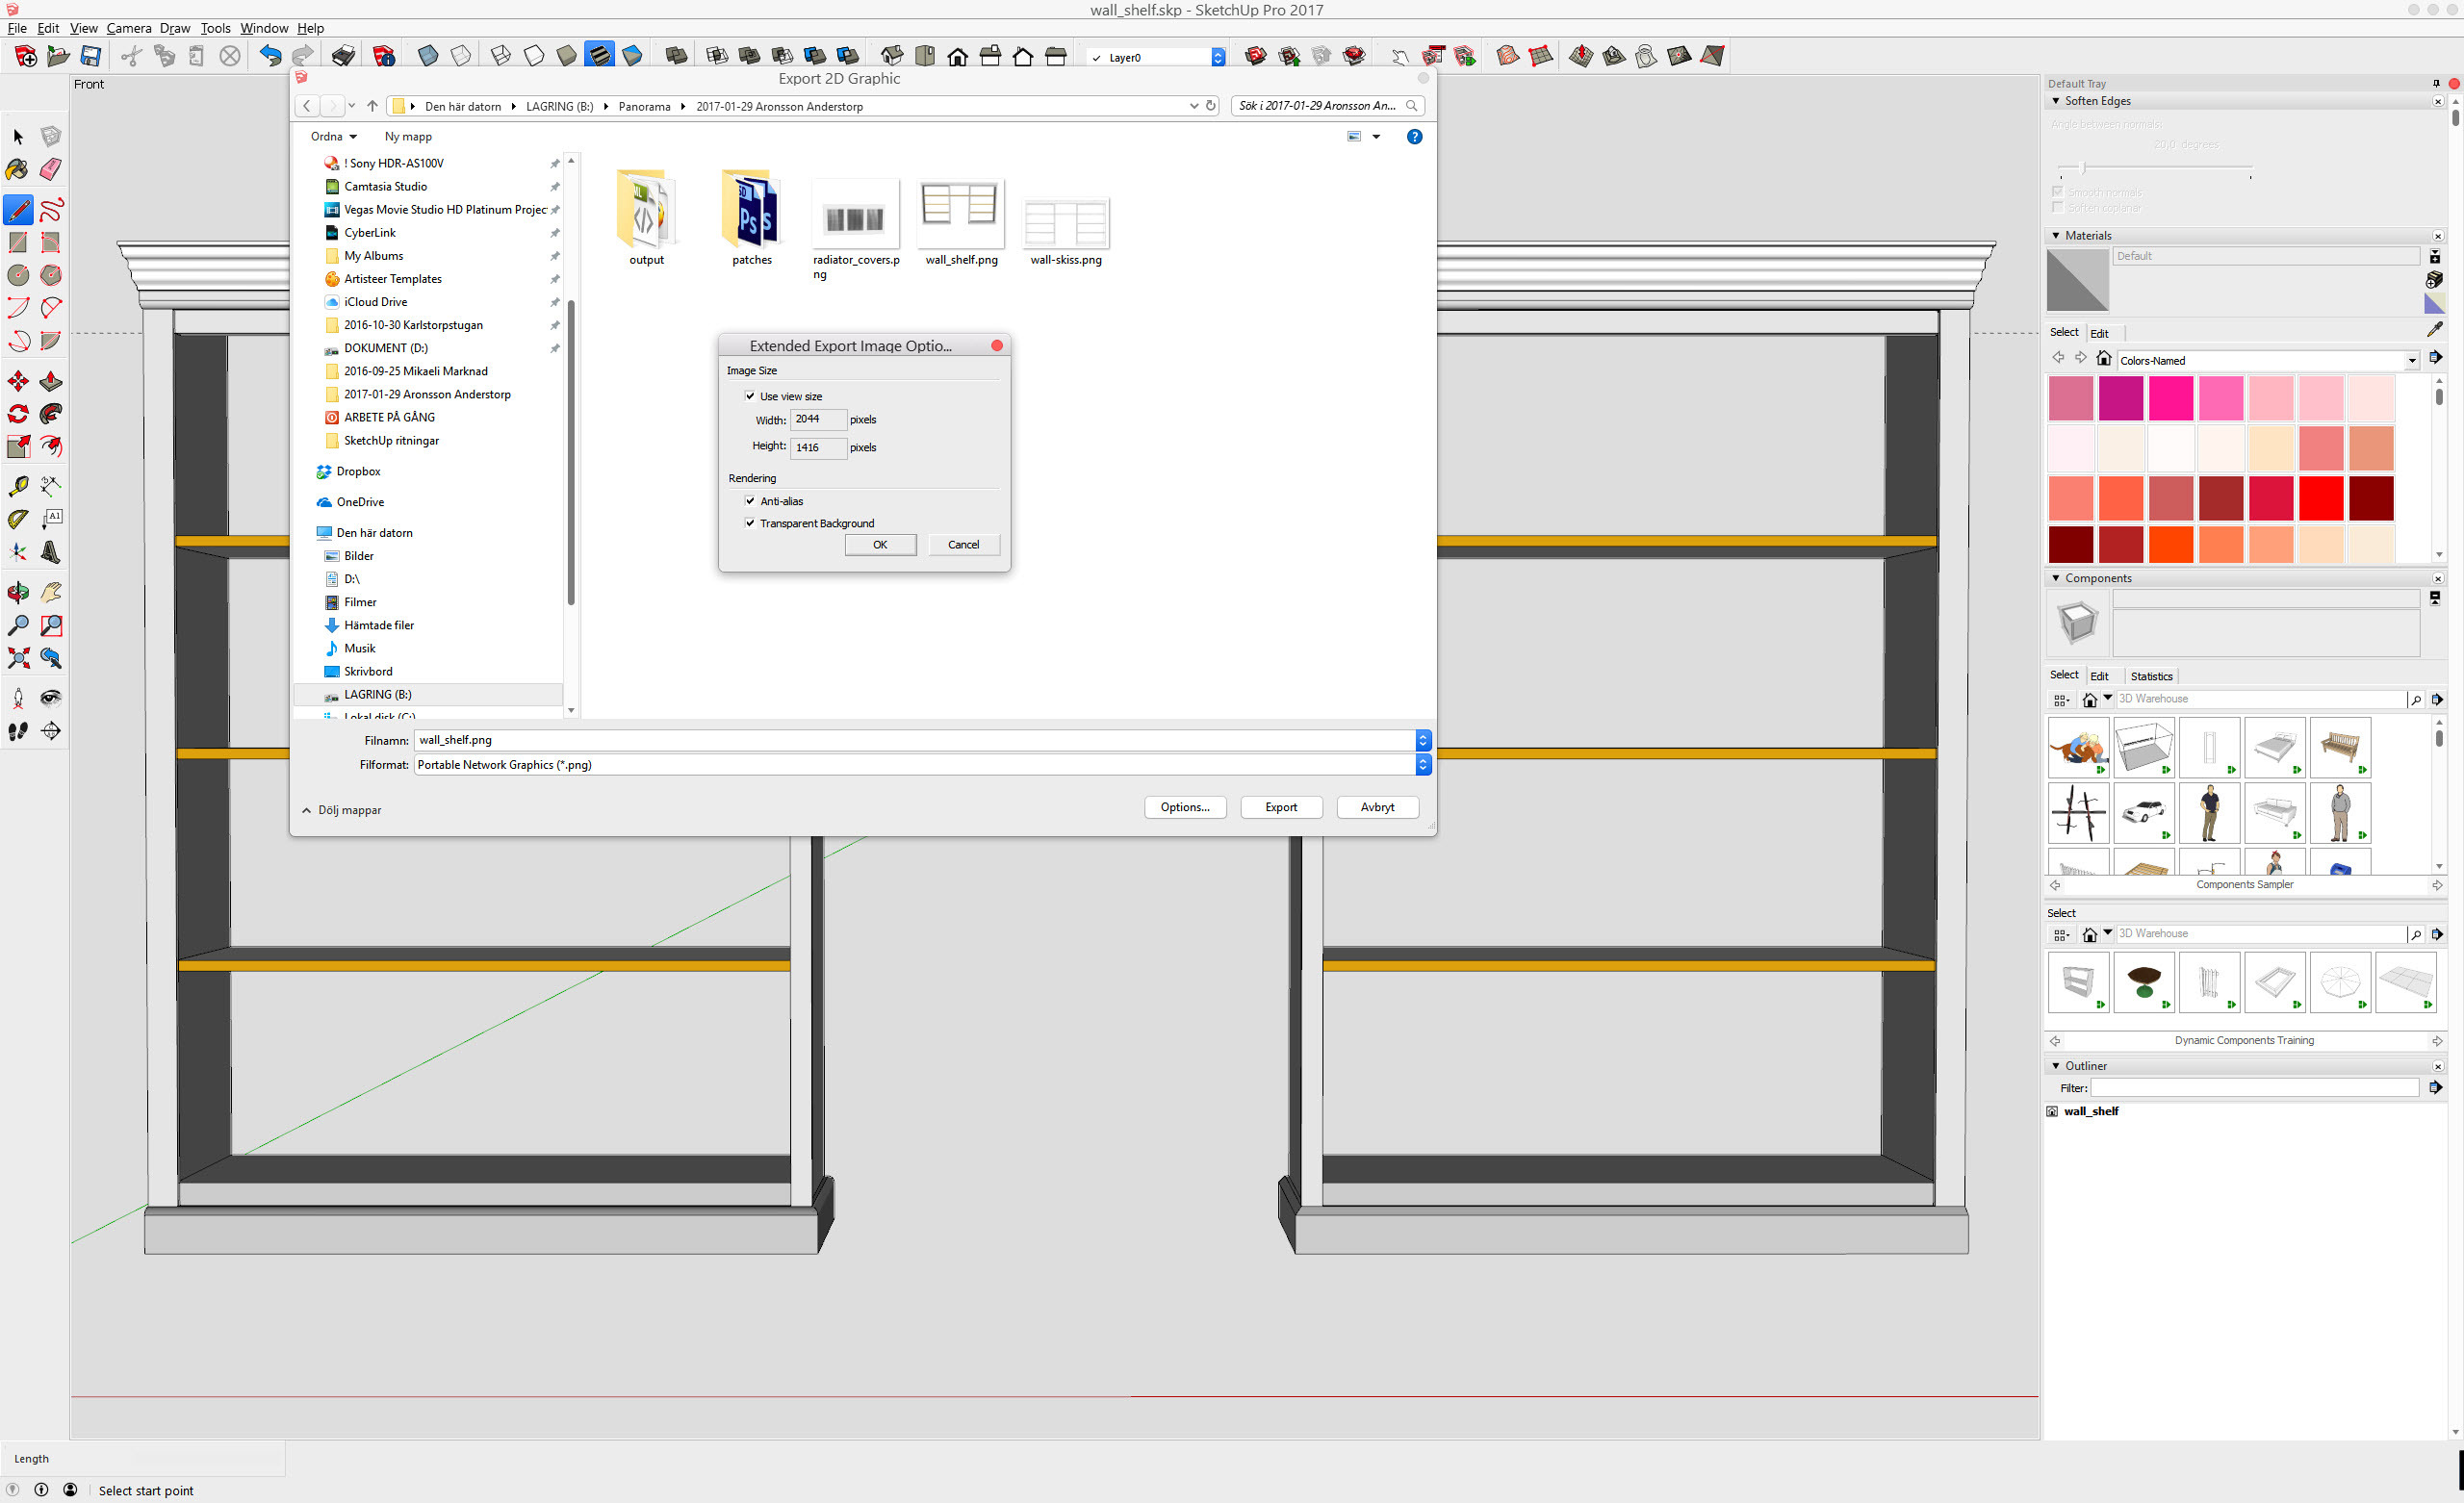
we did measure the room 4710 x 2620 mm and the SketchUp sketch
have these dimensions, we export it as 2D seen from the front in .png transparent background
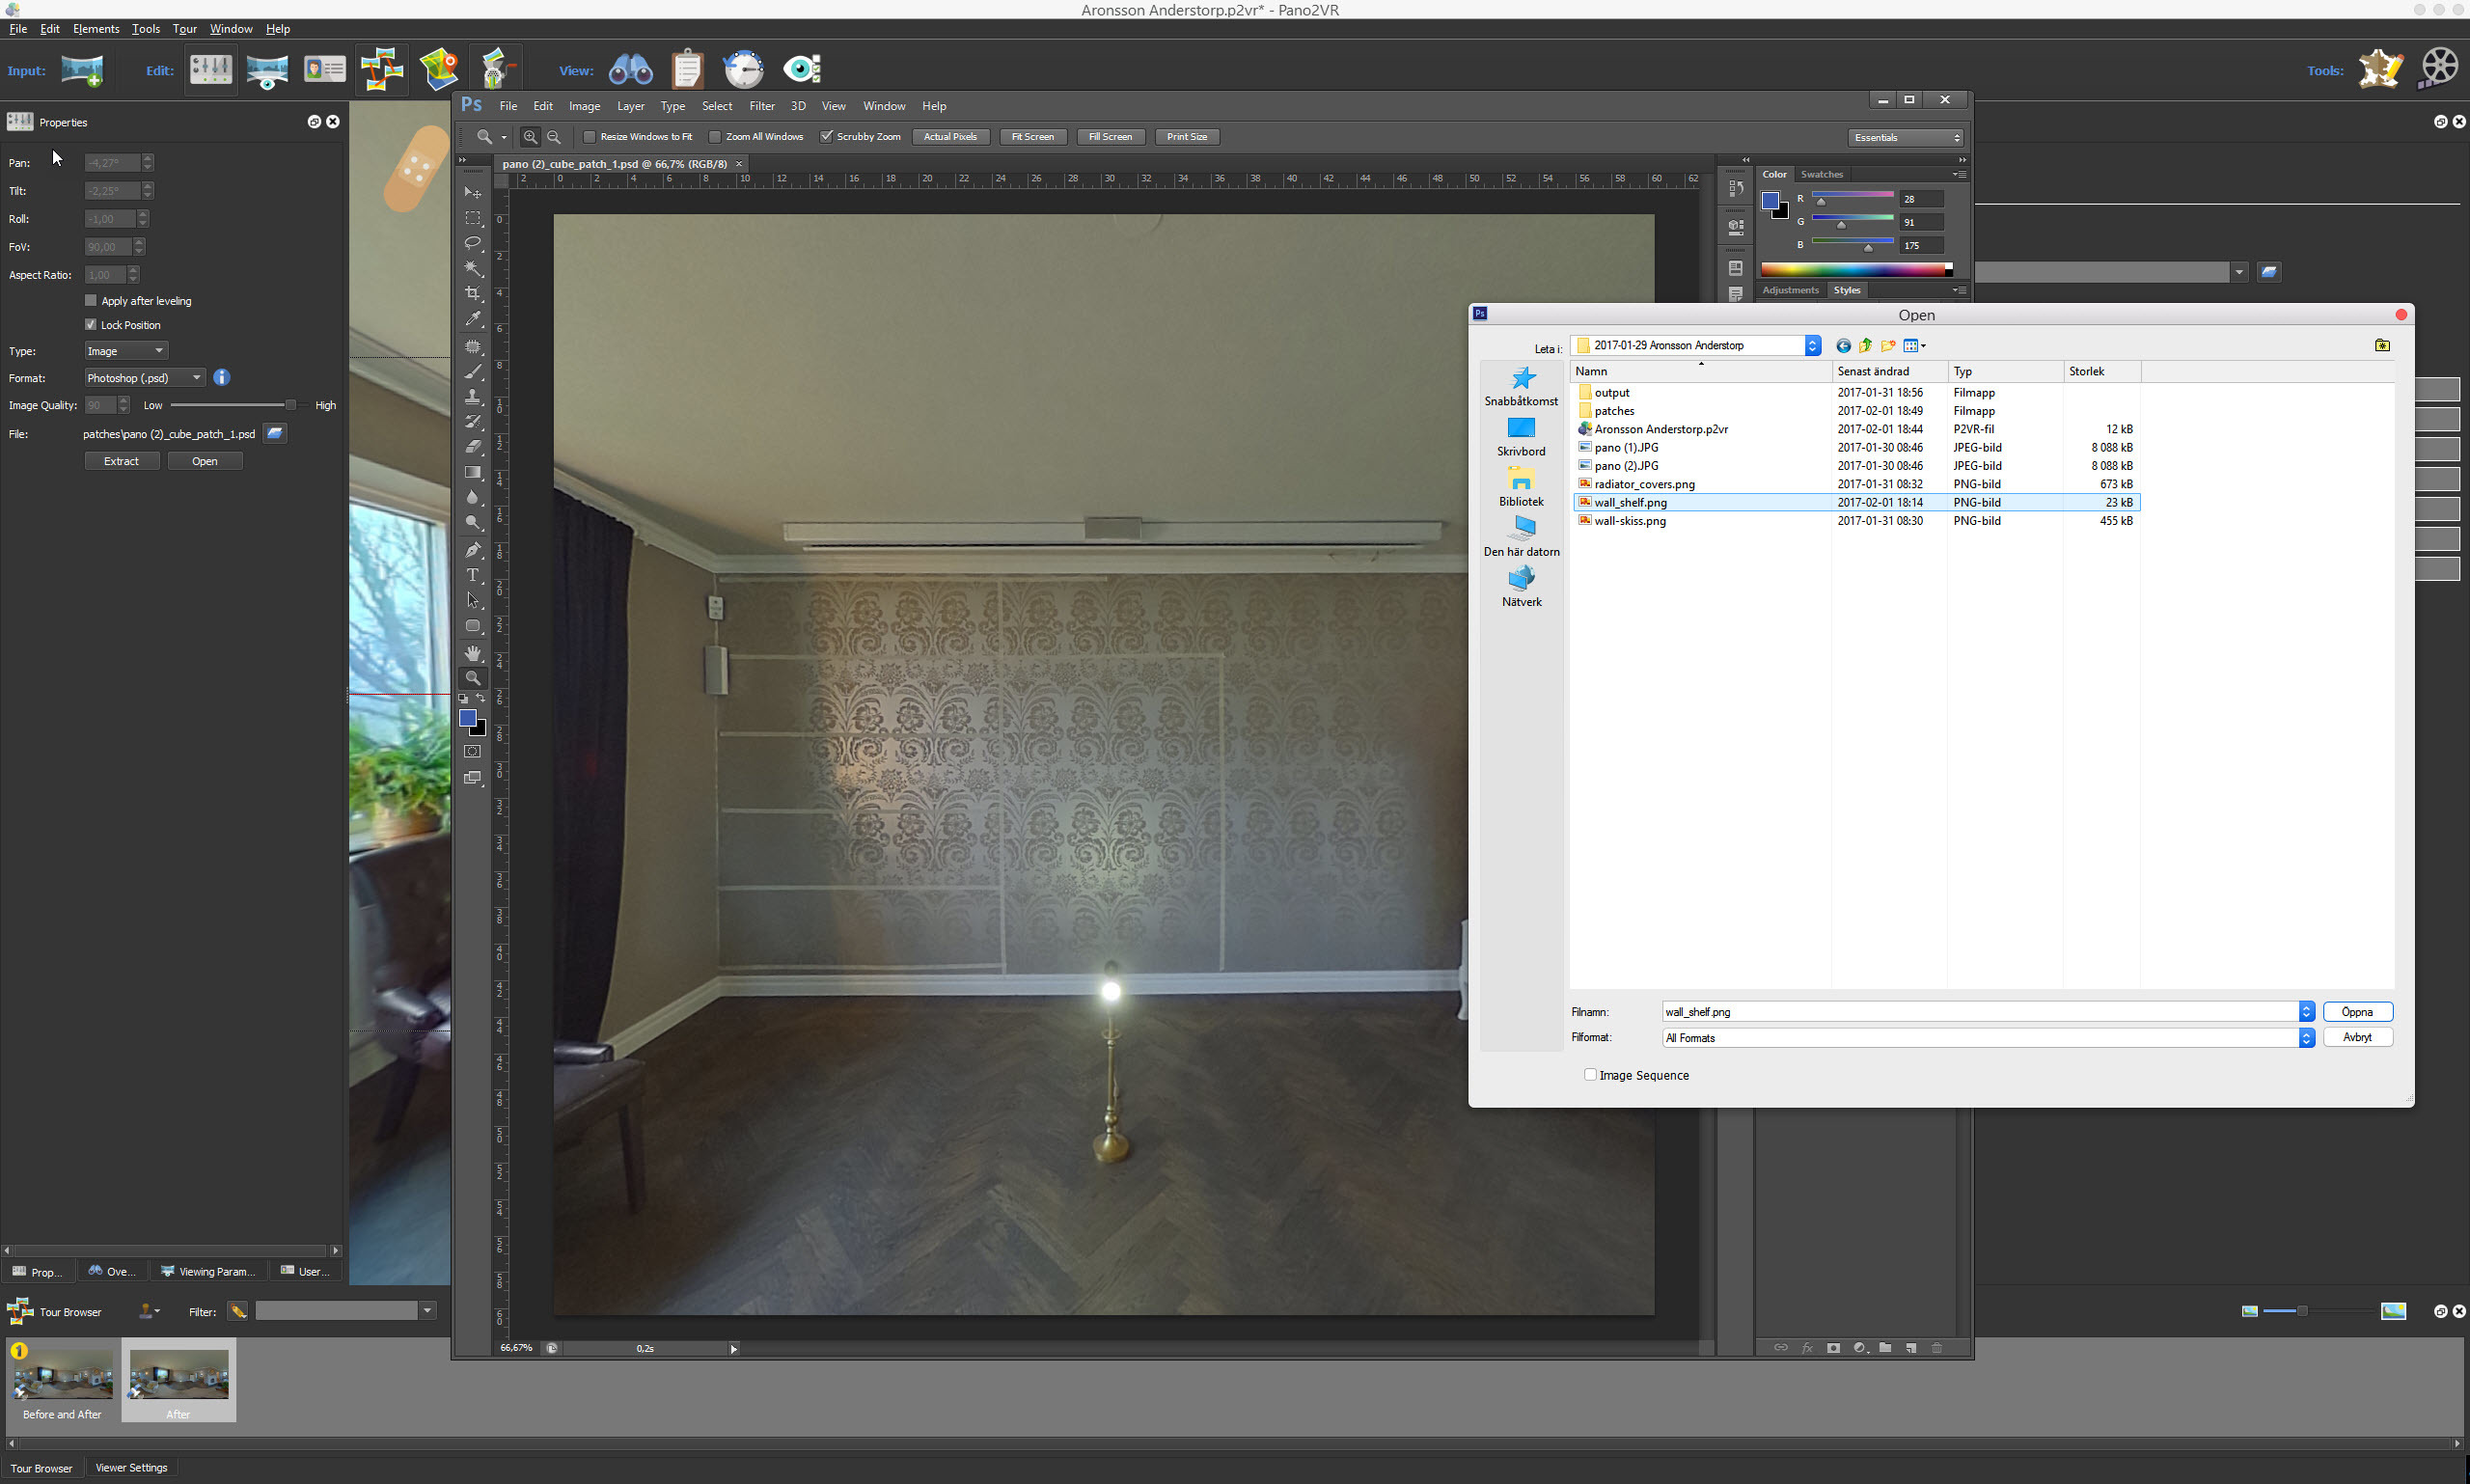
To make the white cub bard get in front, there are several PS tricks we just made the shelf little transparent
So that we could see the white cabinet, marked it with the Lasso tools and deleted the selected area
brought the shelf back to normal transparency
and saved the copy layer in PS
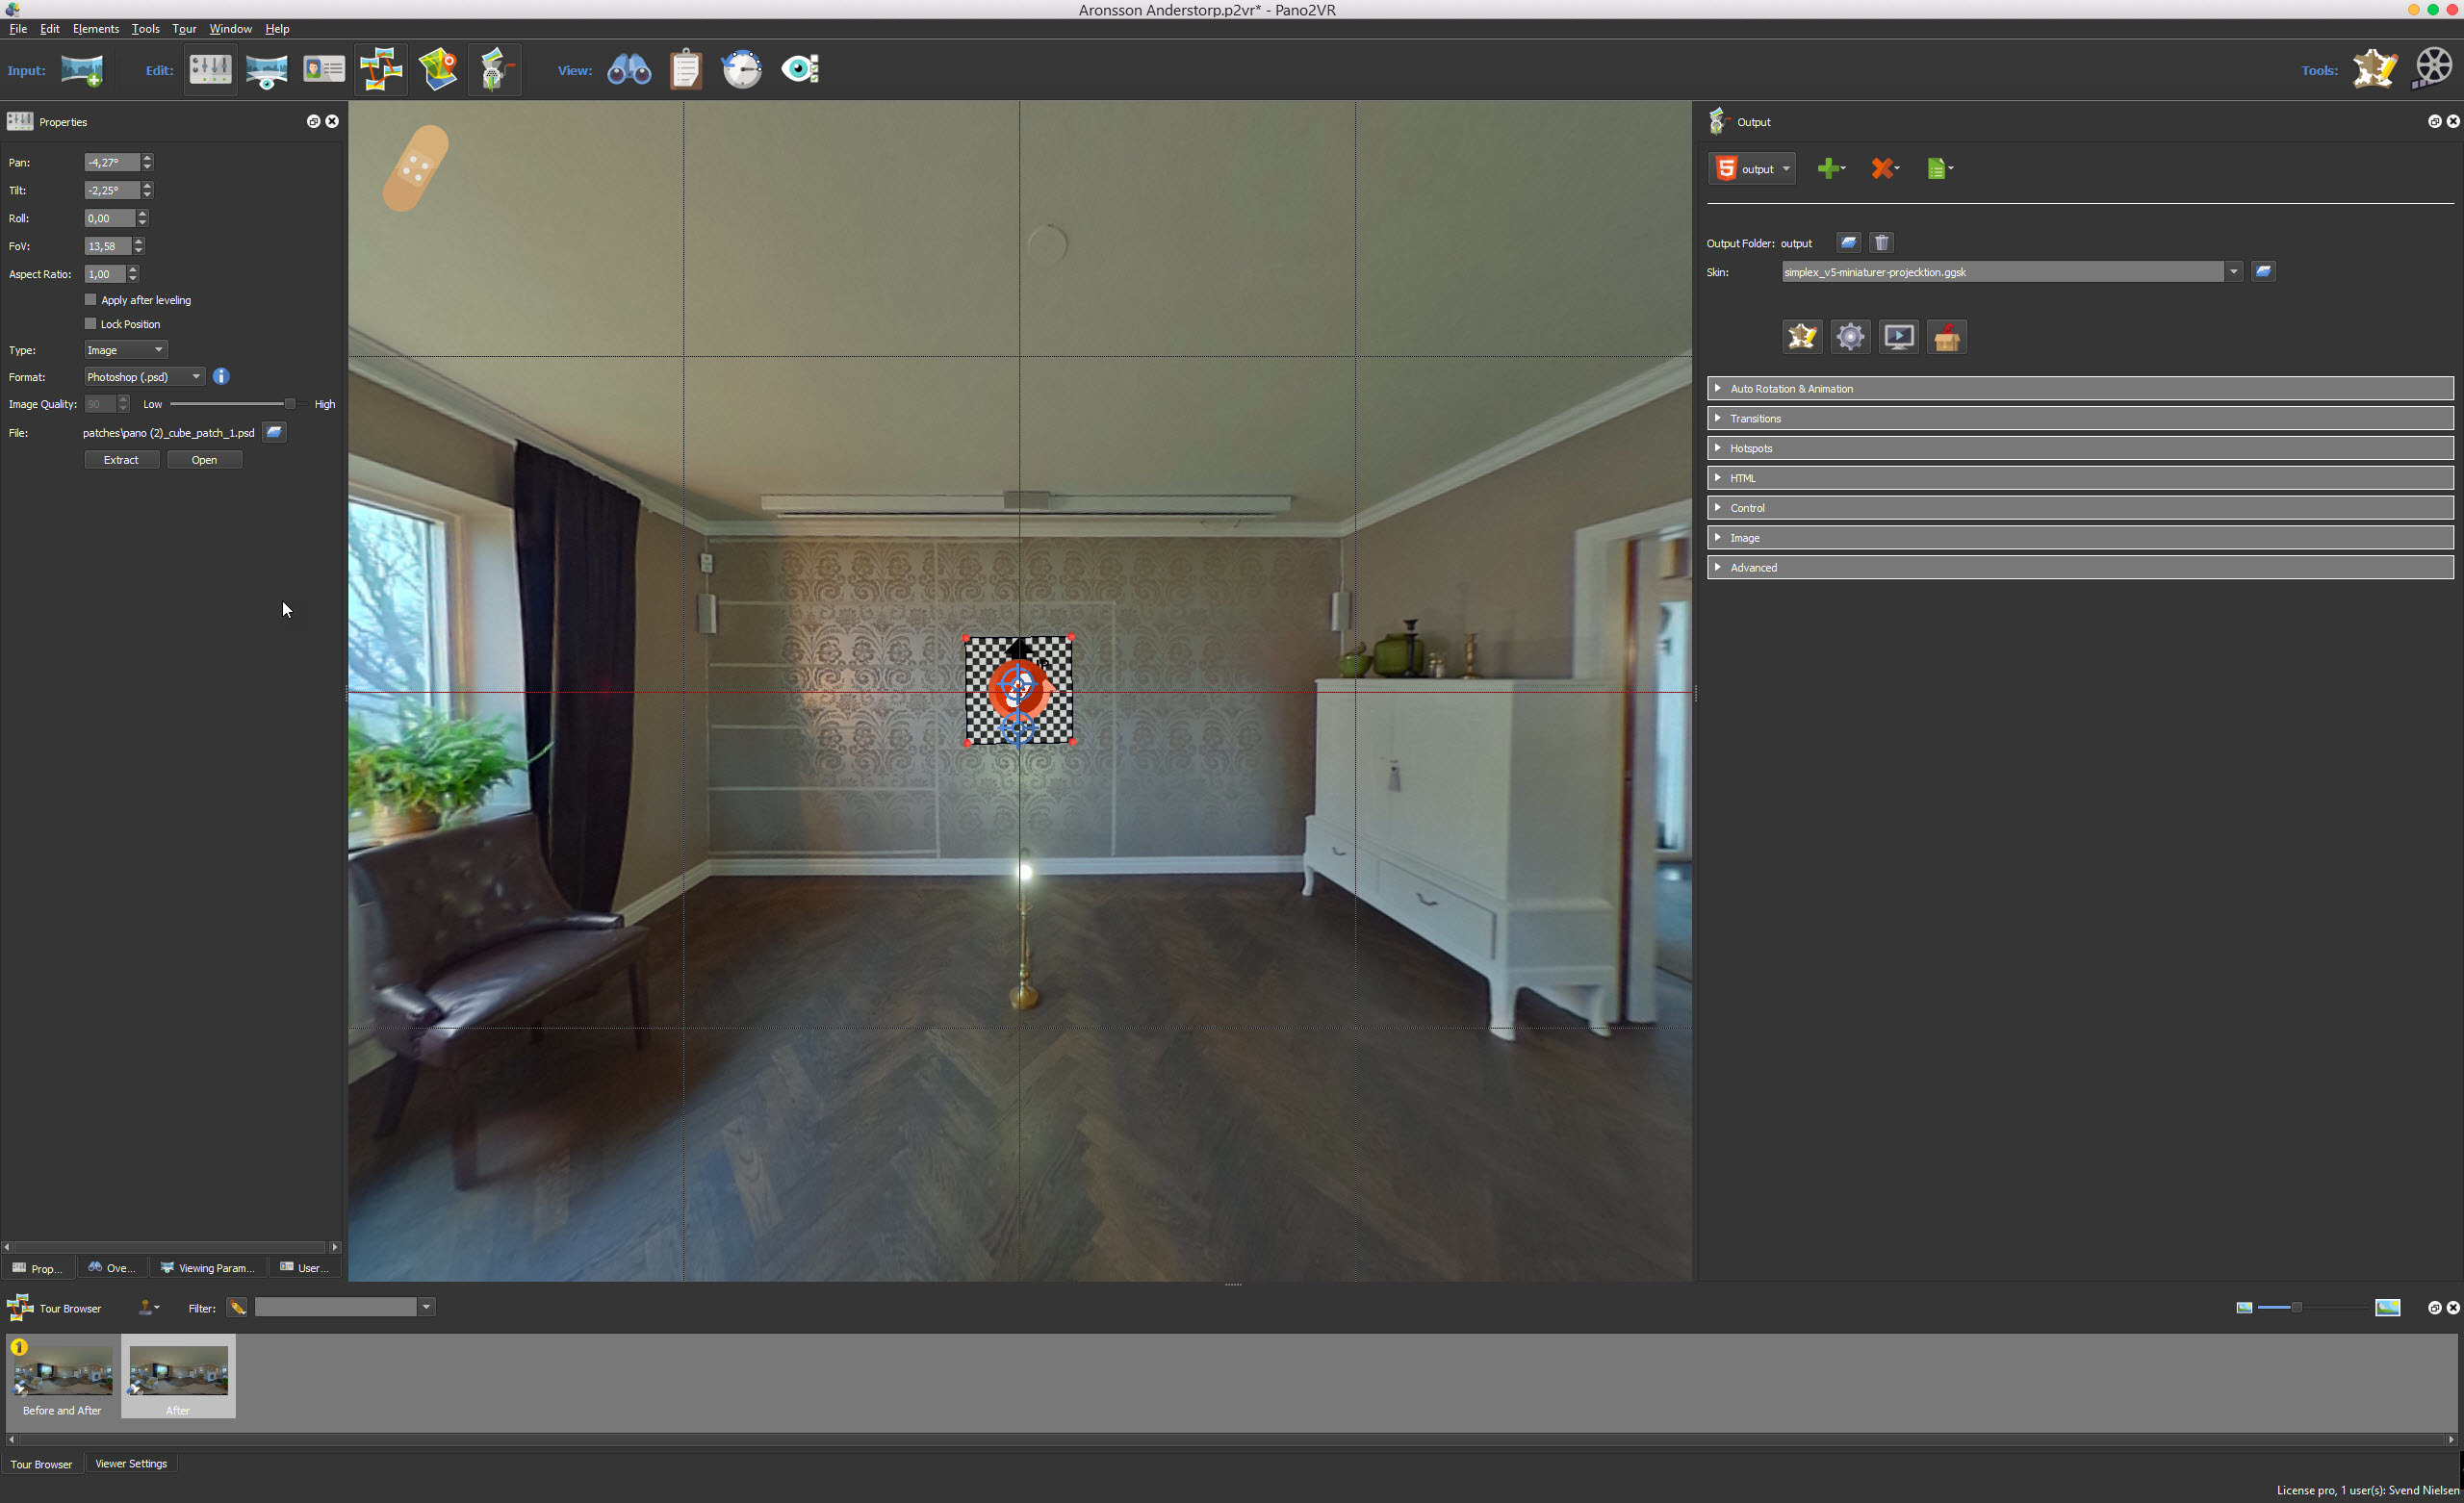
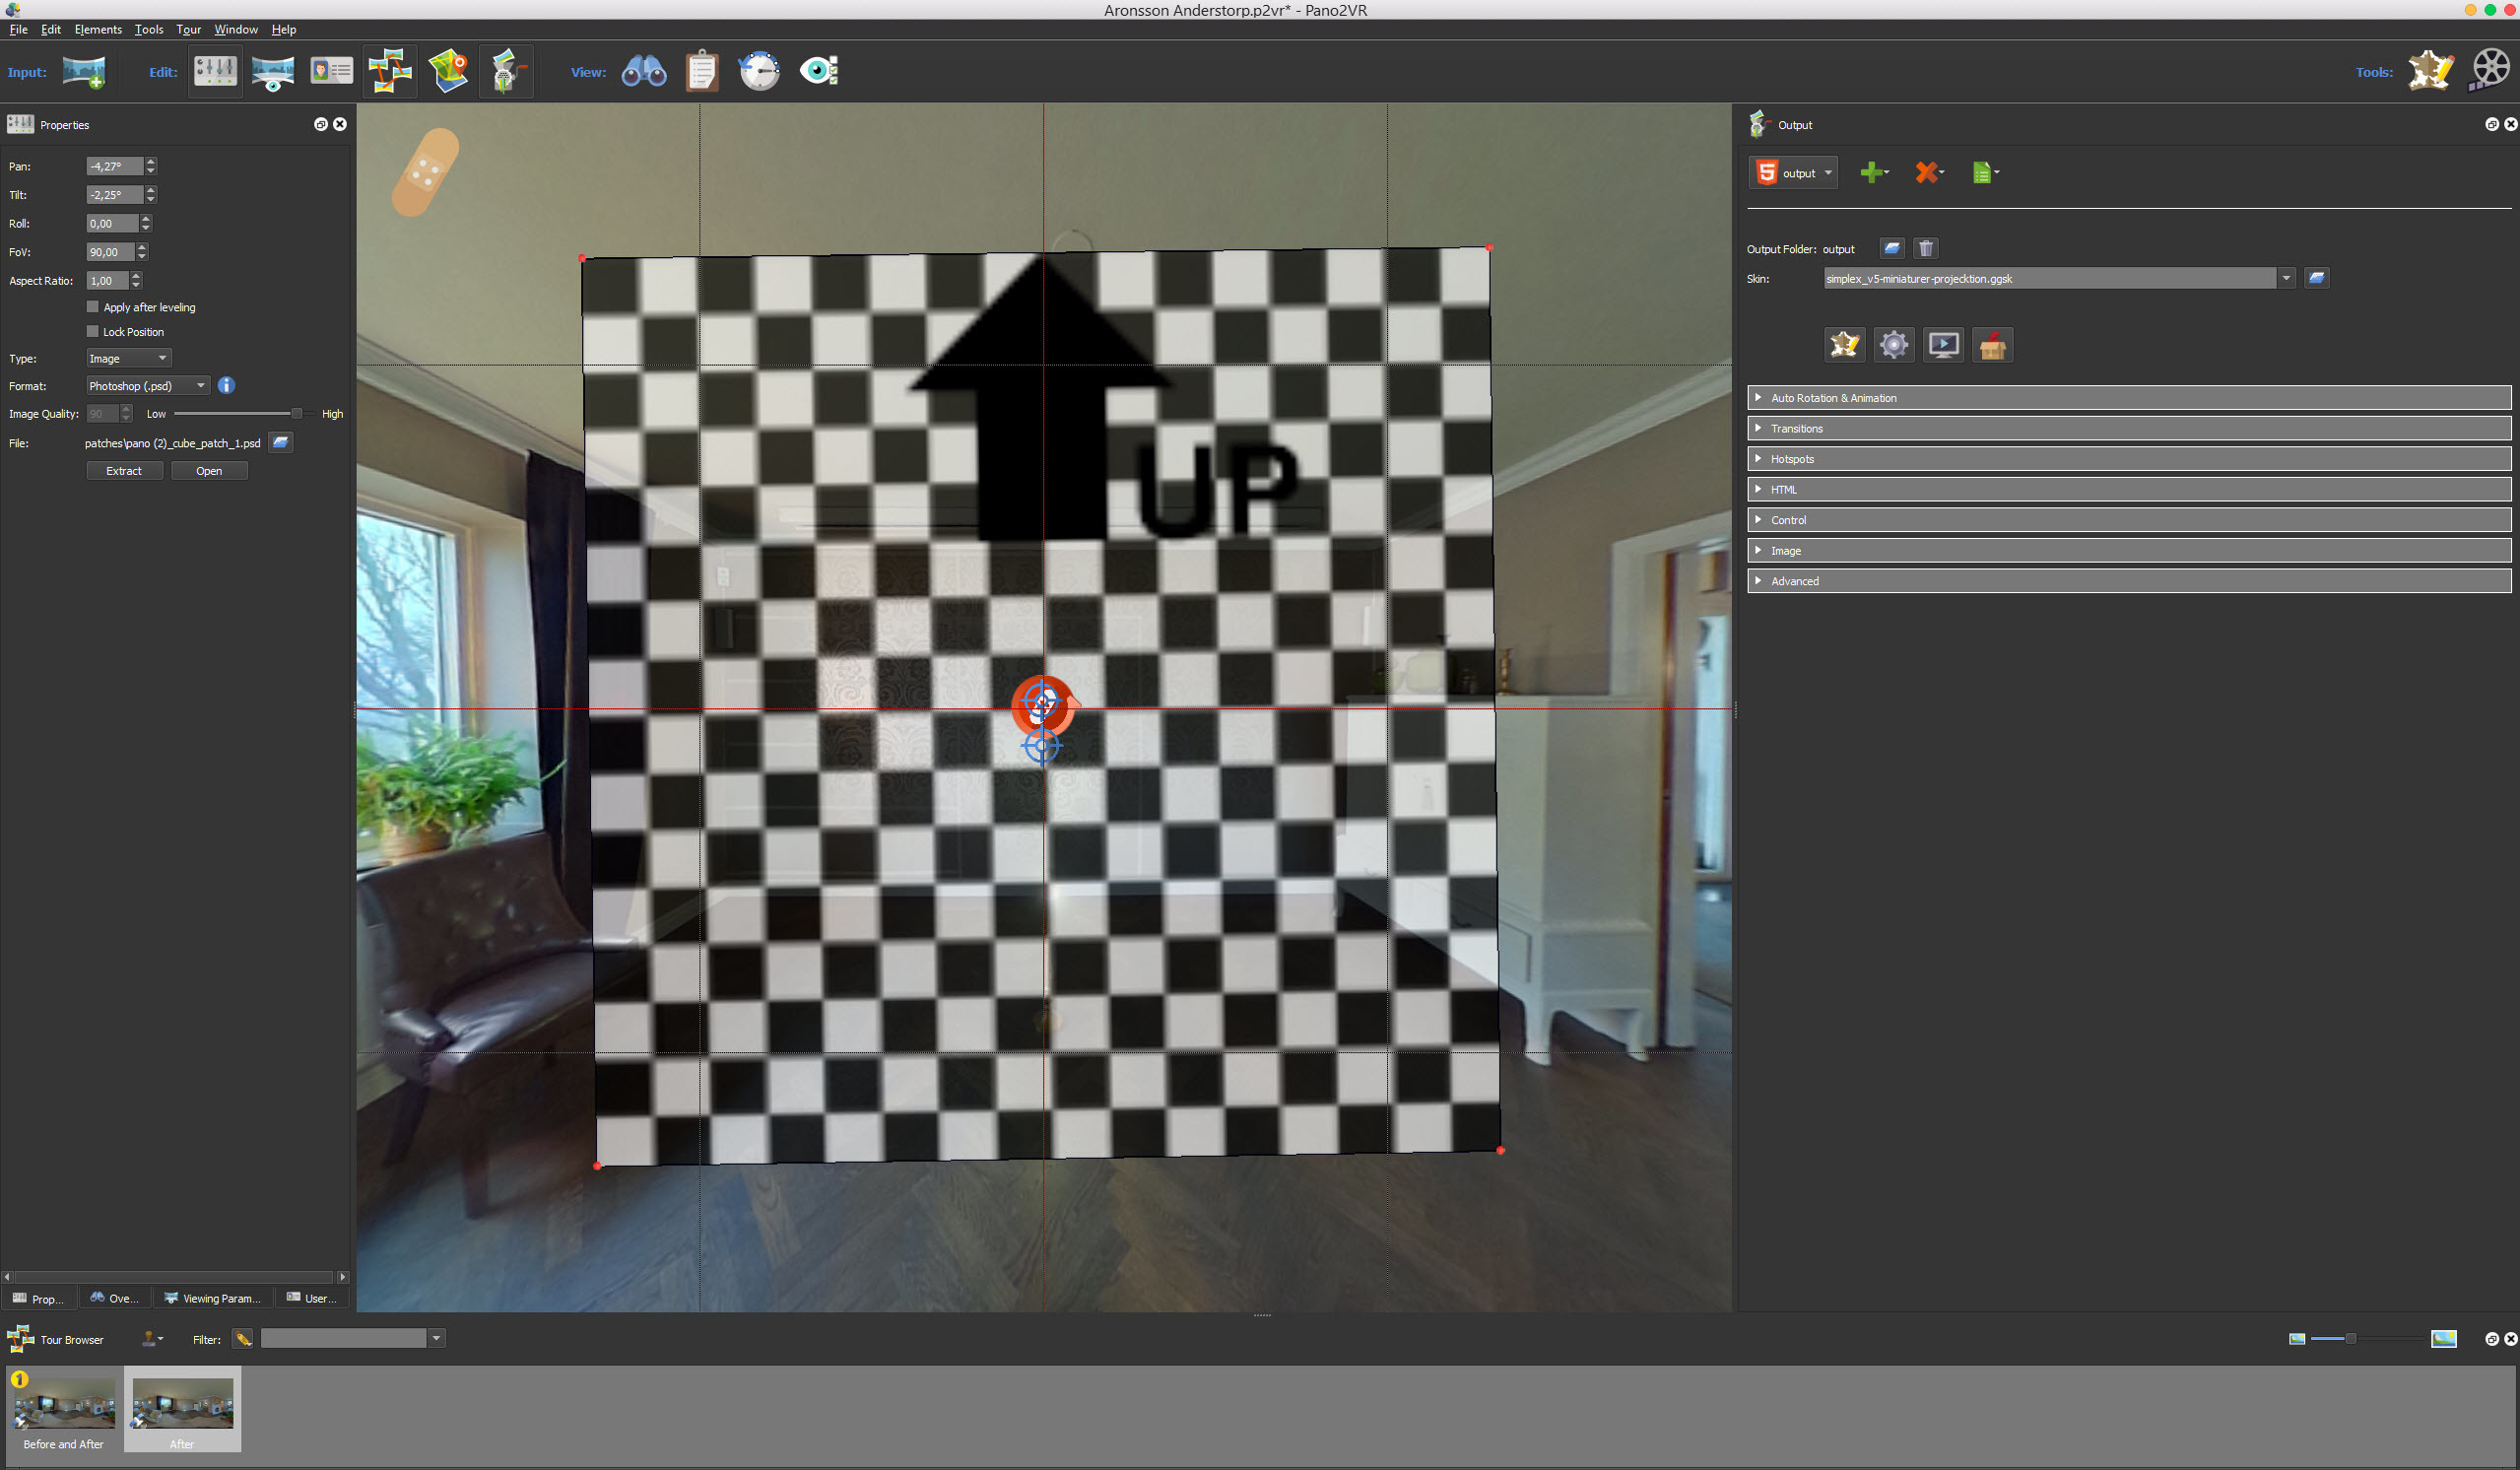
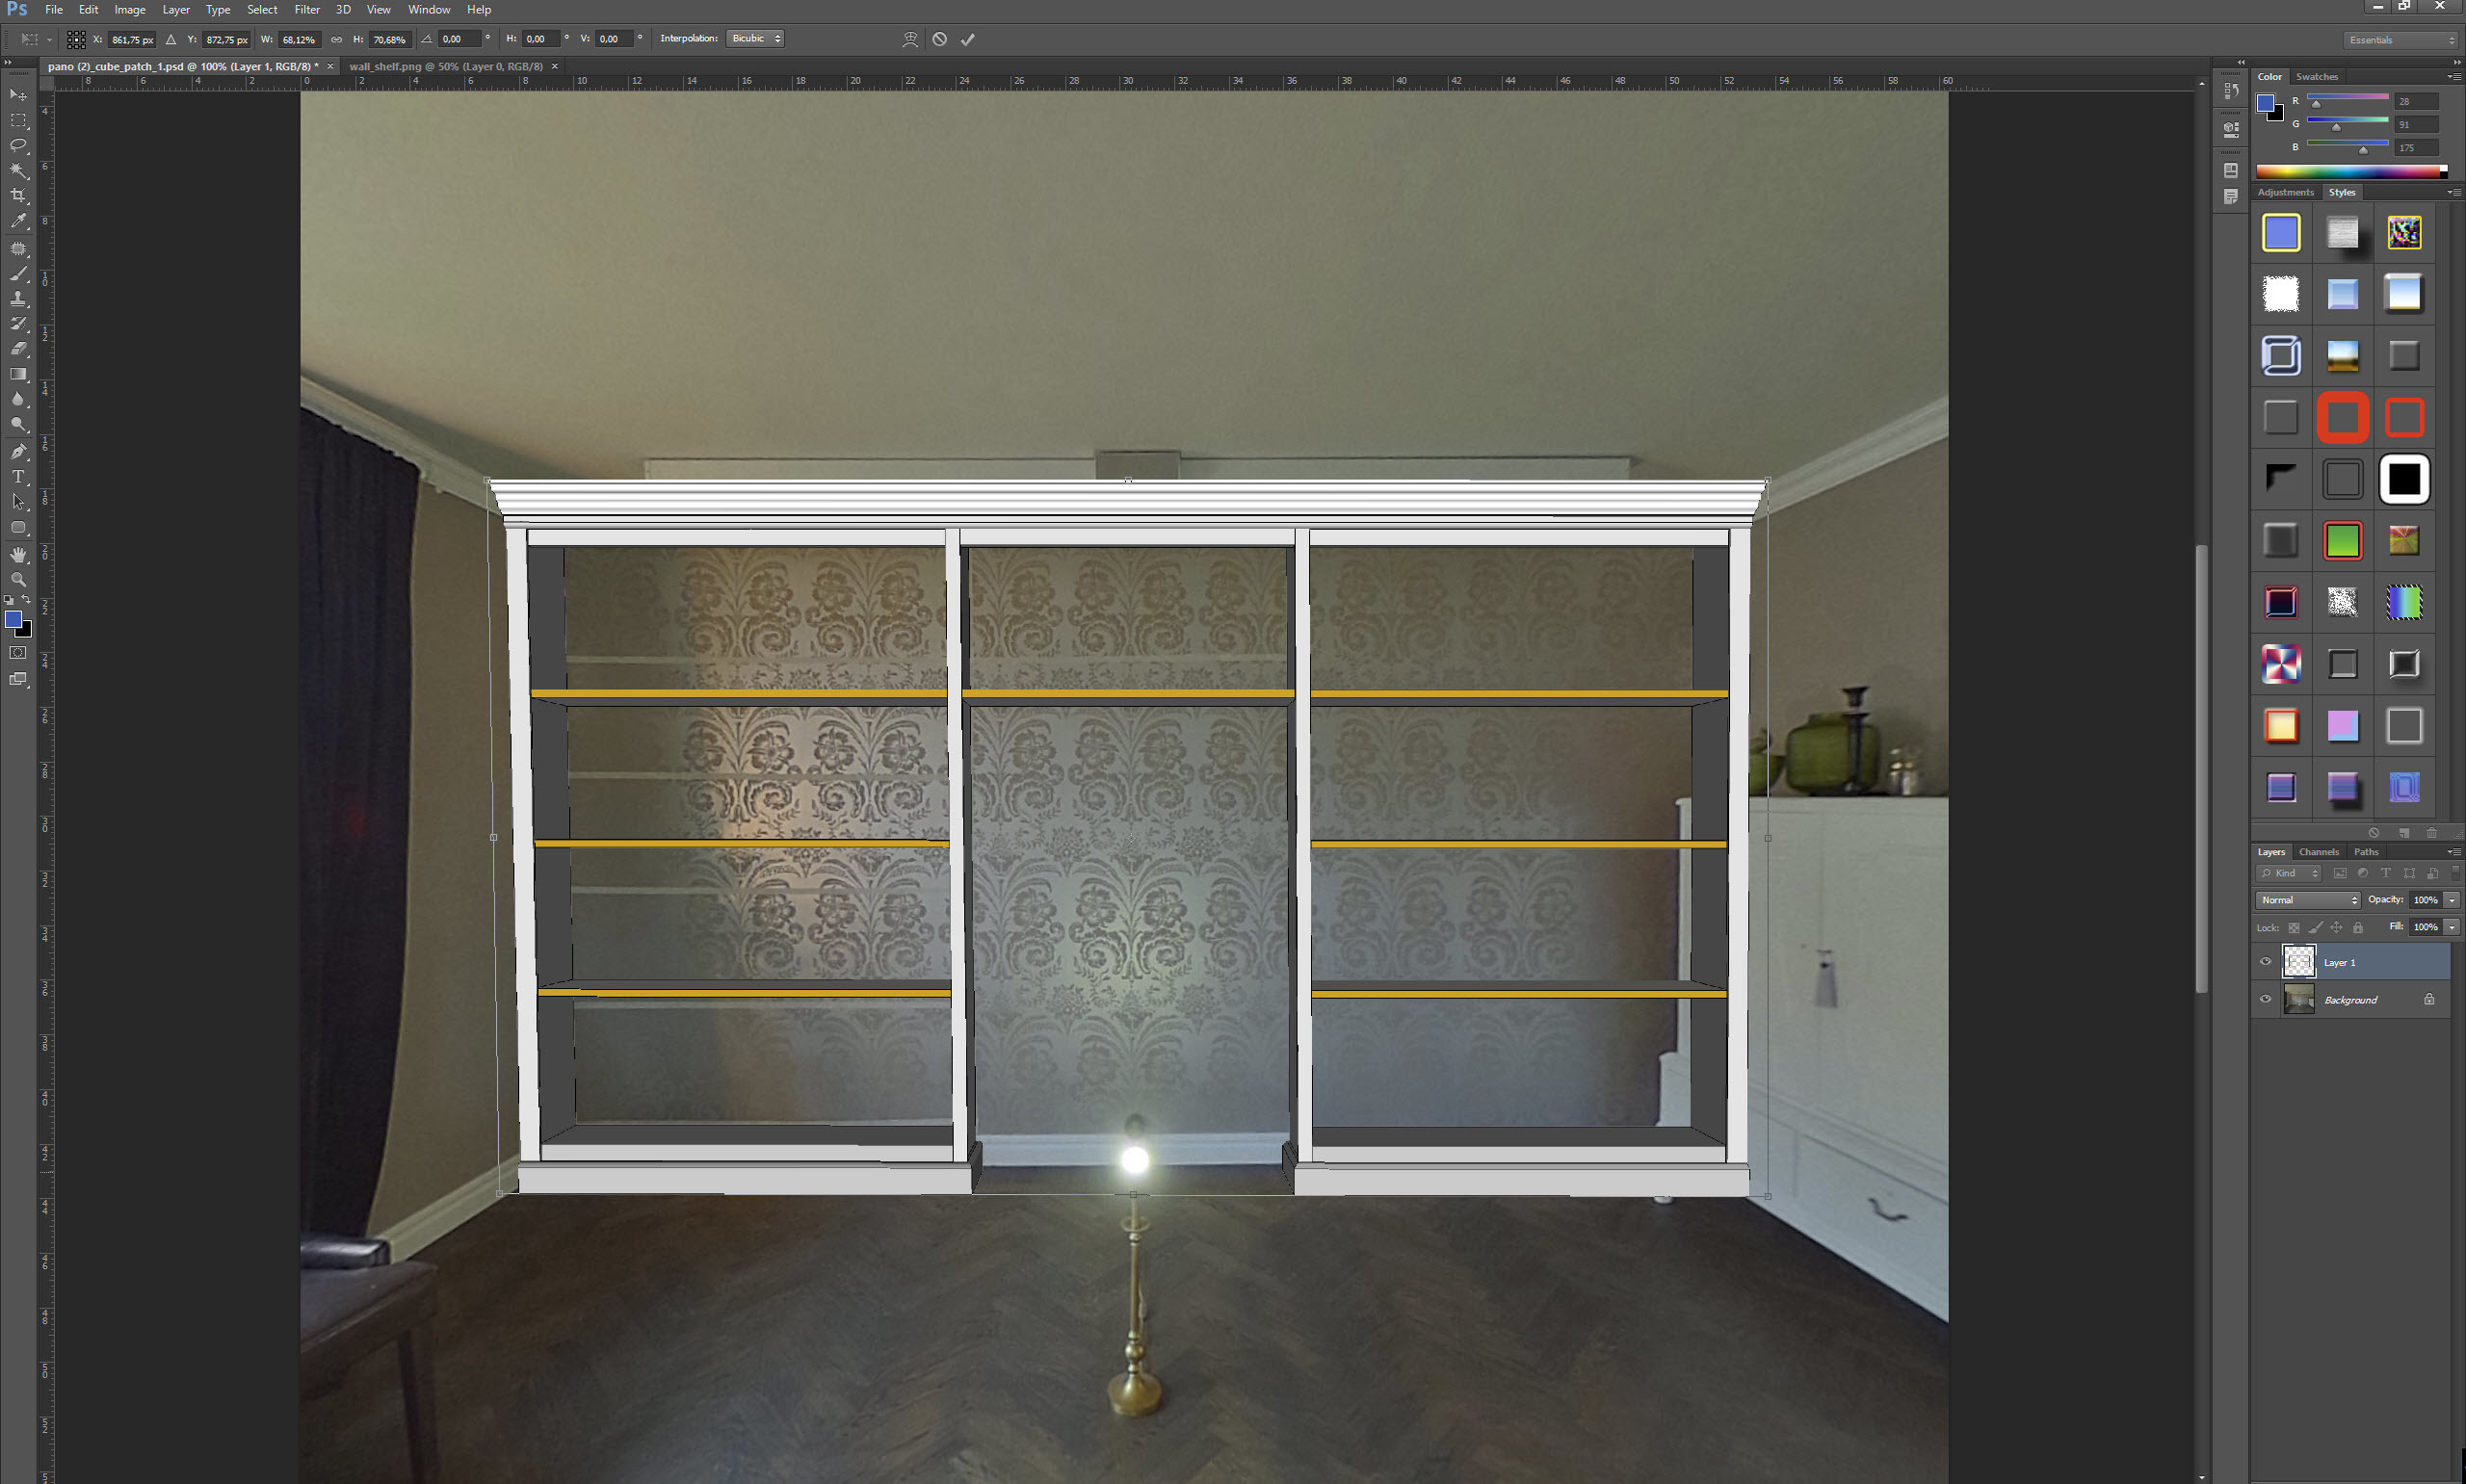
Pano2Vr reads the .PSD file
press F5 to update the page to see the changes
we made several changes in the xml file
 Enjoy a master piece created with Pano2VR 5.1