This is a follow-up to the post in the following discussion related to color management when using the stitcher plugin for Lightroom:
I did some further testing with the latest version of the stitcher provided by Craig, a beta version identifying itself as v1.00.4 (as the latest release version) but supposed to contain some improvements or fixes.
I started with a raw DNG file which has the following properties as reported by Adobe Bridge:
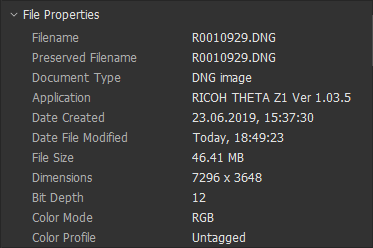
So, there is no color profile assigned, which is fine in this case, as this is raw data.
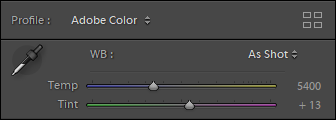
When importing this file into Lightroom, the raw data is interpreted (“developed”) and all further processing in Lightroom is done in the ProPhoto RGB color space. The May update of Adobe raw support contains support for the Z1:
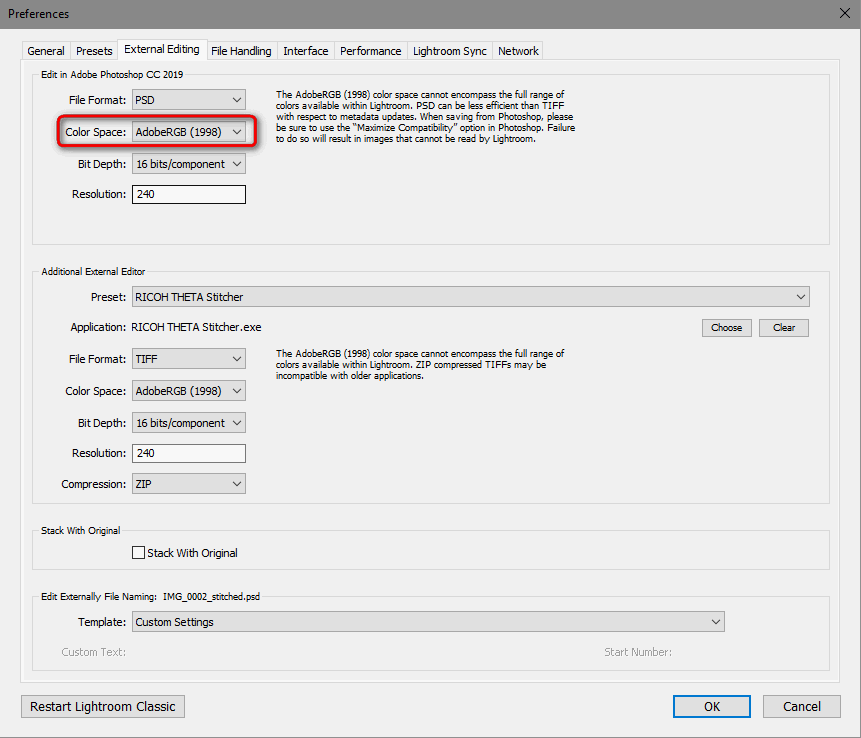
When editing a file in an external application – such as Photoshop or the stitcher – a target color space has to be specified:
Lightroom then converts the colors from the internal color space ‘ProPhoto RGB’ to the target color space and adds a corresponding color profile to the output file.
When selecting ‘sRGB’ as the target color space, the file written by the stitcher has the following properties:
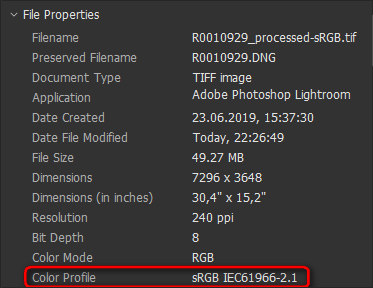
So, the stitcher’s output file still contains the correct color profile and is therefore handled correctly in Lightroom afterwards.
However, when selecting ‘Adobe RGB’ as the target color space, the file written by the stitcher has the following properties:
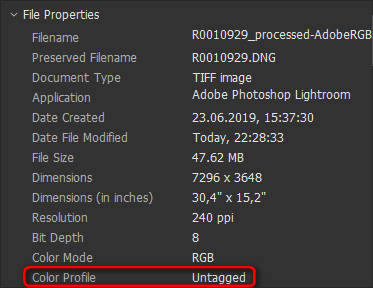
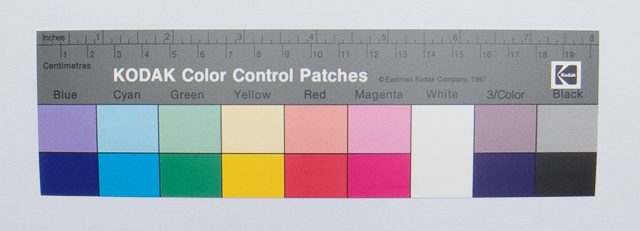
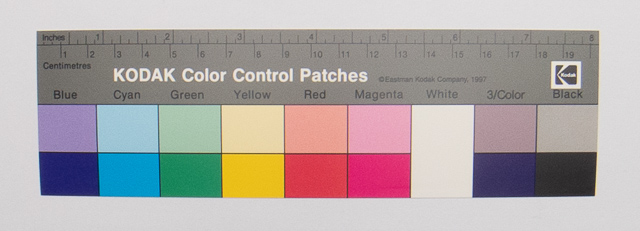
The color profile previously created by Lightroom has been removed – this is bad!
Files without a color profile are handled by Lightroom as sRGB, which is wrong in this case, resulting in incorrect (flat) colors.
Removing the color profile seems to be a bug in the stitcher, although I have no idea why this is done for Adobe RGB but not for sRGB.
This should be fixed as Adobe RGB is commonly used for high-quality image handling because it contains more colors than sRGB.
