After getting a MacBook Air M1 for testing, I lost the ability to use dual-WiFi, which was possible on Intel-based MacBooks. The lack of dual-WiFi wasn’t a problem in our old office in Palo Alto, which had Ethernet. However, when I moved to a new office, there was only WiFi. In order to test the camera WebAPI, I either needed to use a physical phone or disconnect my MacBook from Internet WiFi and then connect to the THETA, losing WiFi. This makes testing the WebAPI of the RICOH THETA fairly tedious.
To solve this problem, I bought a small router during black friday for under $30. The price is higher now at $35, but I’ll put the link below for reference.
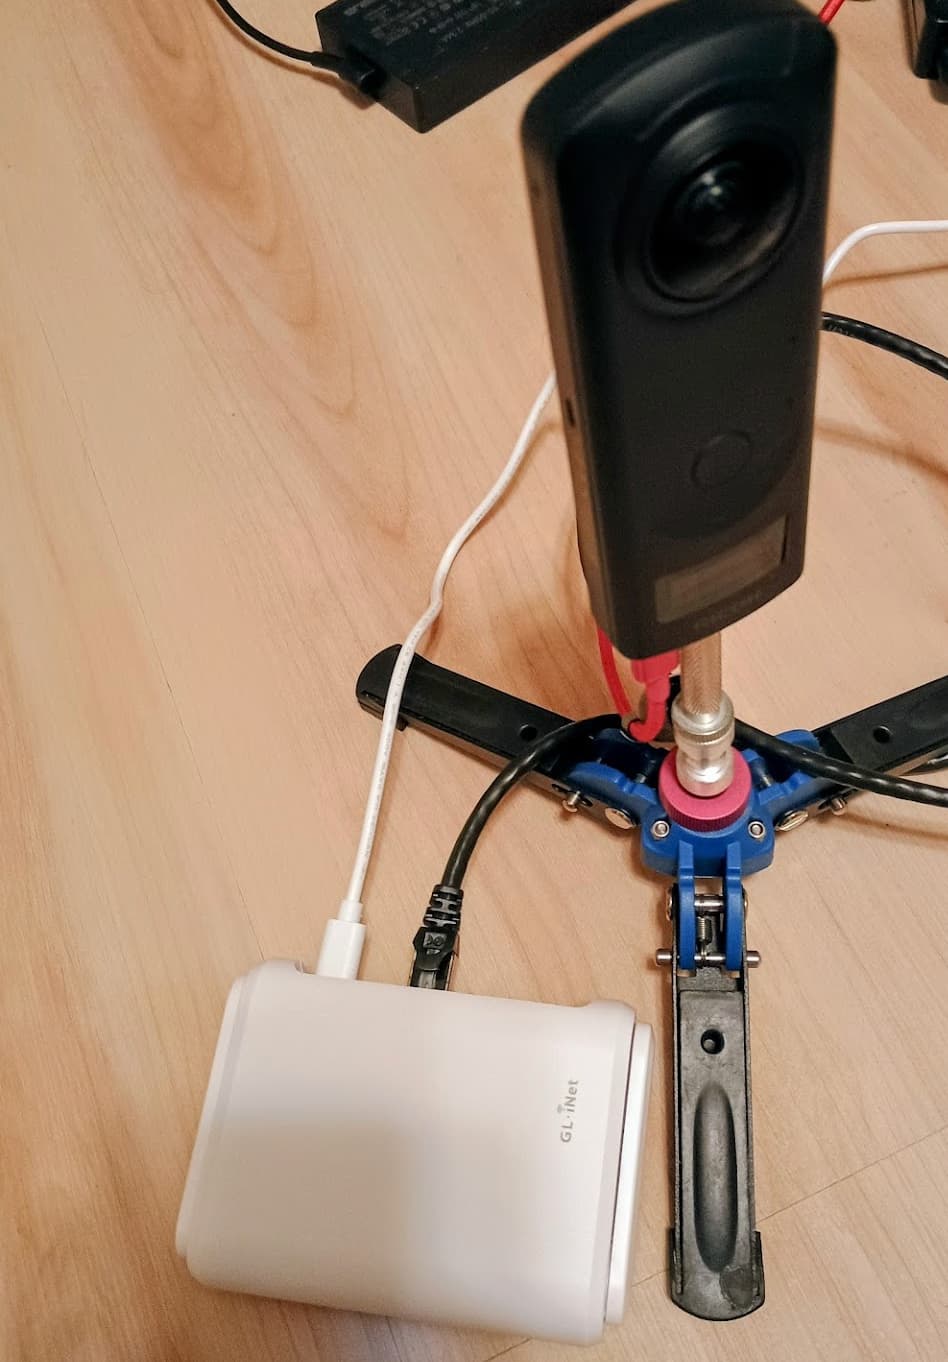
The router is the small rectangular white box next to the RICOH THETA Z1. The white cable is USB C power into the router. The black cable is Ethernet going to my MacBook Air.
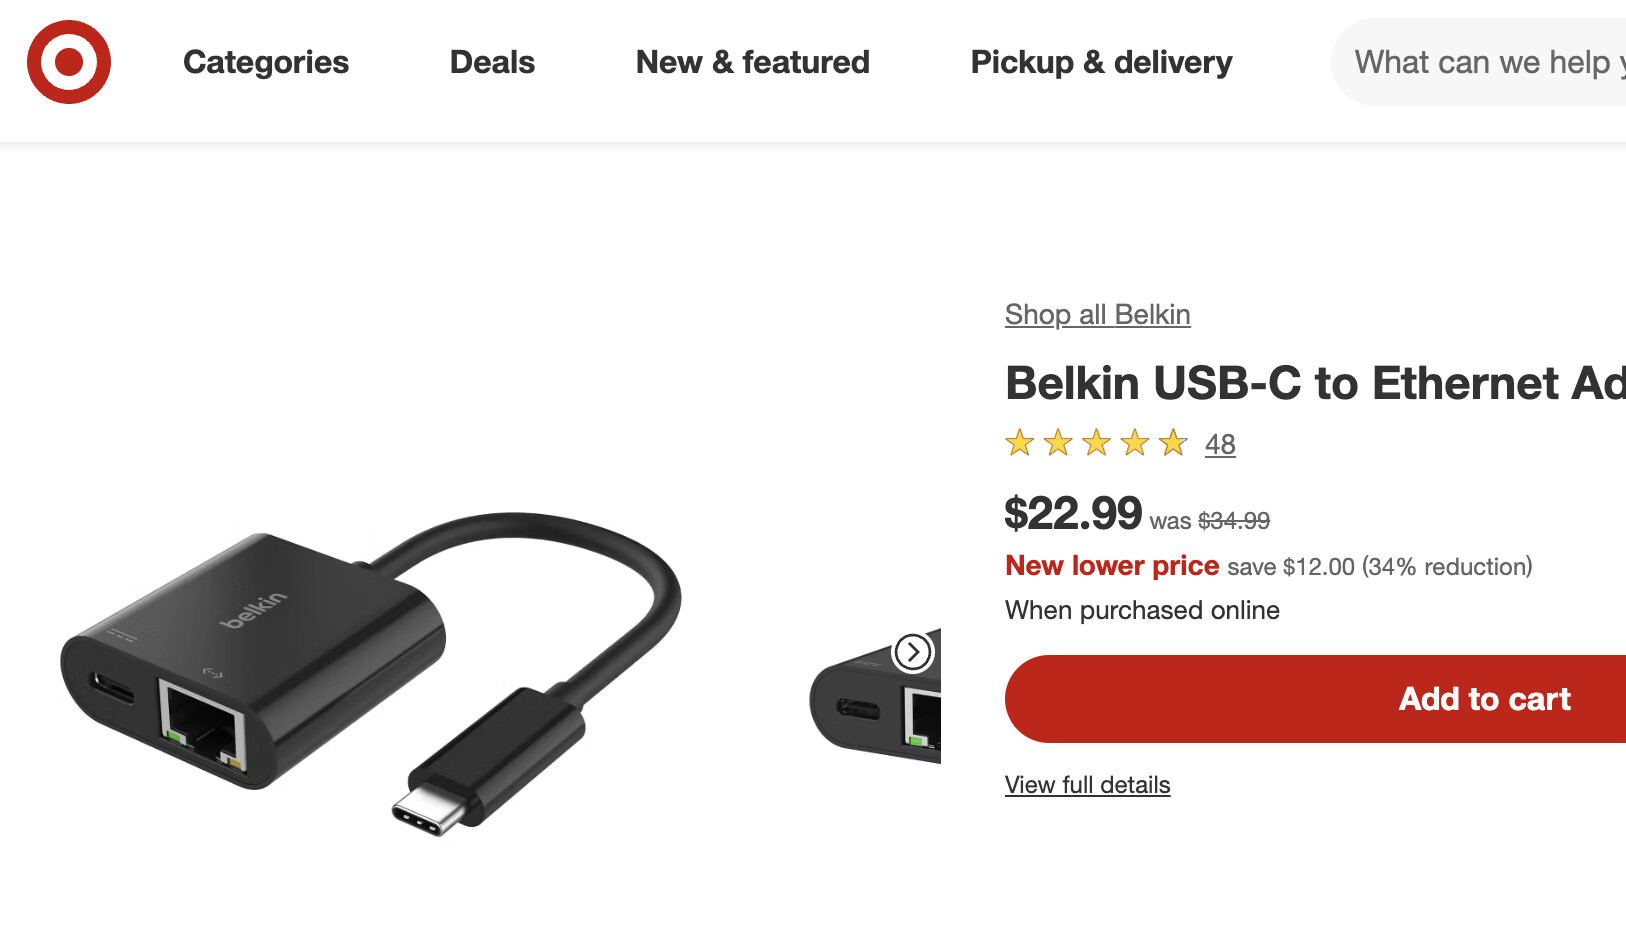
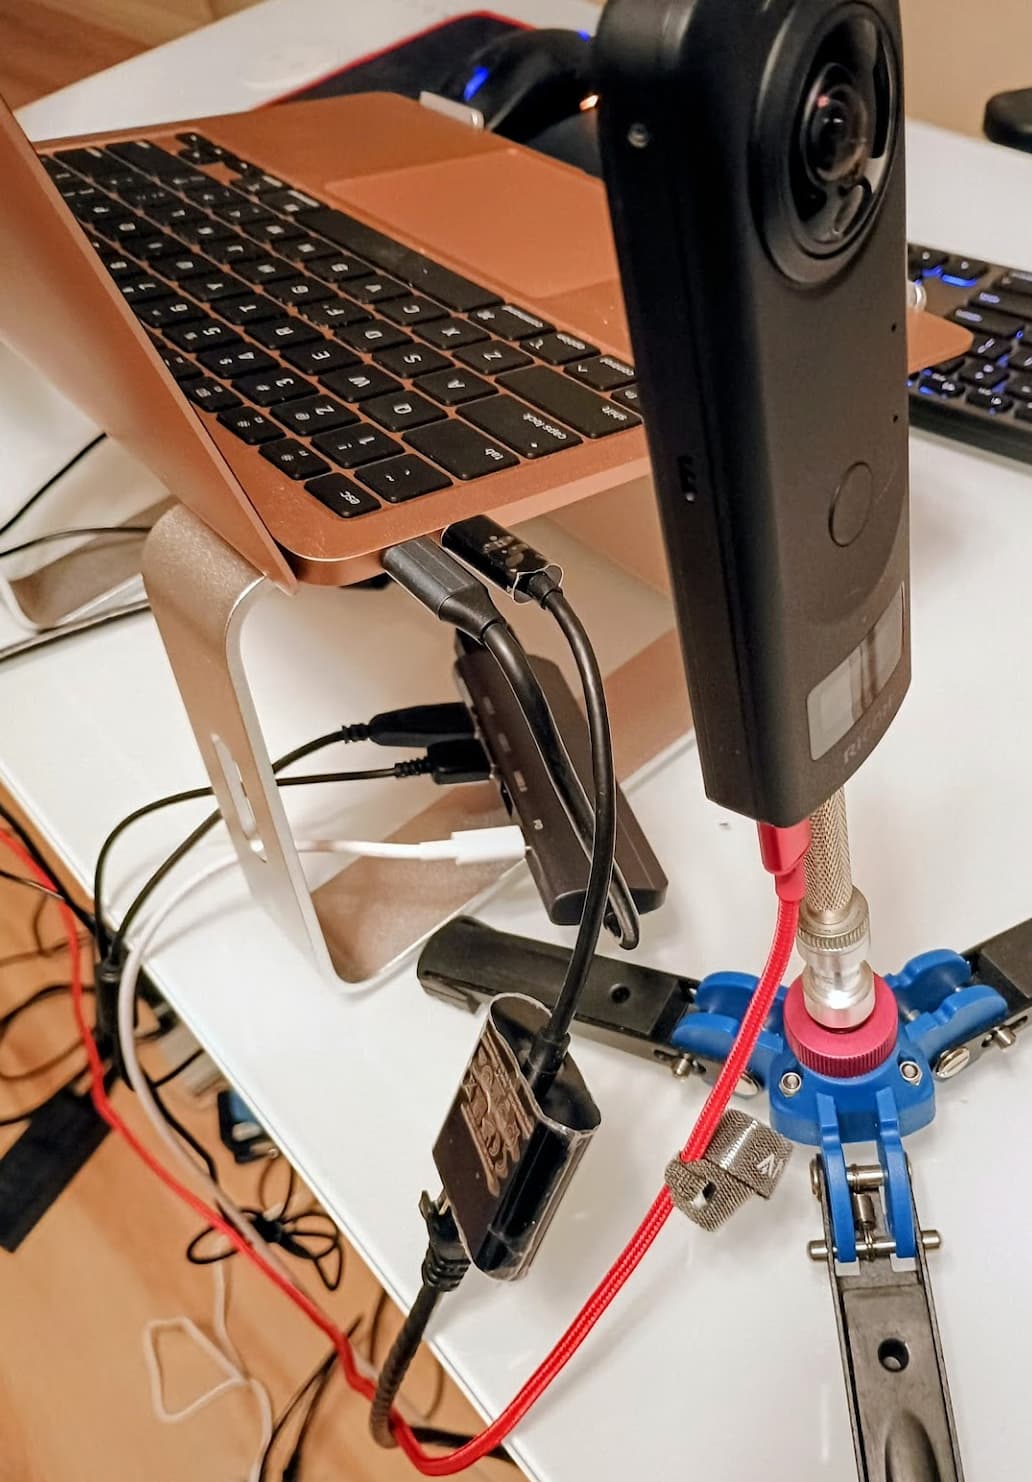
I’m using the router to connect from my Internet WiFi router to my MacBook Air M1 using Ethernet. I’m using a Belkin USB-C to Ethernet adapter, which I see on Target for $23 now. It’s about $5 cheaper on Target than on Amazon.
The black cable into the MacBook is the Belkin Ethernet adapter. The red cable into the RICOH THETA Z1 is only supplying power to the Z1.
router configuration
I set up a repeater mode to connect the router to my office WiFi. Then, I connected a LAN client with Ethernet.
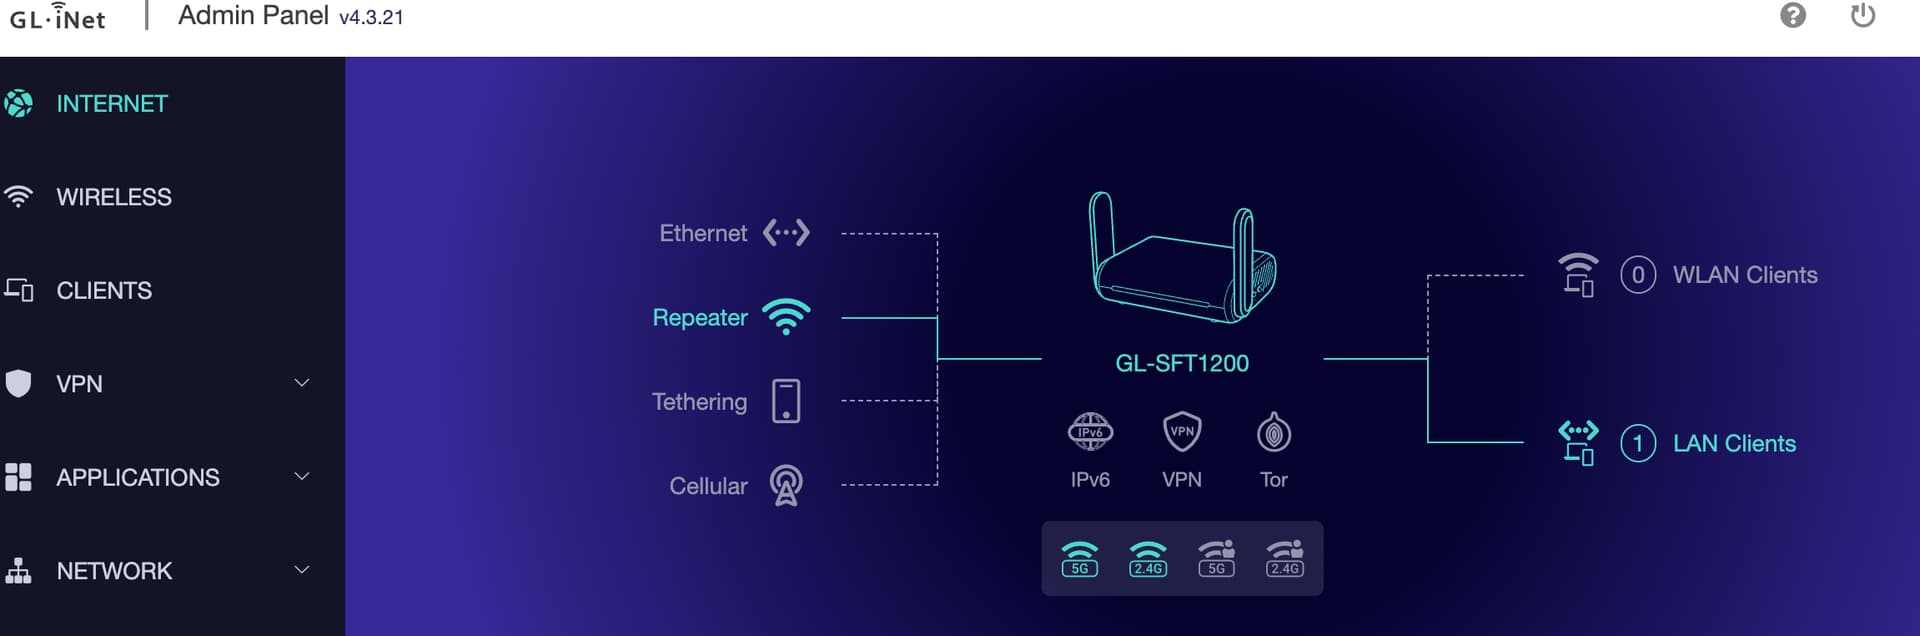
To connect the travel router to my office router, I just added the hotspot name and password using a web interface.
The LAN configuration simply involved connected the router and my MacBook with an Ethernet cable.
MacBook Air configuration
For a while, I was stuck with the MacBook. This setup may be specific to my Mac, but since it caused me problems, I thought I would share my configuration. First, I think the router works fine with Ethernet in general as the same adapter and cable will connect my Android phone to the Internet by just plugging it in.
This rather complex setup may be related to my Mac.
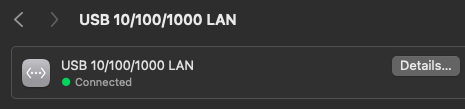
Under network, go to the USB LAN, then details.
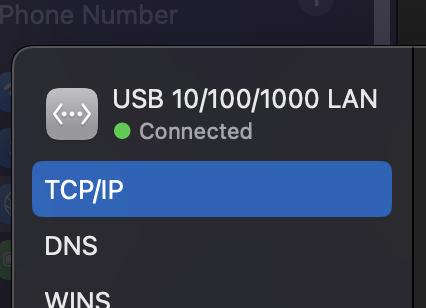
Go to TCP/IP
Press Renew DHCP.
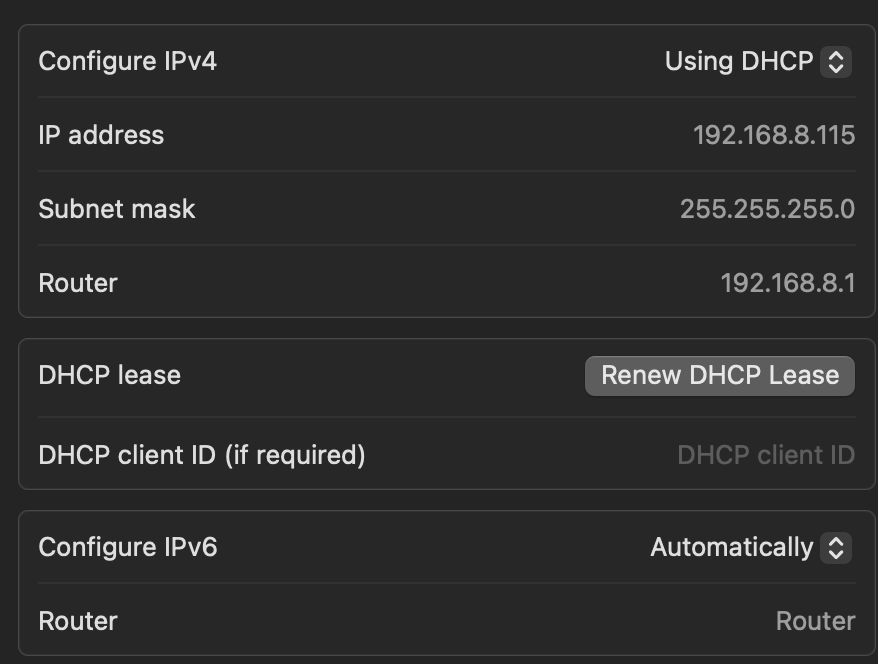
In the future, I can likely configure the Mac with a static IP address to avoid this step, but this was what I did initially.
Unfortunately, although I could now connect to the gateway, the Mac was not routing to the Internet. The travel router is at 192.168.8.1.
To set the default route, I ran
sudo route add default 192.168.8.1
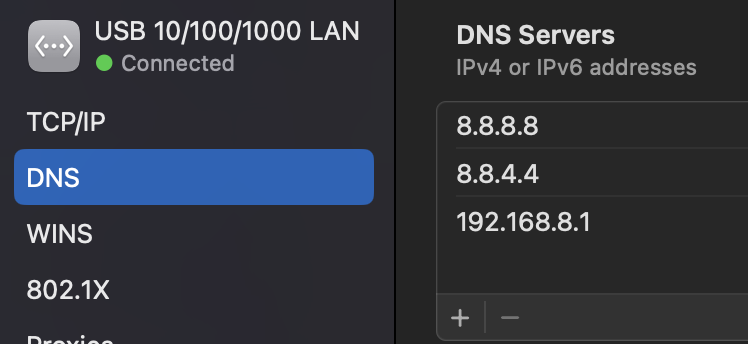
I also set the DNS to use Google servers, though this may not be needed.
testing RICOH THETA locally
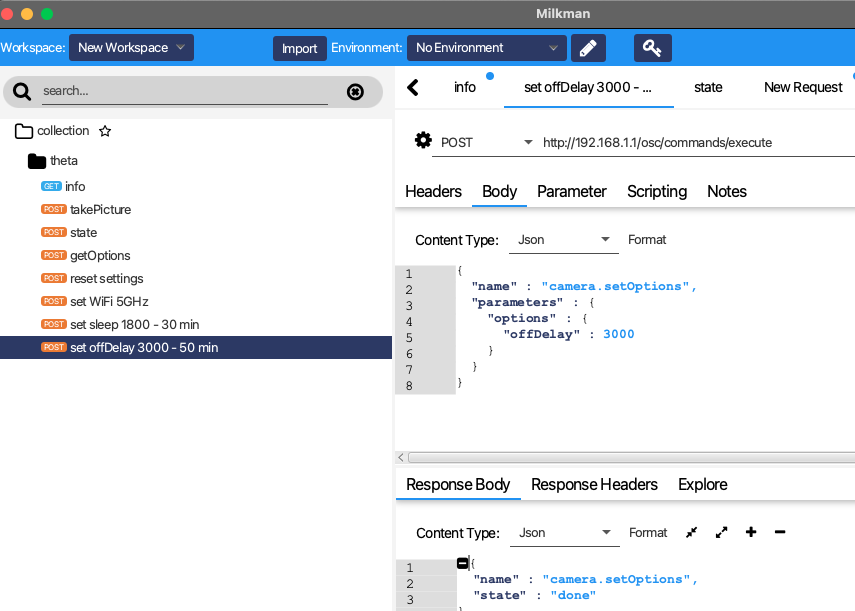
I’m using Milkman to test the THETA WebAPI.
Previously, I used Postman and Insomnia. However, I am having problems with those tools requiring Internet access for some tests, even Postman Light. So, while I now have Internet access while testing the THETA, I switched from Postman Light previously.
Postman and Insomnia are a bit nicer, but I like that I don’t have to create an account to use Milkman’s full feature set.
Milkman can export commands to curl or show the example as HTTP.
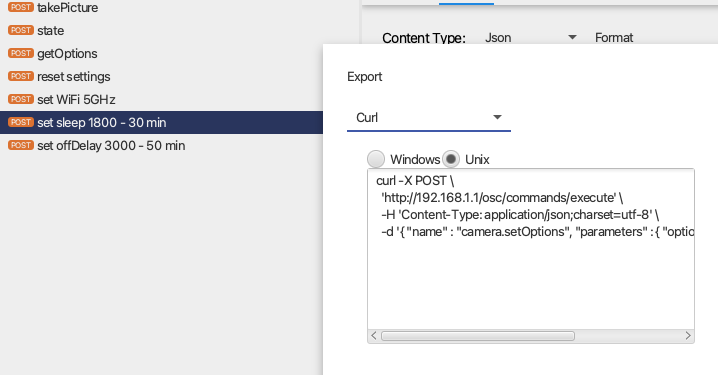
This is the curl command and response on my MacOS Sequoia 15.2. It sets the camera auto-sleep to 30 minutes.
craig@Craigs-MacBook-Air ~ % curl -X POST \
  'http://192.168.1.1/osc/commands/execute' \
  -H 'Content-Type: application/json;charset=utf-8' \
  -d '{ "name" : "camera.setOptions", "parameters" : { "options" : { "sleepDelay" : 1800 } } }'
{"name":"camera.setOptions","state":"done"}%                                                                            craig@Craigs-MacBook-Air ~ %
Checking the results with camera.getOptions shows the expected value for sleepDelay.
{
  "name" : "camera.getOptions",
  "results" : {
    "options" : {
      "captureMode" : "image",
      "iso" : 0,
      "offDelay" : 3000,
      "sleepDelay" : 1800,
      "_wlanFrequency" : 5
    }
  },
  "state" : "done"
}
This testing is now much more convenient since I have the MacBook connected to both the camera with WiFi and the Internet simultaneously.
about the router
The router is using OpenWrt, which makes it quite flexible. GL-SFT1200 router specification sheet.