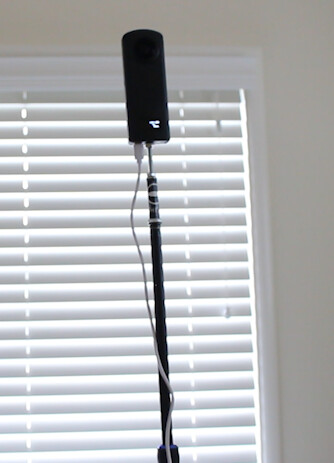
I’m using a separate tripod for the base plus a monopod. My setup is more cumbersome, but I wanted it for more stability outside for virtual tours testing.
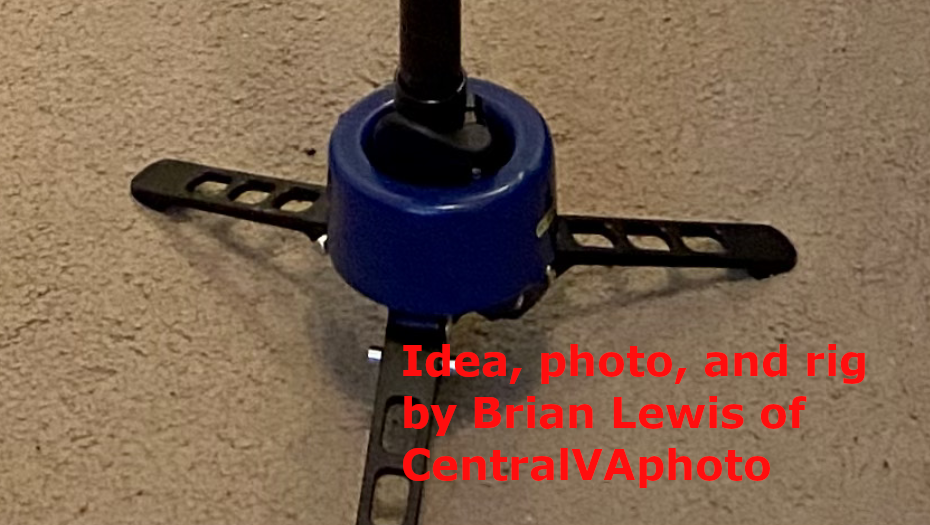
I use a monopod with feet (ProMaster Professional MPV428+ Convertible Monopod) that has two mods: (1) I weight it with a baseball bat weight (24oz) and it has never faltered; (2) I strapped a universal bubble level (from Freedom 360) onto the shaft and have not leveled a photo in post since! Although I shoot commercial property 360 work with DSLR rigs, I shoot a lot of smaller homes with the Z1 and this monopod rig really works well for me. The monopod was about $100 and the bat weight and level was about $25 more. The footprint is the same every shot, so I have a Photoshop action that replaces the visible part of the monopod with content-aware fill at the press of a button.
Craig - I use DFE exclusively when shooting, so have not explored the App interface with the Z1. I don’t think my old Theta S has auto-level, so didn’t notice that feature on the Z1. Guess I don’t need the universal level after all! Thanks for pointing that out
I’m not a professional photographer, so I’m not sure of the downside with the auto-level. The feature was introduced after the introduction of the V/Z1. You’ll need to upgrade the firmware of the camera to see the feature. I believe the mobile app can adjust it (but I’m not sure). I need to verify this.
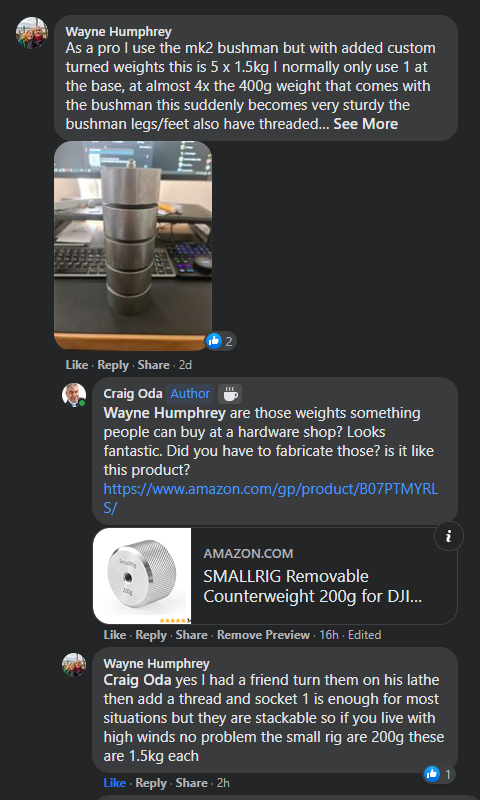
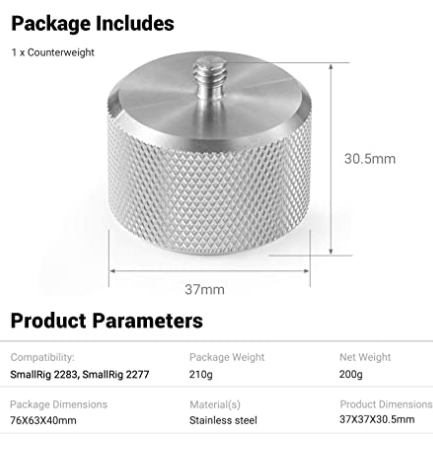
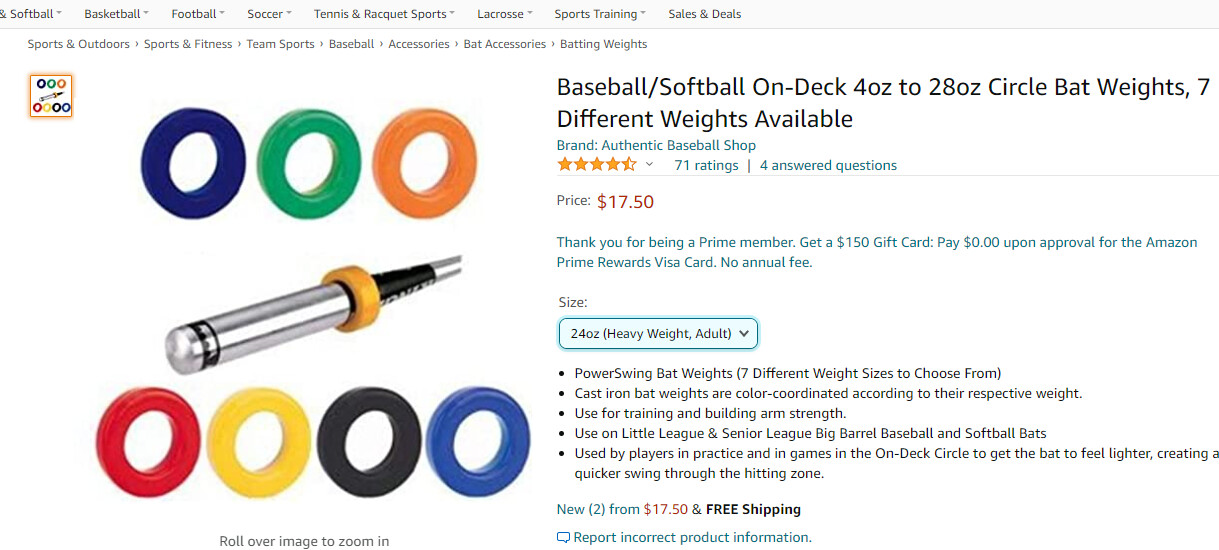
For the baseball bat weights, is something like this what you’re using?
That’s funny - all this time I thought my shots were well leveled because I carefully adjusted the monopod to be level. The 24oz weight I bought is currently unavailable on Amazon, but the softball weights in your Amazon listing are perfect. I slide the weight over the bottom of the monopod with the feet extended straight - plenty of room. It will slide over the Z1, but I don’t risk that. At first, I was concerned that the weight would be off-center at times, but it doesn’t matter. My monopod’s feet are much shorter than the OP’s monopod legs. Nevertheless, my monopod is very steady in moderate to high winds, but high winds move the camera enough to affect multi-bracket shots. I’ve seen less expensive weights (usually 16oz or less) and you can stack them for more weight, but the price you’re seeing on Amazon was OK for me. A machined part seems like overkill and although ankle weights worked OK, the center of gravity is lower with the bat weight and it’s just easier to work with and keep track of. Also, it’s double handy during softball season
Your solution with the baseball bat or softball bat weight seems easier to deal with compared to ankle weights. It always seemed like the velcro and buckle of the ankle weights might be too much of a hassle to use regularly. I’m going to pick one up.
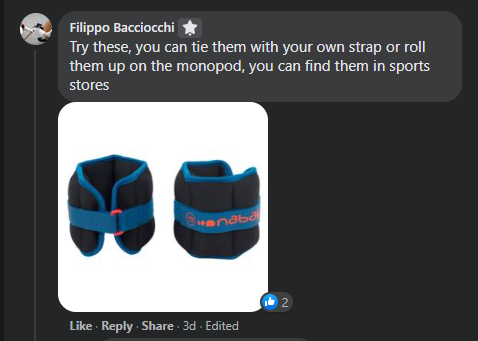
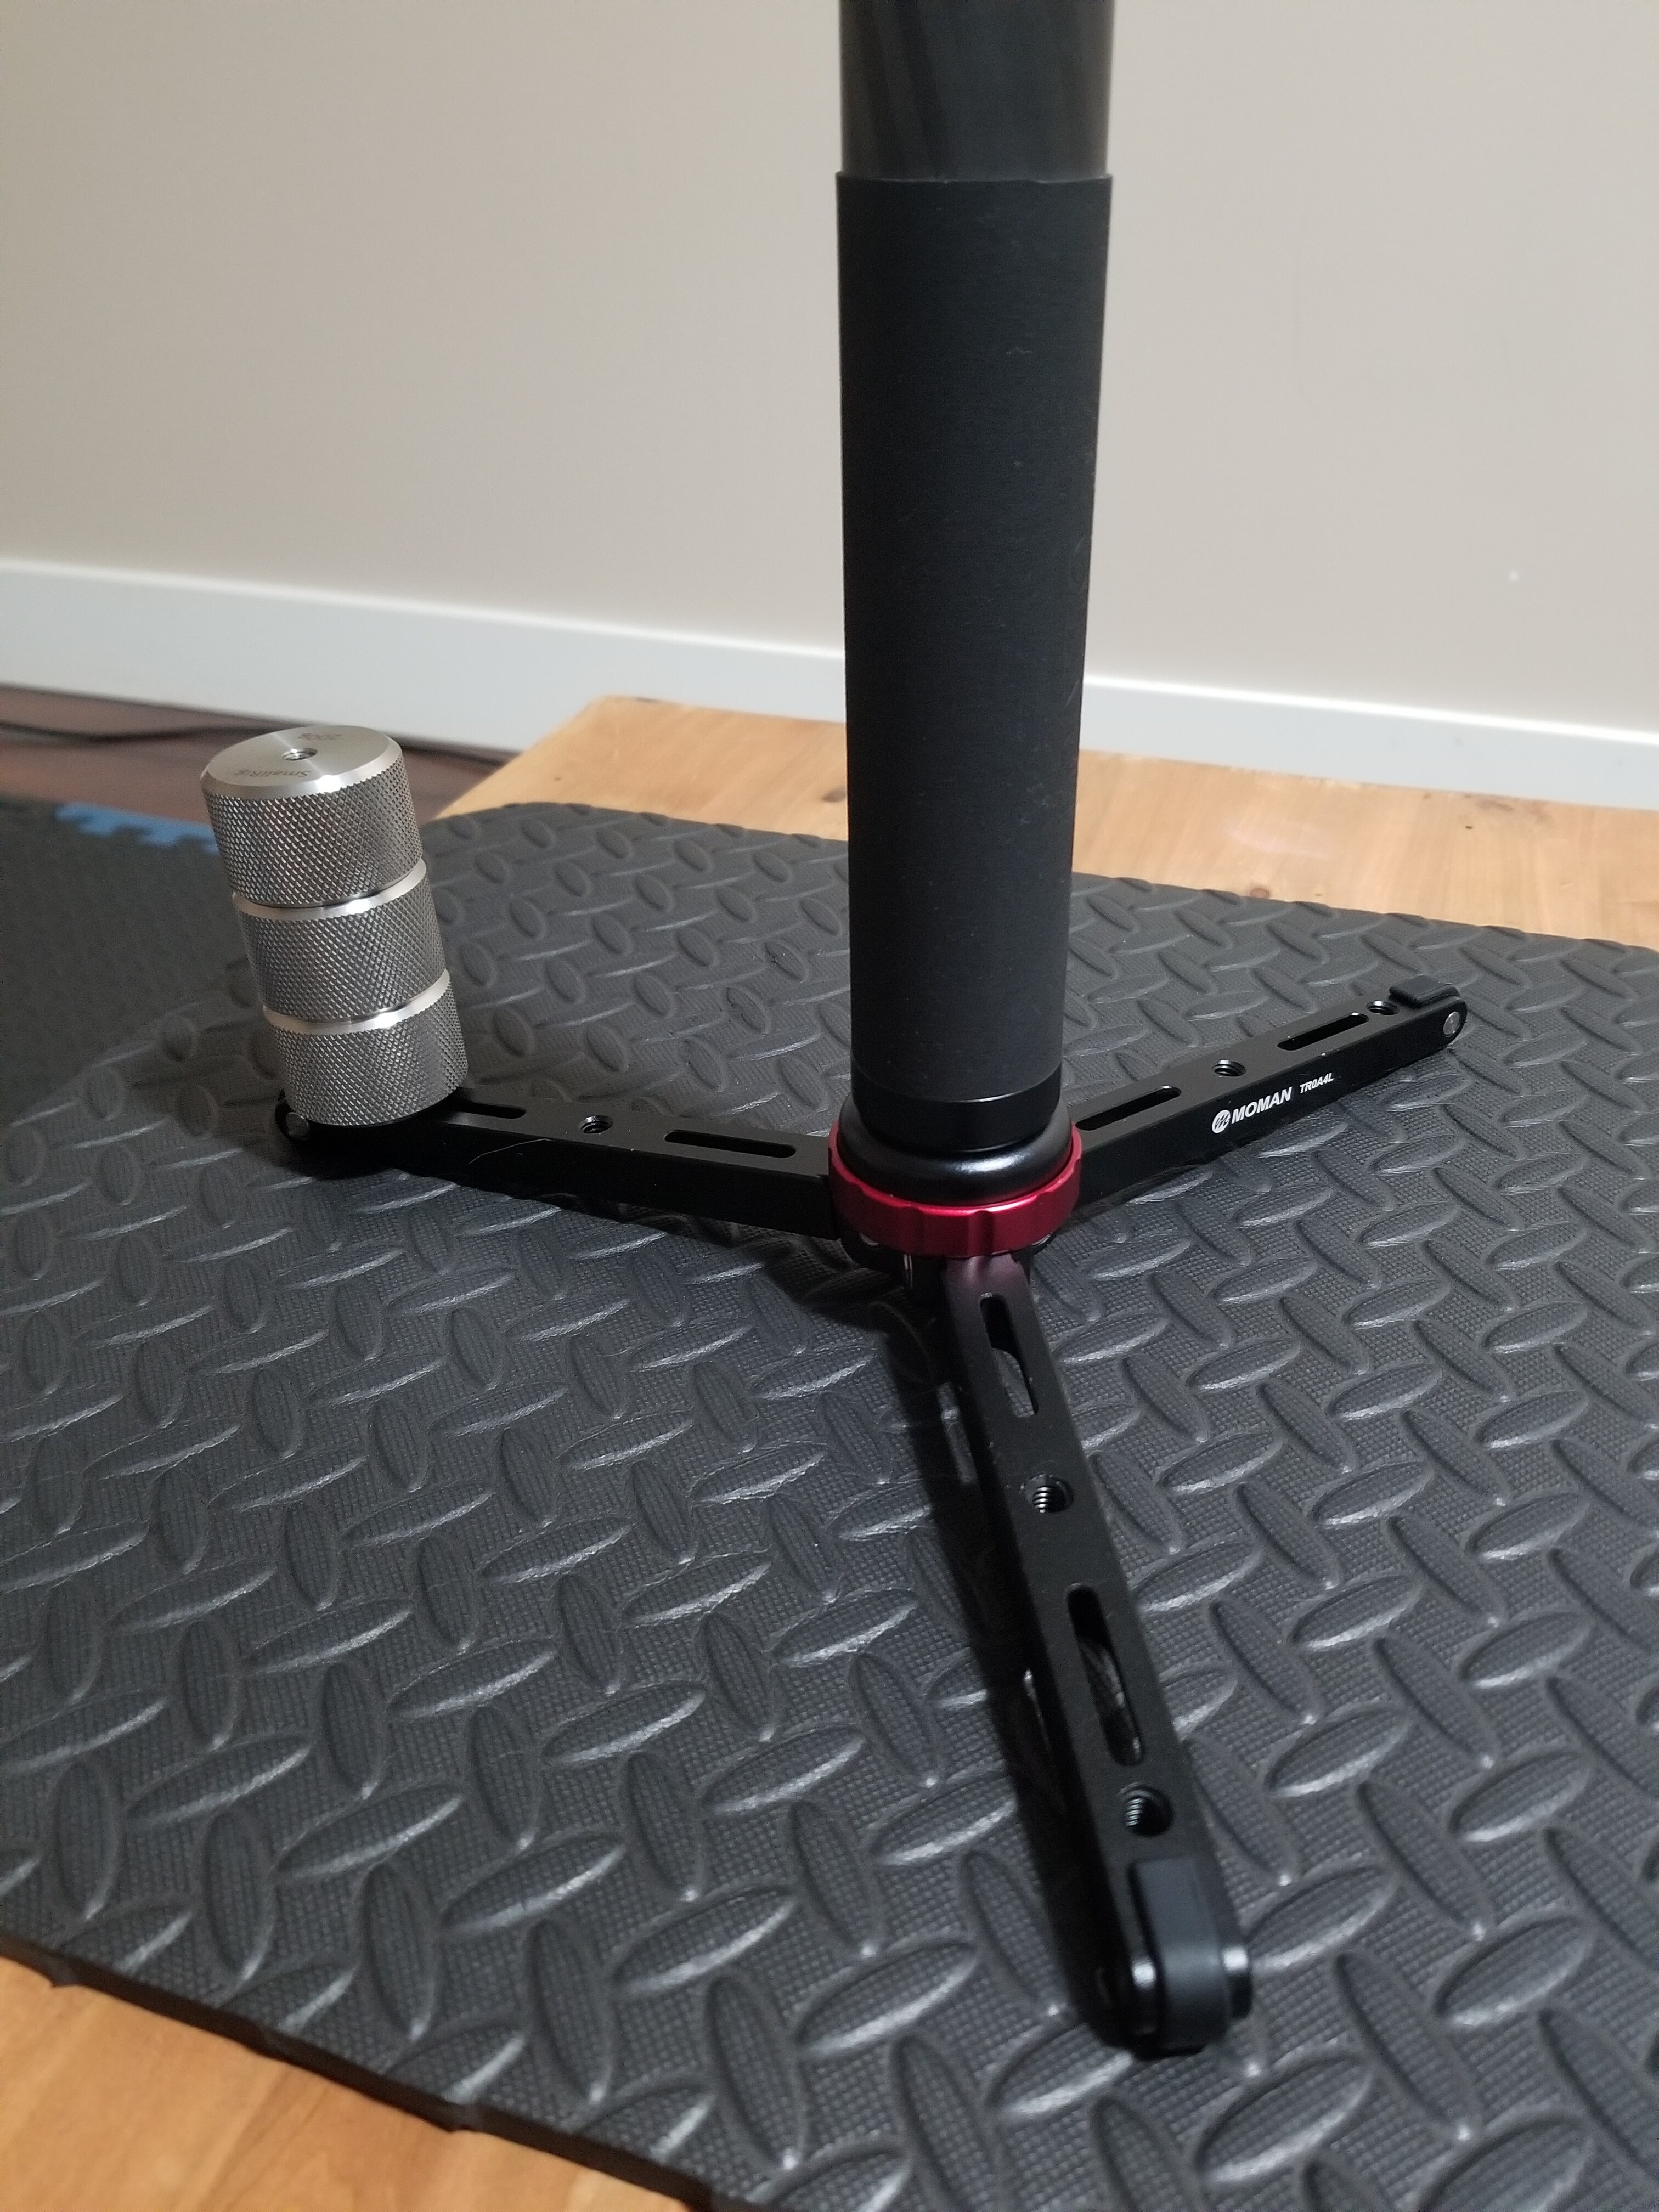
Having the weight distributed at the ends of the feet should provide greater stability than a center position and they are also all positioned lower than if they were stacked between the base and the monopod.
Visibility of the weights shouldn’t be an issue since most of us are removing the feet in post or covering it with a nadir patch/logo anyway.
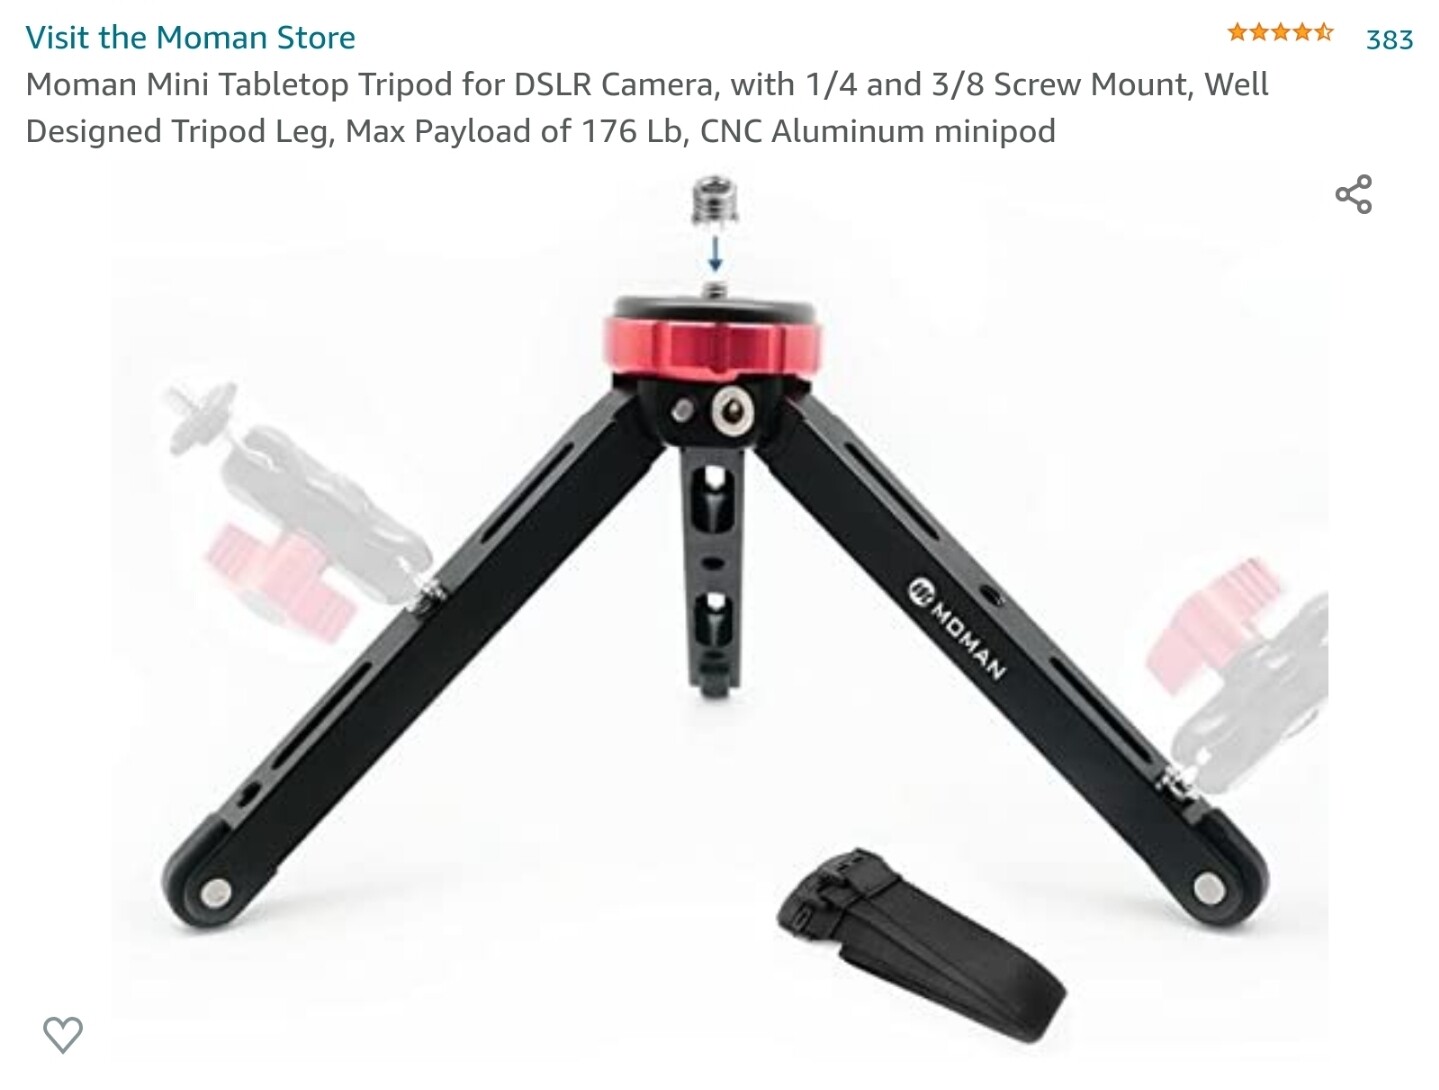
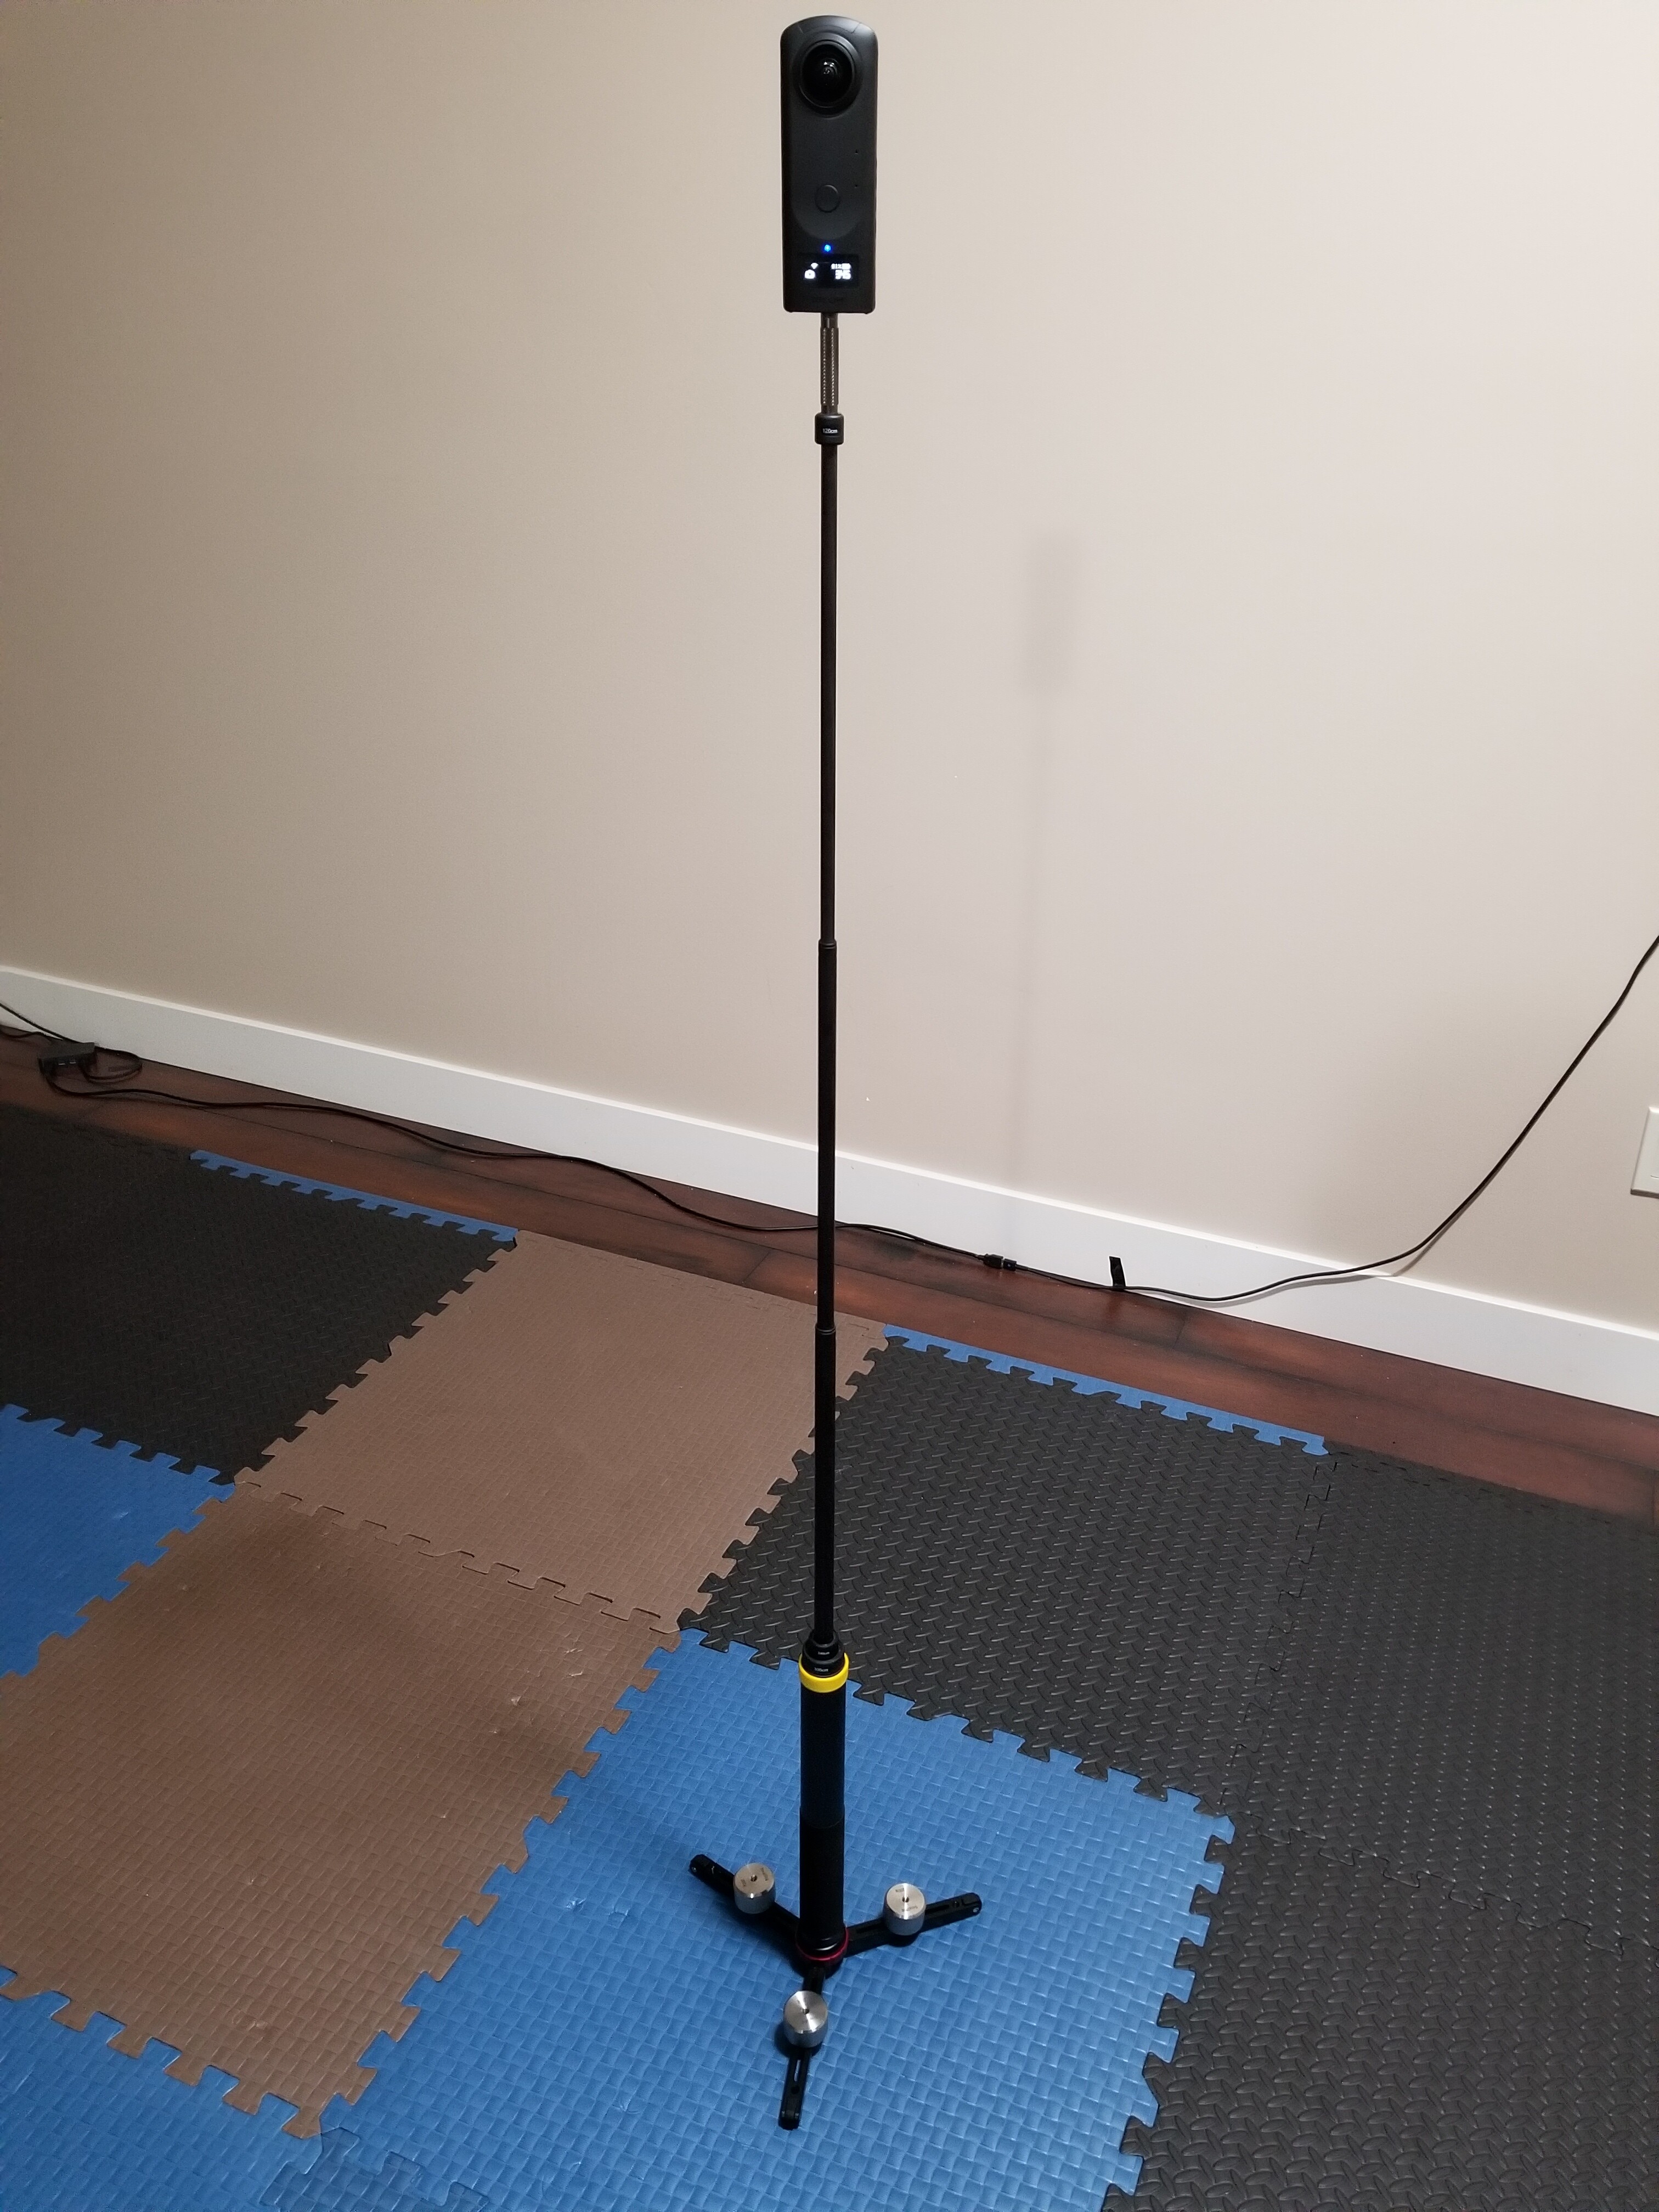
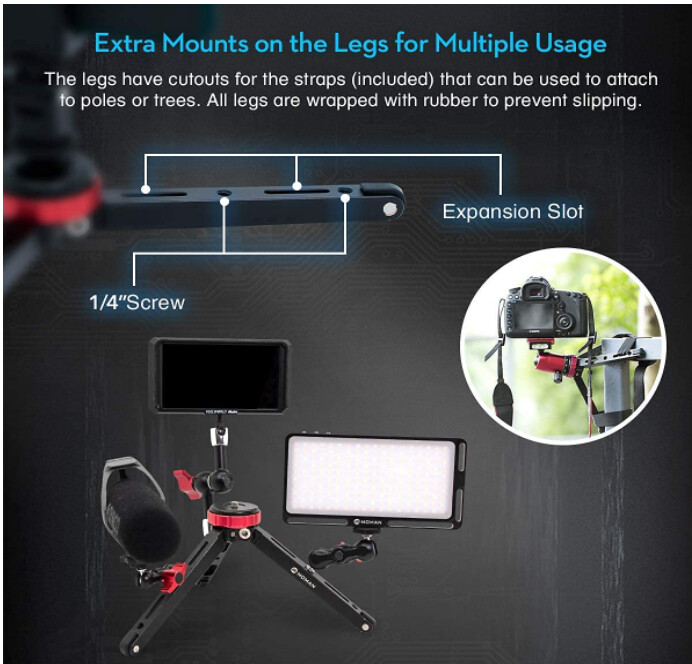
I have purchased this gear and I’ll use it with this:
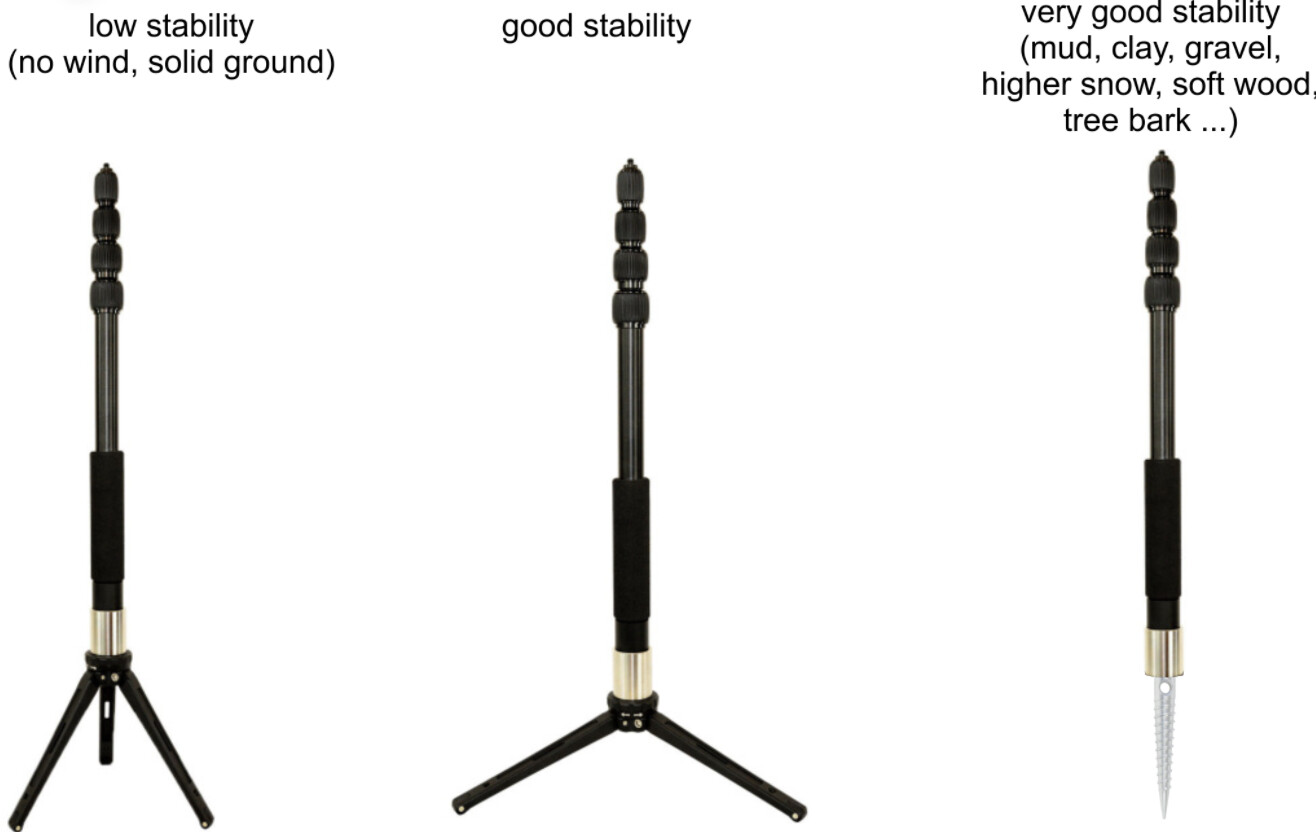
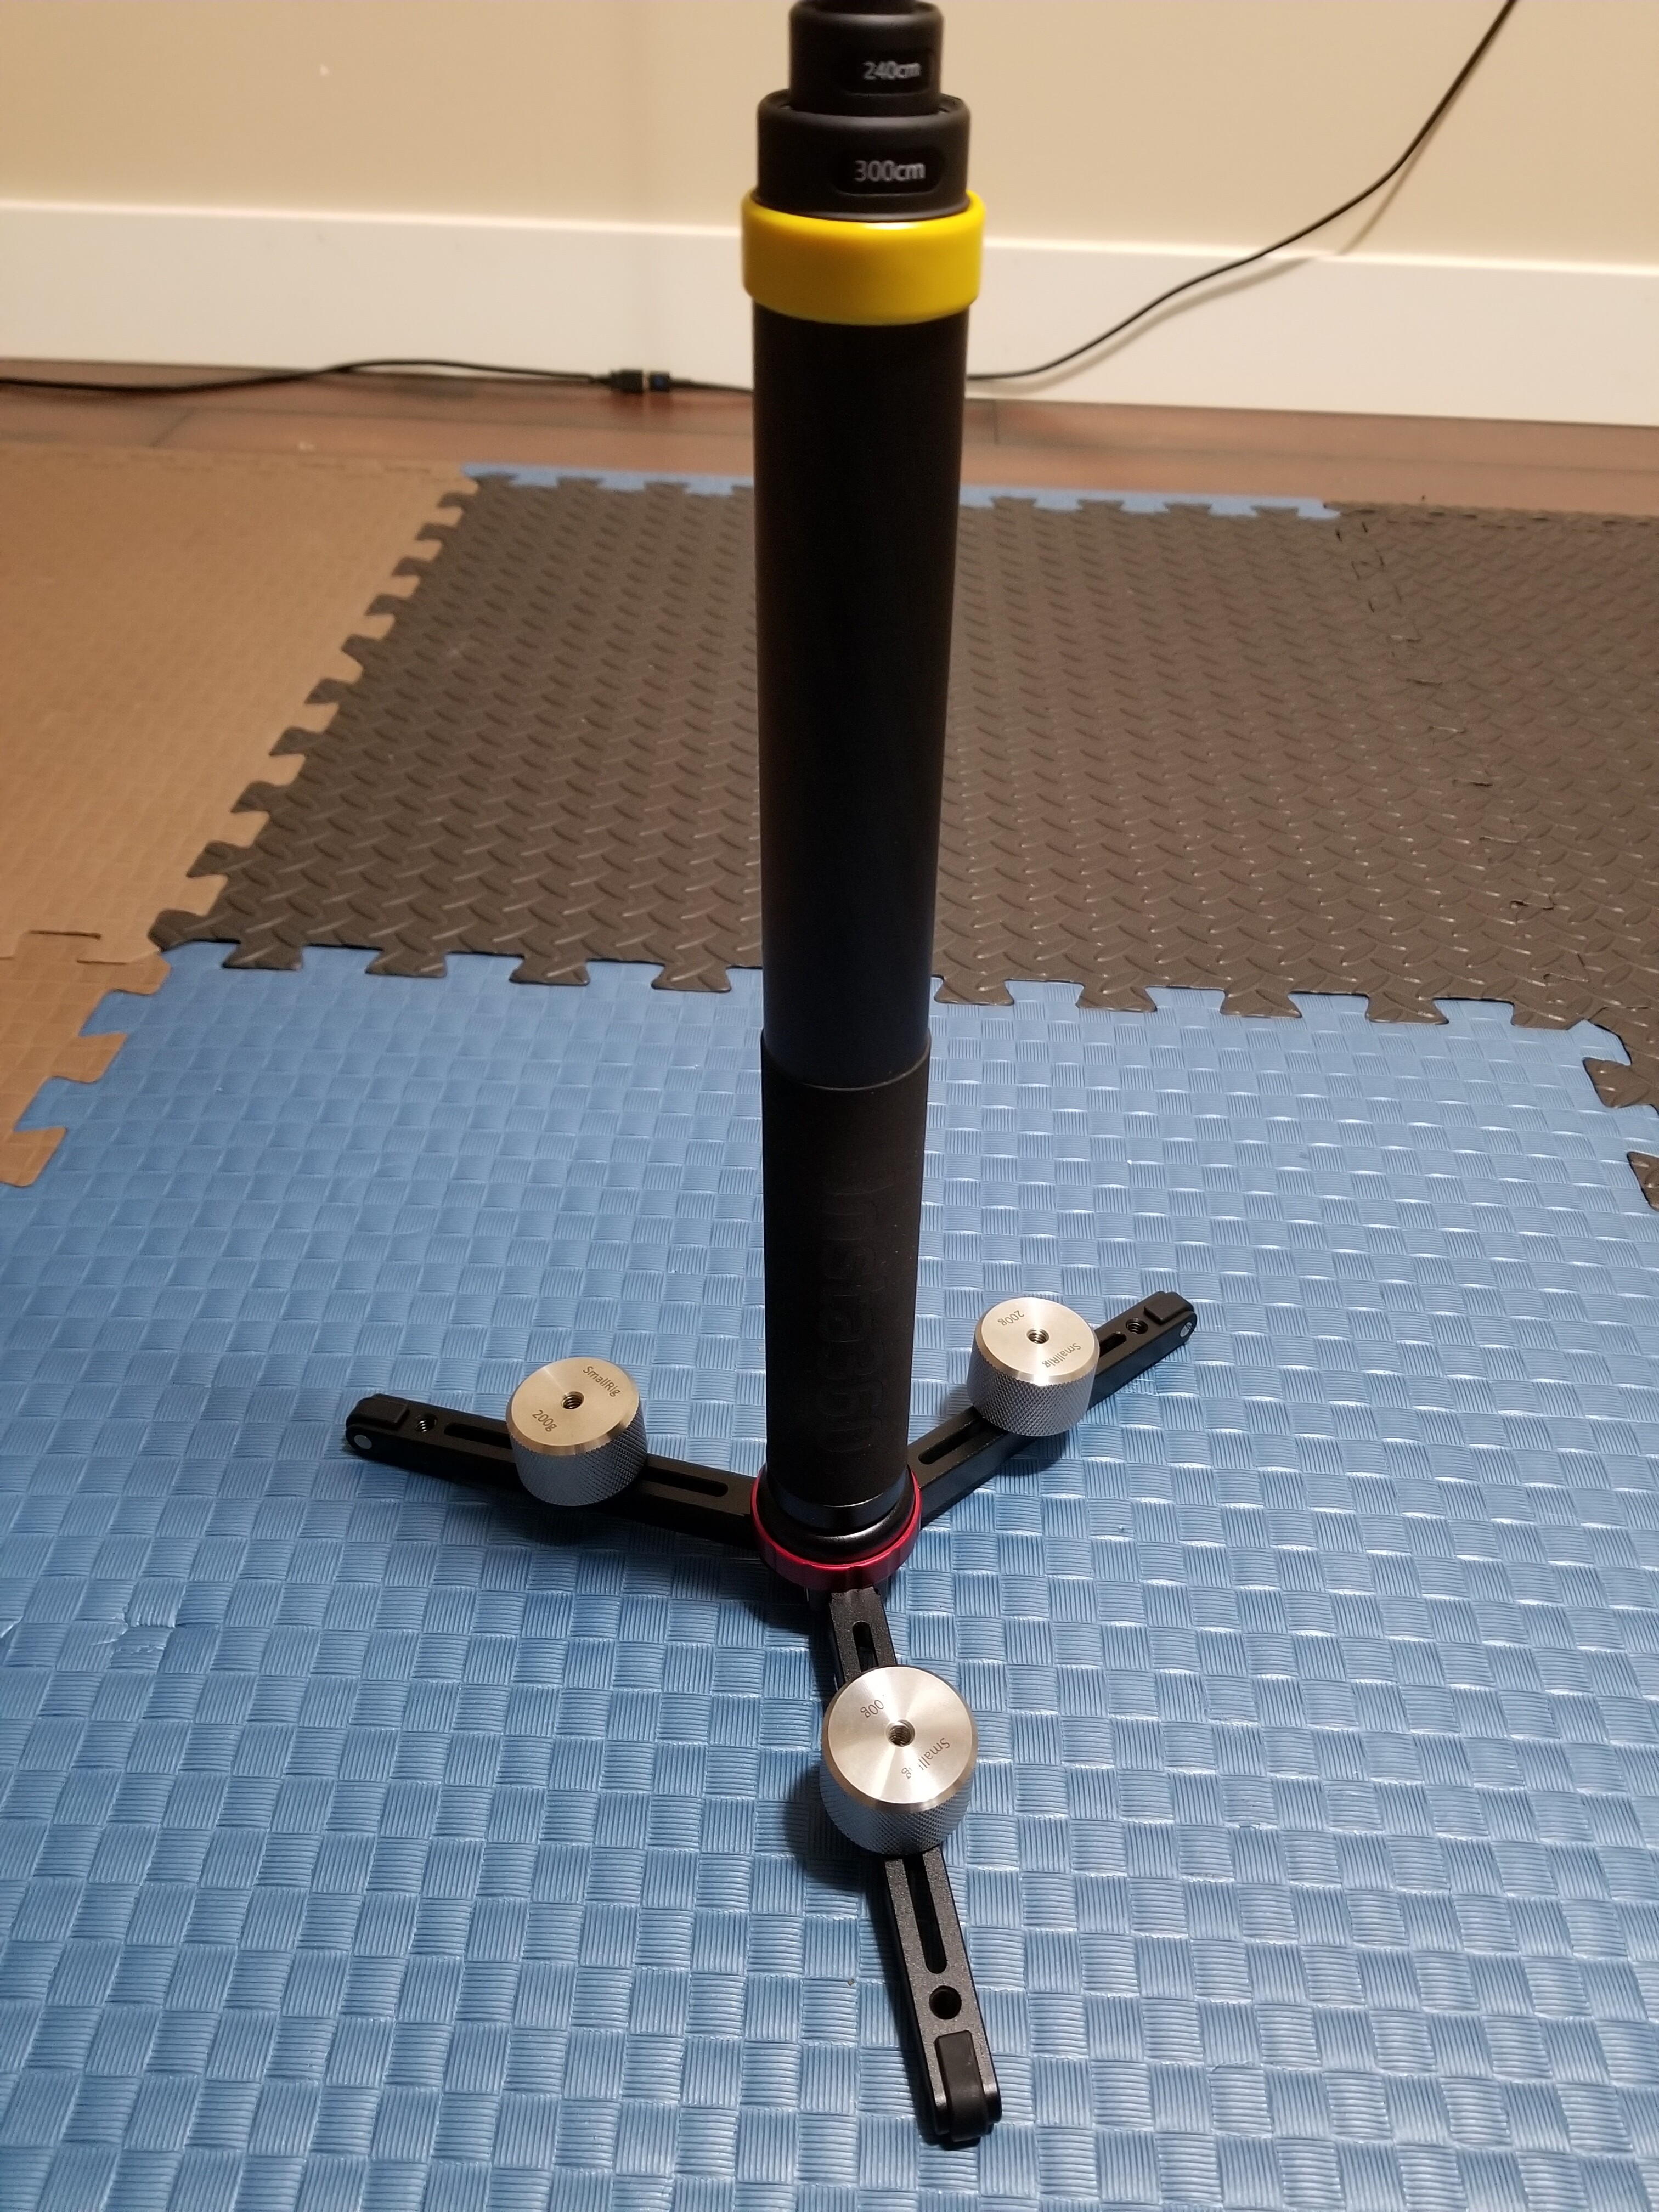
OK so… Follow up. BEST SETUP EVER. Extremely stable, compact storage, modular, weights can be redistributed in any configuration and the carbon fiber pole detaches and extends to 3m!
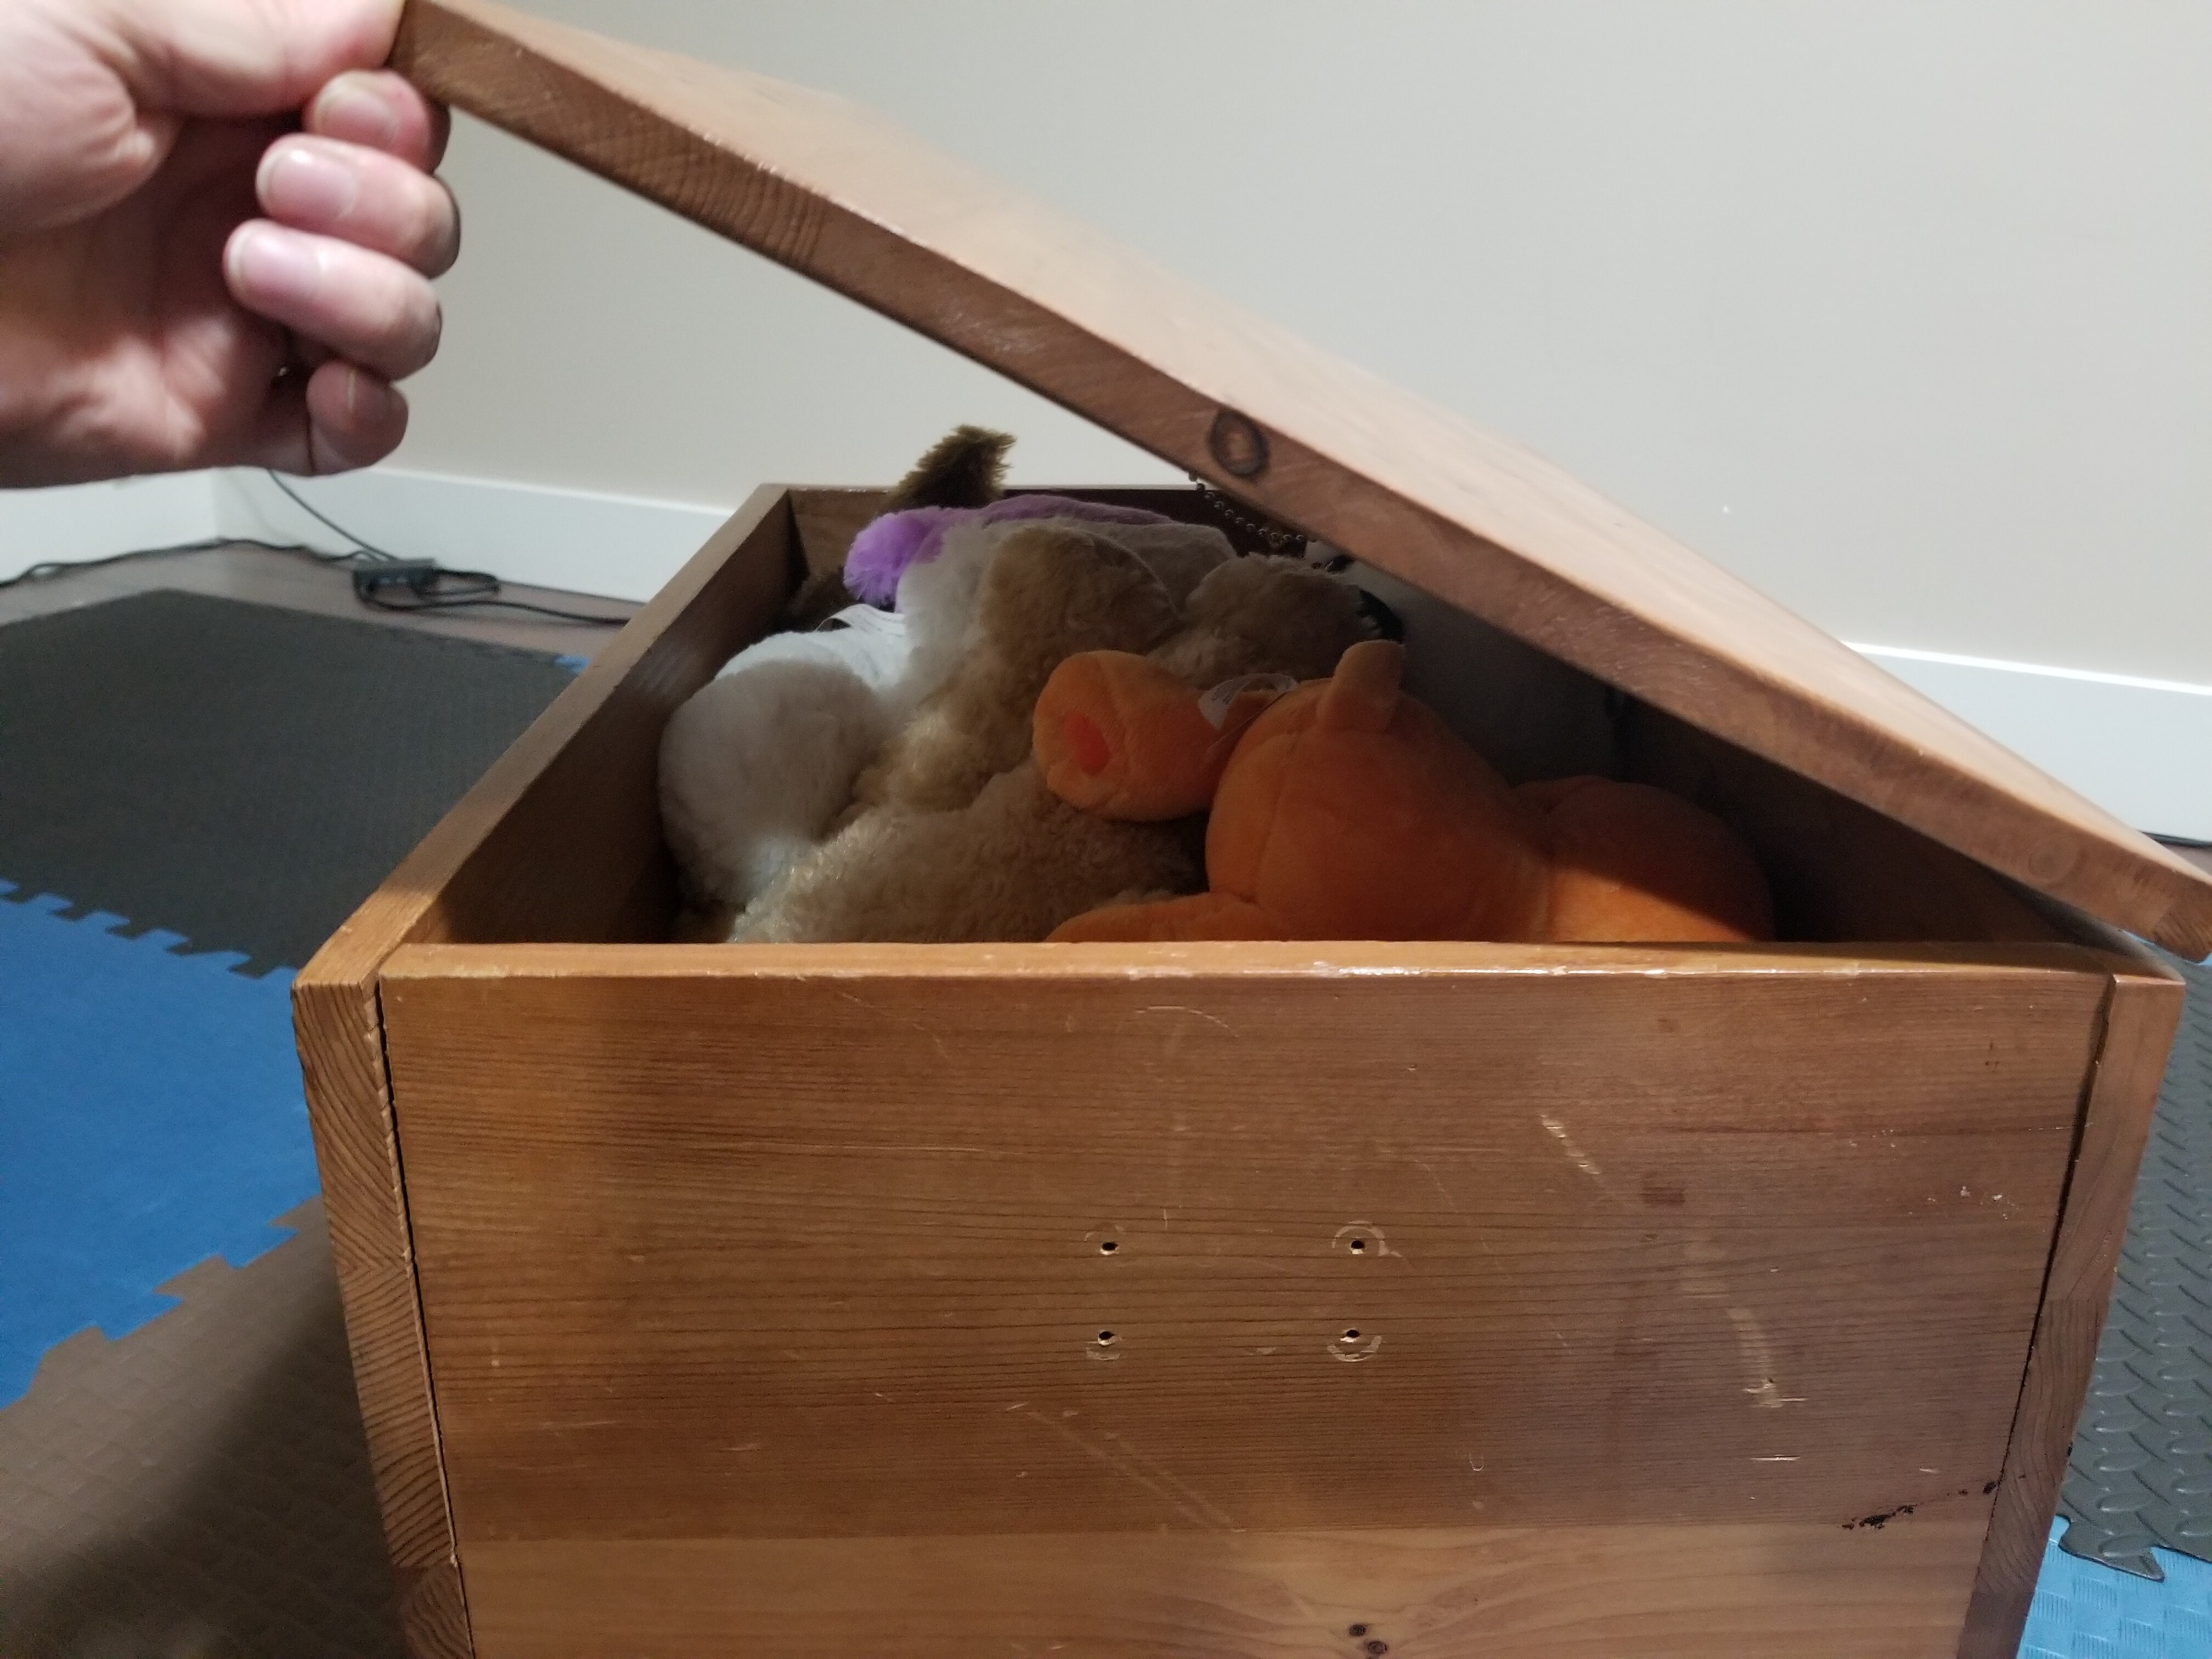
I estimate about 40 degrees before the stand began to tip with the lens of the camera at shoulder height like in pic1, and this angle was also the point where the rubber feet started to slide off the pad.
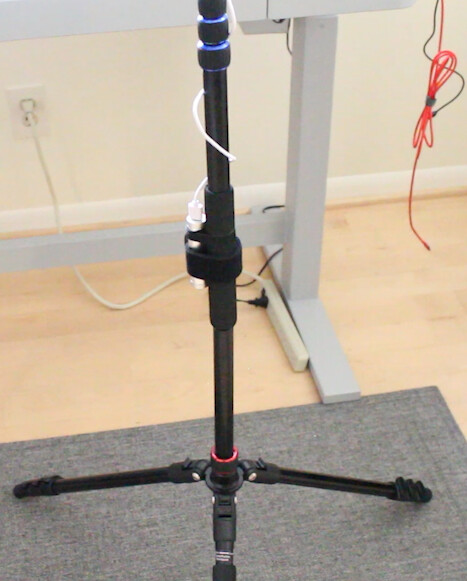
Thanks for the update. When you first posted about the moman, it didn’t fully register with me that you were attaching the weights to the 1/4" screws on the legs.
I attach the weights at the mid point 1/4" mount point because the rubber at the end of the feet gets in the way of screwing the weights all the way in. Then I use some strong Velcro to mount the battery.
Grant, do you still like your setup? Did you use this same rig for the beautiful BMW dealership tour that you built on Streetview?
I just bought the exact same parts as you and intend to do a review the setup with a Z1. I’m planning to incorporate some of your shots that you placed in this forum as part of the review and provide attribution to you.
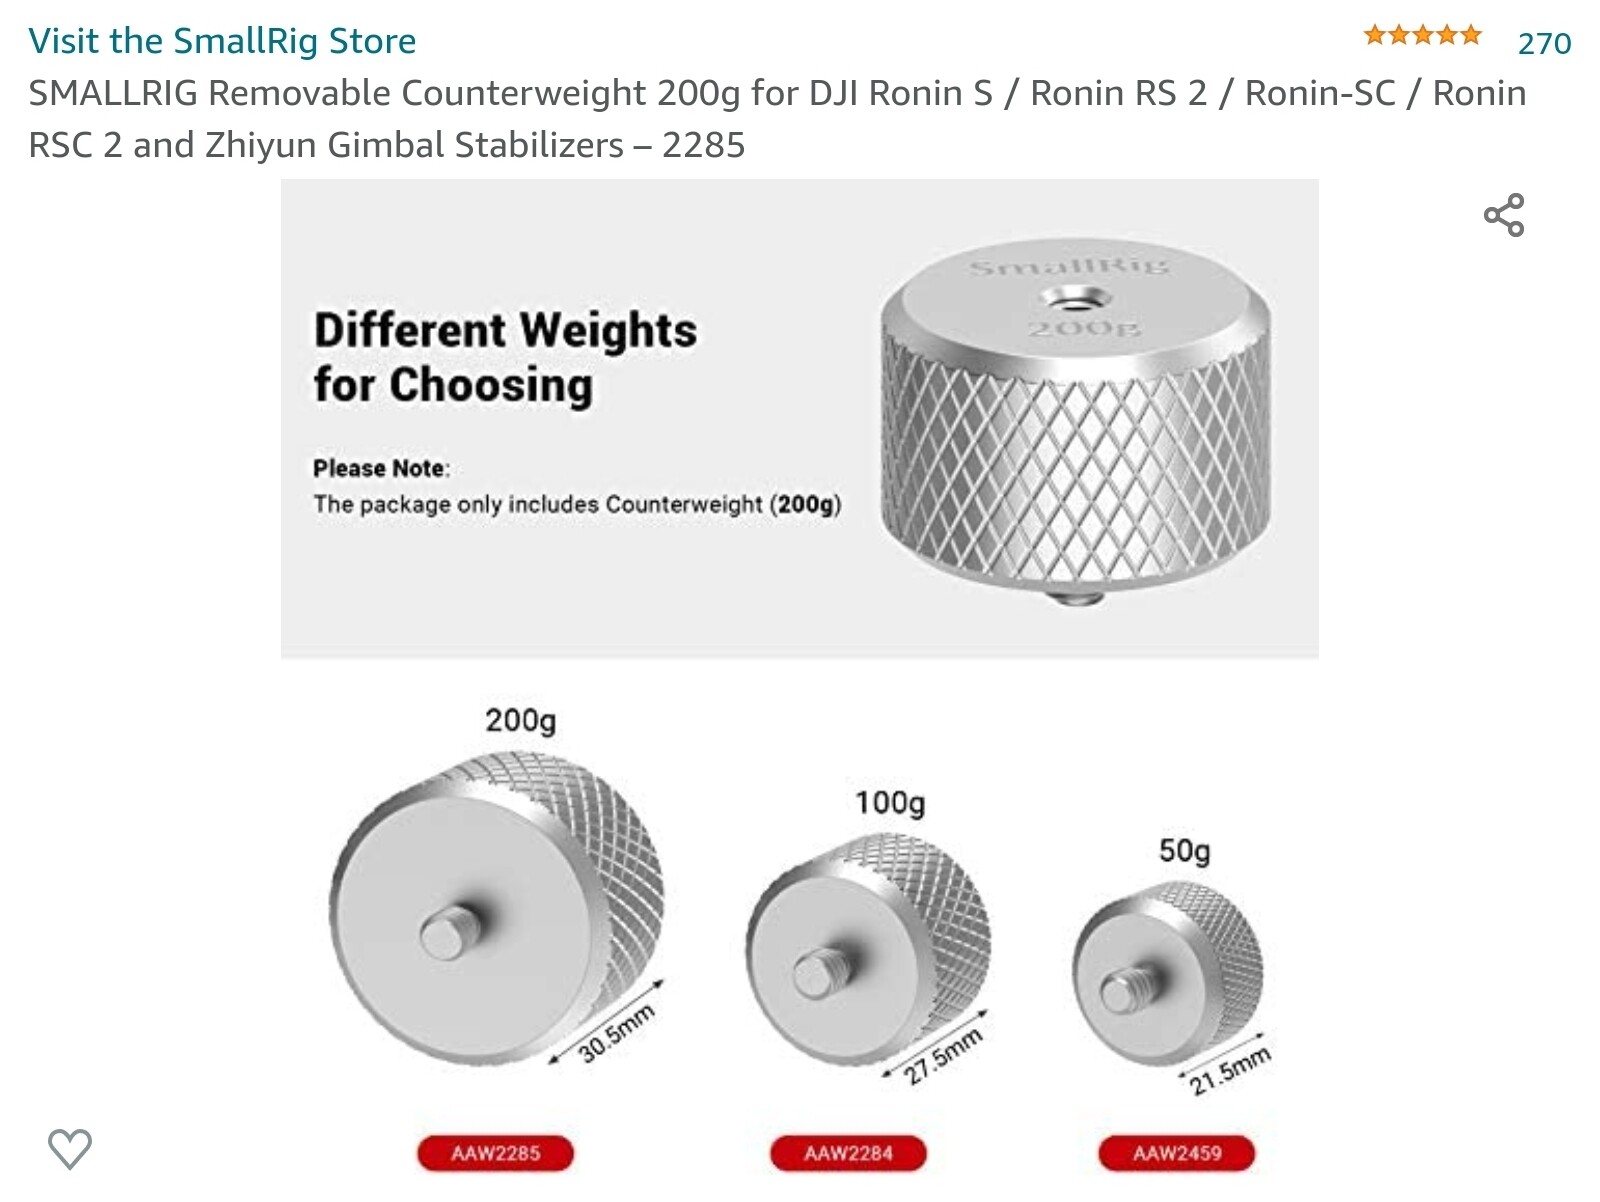
Are you using the Moman base with the three 200 weights screwed into the base when you take the indoor shots?
Thanks for your help with advice on the base and weights using your real-world experience. I’ve been trying different setups for years. Your setup seems like a good balance between size, weight, and stability. The weight of the Z1 really changed the stability requirements compared to the much lighter SC2 or older V. Also, the Z1 is much more expensive, which increases my paranoia of it tipping over outside in the wind.
Your setup looks to be more convenient than my setup and still offers good stability.
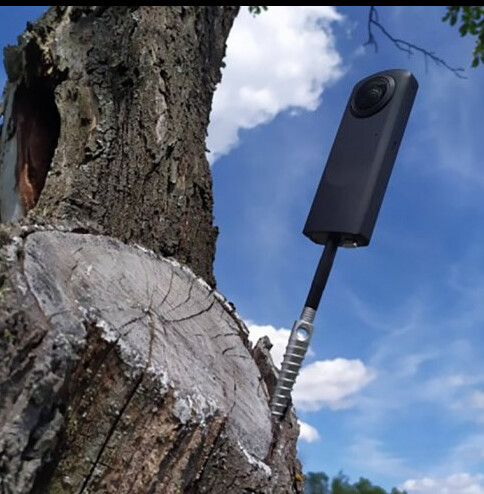
The selfie stick I use with the weighted base is also made of carbon fibre, making it extremely lightweight. It also extends to 3m so I can simulate a drone shot outdoors without having to put my Inspire 2 in the air.
Oh, I’d like to see those shots if you have time. I’ve been wondering how best to take those types of outdoor shots. I didn’t think 3m would be high enough. However, I have not tried. I think my monopod only goes to 6’, but I can attach it to my tripod to get it up to 12’. I have not tried this effect, but now I am thinking about it.
It definitely won’t replace a drone completely, but it’s good for a slightly elevated shot for something like a parking lot or the front of a building where you don’t necessarily want to capture the top of the roof. It’s also way faster and less expensive than putting a drone in the air.