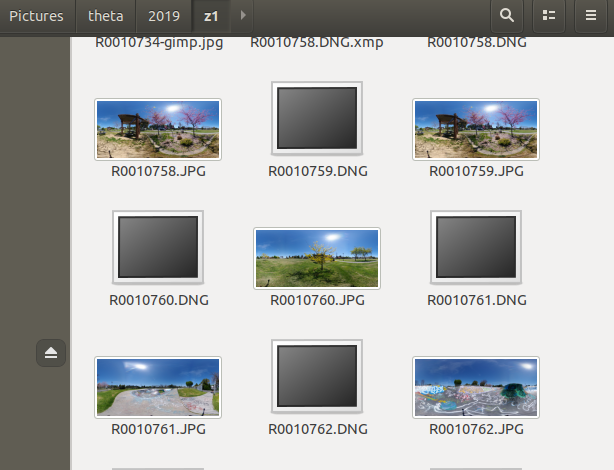
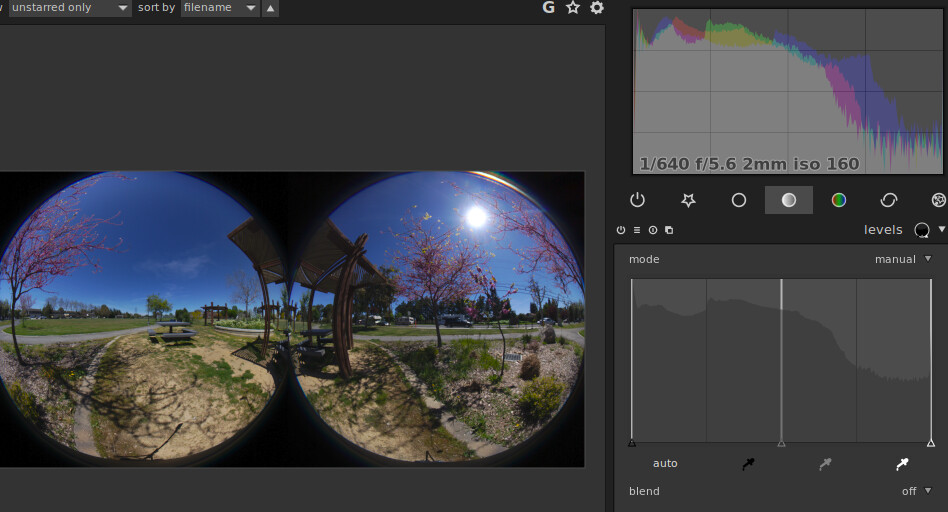
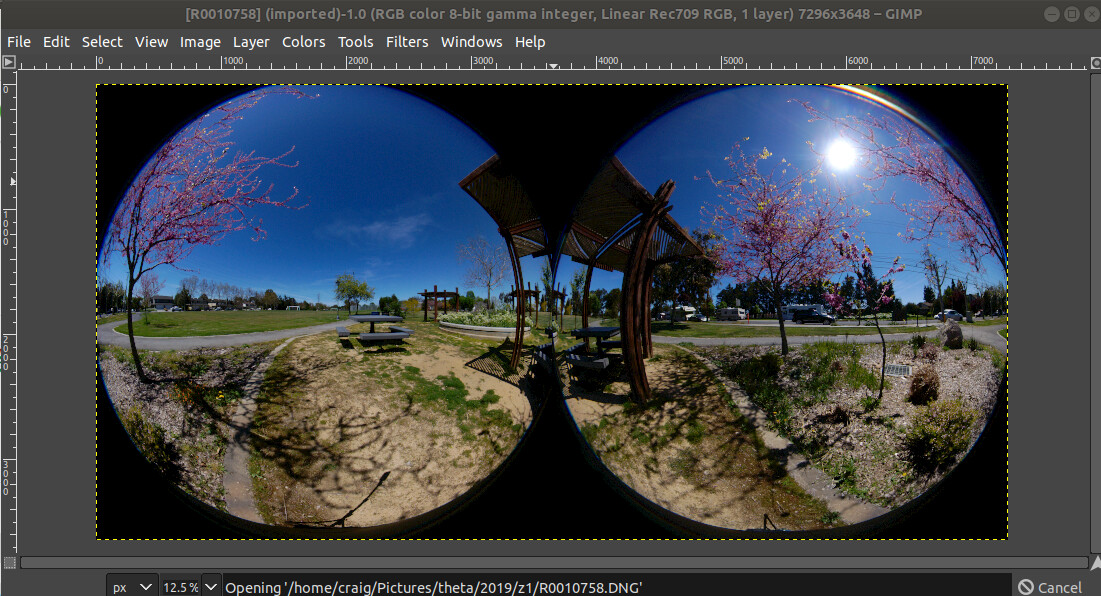
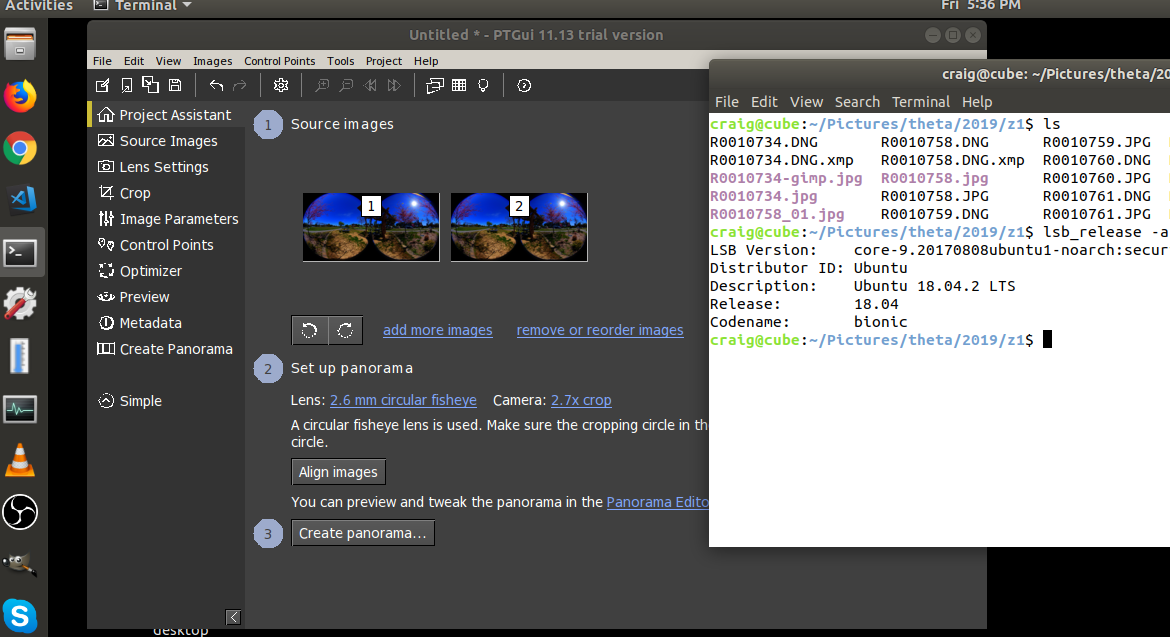
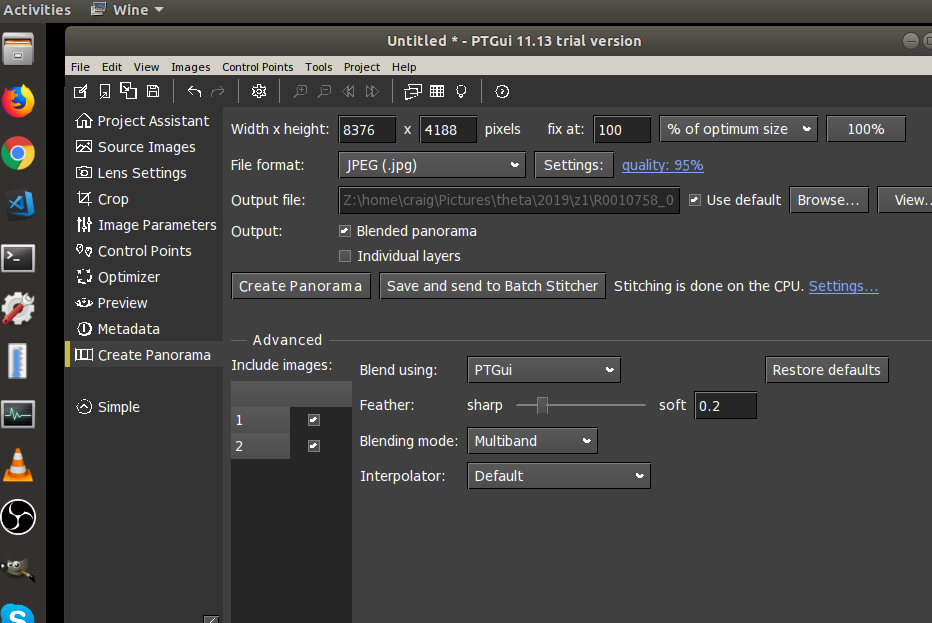
If you don’t have Adobe Lightroom, you can use darktable and GIMP on Linux or Windows/Mac to load and edit the DNG file from the THETA Z1. After light and color editing, you can stitch the images with PTGui on Windows/Mac. From version 11.13, PTGui includes a template for the RICOH THETA Z1.
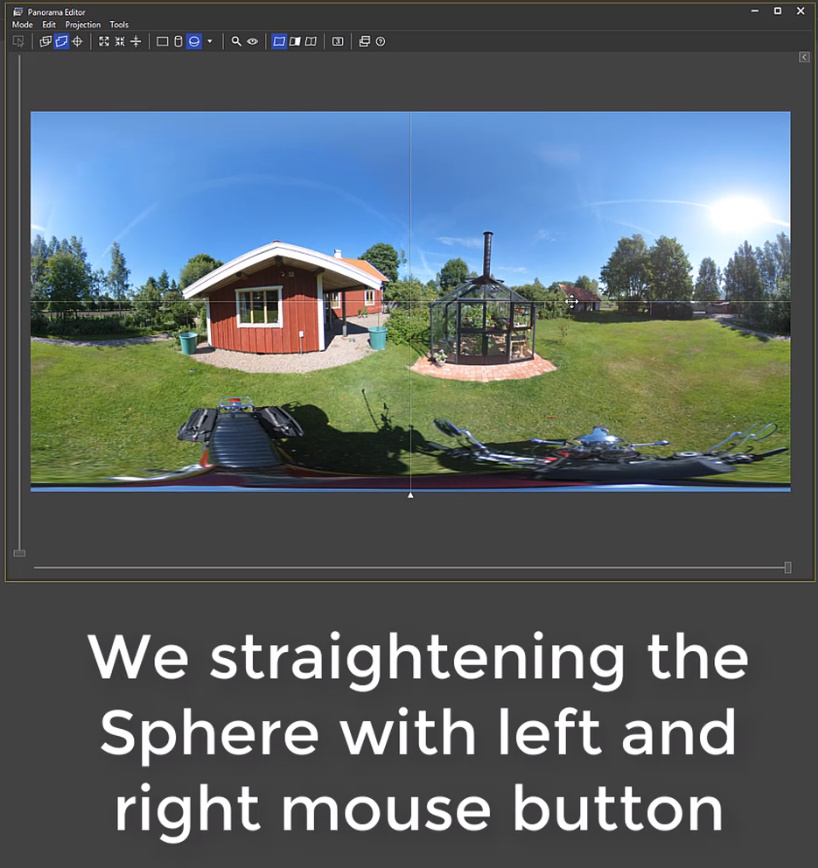
Oh, do I need to straighten the image with the mouse?
not necessarily i think the THETA Z1 are quite good in level!
Why are you looking at this screen? To verify the stitch line?
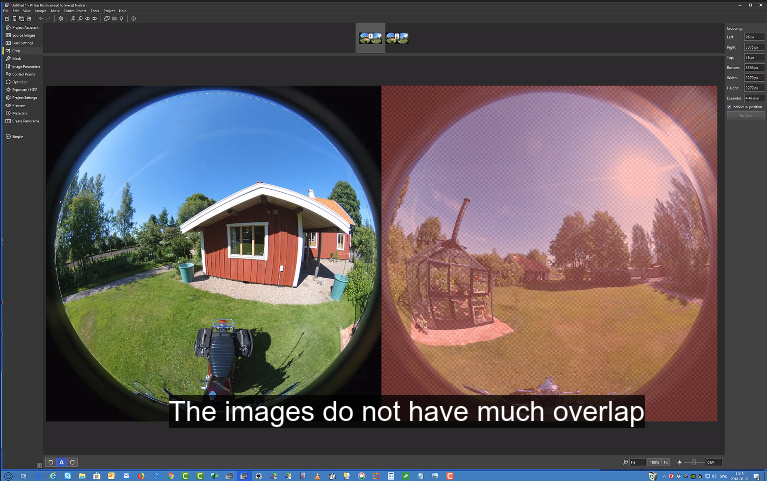
No it is the two images when we mowed the building to the center!
Why are you cropping the images?
We have to crop the images do to small differences in the camera hardware
to be able to get a good precise batch stitch on hundreds of images
NOTE we even have an indoor template!
When you set the control points, the images are horizontal and you select the left sphere in image 1 and the right sphere in image 2?
Yes on (Xaomi MiSphere camera) and the (Garmin Virb 360 camera) the image and copys are horizontal but the Raw files from (Insta36 ONE X) they are Vertical
Remember the images are 1 and 2 number 2 are a copy
You have to mark the Control points in the overlapped arias only many mistake this and do mess up the stitching.
we sadly do not have the money for a THETA Z1
because we just bought a DJI Mavic Air drone 1100$ in sek =10 175.2925 Swedish kronor But we do have a lot of fun anyway
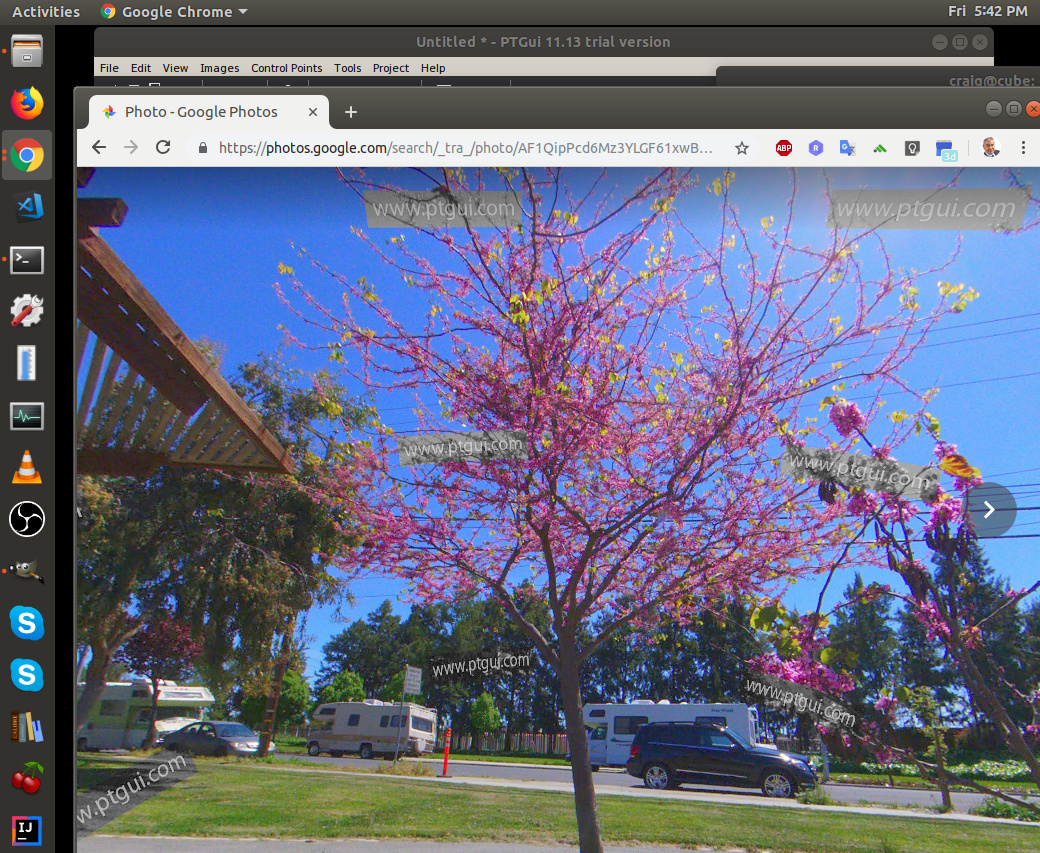
I did one attempt a Linux workflow screencast below. I need to improve the PTGui workflow section. It shows the basic steps, but not a “good” configuration.
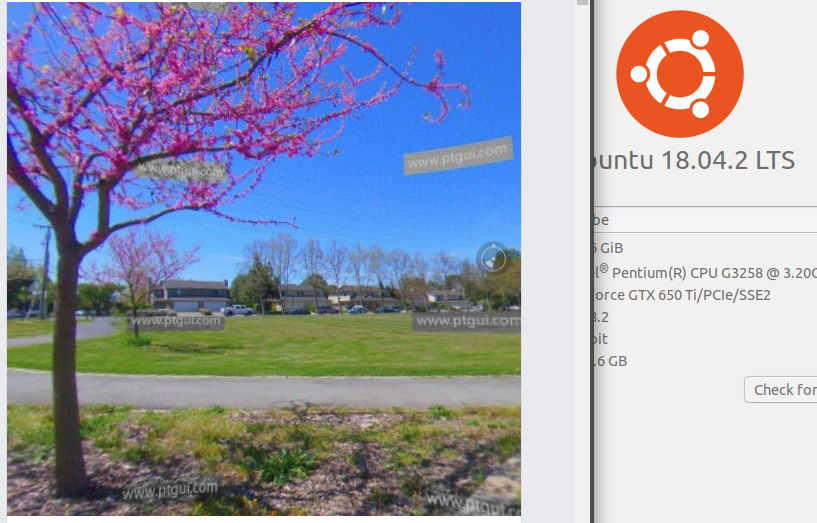
PTGui is only officially supported on Mac/Win. I used “Play On Linux” to get it working on my Ubuntu 18.04 system. I also disabled hardware acceleration on my Linux machine. If you have Windows/Mac, it should be more stable.
Update June 2, 2019
Another alternative to PTGui and the THETA Stitcher from RICOH
6.43. How can I stitch images taken with a 360° one shot camera in PTGui?
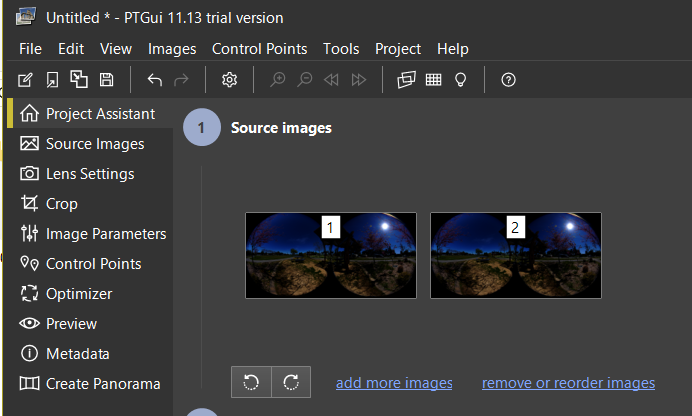
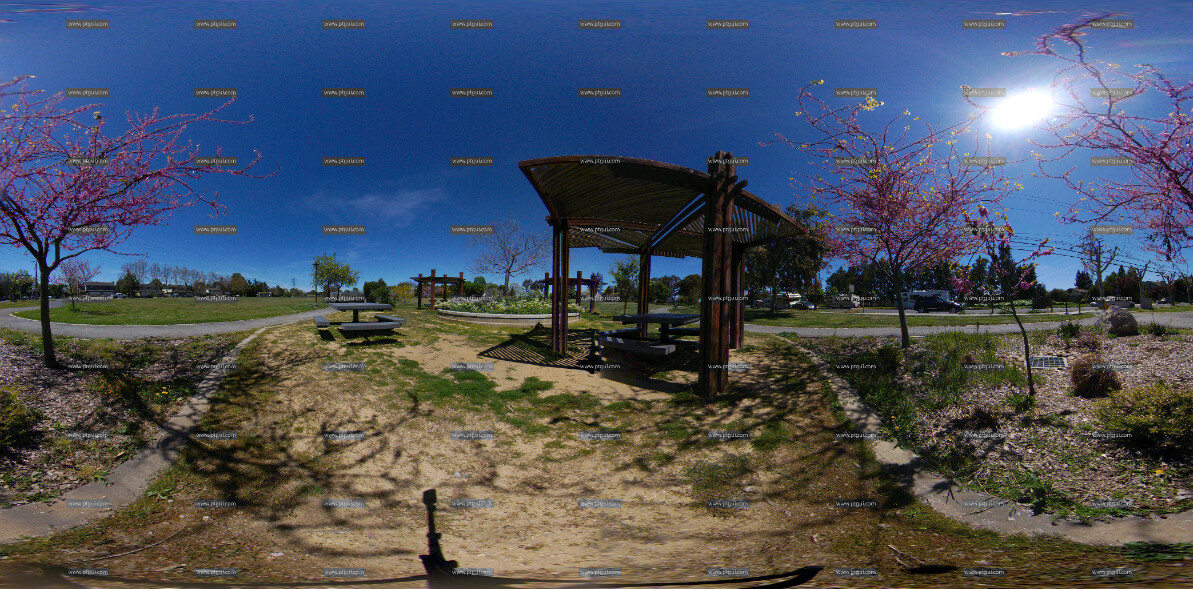
Several single shot 360° panoramic cameras exist, producing a single image containing two circular fisheye images side by side. PTGui supports several of these cameras, including the Samsung Gear 360, Xiaomi Mijia Mi Sphere, Yi 360 VR and Ricoh Theta Z1. If an image from such a camera is loaded into PTGui, PTGui will actually add the same image to the project twice, with different cropping circles and masks, positioned at -90 and +90 degrees yaw.
While this already results in a roughly stitched image, the images still need to be aligned for perfect stitching. This is due to small differences between individual cameras of the same type, resulting in different small offsets of the image circles. You only need to perform manual alignment once for each camera, the result can be stored in a template and re-used. To create the template:
Start a new PTGui project
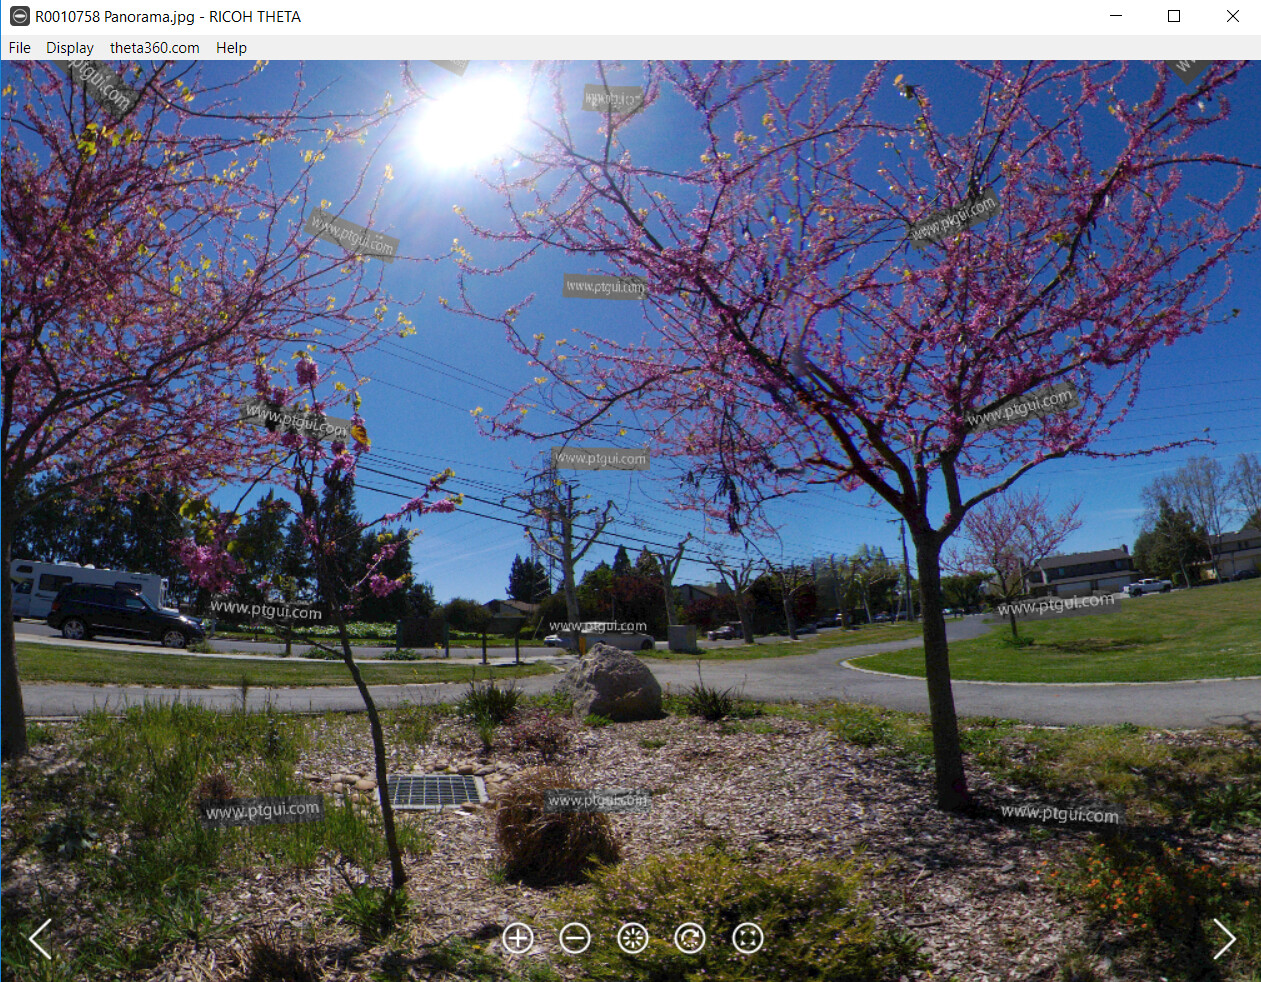
Load a picture from the 360° camera. It’s best to use a photo taken outside, with no objects close to the camera, to prevent parallax. PTGui will automatically load the same image twice.
Go to the Control Points tab and add a few control points. Image 1 is the leftmost or topmost circular image; Image 2 is the right hand or bottom one. Just click once on a point in image 1, then once on the same point in image 2. It can be helpful to use the Generate Control Points Here function: Shift+drag to create a rectangle, right-click in the rectangle and choose Generate Control Points here. Often this will find control points automatically. Avoid placing control points on objects close to the camera since these will suffer from parallax.
Optimize the project (menu Project -> Optimize). The result should be ‘good’ (otherwise you’ve probably misplaced a control point somewhere)
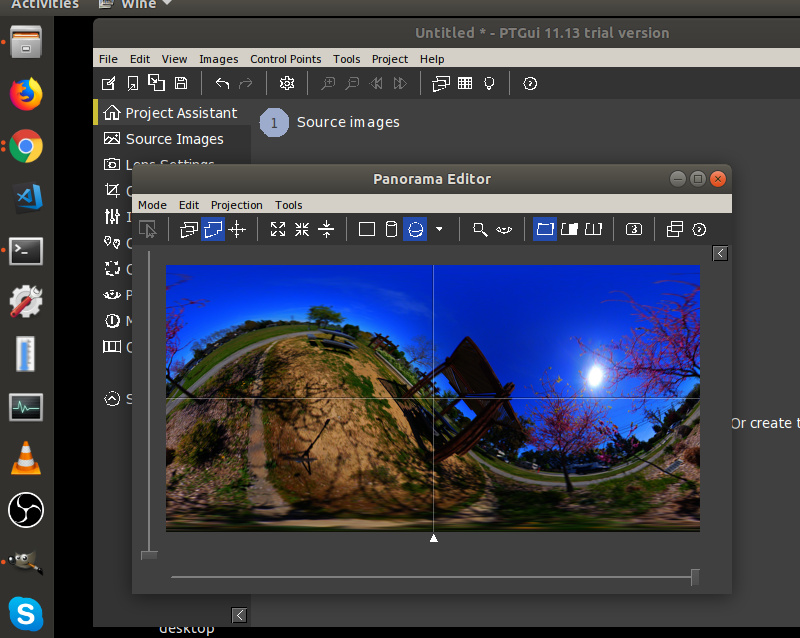
Open the panorama editor (Control+E on Windows, Command+E on mac) and check the result.
Do File | Save As Template and choose a suitable name.
For subsequent images the template can be used instead: Load a picture from the 360° camera, then do File | Apply Template and select the template created above. The images are aligned already and the panorama can be stitched by going straight to Create Panorama.
The template can also be used for batch conversion using the Batch Builder (PTGui Pro only):
Tools | Batch Builder
Click ‘Detect panoramas…’
Method: Multiple panoramas per folder with a fixed number of images
Source folder: (select the folder containing the unstitched images)
Image file extension: leave empty, or enter ‘JPG’, ‘DNG’ (if applicable)
Images per panorama: 1
Press Detect Panoramas
Use template: (select the template you created above)
Select ‘the batch stitcher will not run Align Images’
Press Generate Projects
Finally, PTGui asks whether the projects should be sent to the Batch Stitcher. Press Yes and all your images will be converted.
Keep in mind that all cameras with multiple lenses will produce images with parallax. Some stitching errors will be unavoidable, especially in small rooms or with objects close to the camera. Also see: Q4.13