fantastic work. super sharp image. 
1 Like
I’ve read these posts/questions and I’m still having a problem with stitching my photos. When I select edit in Ricoh Theta Stitcher the first photo pops up. I’m at a total loss as to why this is happening. I’ve watched videos from Ricoh and talk to them. I’ve also been on the phone with Mac and Adobe (who will be calling me back today because they couldn’t figure out the problem last night) I’ve uninstalled and reinstalled. I tried the merge in HDR of 3 photos and then edit in RS and it didn’t work. Any help or ideas are absolutely welcome.
1 Like
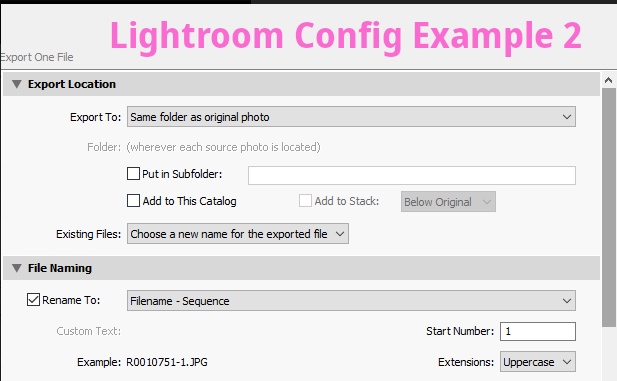
I’m not an expert and have only done light testing on the software. However, I would try to set the filename to “Sequence” and make sure you are exporting to the same folder as the original photo. Also, the original filename needs to be in a specific format.

Just to confirm, you’re merging three DNG files, right? I’m not experienced with this process, but I would try to make the original (dual-fisheye) DNG filename look like the filename from the THETA Z1.
I’ll need to merge photos when I start the editing process. I read on this feed someone merging then stitching thinking that may help and it didn’t. The same format is throwing me off. Meaning it needs to be in DNG or JPEG? I’ll change the other setting and see if that helps.
Try to change the name of the file.
I believe the stitcher can only accept a DNG. I think it looks for a specific format of the filename (or it used to).
There’s other people on this forum with way more experience than me. I think you’ll get a proper answer eventually.
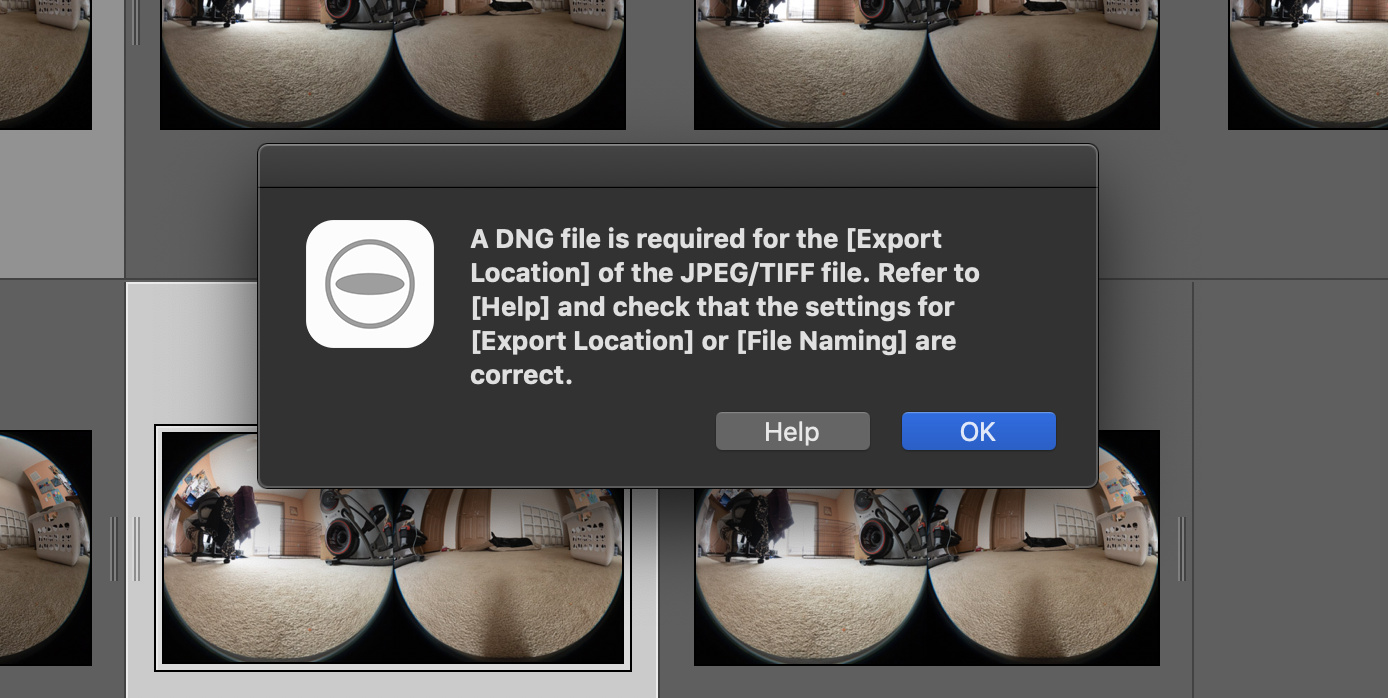
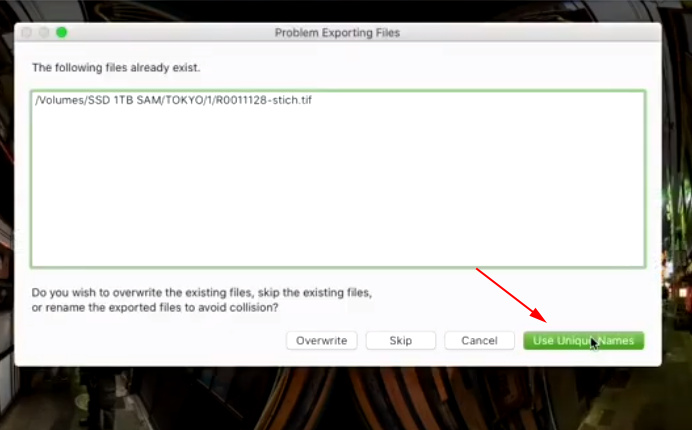
This is amazingly frustrating. I did EXACTLY what was suggested above - any many time with the same result:
" A DNG file is required for the [Export Location] of the JPEG/TIFF file. Refer to [Help] and check that the settings for [Export Location] or [File Naming] are correct."
Dear God please help as I’m dead in the water
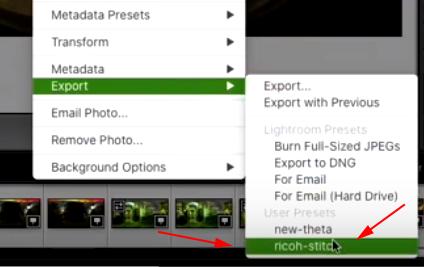
Perhaps a cause of the confusion is that there are actually two different approaches to call the stitcher from Lightroom:
- via ‘Edit In’
- via ‘Export’
For both approaches, the actual handover from Lightroom to the stitcher and back is the same:
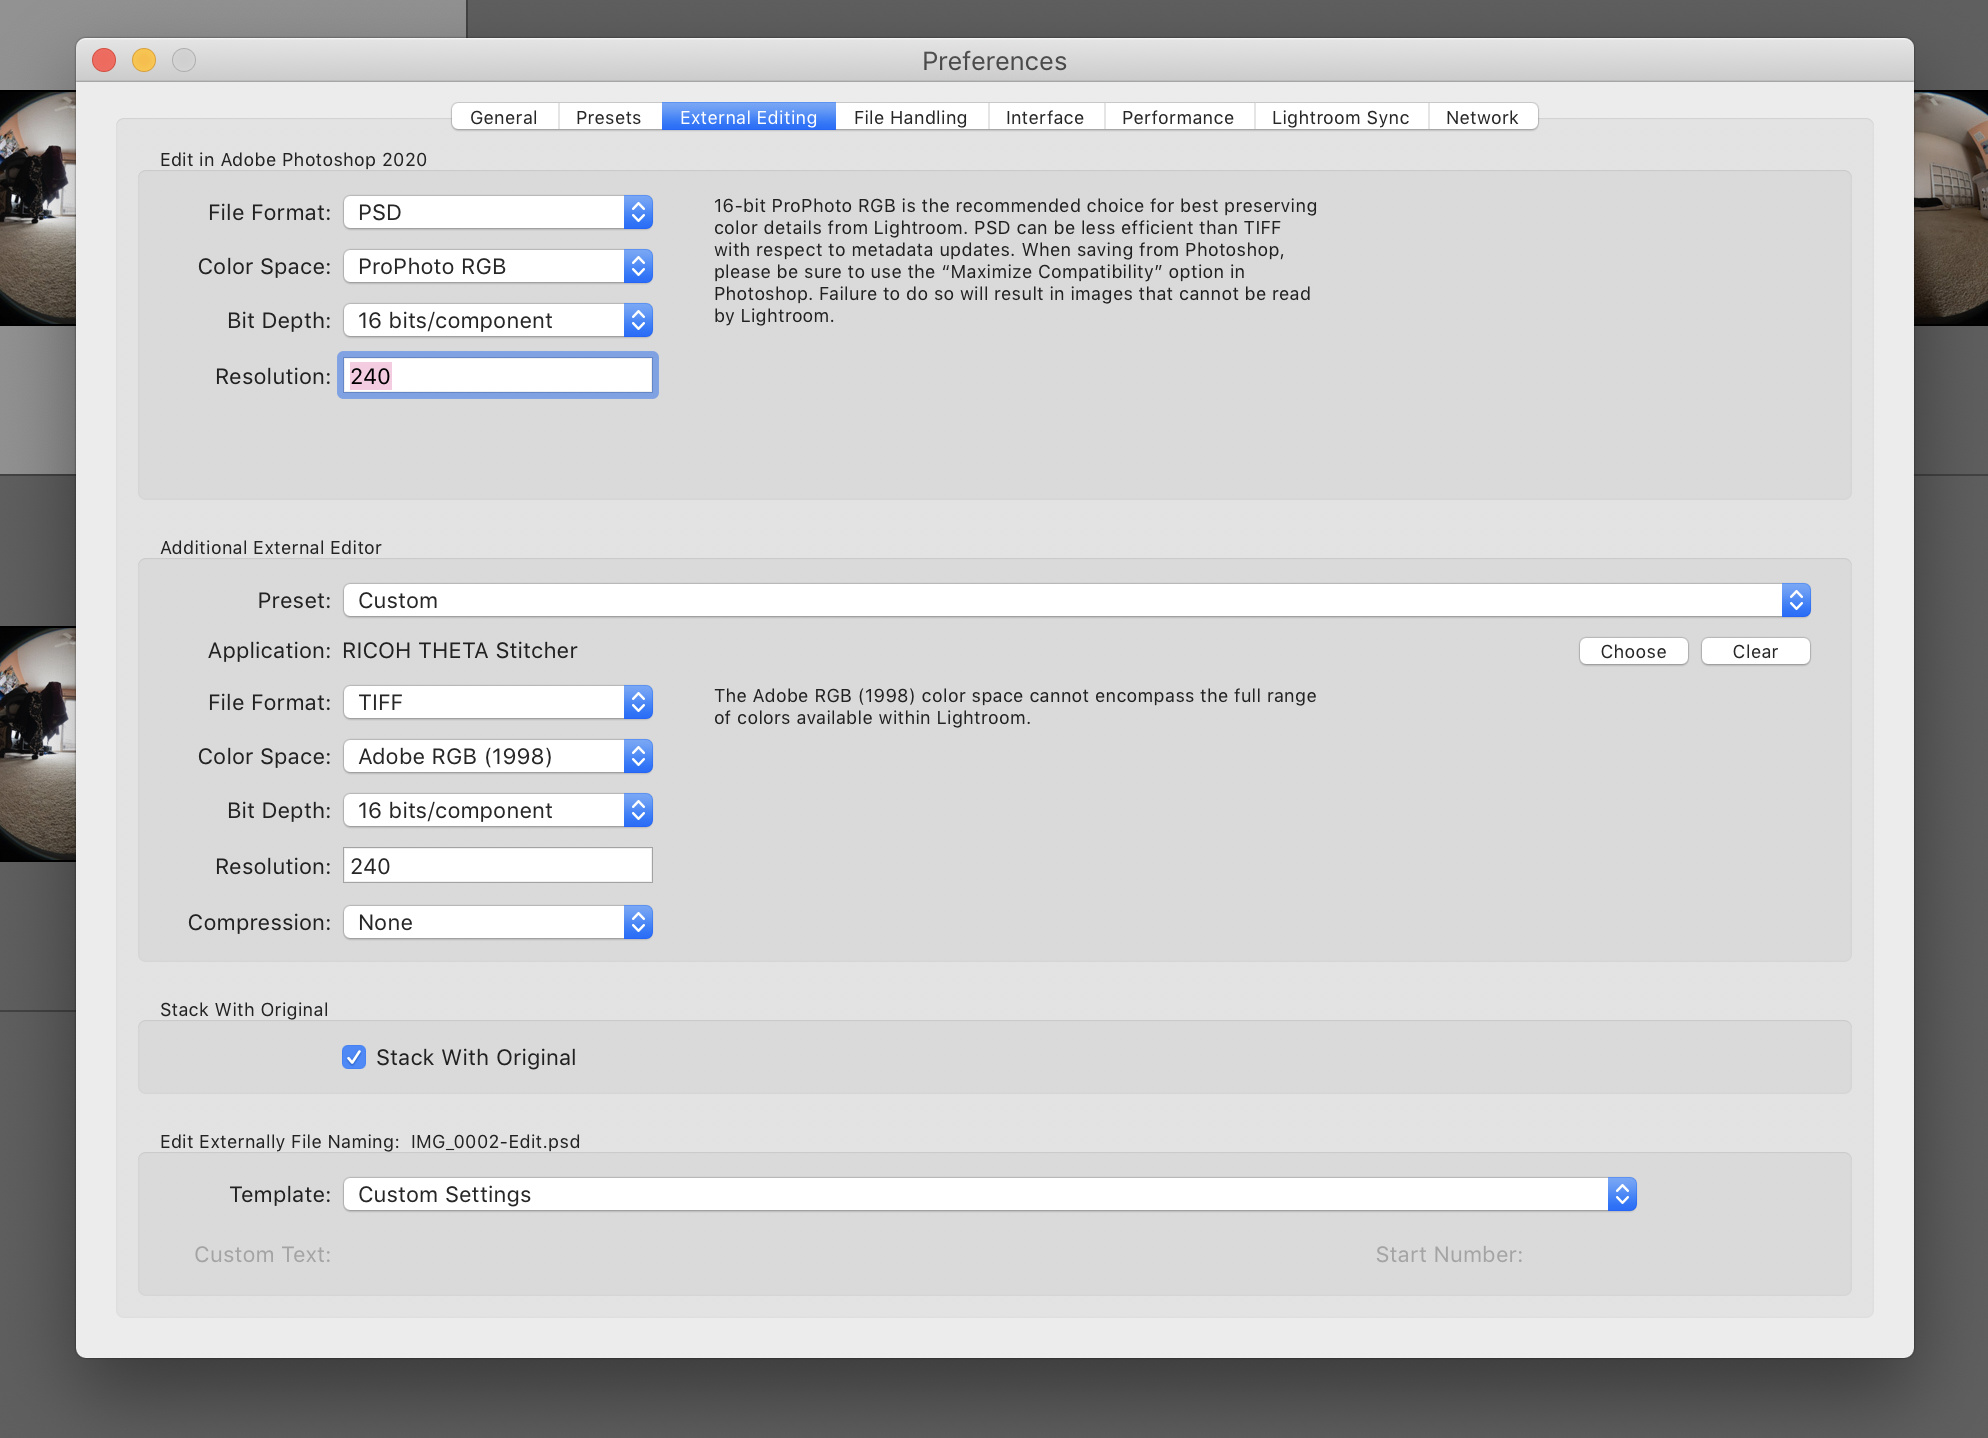
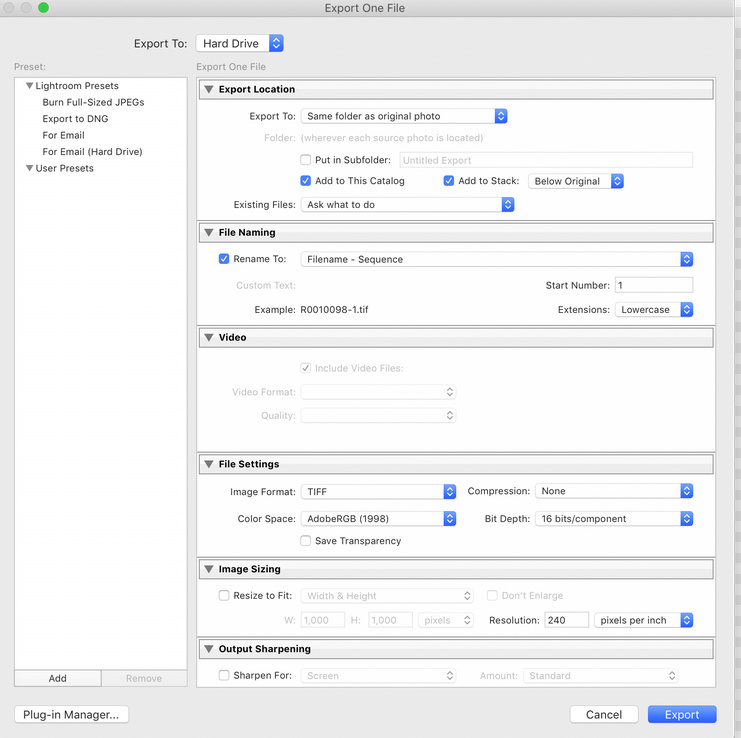
- From the original DNG file, Lightroom creates a working copy. This can be in any format supported by the stitcher but I would recommend 16bit TIFF for best quality.
- The stitcher is started by Lightroom and the working copy is handed over.
- The stitcher works on this copy but additionally reads the original DNG file for meta data. This is why the naming of the working copy must allow the stitcher to find the corresponding original DNG file!
- After stitching, the stitcher writes the result back to the working copy and terminates.
- Lightroom re-reads the working copy which now is actually the result file.
Caveat: This description is just my guessing as I haven’t found any clear documentation by Ricoh on this.
1 Like
Without more details on what you actually did, we won’t be able to help you (maybe God can).
Please provide a step-by-step description with screenshots.
Meaning I followed the suggested steps from above only to get that error message - I also watched this video (which was well done) and had the same results  https://youtu.be/Vjb0mUnPzNk
btw - I appreciate your comment way about on how to deal with noise - I’ll give it a try today as I have a few images displaying nose is darker areas. The Z1 is a new adventure for me. Thanks
@CorLeone, this is a great description. I think this is what is happening.
Lightroom is likely creating a working copy of the DNG file. If the working copy does not follow the same convention as the original DNG, the conversion will not work. (I think).
For the benefit of others, I’m reposting the No compatibile DNG files error message thread that we posted earlier.
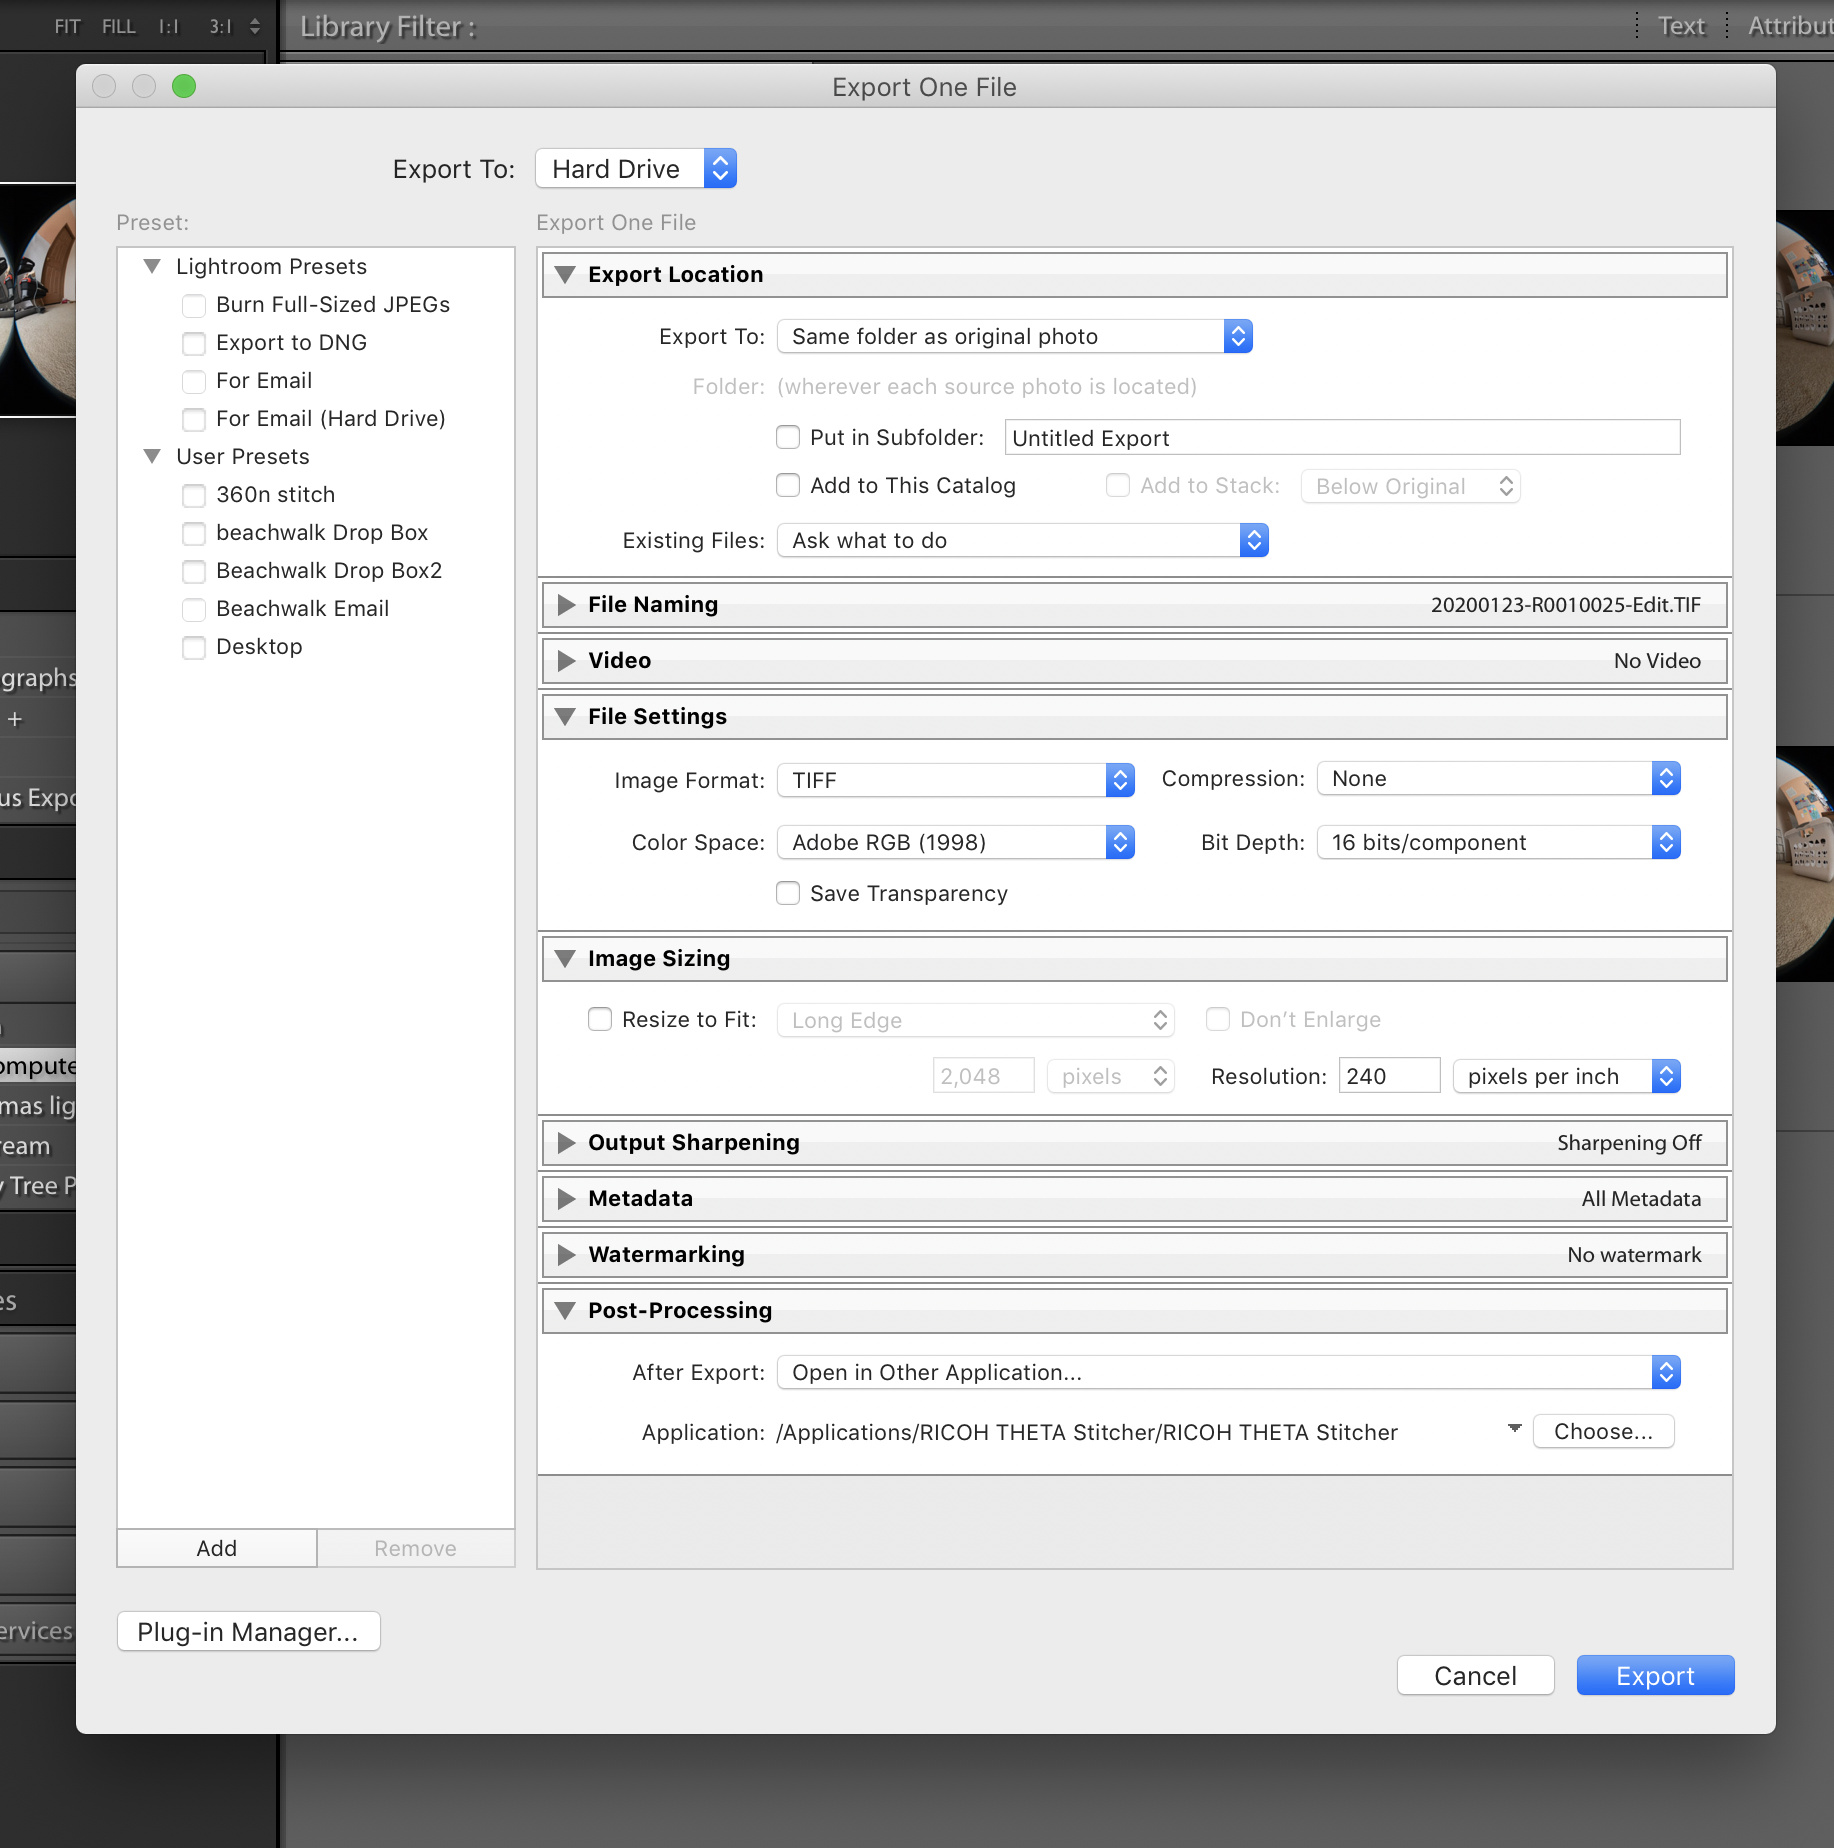
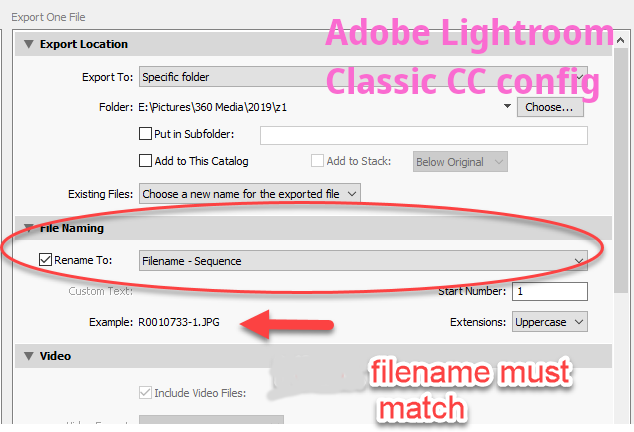
Note that the example uses Export One File from the Lightroom menu.
Problem: No compatible DNG files
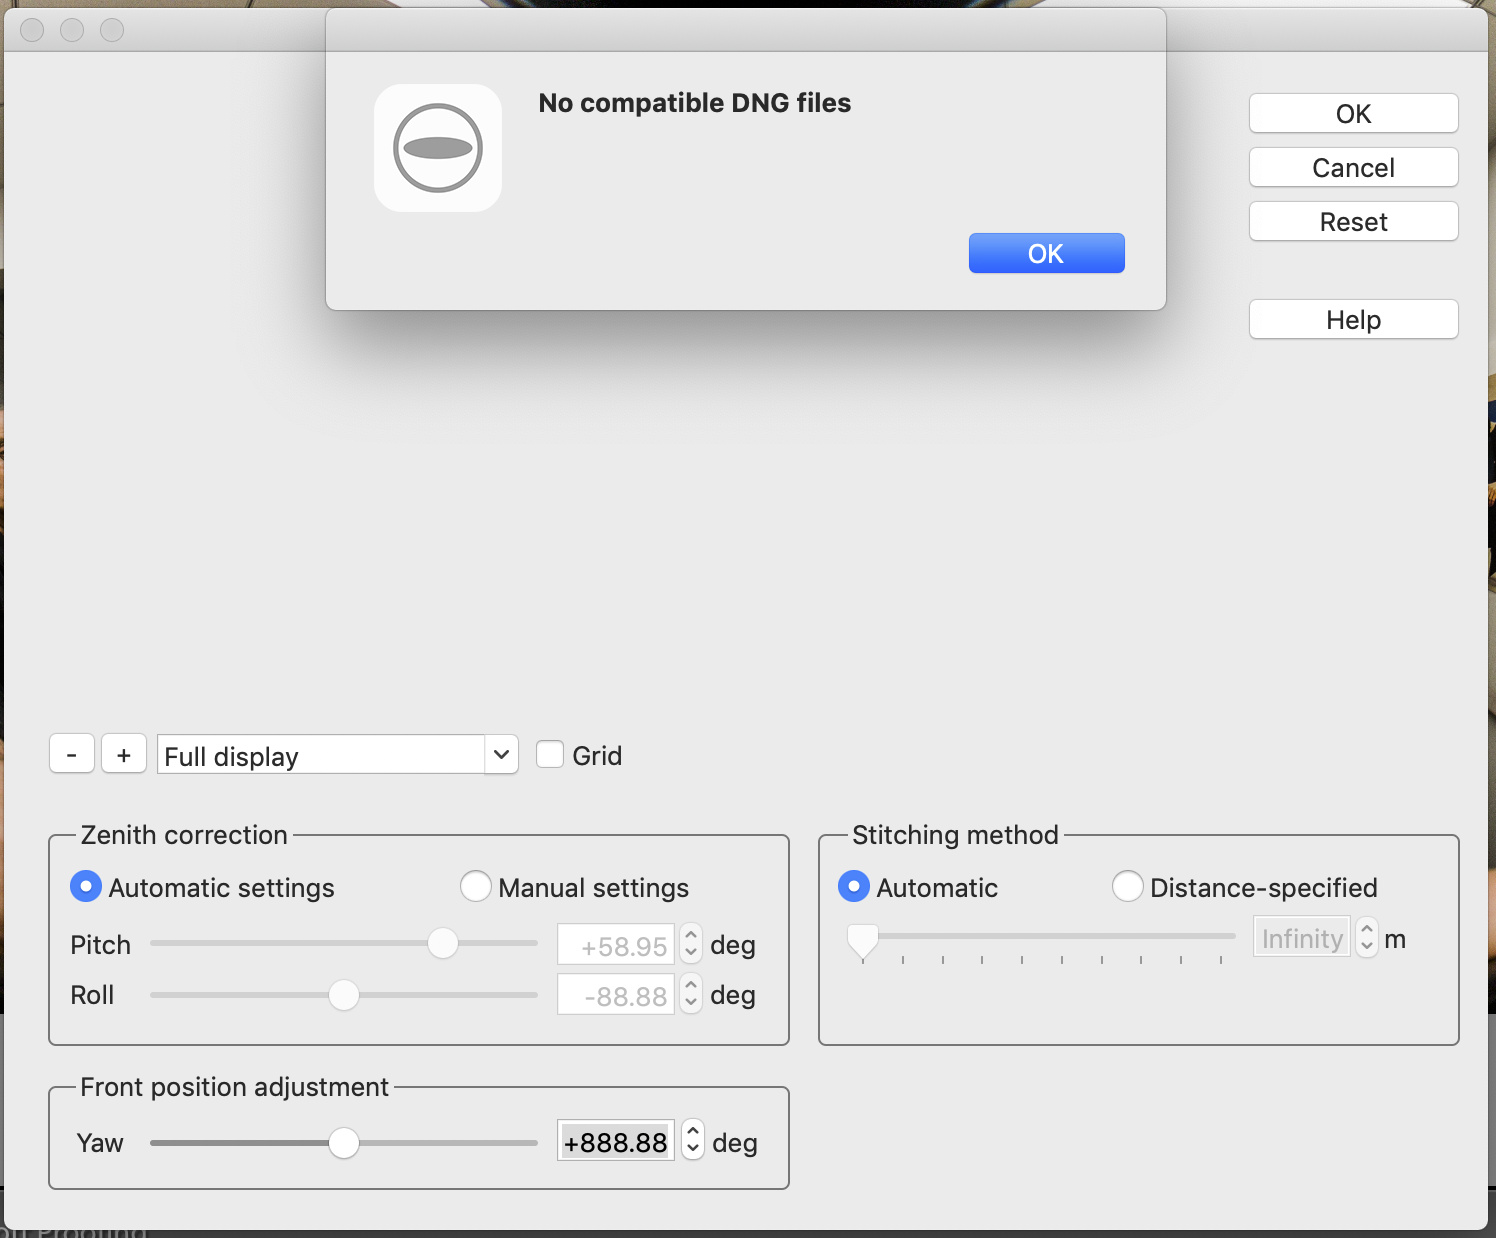
Solution: Check filename and directory
The filename and the directory of the output of Lightroom Classic CC must match the original DNG file location and name.
Example
More working examples
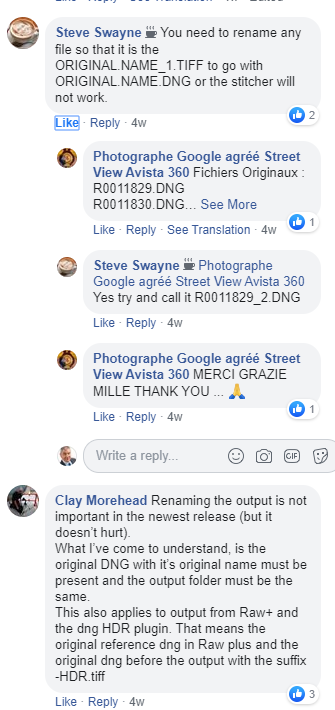
Example from Steve Swayne on Facebook.
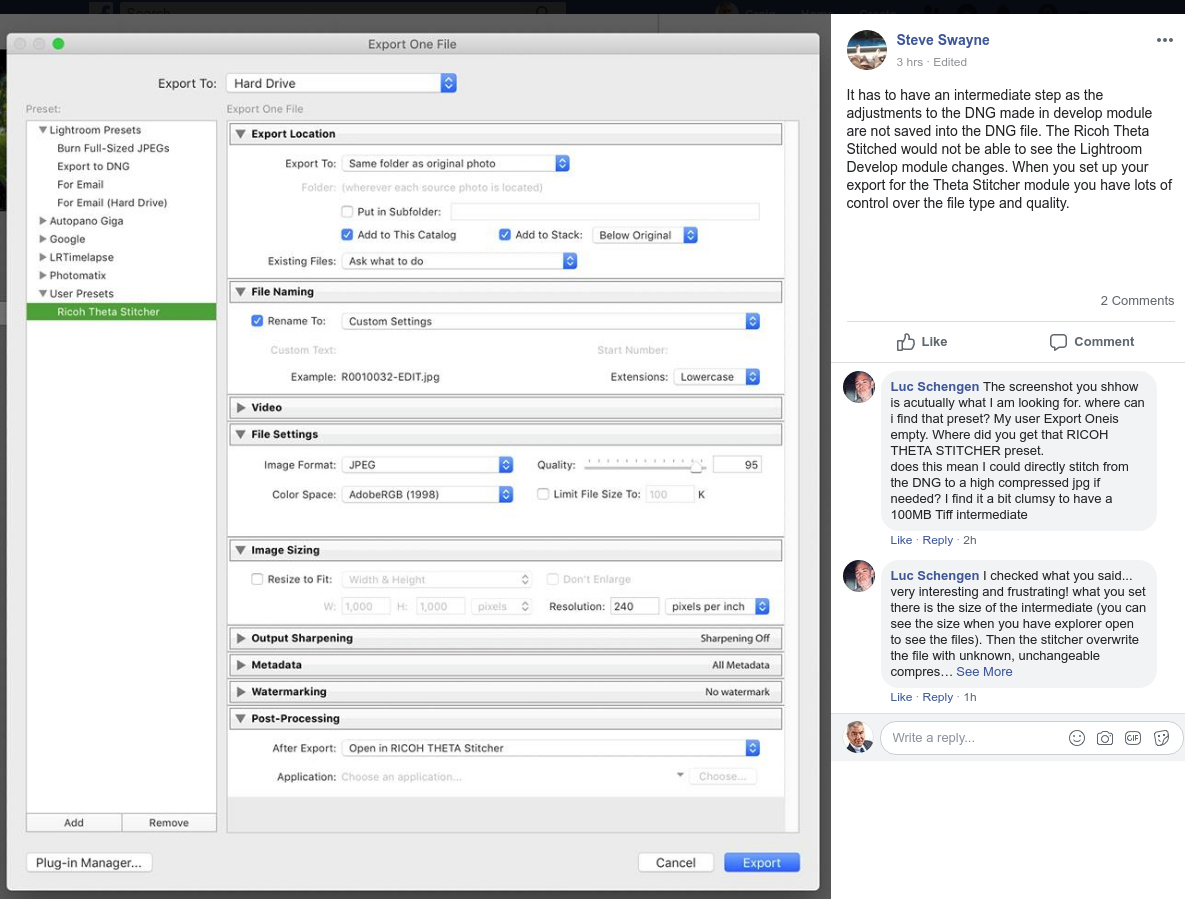
If the DNG is this type of filename:
R0010754.DNG
Then some example of OK output filenames:
R0010754-001.DNG
R0010754-merged20200128.DNG
This file naming issue is another good reason to use the ‘Edit in’ way instead of ‘Export’ because you don’t have to think about selecting the right preset each time. 
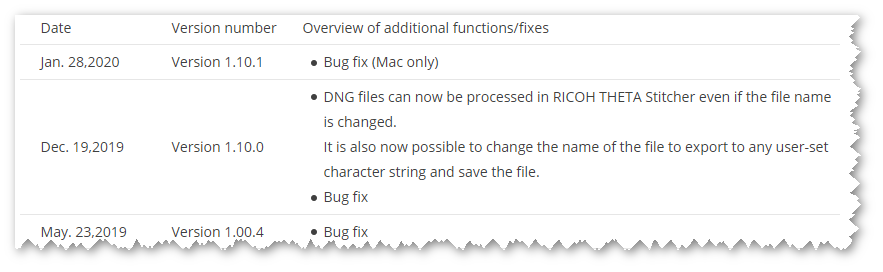
Also note that in version 1.10.0 of the stitcher the name handling was changed (although it’s not clear to me what is now working and what still not):
2 Likes
Wow, great information! Thanks.
I wonder what the bug fix was that was fixed on the Mac on 1/28?
Maybe people need to upgrade the plug-in and everything will start working???
1 Like
Hi, Guys!
Update information;
https://topics.theta360.com/en/news/2020-02-20/
Frozen preview issue fixed. The current version: ver.1.10.1 for Windows.
Hope you enjoy.
Toyo
2 Likes
Thanks for posting, @Juantonto!
1 Like
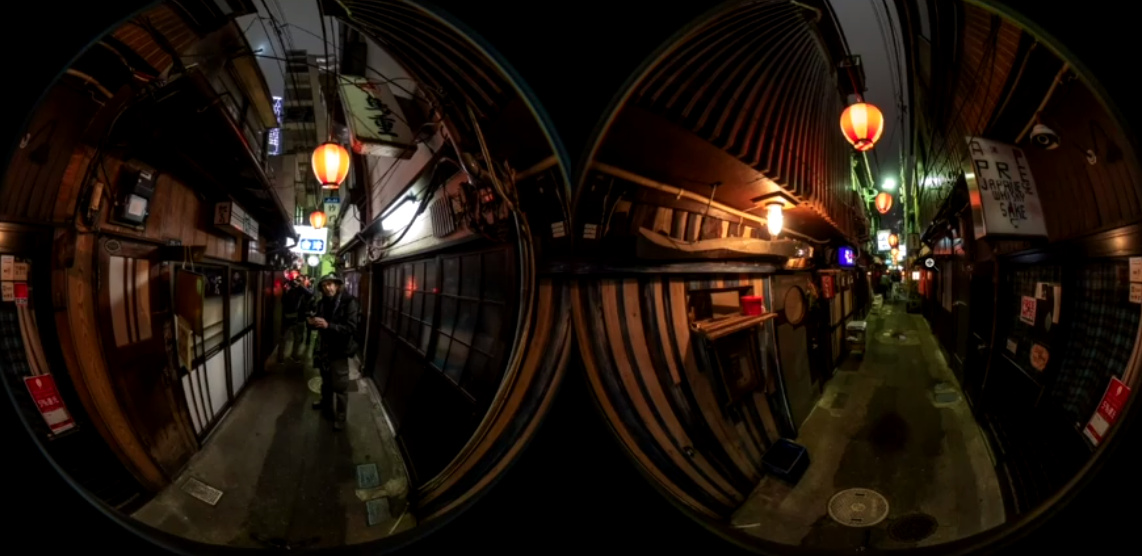
Hi,there. Enjoy the video of Sam Rohn.
Toyo
1 Like
@Juantonto, thanks for sharing this.
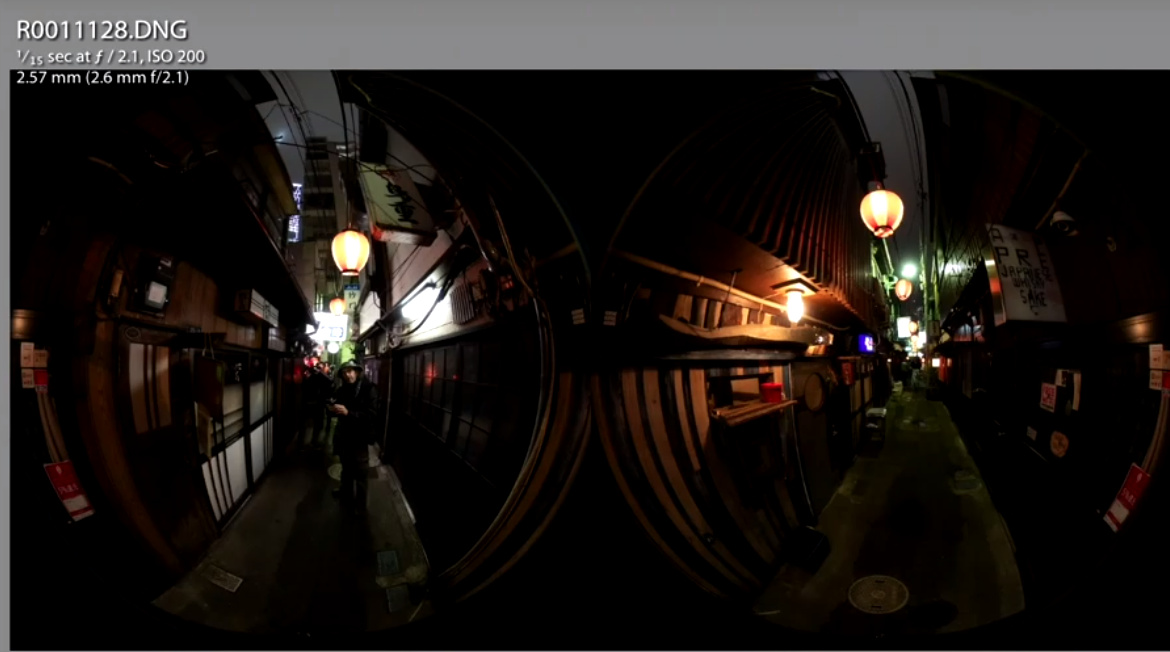
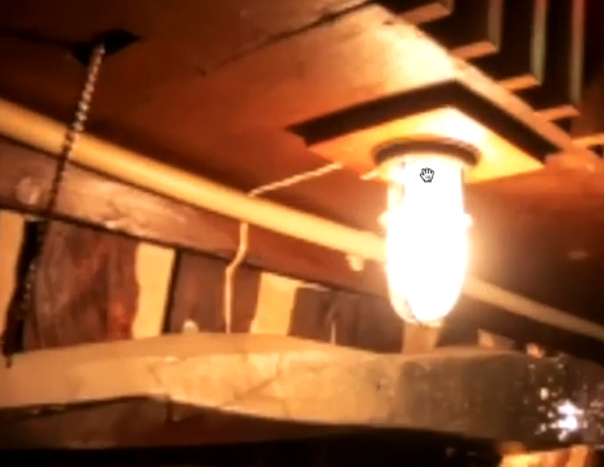
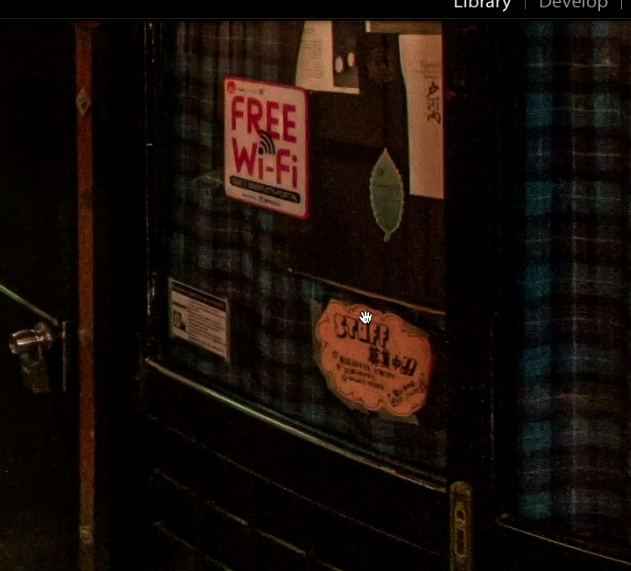
Original
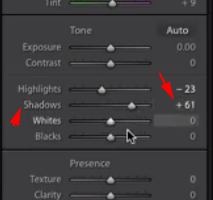
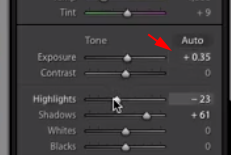
Reduce highlights.
-23
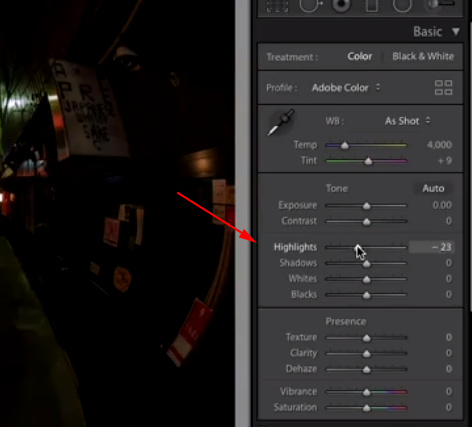
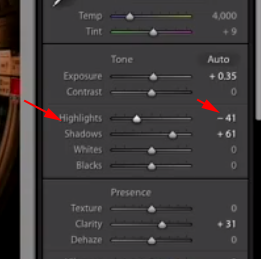
Increase Shadow
+61
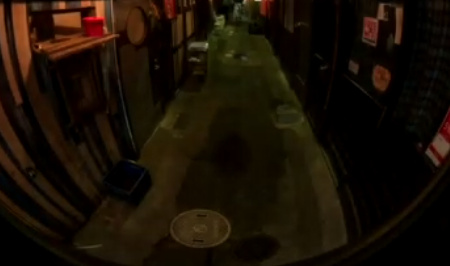
Bottom or right sphere.
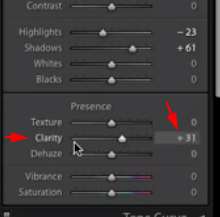
Increase Clarity
+31
Reduce Noise - Luminance
24
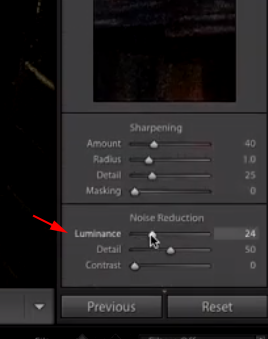
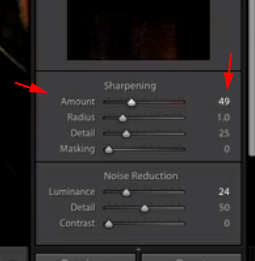
Increase Sharpening
from 40 to 49
Recovers detail lost by noise reduction
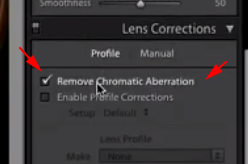
Fix Chromatic Aberration
Increase Exposure
+0.35
Dropped Highlights
-41
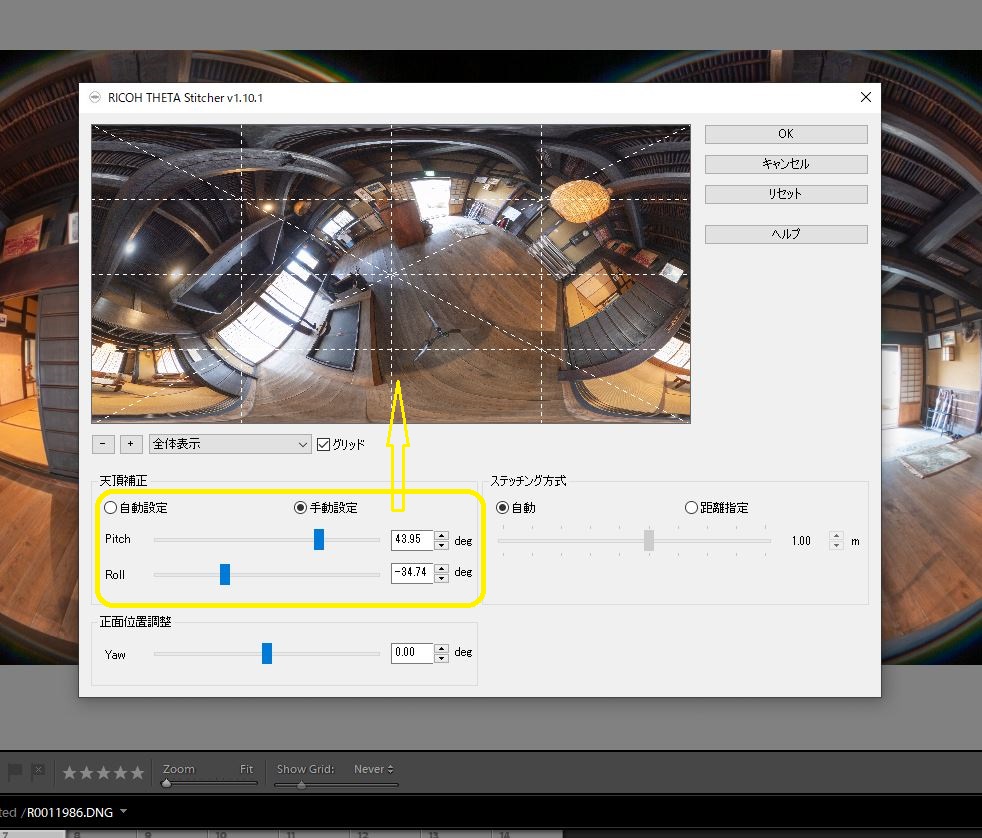
Draft Before Stitching
Stitch
Sam has set as a pre-set.
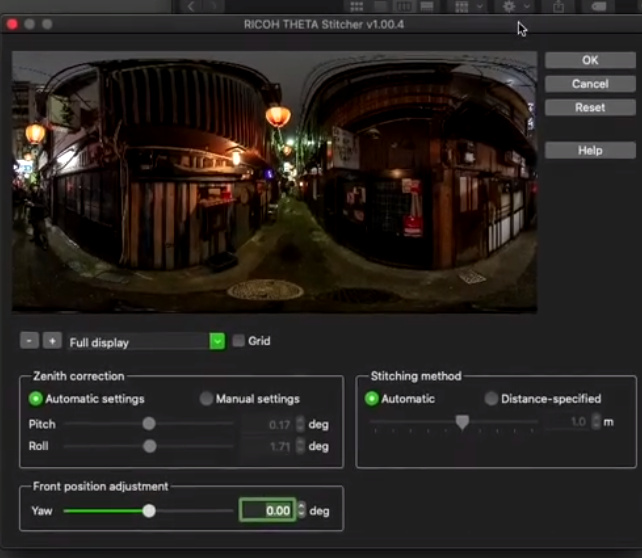
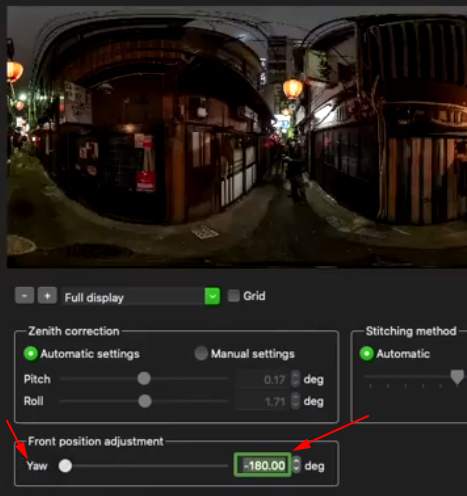
Adjust Image Centering
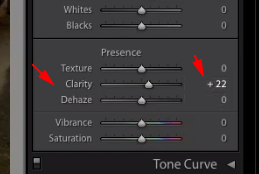
Back in Lightroom
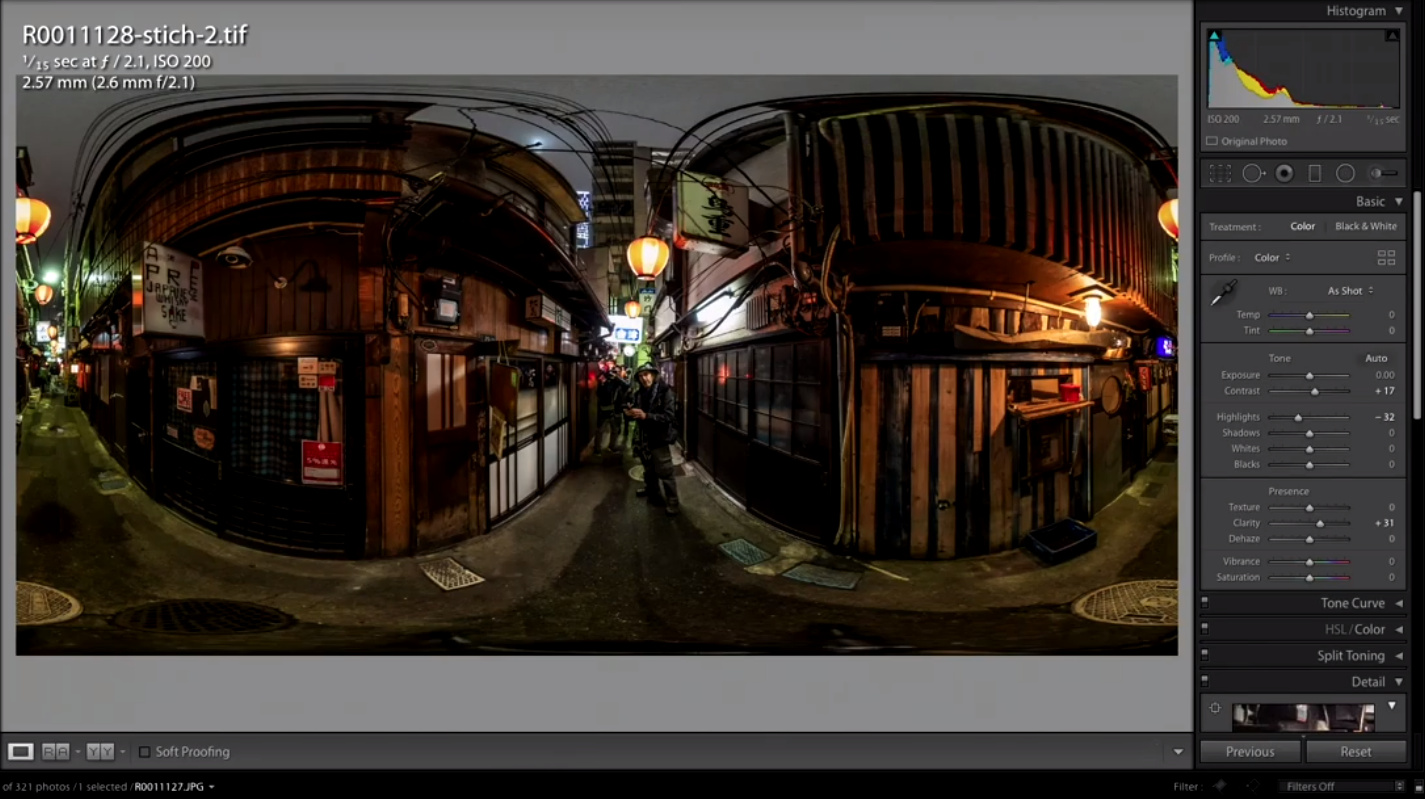
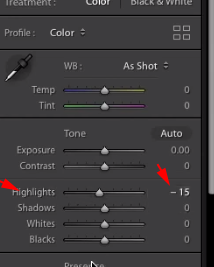
Bring down highlights
-15
Bring up shadows
+31
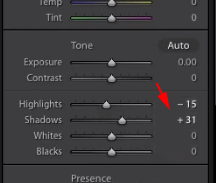
Bump up clarity
+22
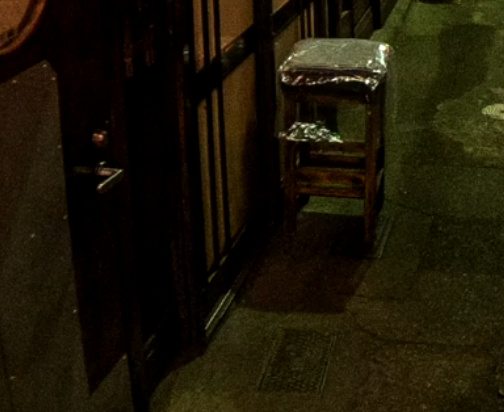
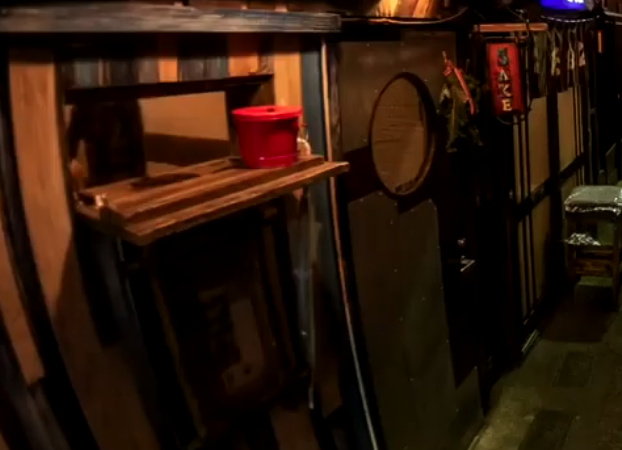
Original Compared to Developed
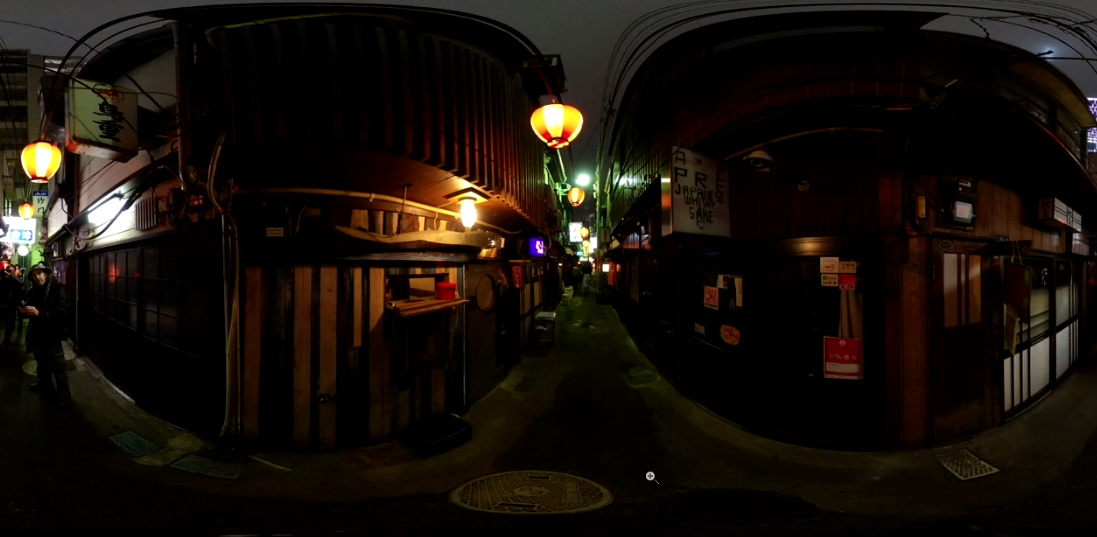
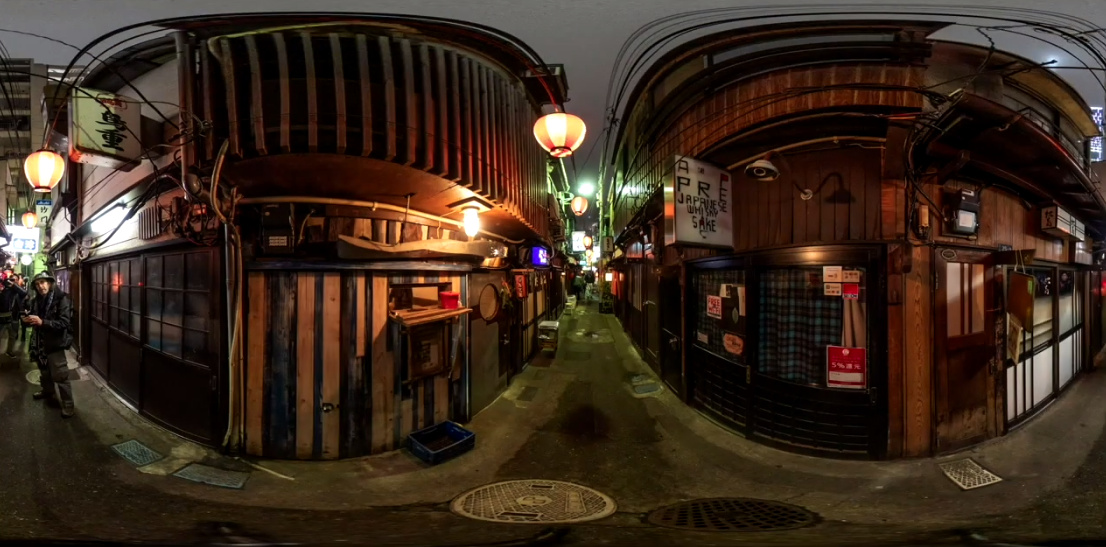
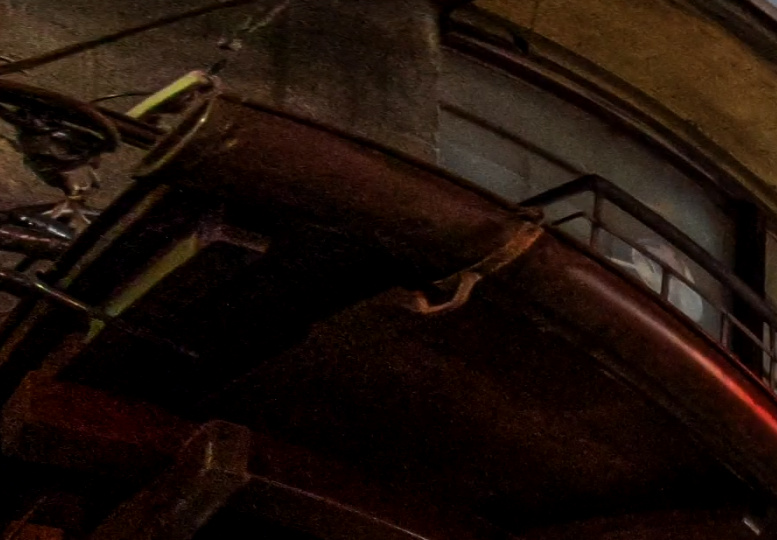
Dark areas have good detail.
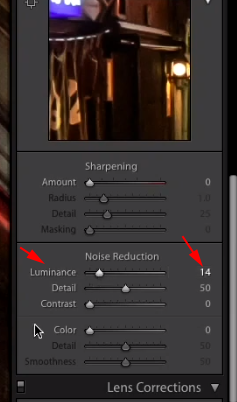
Fixing Minor Noise
Increase Luminance
+14
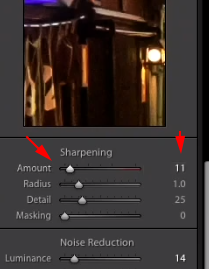
Increase Sharpening
+11
Final
Reference
- Original Video https://youtu.be/HqDyQj_g-pA
Troubleshooting
Every few days, I read on Facebook about people having problems with the stitcher. Here’s another example of problem and solution. This one again relates to the file name. I am sharing again because the question keeps coming up and I am just trying to share the information widely.
2 Likes
My RAW images are coming out of the camera already stitched. Di I have a setting wrong or was there a Theta update that means we don’t need the extra stitcher anymore?
With normal usage, your RAW images should come out fully stitched. You don’t need to do anything to stitch them. If you want to get them in dual fisheye (maybe you want to stitch them yourself, maybe you want to take many pictures quickly), then you can use the DualFisheye Plugin.
Then why is there a special adobe plugin and a length forum thread about how to stitch them within Lightroom if you can just edit them in Lightroom already stitched?
On the Z1, the camera can take both a JPG and DNG image in dual-fisheye mode, meaning for one shutter press, you’ll generate two files. The JPG is equirectangular (stitched). Is it possible that you’re looking at the JPG and not the DNG file?