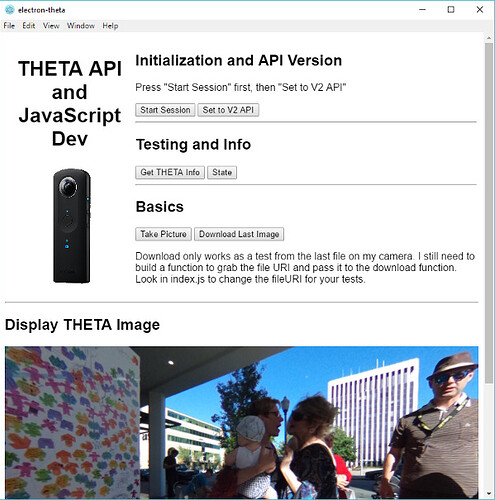
It’s easy to develop desktop applications that control the RICOH THETA API. This tutorial shows you how to use JavaScript, Node, and Electron to build applications that run on Mac, Windows, and Linux laptop and desktop computers. Desktop applications are useful for commercial applications like building surveillance monitoring or automobile sales.
I’ll show you how to get started with Electron, but it’ll be up to you to finish the application and build your million dollar VR/AR business. ![]()
![]()
Learning Objectives
- Create template desktop application framework
- Send and receive data with the THETA using WiFi
- Start Session, Set API to v2.1 (the latest)
- Take picture
- Download picture from camera to laptop
- Display picture
Install Node
Go to nodejs.org and install node. I used the LTS version.
Install Electron
npm install electron -g
Create index.html and app.js
Note: working example is available on GitHub.
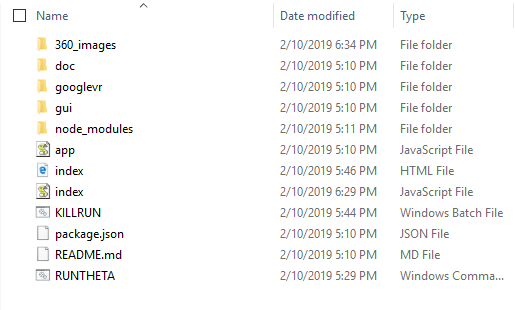
Create a new folder for your project.
mkdir electron-tutorial
Change directory into the folder.
cd .\electron-tutorial\
Make two files, index.html and app.js
index.html
 <!DOCTYPE html>
 <html>
 <head>
 </head>
 <body>
   <h1>My RICOH THETA VR Application</h1>
 </body>
 </html>
app.js
 var electron = require('electron')

 electron.app.on('ready', function () {
   var mainWindow = new electron.BrowserWindow({width: 600, height: 800})
   mainWindow.loadURL('file://' + __dirname + '/index.html')
 })
Tip: both atom from GitHub and VS Code from Microsoft are built with Electron and are great editors for JavaScript.
Test Application
In a command line terminal, run electron app.js
electron app.js
You will see a new window open with your basic application.
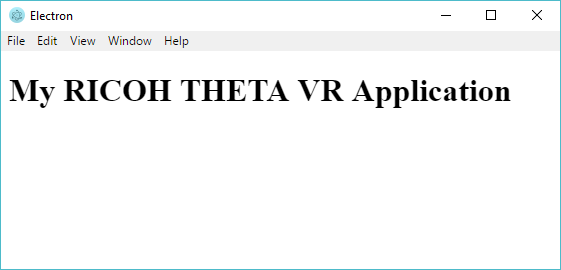
Congratulations, you’ve just developed a basic desktop application with Electron! Yay! ![]()
![]()
Initialize Electron Package
npm init
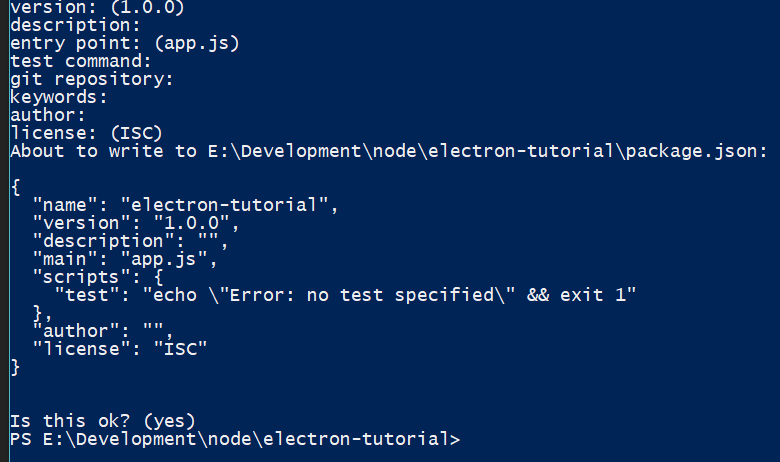
You will see a text-based wizard. Press return and accept all the defaults.
After going through the wizard, you will have a new package.json file.
Install node-rest-client
npm install node-rest-client --save
Create index.js
index.js
require('node-rest-client');
That’s it. The file is just one line right now.
Add script to index.html
In your index.html file, add this after the <h1> section.
<script type="text/javascript" src="index.js"></script>
Run electron app.js again and make sure your app is still running. There should be no change.
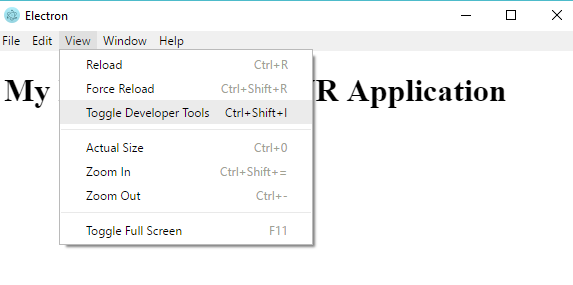
Tip You can access developer tools to debug your application
Add Response Area
In index.html, add these lines above the <script> tag.
<h2>Response</h2>
<p id="thetaResponse"></p>
Grab THETA Info with HTTP
In index.js, add these lines:
require('node-rest-client');
var fs = require('fs');
var request = require('request');

var Client = require('node-rest-client').Client;

var client = new Client();


getInfo = function() {
    console.log("button clicked")
    client.get("http://192.168.1.1:80/osc/info", function (data, response) {
      console.log(data);
      // console.log(response);
    var thetaResponse = document.getElementById('thetaResponse');
    thetaResponse.innerHTML = JSON.stringify(data);
    });
  }
Build Button
In index.html, add these lines:
 <h2> Testing and Info</h2>
 <button onclick="getInfo();">Get THETA Info</button>
Connect Your Computer to THETA
Connect your computer to the THETA with WiFi. If you are unsure about this step, refer to the Unofficial API Guide.
Test Application
electron app.js
Press the button.
Congratulations! You’ve successful built a desktop application for your RICOH THETA. You’re awesome!
Extend the Application
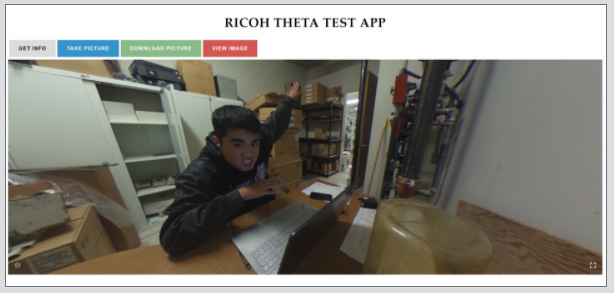
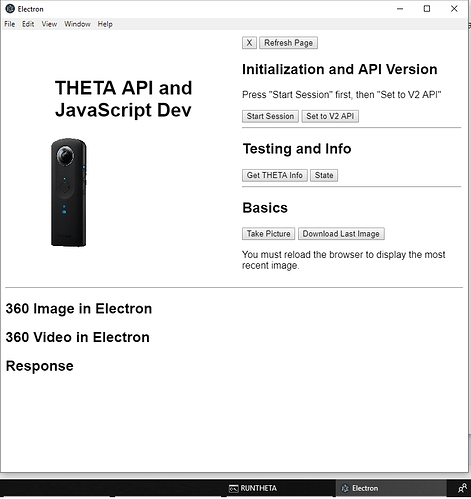
You’re off and running. You should now be able to extend the application with other API commands to take a picture and download it to your laptop. Numerous applications exist to display the 360 image. Search through this site for ideas, or ask a question below.
Here’s a GitHub repository to an application with a bit more features.
Reference
More examples
If you’d like the challenge of exploring POST commands to the THETA as well as figuring out how to do file downloads, skip the sections below. You can also jump straight to the GitHub repository
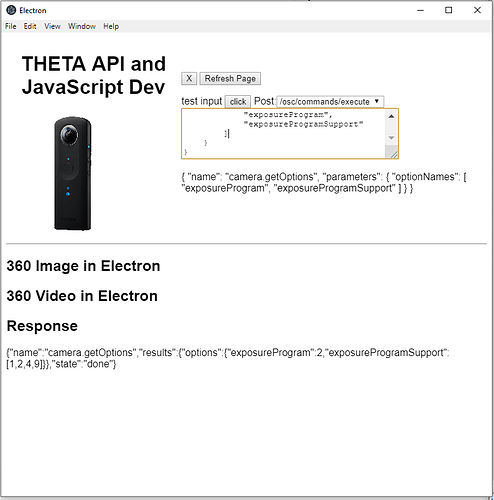
HTTP POST Commands
The data from the /osc/info command is obtained with an HTTP GET command with no arguments. For most other THETA API commands, you’ll need to use POST.
Example:
startSession = function() {
    var args = {
    data: { "name": "camera.startSession" },
    headers: { "Content-Type": "application/json" }
};
    client.post("http://192.168.1.1:80/osc/commands/execute", args, function (data, response) {
      console.log(data);
    var thetaResponse = document.getElementById('thetaResponse');
    thetaResponse.innerHTML = JSON.stringify(data);
    });
  }
The example above uses client.post, not client.get. You must also pass the POST command arguments.
Setting API to v2.1
There are two versions of the RICOH THETA API, v 2.0 and v 2.1. I’m using v2.1 in this example. v2.1 doesn’t require the use of sessionId.
setApiV2 = function() {
    var args = {
    data: { "name": "camera.setOptions",
          "parameters":{
            "sessionId": "SID_0001",
            "options": {
              "clientVersion": 2
            }
          }
        },
    headers: { "Content-Type": "application/json" }
};
    client.post("http://192.168.1.1:80/osc/commands/execute", args, function (data, response) {
      console.log(data);
    var thetaResponse = document.getElementById('thetaResponse');
    thetaResponse.innerHTML = JSON.stringify(data);
    });
  }
Take Picture Example
This example uses the v2.1 API.
takePicture = function() {
    var args = {
    data: { "name": "camera.takePicture"},
    headers: { "Content-Type": "application/json" }
};
    client.post("http://192.168.1.1:80/osc/commands/execute", args, function (data, response) {
      console.log(data);
    var thetaResponse = document.getElementById('thetaResponse');
    thetaResponse.innerHTML = JSON.stringify(data);
    });
  }
Image Download Example
There are many ways to download the image. In this example, I am using request. Although you can grab the _latestFileUri from
state, I am using
listFiles as you an use the same snippet to list the files on your camera.
 getImage = function() {
    var lastImageUrl;
    var args = {
      data: {
        "name": "camera.listFiles",
        "parameters": {
          "fileType": "image",
          "entryCount": 1,
          "maxThumbSize": 0
        }
      },
      headers: {"Content-Type": "application/json"}
    }
    client.post("http://192.168.1.1/osc/commands/execute", args, function (data, response) {
     lastImageUrl = data.results.entries[0].fileUrl;
       var download = function(uri, filename, callback){
    request.head(uri, function(err, res, body){
     console.log('content-type:', res.headers['content-type']);
     console.log('content-length:', res.headers['content-length']);

    request(uri).pipe(fs.createWriteStream(filename)).on('close', callback);
  });
};
    console.log(lastImageUrl);
    // download('http://192.168.1.1/files/744a605553442020024b0202cb00f201/100RICOH/R0012006.JPG', '360_images/lastFile.jpg', function(){
    download(lastImageUrl, '360_images/lastFile.jpg', function(){

    });
  });
  }
TIP: there are two separate steps. 1) get the URL of the last file on the camera, 2) download the file and save to local storage on your laptop. For debugging purposes, you can hard code a known file on your camera and test the download separately from your code to get the last file URL.
Viewing a THETA 360 Image in Electron
The sample app uses Google VR View for Web to display the 360 image and provide navigation. Another idea is to use A-Frame.
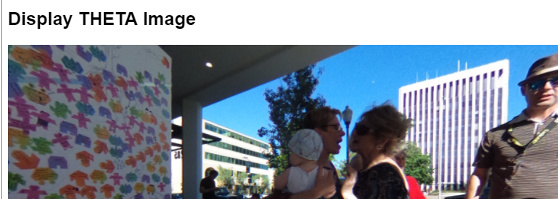
You can resize or apply filters to the RICOH THETA image. You must preserve a ratio of 2:1. For information on color, resize, metadata, orientation and tilt, see the THETA Media Unofficial Guide.
In index.html add this line
  <iframe width="100%" height="400px" allowfullscreen
frameborder="0" src="googlevr/googlevr.html?image=../360_images/lastFile.jpg&is_stereo=false"></iframe>
The parameters for Google VR View can be found on the Google site.
In the sample application, you’ll need to grab the folder for googlevr.
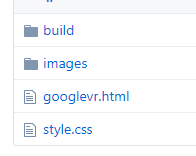
You do not need to edit anything. Though, if you open googlevr.html, you can edit some parameters.
360 Video
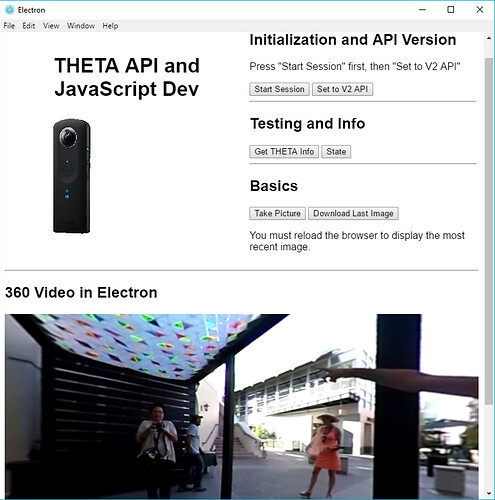
THETA video works great in Electron.
Just change index.html to contain something like this:
<iframe width="100%" height="400px" allowfullscreen
frameborder="0" src="googlevr/googlevr.html?video=../360_images/video_sample.mp4&is_stereo=false"></iframe>
Note that I’m using video= and not image=
Sound works. As the test was done with the RICOH THETA S, I have not tested spatial sound. Will test that when the next version of the THETA comes out.
request to download image.
I’m using request to download the image from the camera to the laptop. I have not checked to see when the image has completed downloading. This would be a great next step. Once the image has downloaded, then refresh the image window.
Next Steps
- Set up an auto-refresh with
location.reload()or similar technique
