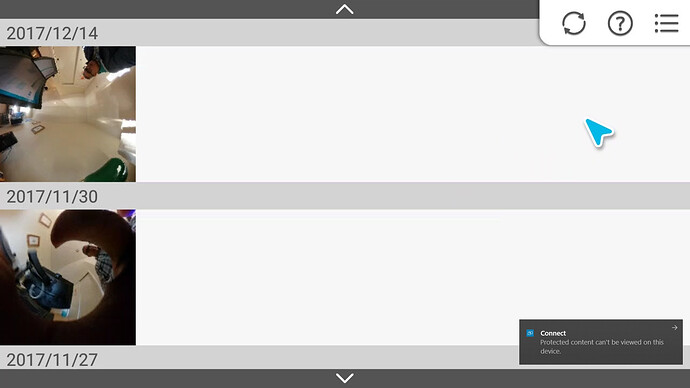
The new THETA V can display images directly from the camera to a Windows 10 computer or other Miracast device using WiFi. The THETA V can also function as a remote control unit to select the pictures and navigate through the 360 image. After reading the Ricoh FAQ you might think that you need a Miracast display adapter to use this feature, but you don’t. You can use this with Windows 10 with no adapter.
In this short article, you will learn what THETA V Remote Playback is and how to get it working with your Windows 10 computer and WiFi only (you don’t need any other adapter).
What is THETA V Remote Playback?
Use Your THETA V as a Wireless Remote for 360 Image Navigation
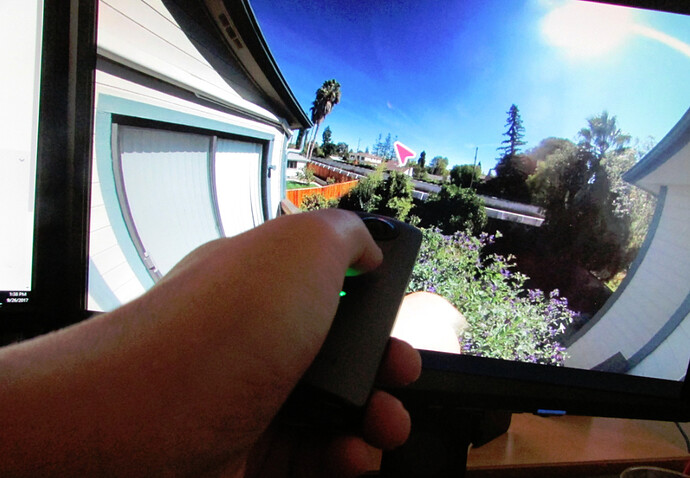
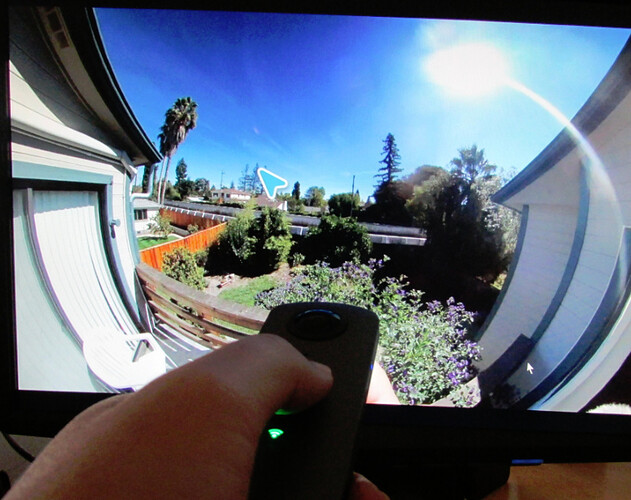
In the image below, I’m controlling the view of the 360 image with the THETA V.
Automatically Display Images from the THETA V to Your TV or Monitor
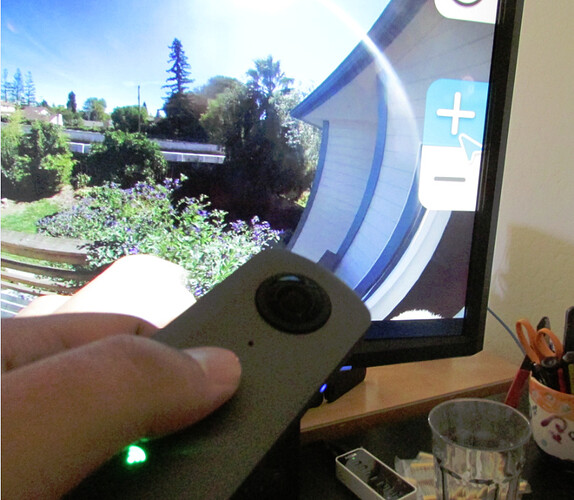
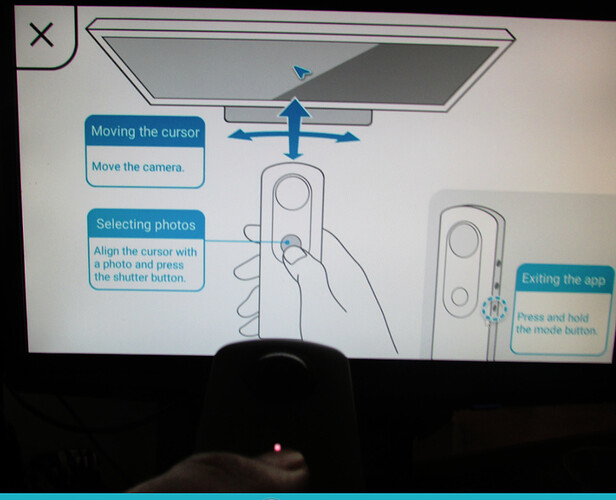
No separate image download needed. You can display the images directly from the THETA V. You can zoom in and out using the THETA V as the remote control. When I move the THETA V, the cursor on the monitor moves. Cool.
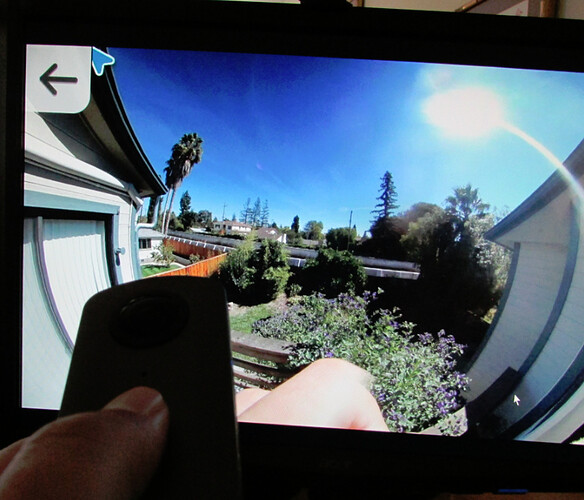
Navigating back to the main menu.
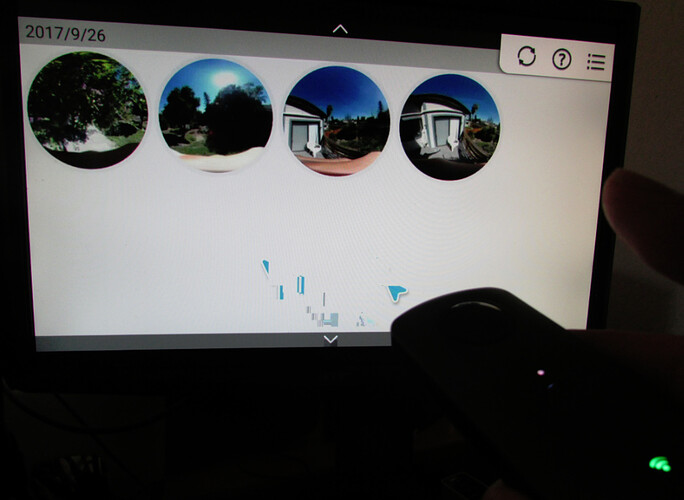
This is how the THETA V images look with initial connection to my Windows 10 machine with WiFi using the new Remote Playback feature.
Setting Up the THETA V For Remote Playback Mode
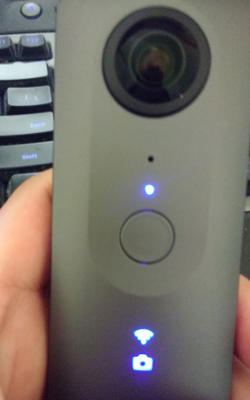
Turn the THETA V on.
The top LED and the WiFi LED will be blue.
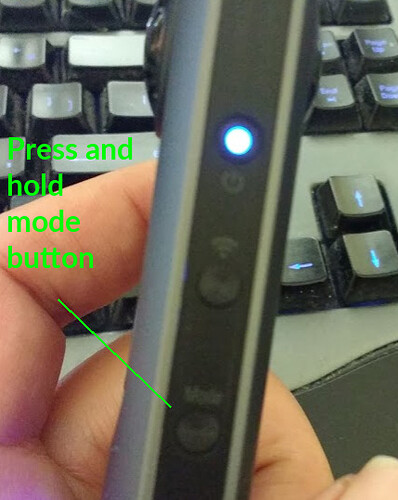
Press and hold the lower mode button.
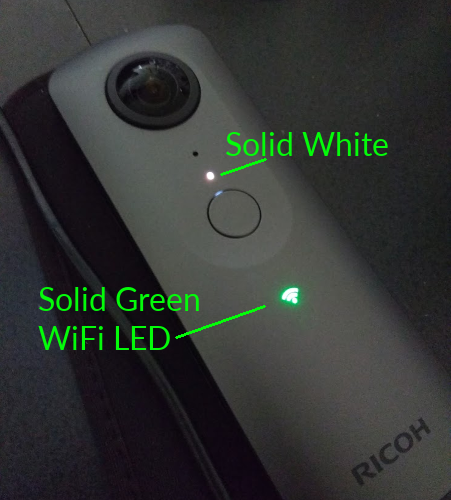
Verify Remote Playback Mode
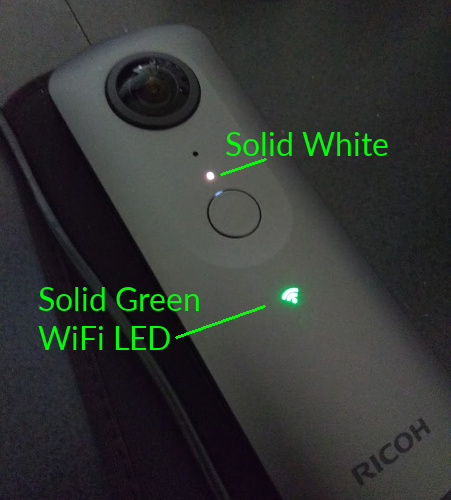
The top small LED will turn white. The button “WiFi” LED will flash green. When the THETA V is connected with Miracast, it will stay solid green.
To get the cursor to appear, press the shutter button of the THETA V.
The onscreen instructions shows how to get exit remote playback mode.
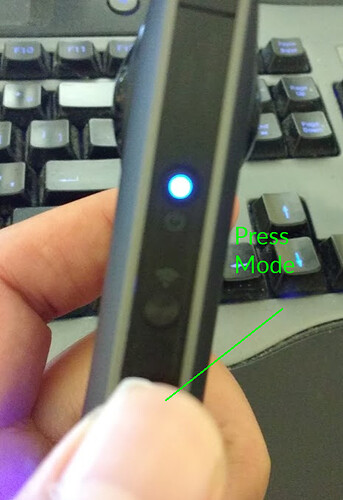
To exit Remote Playback mode, press the mode (bottom) button again.
Windows 10 Configuration
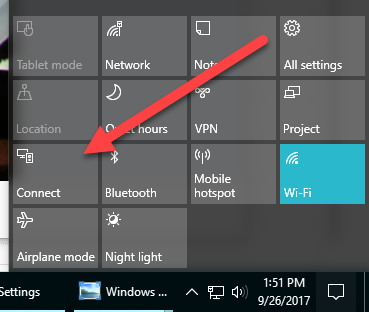
Make sure you’re connected to WiFi and press the “Connect” button on the Windows 10 menu that appears when you press the lower right-hand corner of your task bar.
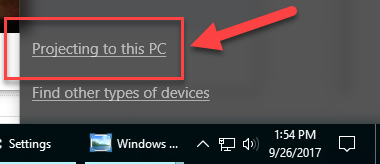
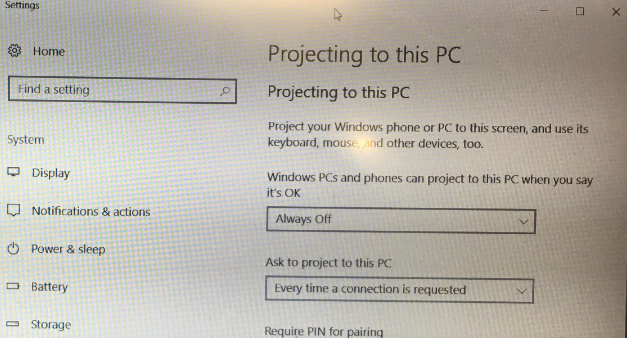
Make sure you select “Projecting to this PC”
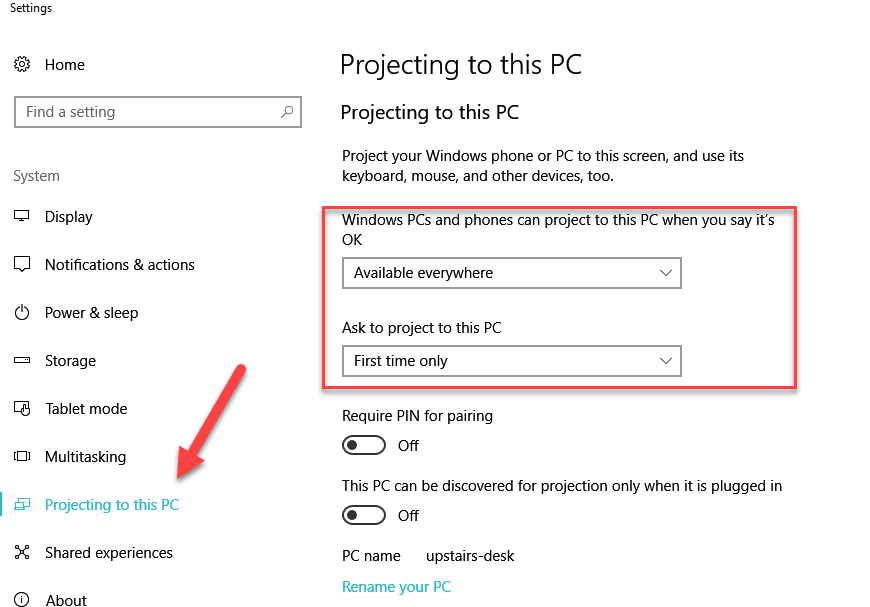
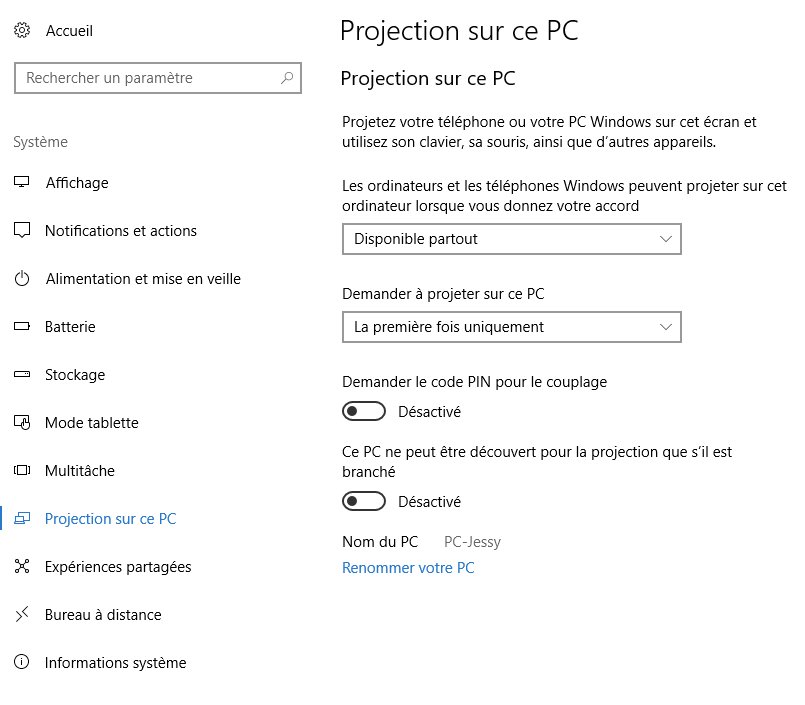
The “Projecting to this PC” button will open up a configuration window. This is how I configured my PC for testing.
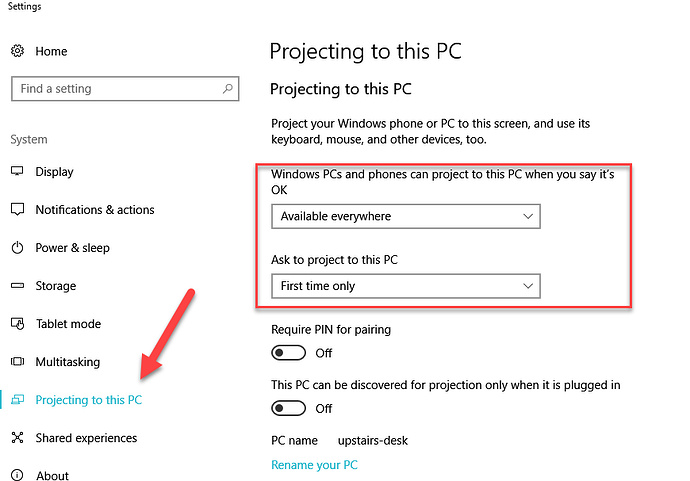
Alternate Setting
A community member has it working with this setting.
You will now get prompted to accept the projection. This is a one-time confirmation only (configurable).
Finished
Congratulations, you can now navigate through your images and display them. So cool!
