React Native Expo Super Beginner Intro with RICOH THETA API - No Camera Needed

The tutorial above is for people completely new to React Native and fairly new to the RICOH THETA API.

other resources

process

  1. clone starter repo
  2. cd into directory
  3. npm install
  4. start Android emulator or connect computer to physical Android phone
  5. npm start
  6. press a to load React Native Expo and demo starter app into Android emulator
  7. open app folder in VS Code or similar editor
  8. copy desired option from theta-javascript repo above
  9. paste contents into new file under theta_control. Example: set-video-button-control.js

Modify Code

  1. pass urlEndpoint into function
  2. modify url in fetch() method
  3. return JSON.stringify(data, null, 4);
  4. export function
export {setVideoButtonControl}

const setVideoButtonControl = async (urlEndpoint) => {
  const body = {
    name: "camera.setOptions",
    parameters: {
      options: {
        captureMode: "video",
      },
    },
  };

  const response = await fetch(`${urlEndpoint}commands/execute`,
    {
      method: "POST",
      body: JSON.stringify(body),
      headers: { "Content-Type": "application/json;charset=utf-8" },
    }
  );
    const data =  await response.json();
  return JSON.stringify(data, null, 4);

};

add to GUI

in App.js

  1. import function into App.js
    import { setVideoButtonControl } from "./theta_control/set-video-button-control";

  2. add button to row

  <View style={styles.buttonContainer}>
      <Button
        style={styles.button}
        title="video"
        onPress={() => {
          setVideoButtonControl(urlEndpoint).then(function (data) {
            console.log(data);
            onChangeResponseWindow(data);
          });
        }}
      ></Button>
    </View> 

modify for physical camera

In App.js.

export default function App() {
  // fake-theta
  // const urlEndpoint = "https://fake-theta.vercel.app/osc/";
  // real theta physical device in access point mode
  const urlEndpoint = "http://192.168.1.1/osc/";

Part 2 Images

@jcasman when you went through the tutorial initially, you mentioned that you couldn’t run it on iOS simulator. I had no problem running the tutorial on iOS simulator on MacOS Ventura 13.3.1, MacBook Air, Apple M1.

Is the problem you face that you can’t install Xcode? If so, what is the error you have installing Xcode?

Do you have Xcode installed and you don’t have a simulator installed?

If you’re trying to run the tutorial on a physical device iPhone or physical device Android and are connecting to a physical device RICOH THETA, then you need to allow http in addition to the default https (note the s).

However, I believe your problem was with the iOS simulator.

1 Like

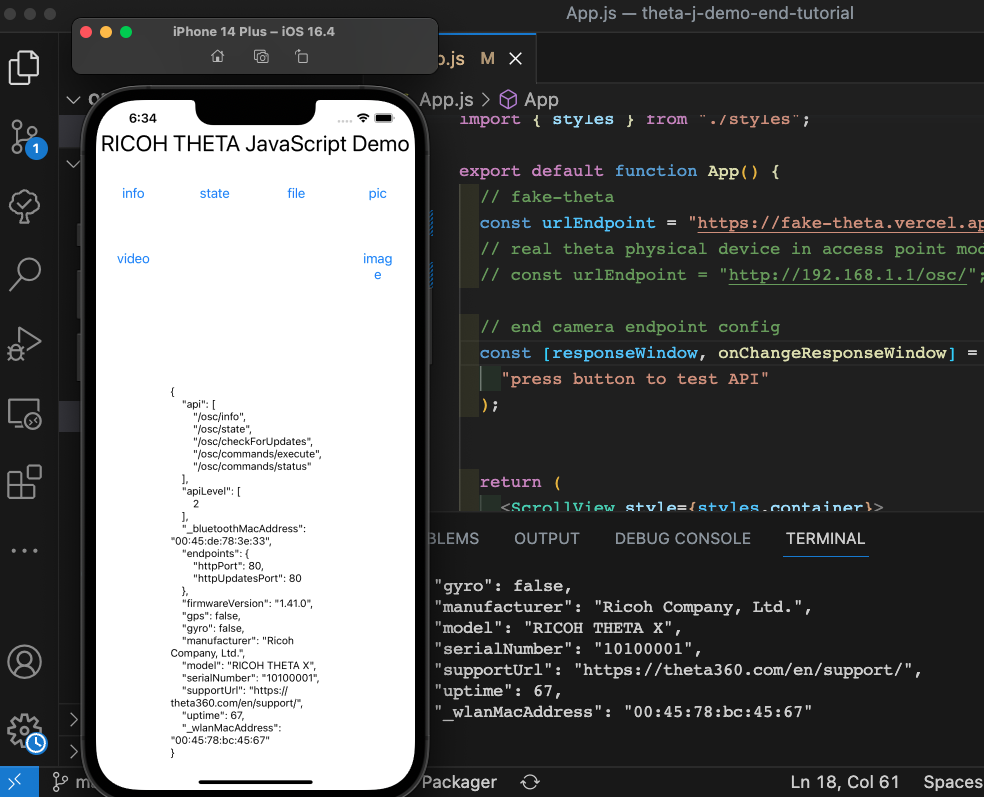
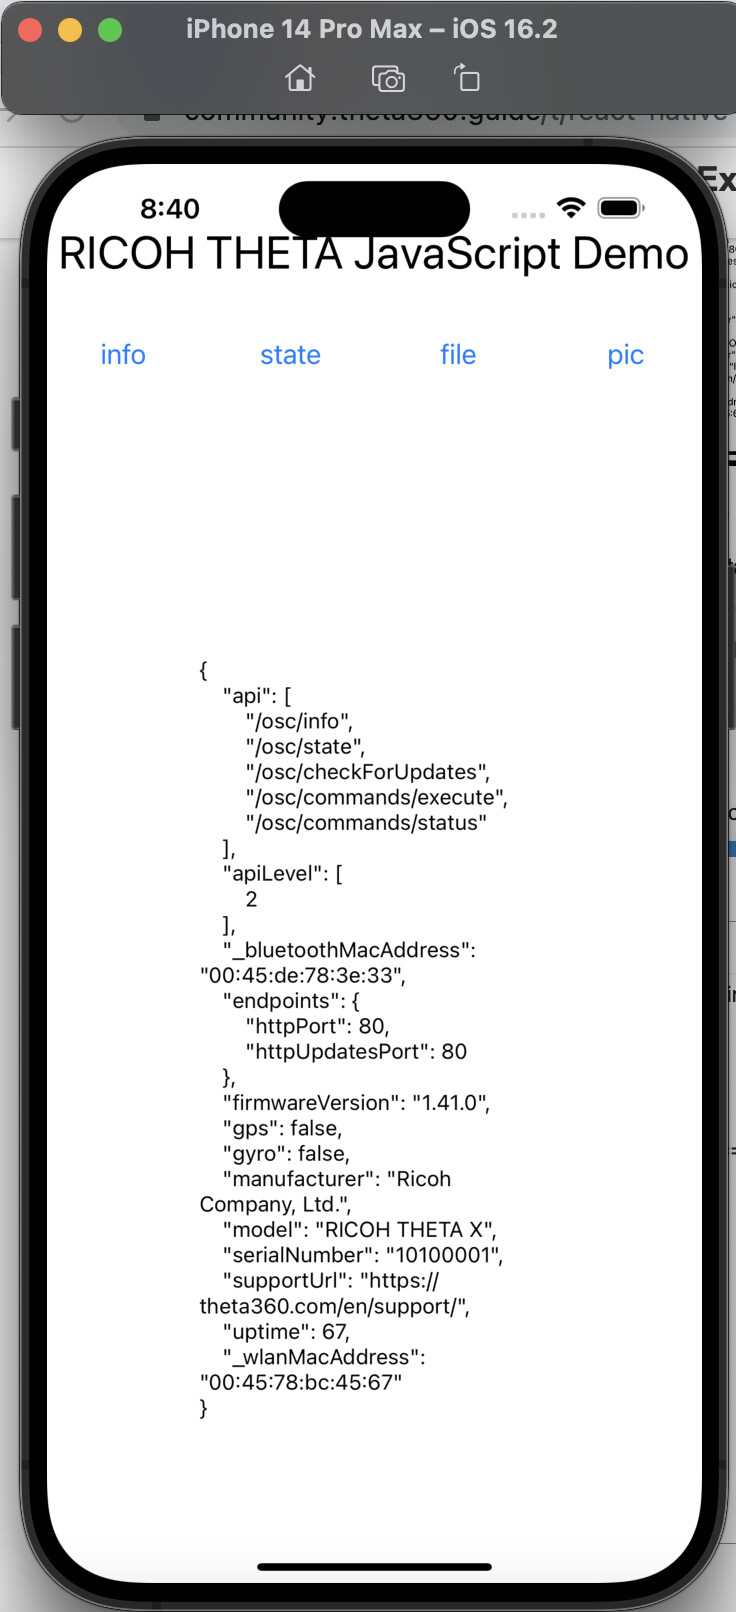
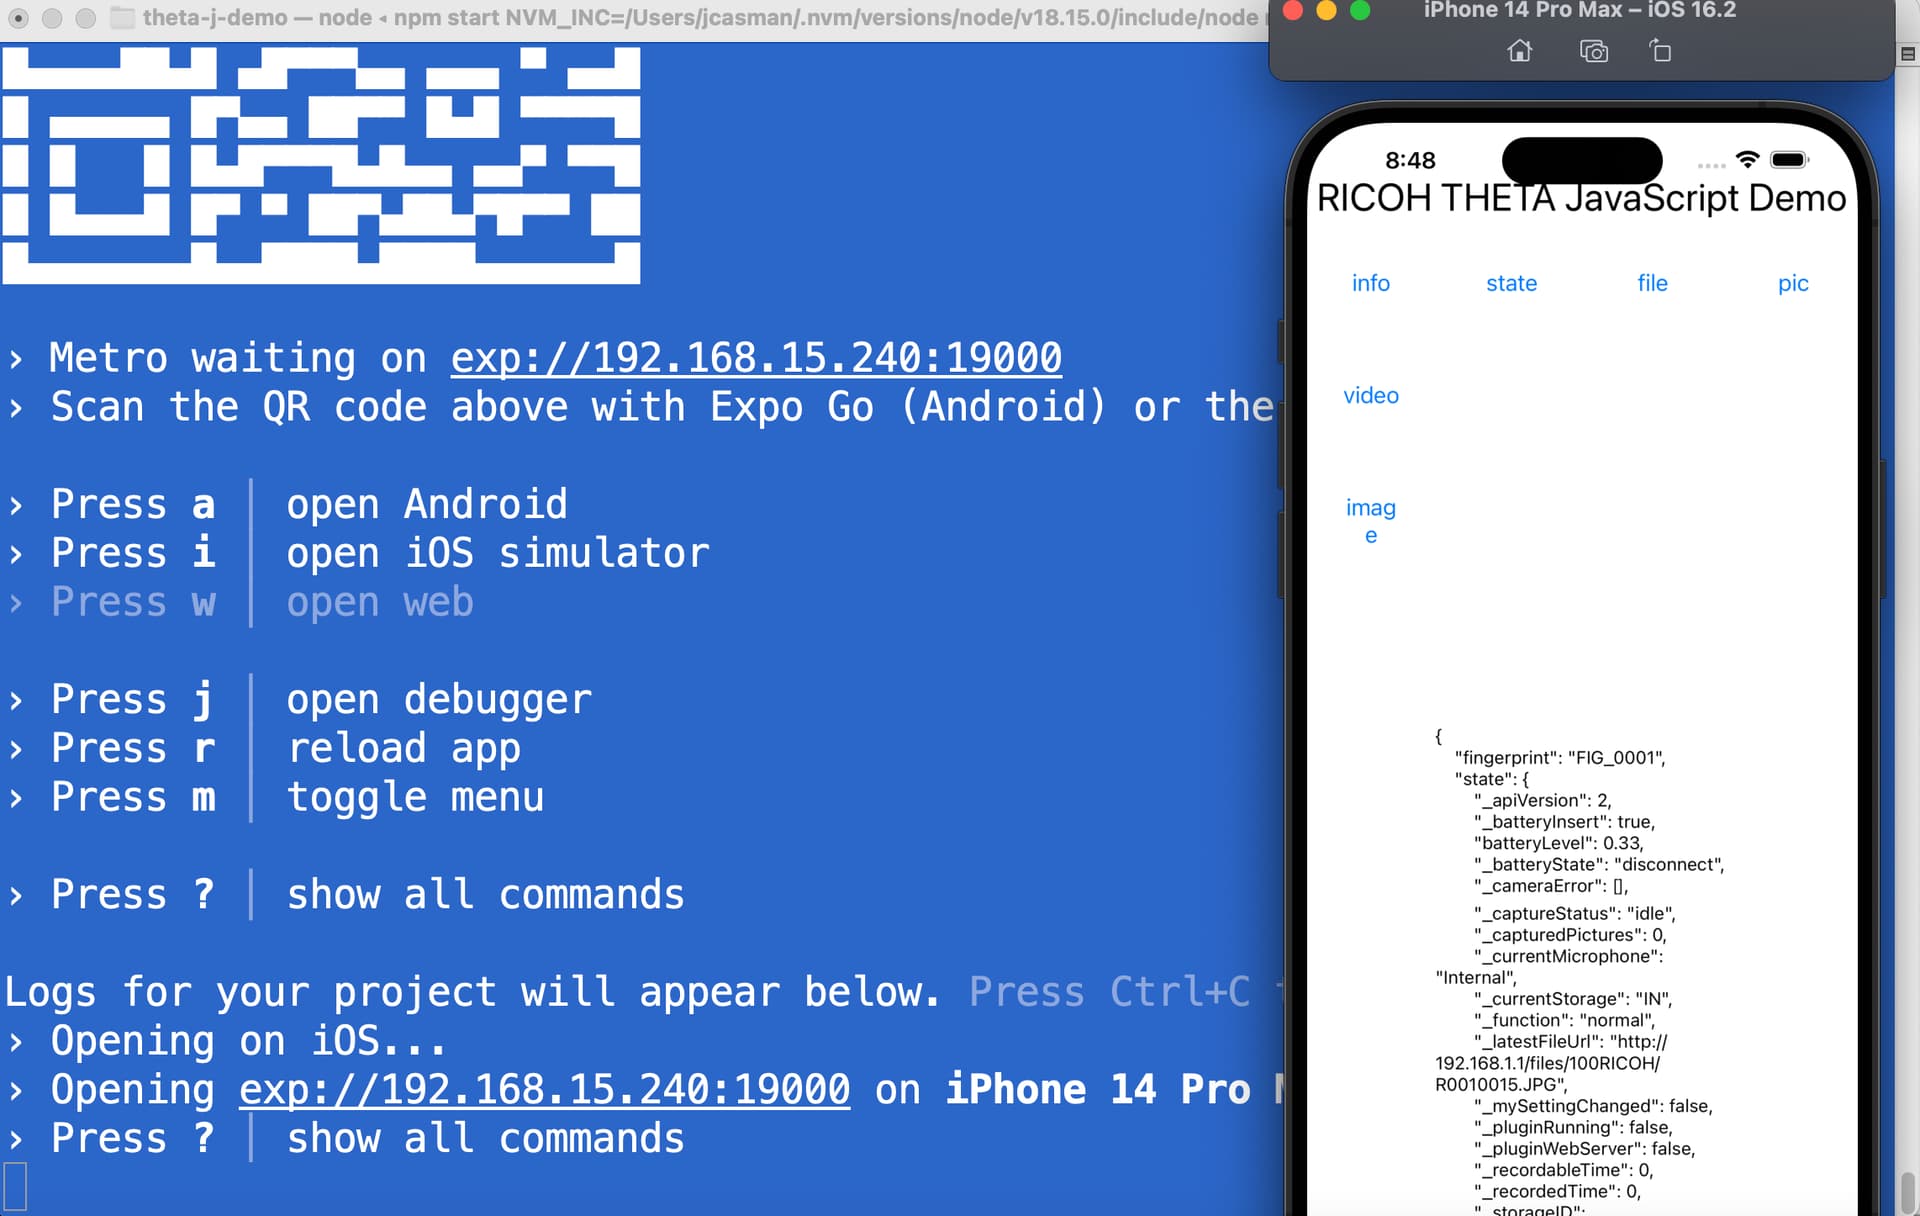
@craig I tried it again, it works just fine. npm start nicely installed the expo go app

› Opening on iOS...
› Opening exp://10.0.0.205:19000 on iPhone 14 Pro Max
Downloading the Expo Go app [========================================] 100% 0.0


› Press ? │ show all commands
› Opening on iOS...
› Opening exp://10.0.0.205:19000 on iPhone 14 Pro Max
› Press ? │ show all commands
iOS Bundling complete 8028ms

It runs fine

I’ll be going through your new video to add buttons with API commands this afternoon. I will post here.

Maybe you were in the wrong directory before? You may want to consider adding the current working directory in your prompt. See below.

I recall that you also had a problem with the Android Virtual Device initially. In a different issue, there were problems with committing all the files with git. It’s possible that you were in the wrong directory when you ran the commands.

Including More JavaScript Tests

It would be great if you could add more commands to this repo.

As I mentioned earlier, I suspect that we’ll need to adjust http security settings before using a physical device iPhone or Pixel.

Consider moving to functions

We could organize the code like this:

export {info};

const info = async () =>  {


const response = await fetch('https://fake-theta.vercel.app/osc/info', 
    {method: 'GET', 
    headers: {'Content-Type': 'application/json;charset=utf-8'}
});

const data = await response.json();

console.log(data);
}

As I’m not familiar with JavaScript, I don’t know the following:

  • best way to handle command line arguments. Likely there is a node package to handle args better. In dart, we used args, which is quite good.
  • I don’t understand the import/export module of JavaScript and I’m not sure if the technique I used is the best practice.
1 Like

@jcasman , I ran a test of the RICOH theta-client SDK v1.1

I’m still seeing a flicker in the livePreview.

The problem is also described in this issue opened by kishanj918:

It seems like the <Image /> tag might need some additional properties or some additional way to cache the images.

<Image style={styles.takePhoto} source={{uri: dataUrl}} fadeDuration={0} />

Maybe this might help?

@jcasman regarding the problem where you couldn’t run the app due to promise rejection, is it possible you had an old instance of React Expo app running inside the emulator and this prevented the new instance of the React Expo app from running?

If you stop the command, npm start on the command line with CTRL-c, the app in the AVD emulator may still be running, but disconnected, thus the promise will be rejected. You may need to stop the old app before running the new app.

For example, if you completed part 1 of the tutorial and then stopped the command line program (npm start), then you try and begin part 2 of the tutorial, but you don’t clear the AVD, then you may not be able to begin part 2 of the tutorial again.

You may need to clear the running process in the AVD. One way is to use the square button. You could also restart the AVD or if you’re stuck, then do a cold boot of the AVD.

OK, I went through the tutorial.

I did npm install - I start up an Android emulator - I do npm start - I press “a” for “open Android”

Before doing any coding, here’s what the screen looks like:

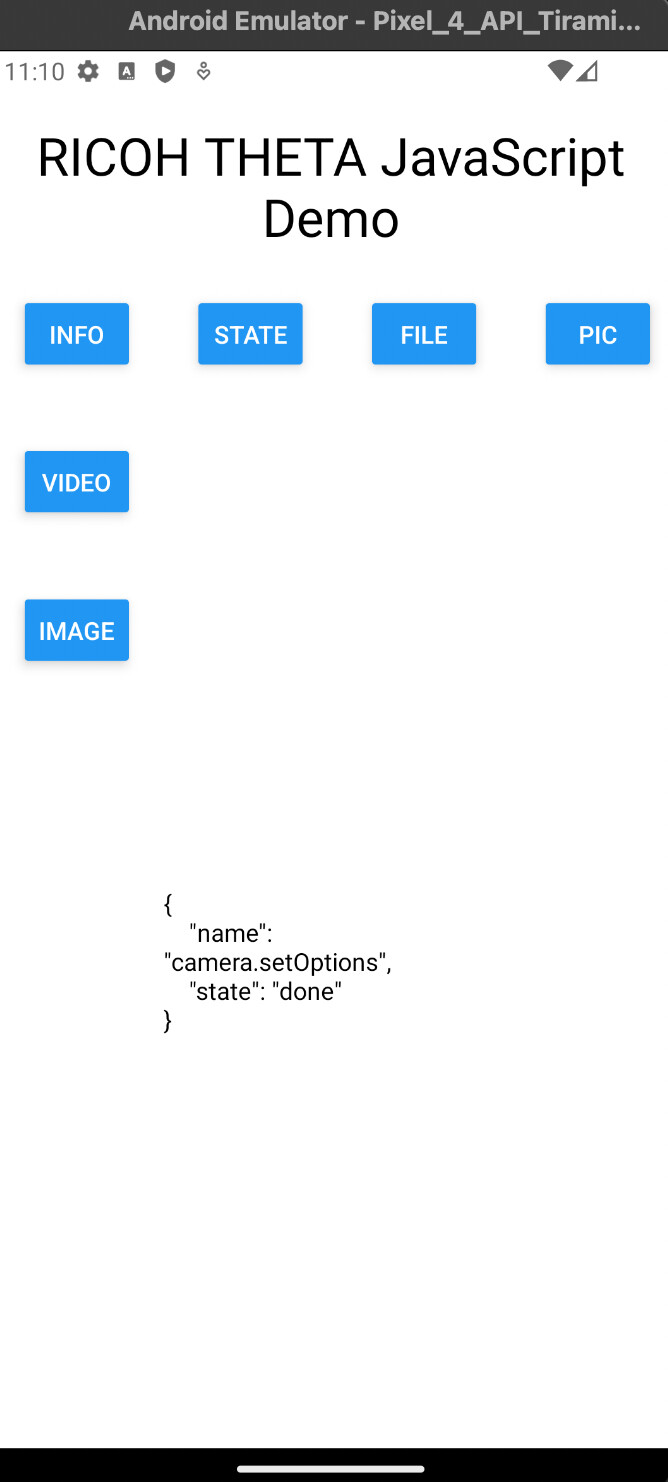
Then the cool part. Go over to the theta-javascript repo and grab some code. @erikrod1 and I are adding more API calls to the repo.

Following the video tutorial, I took the code that uses the API to set the image mode of the camera (either image or video) and dump it into the mobile app. Amazingly easy.

Need to set up a function to set up the controller part of the button. Then you need to export the new button. And import it into App.js.

You create the button in App.js. Look for the button tag but also include the view container around it.

But that’s about it.

I’ll be adding more buttons.

To make more progress, you should develop a plan for what features you want to add to the mobile app. For example, we could use it to test API features such as the bitrate and file format video settings of the Z1/X.

For the interface, I still have not progressed through the section on React Navigation.

I’m at Week 4, module 6, Approaches to Passing Props to Screen, of this course.

Works on iOS simulator