I have never been happy with just standing my Theta S on a table or shelve as it’s shape while very functional for shooting pictures just does not lend itself as being stable when placed on a flat surface. I tried using inexpensive table tripods and they were an improvement but still not quite what I was looking for.
So the birth of the “Little Black Box” (LBB).
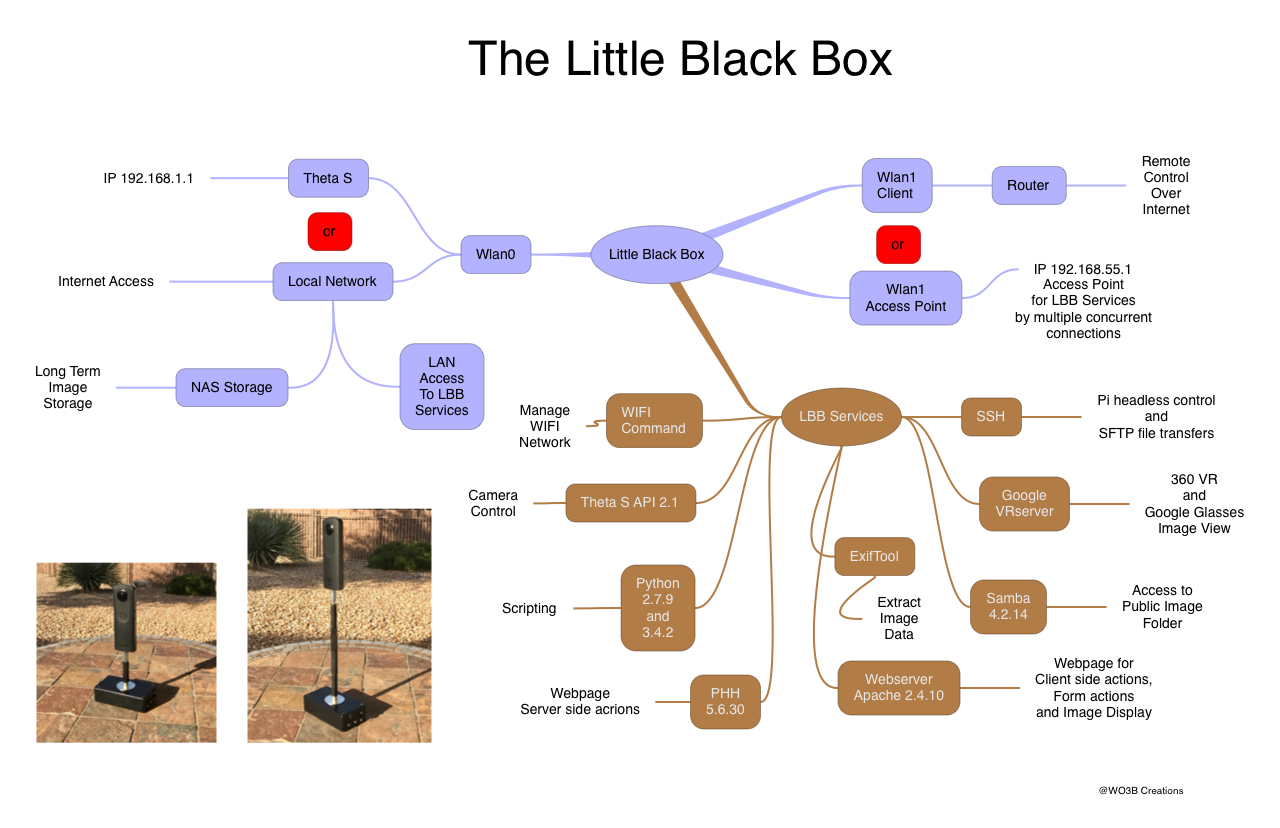
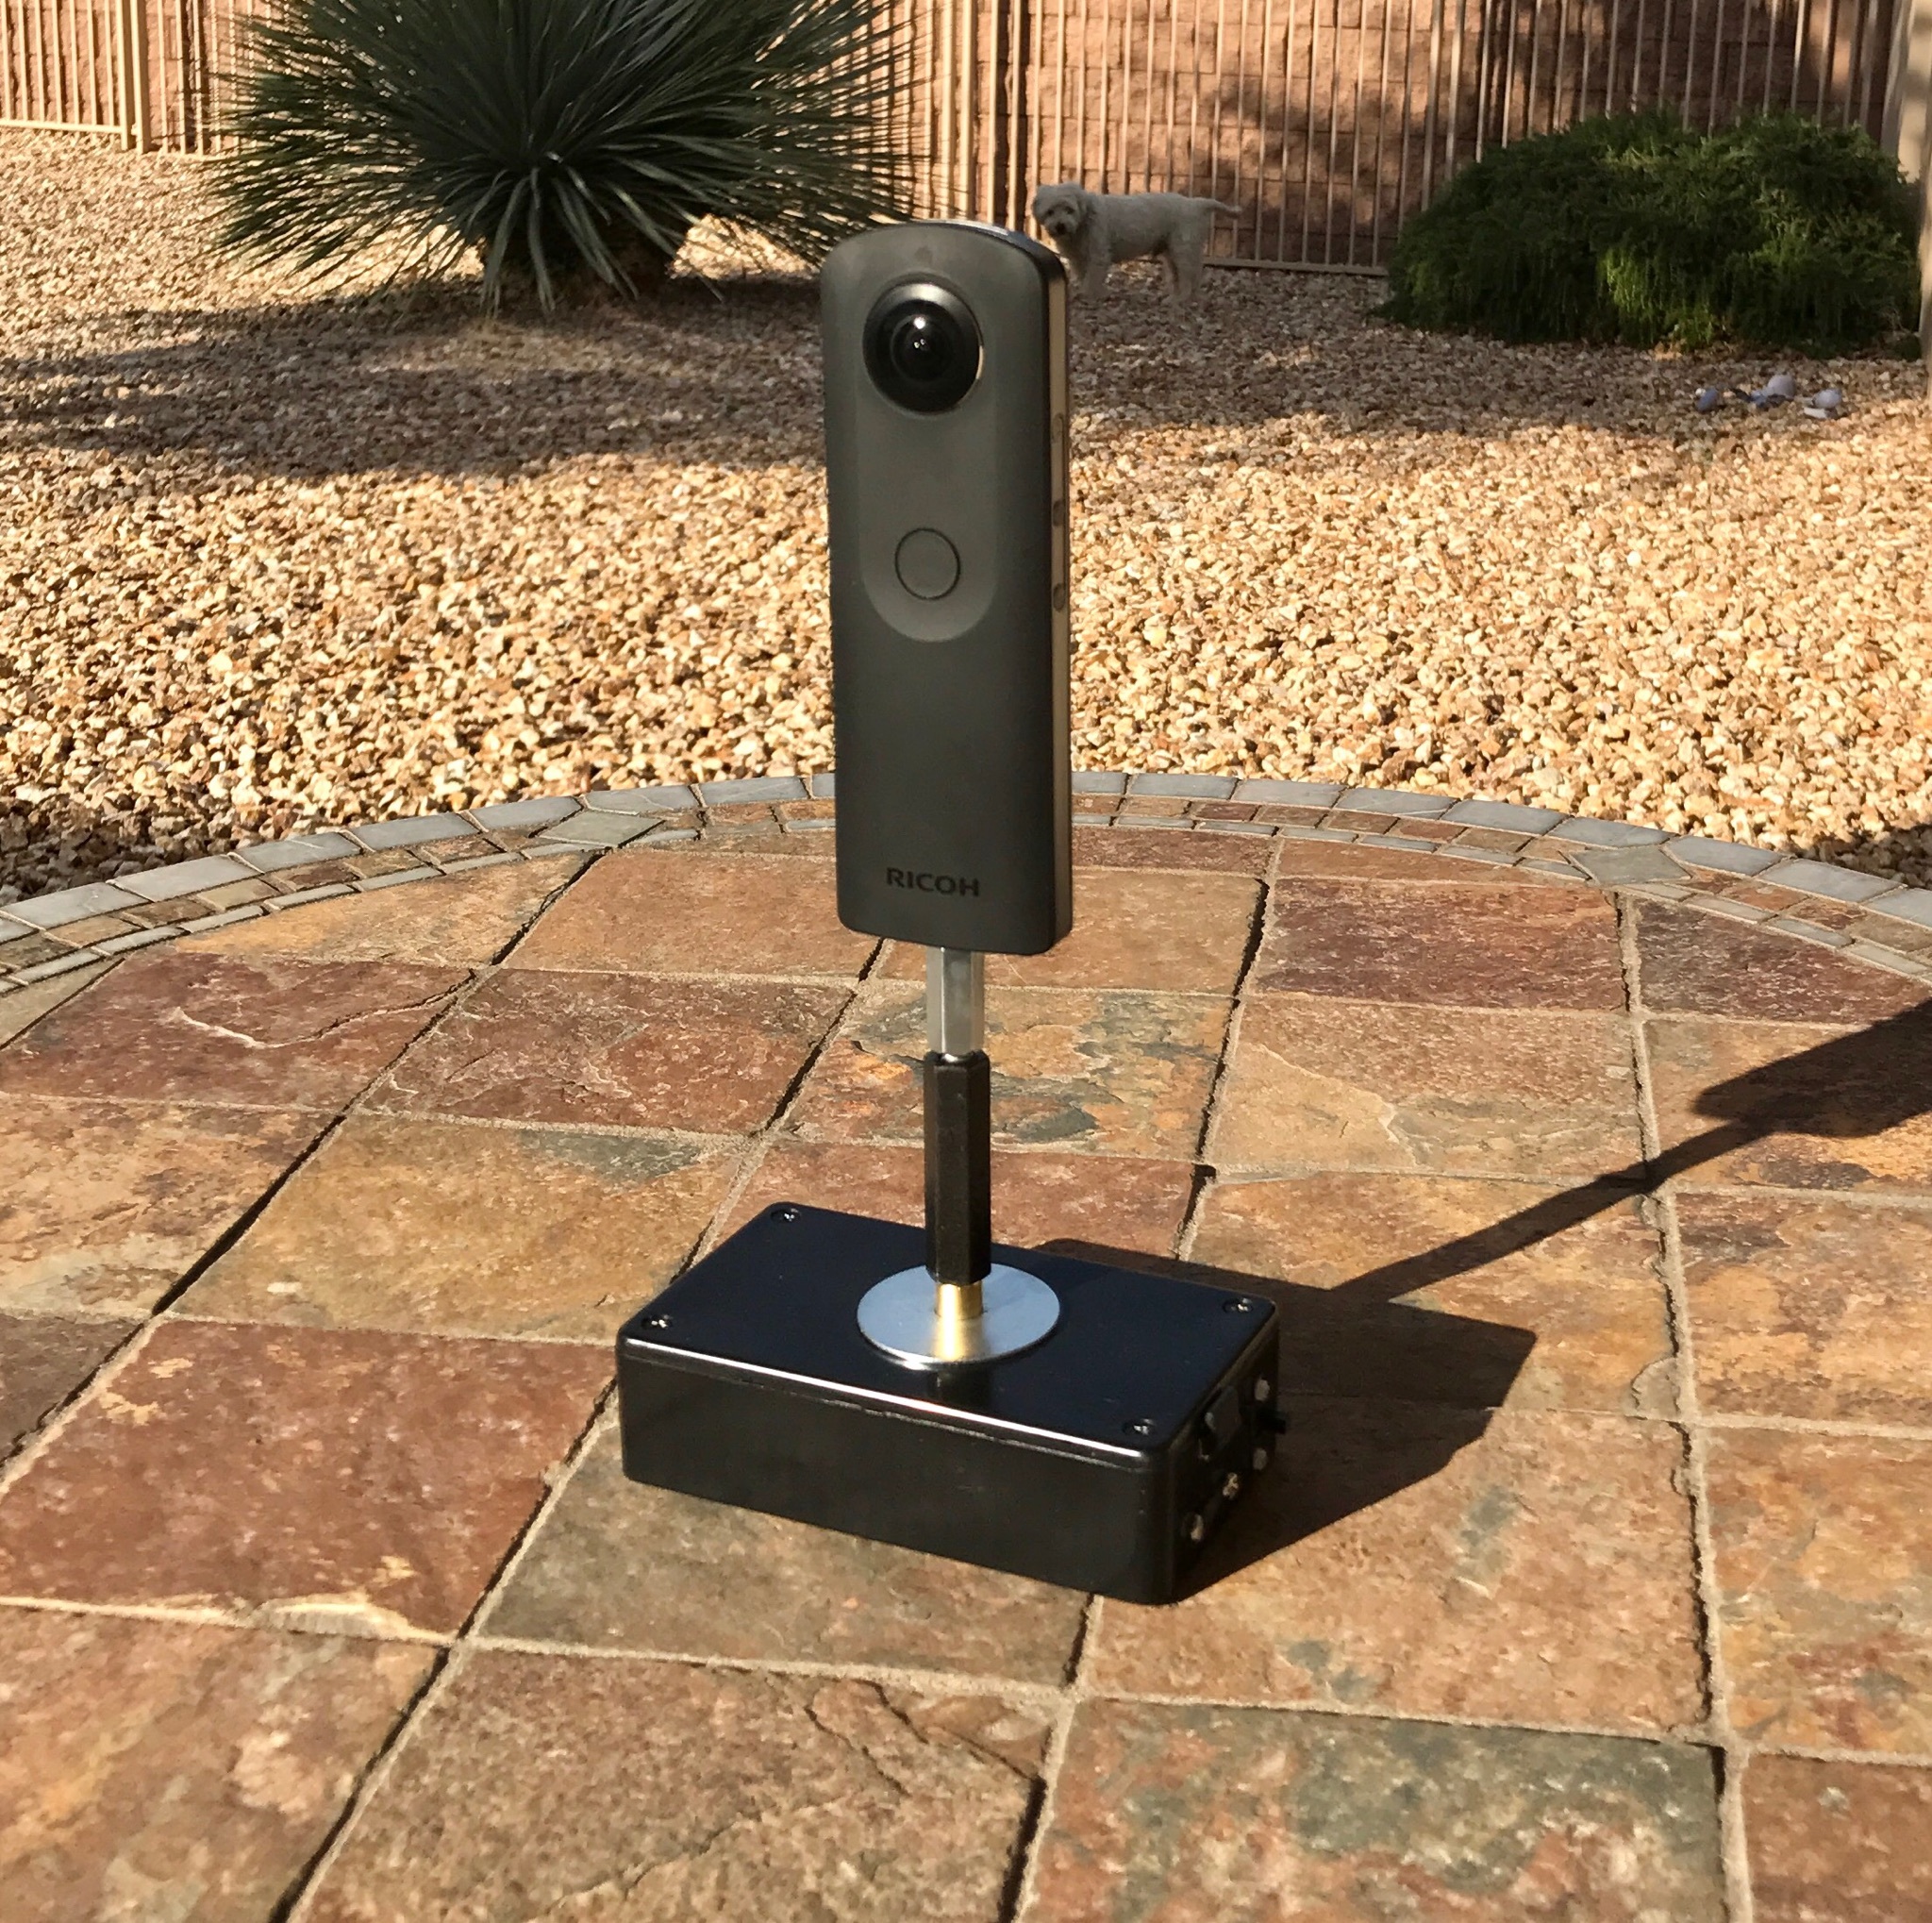
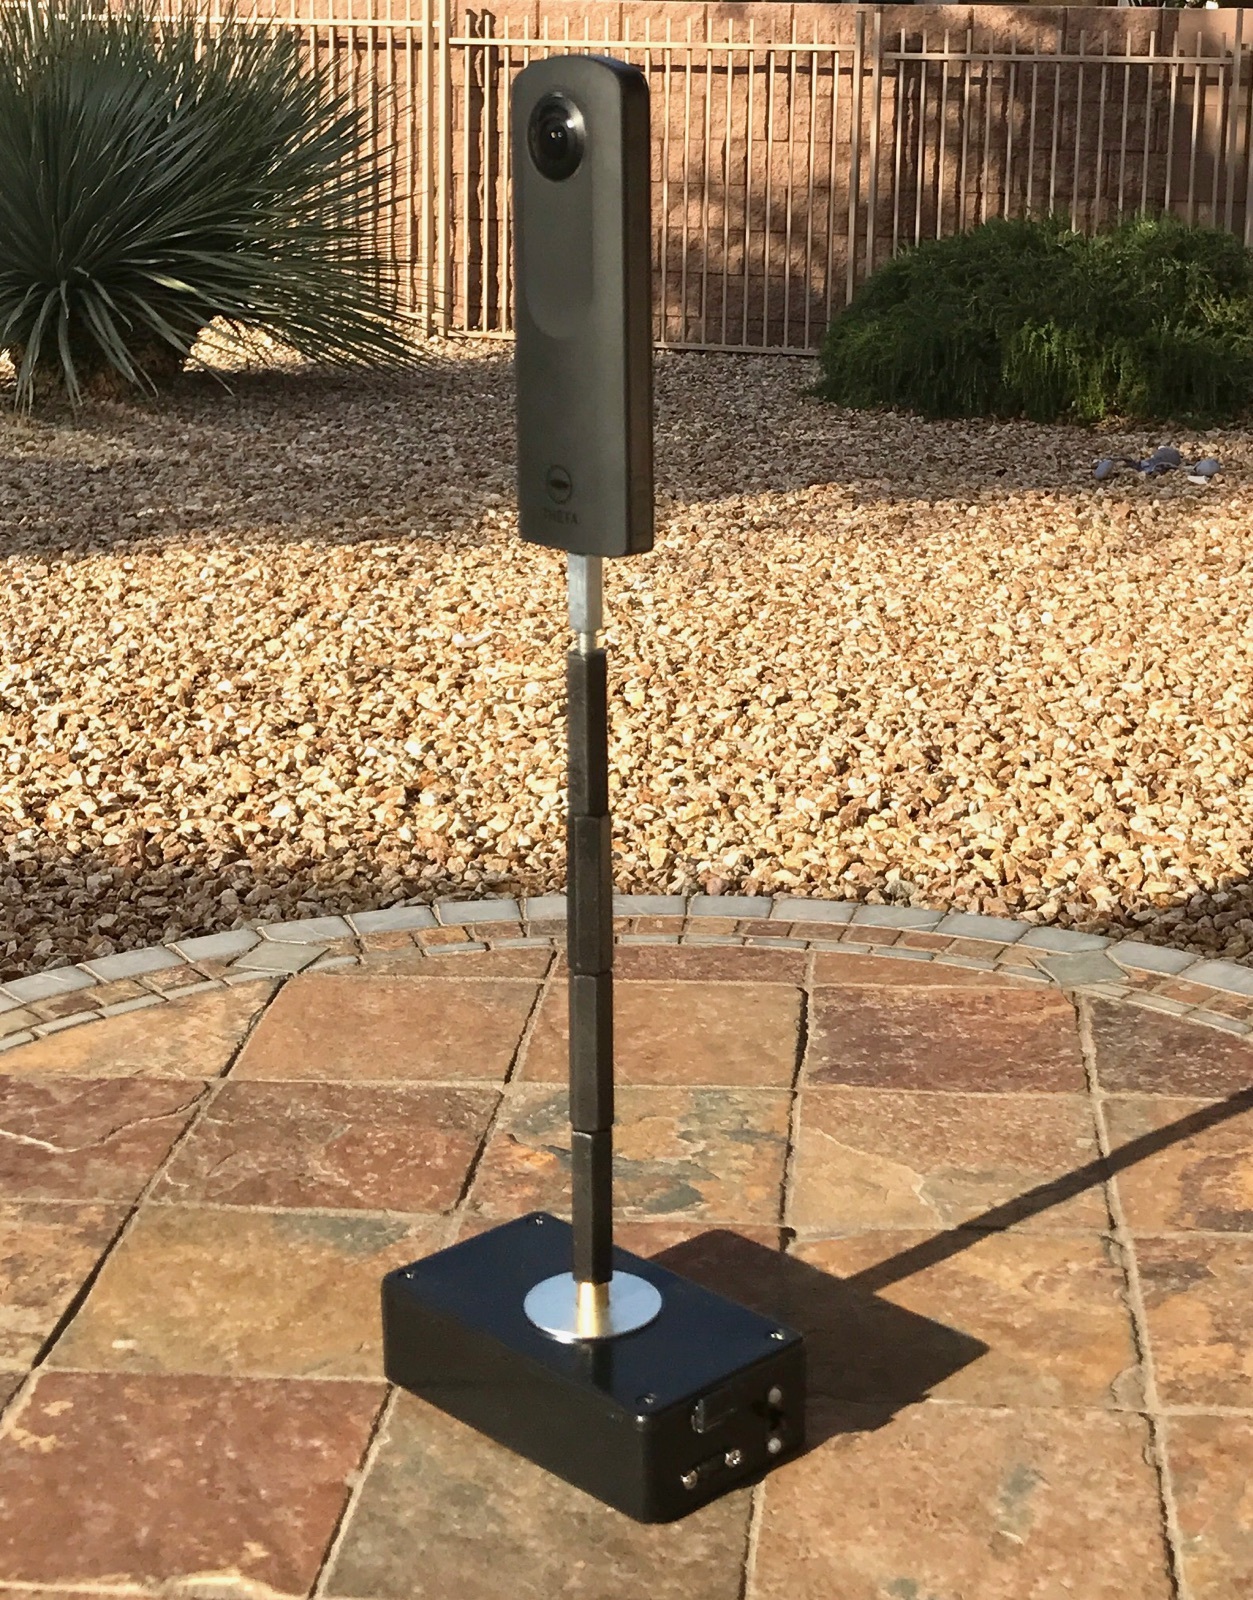
I started with a project box which measures 4.4” x 2.4” x 1.1” and some hardware including a 1/4 20 thread metal rod so that I could incorporate the designs offered elsewhere on this forum to allow using the camera’s mount thread while still having access to the camera’s power and hdmi jacks.
Here is the finished product depicted with it’s short mount and with it’s short mount with added extension.
But wait, there is more!
The LBB needed to have some ballast to increase it’s stability when configured with it’s extension rod so I packed the box with some goodies.

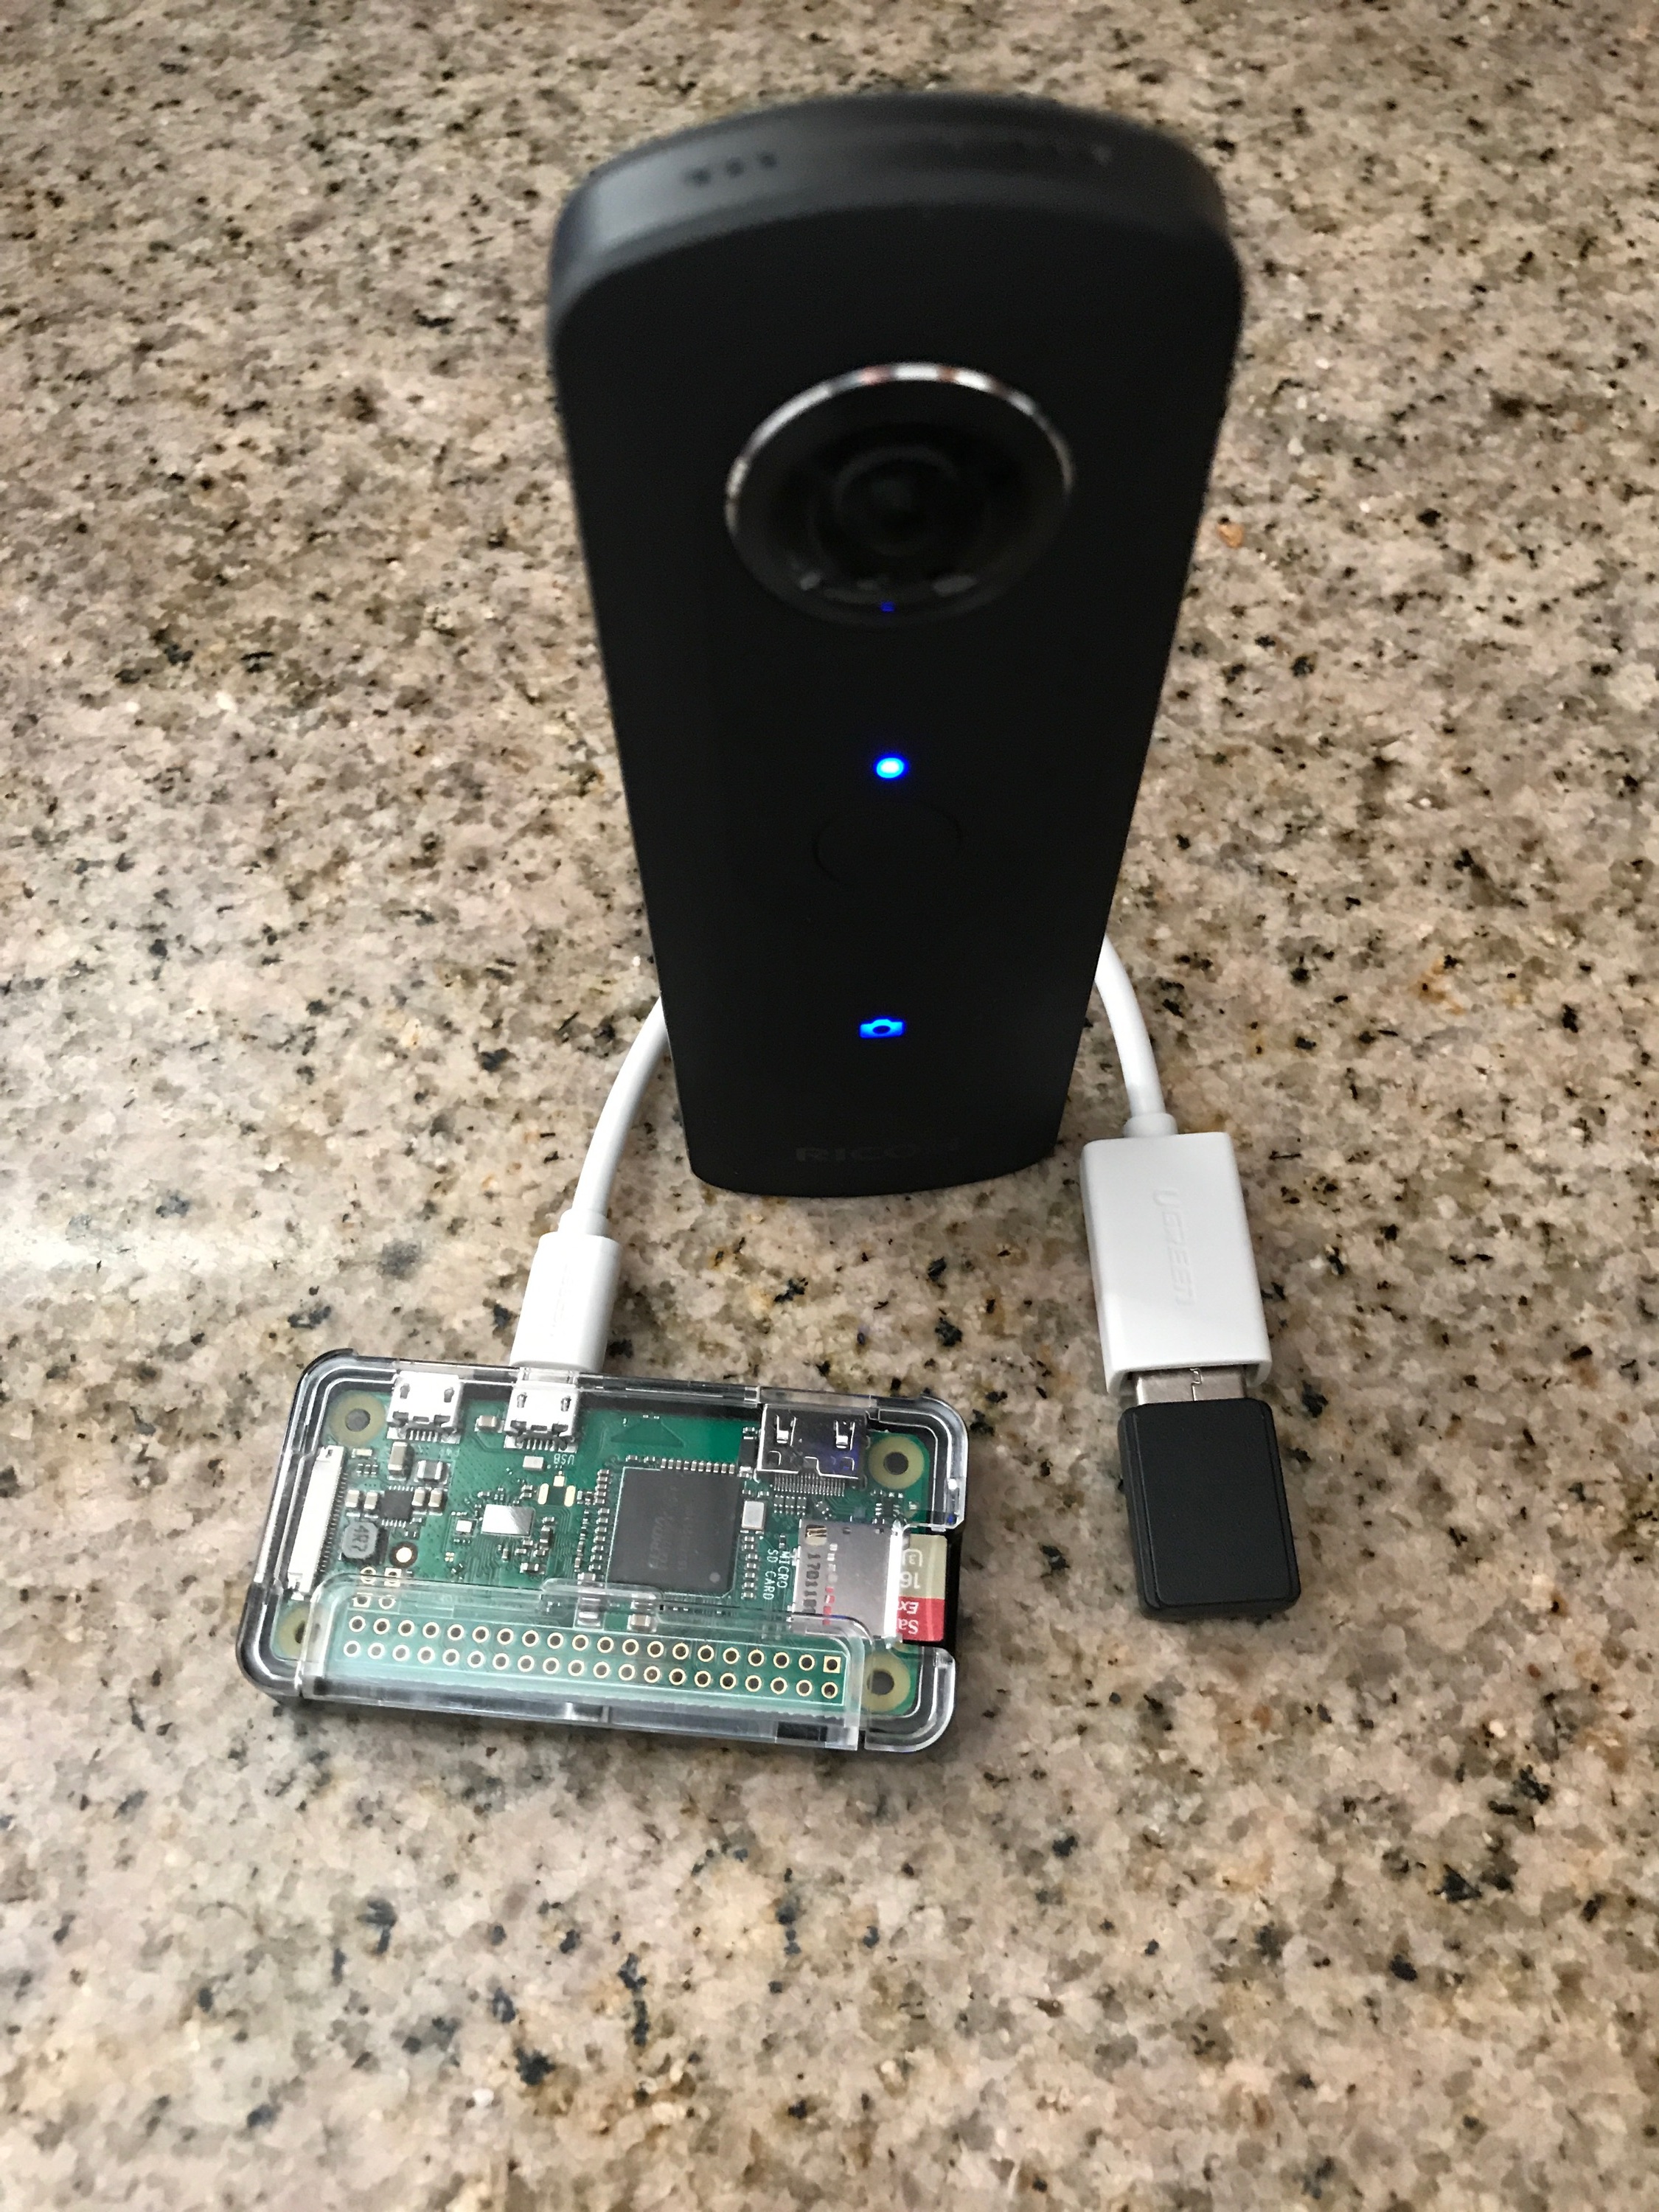
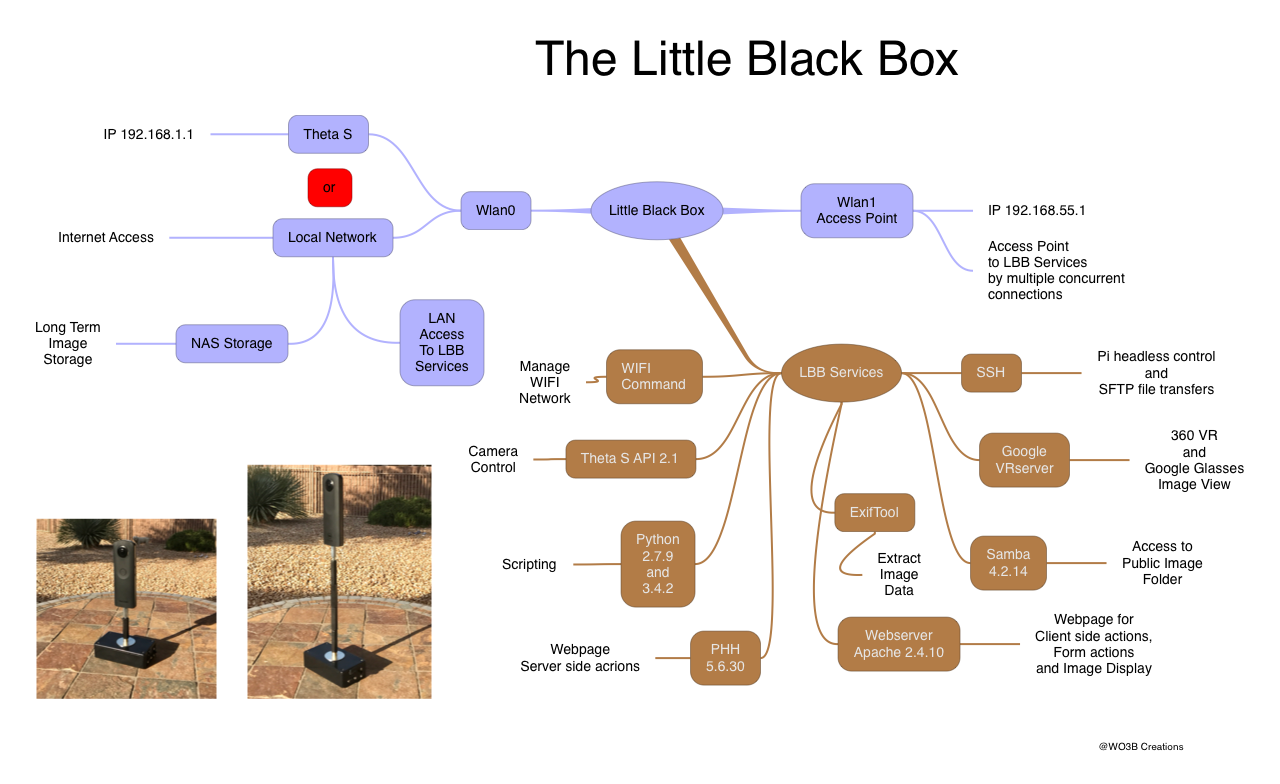
The main components are a 2500mA LiPo battery, an Adafruit PowerBoost 1000C, a Raspberry Pi Zero W, a Professional Ultra SanDisk 64GB MicroSDXC card and a Edimax EW-7811Un 150Mbps 11n Wi-Fi USB Adapter.
Now the LLB has a lot more heft then the Theta S.


Well, that is it for the major pieces of hardware for this project. Anyone care to guess which piece of hardware was the most expensive?
What about the software?
I started with the Python code that I wrote for the Time-Lapse challenge and am still expanding from there. I plan to write up the software side after it becomes more mature but it is currently functional for a limited group of functions.
The Pi Zero W is setup with the following packages:
Raspbian Jessie
Apache 2.4.10 webserver
PHP 5.6.30
Python 3.4.2
Samba 4.2.14
SSH
Google VRview
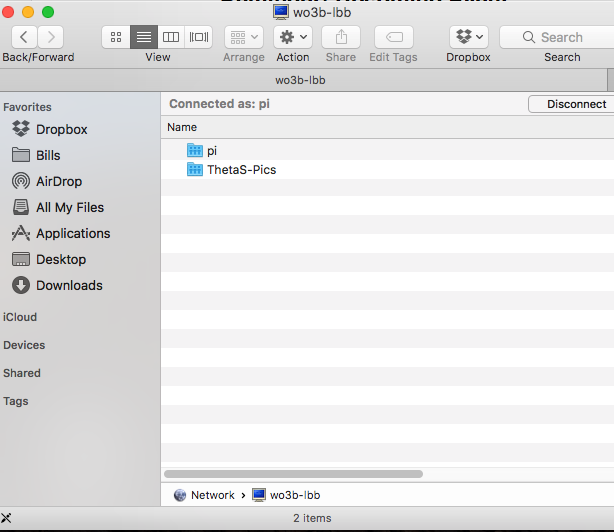
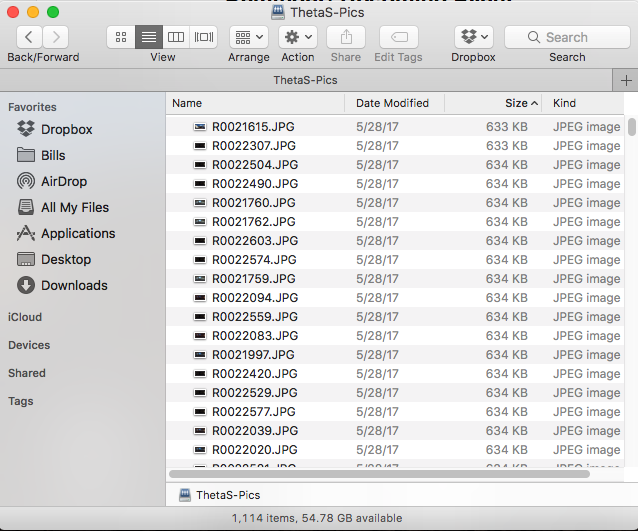
The Pi Zero also has two WIFI networks. Wlan0 is used to talk to the Theta S or when the Theta S is not connected to my local network. It is set so that the Theta S has priority if both networks are available for connection. Wlan1 is an access point used to control the Pi via web browser, SSH, or to download pictures from the Pi with Samba.
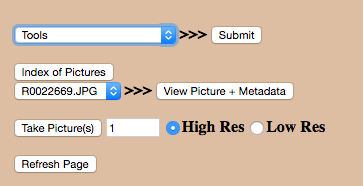
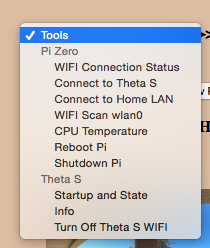
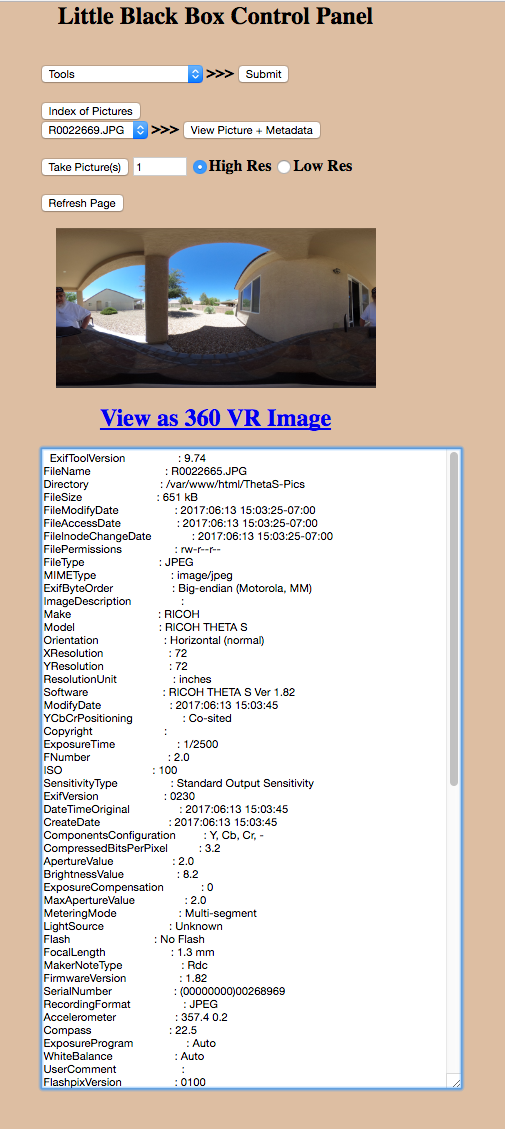
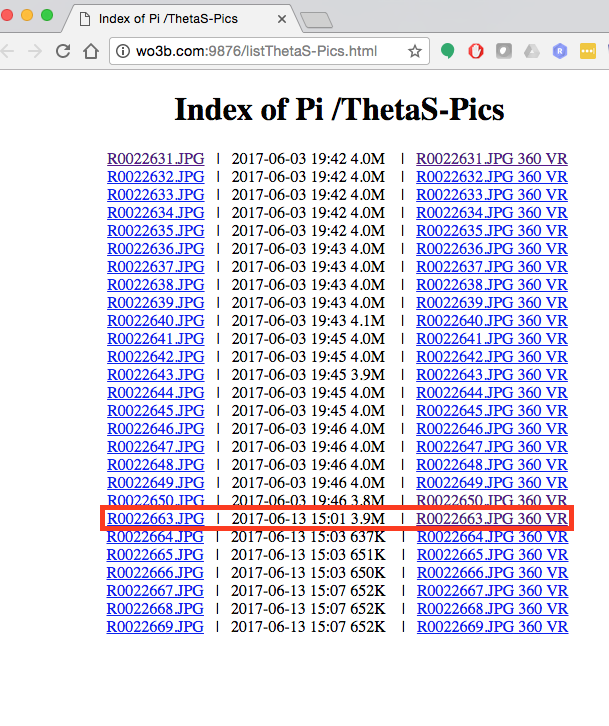
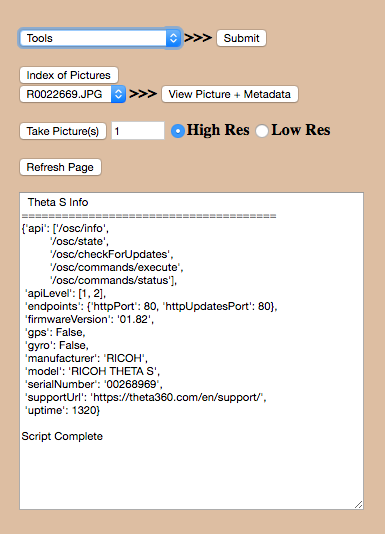
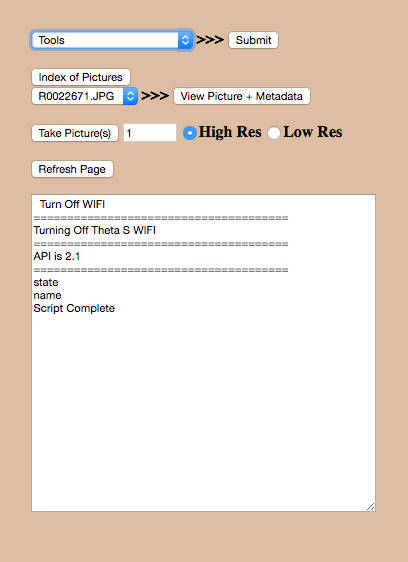
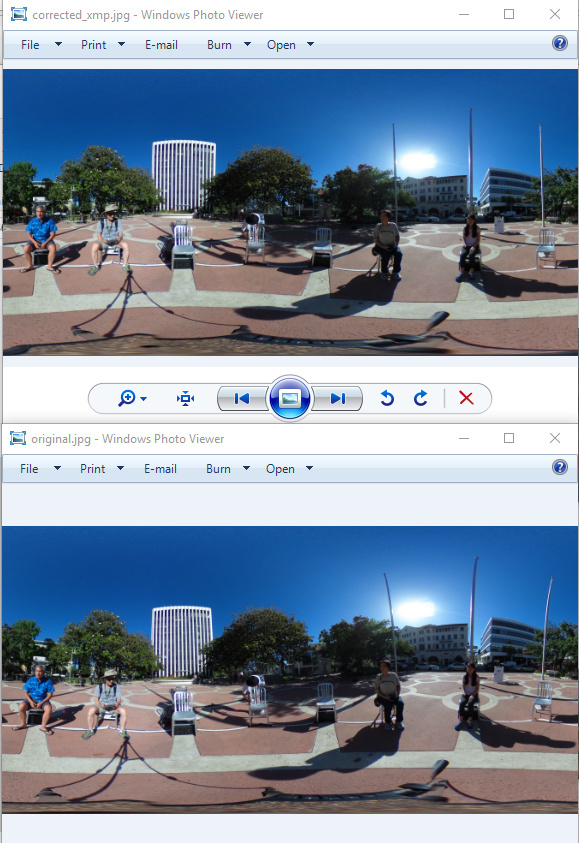
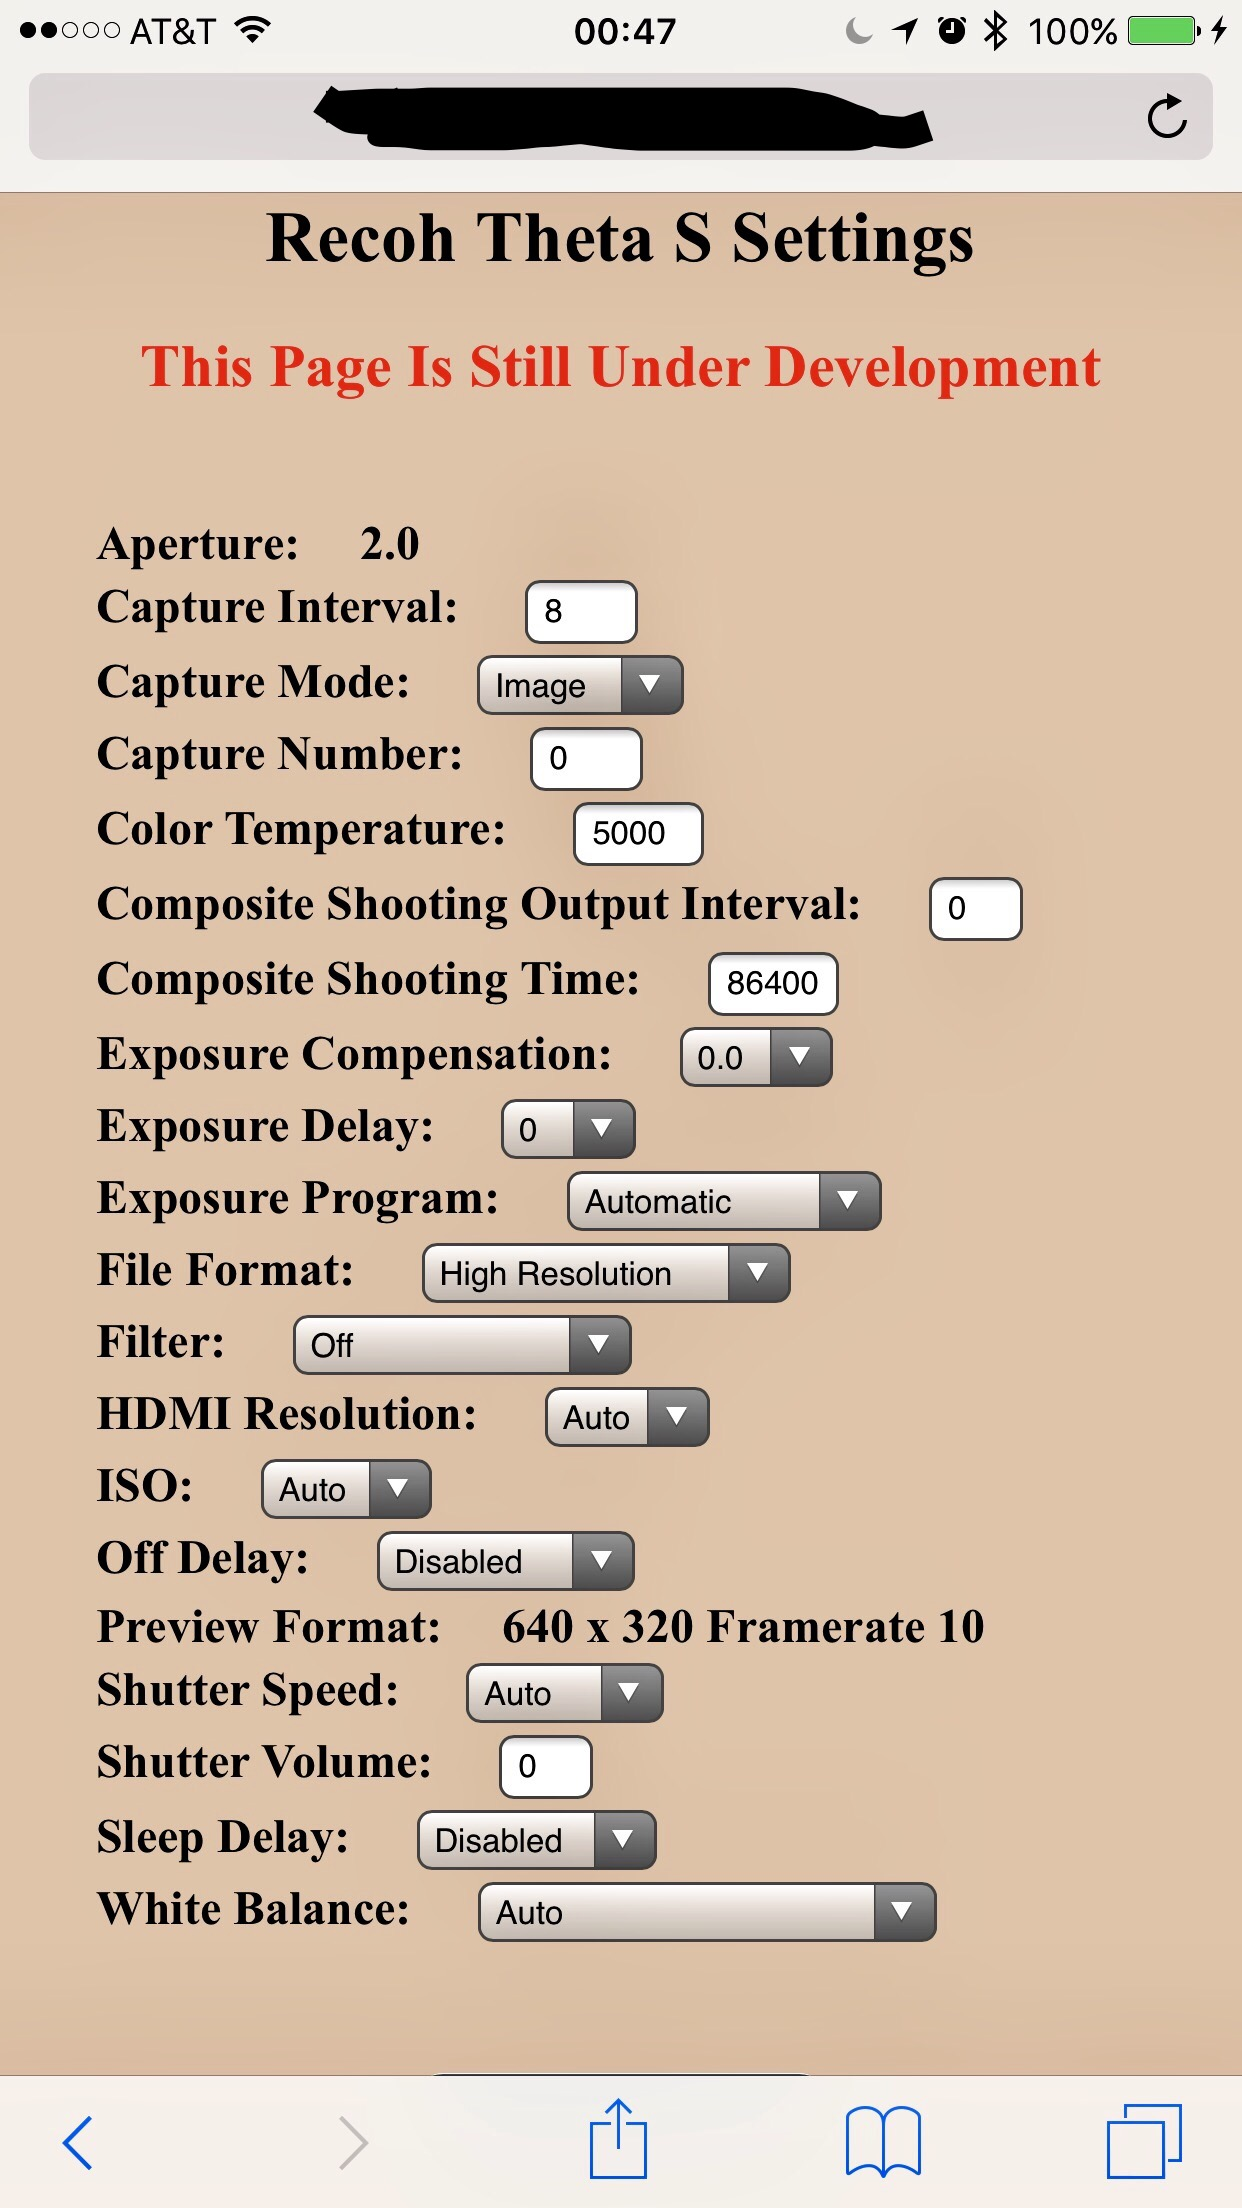
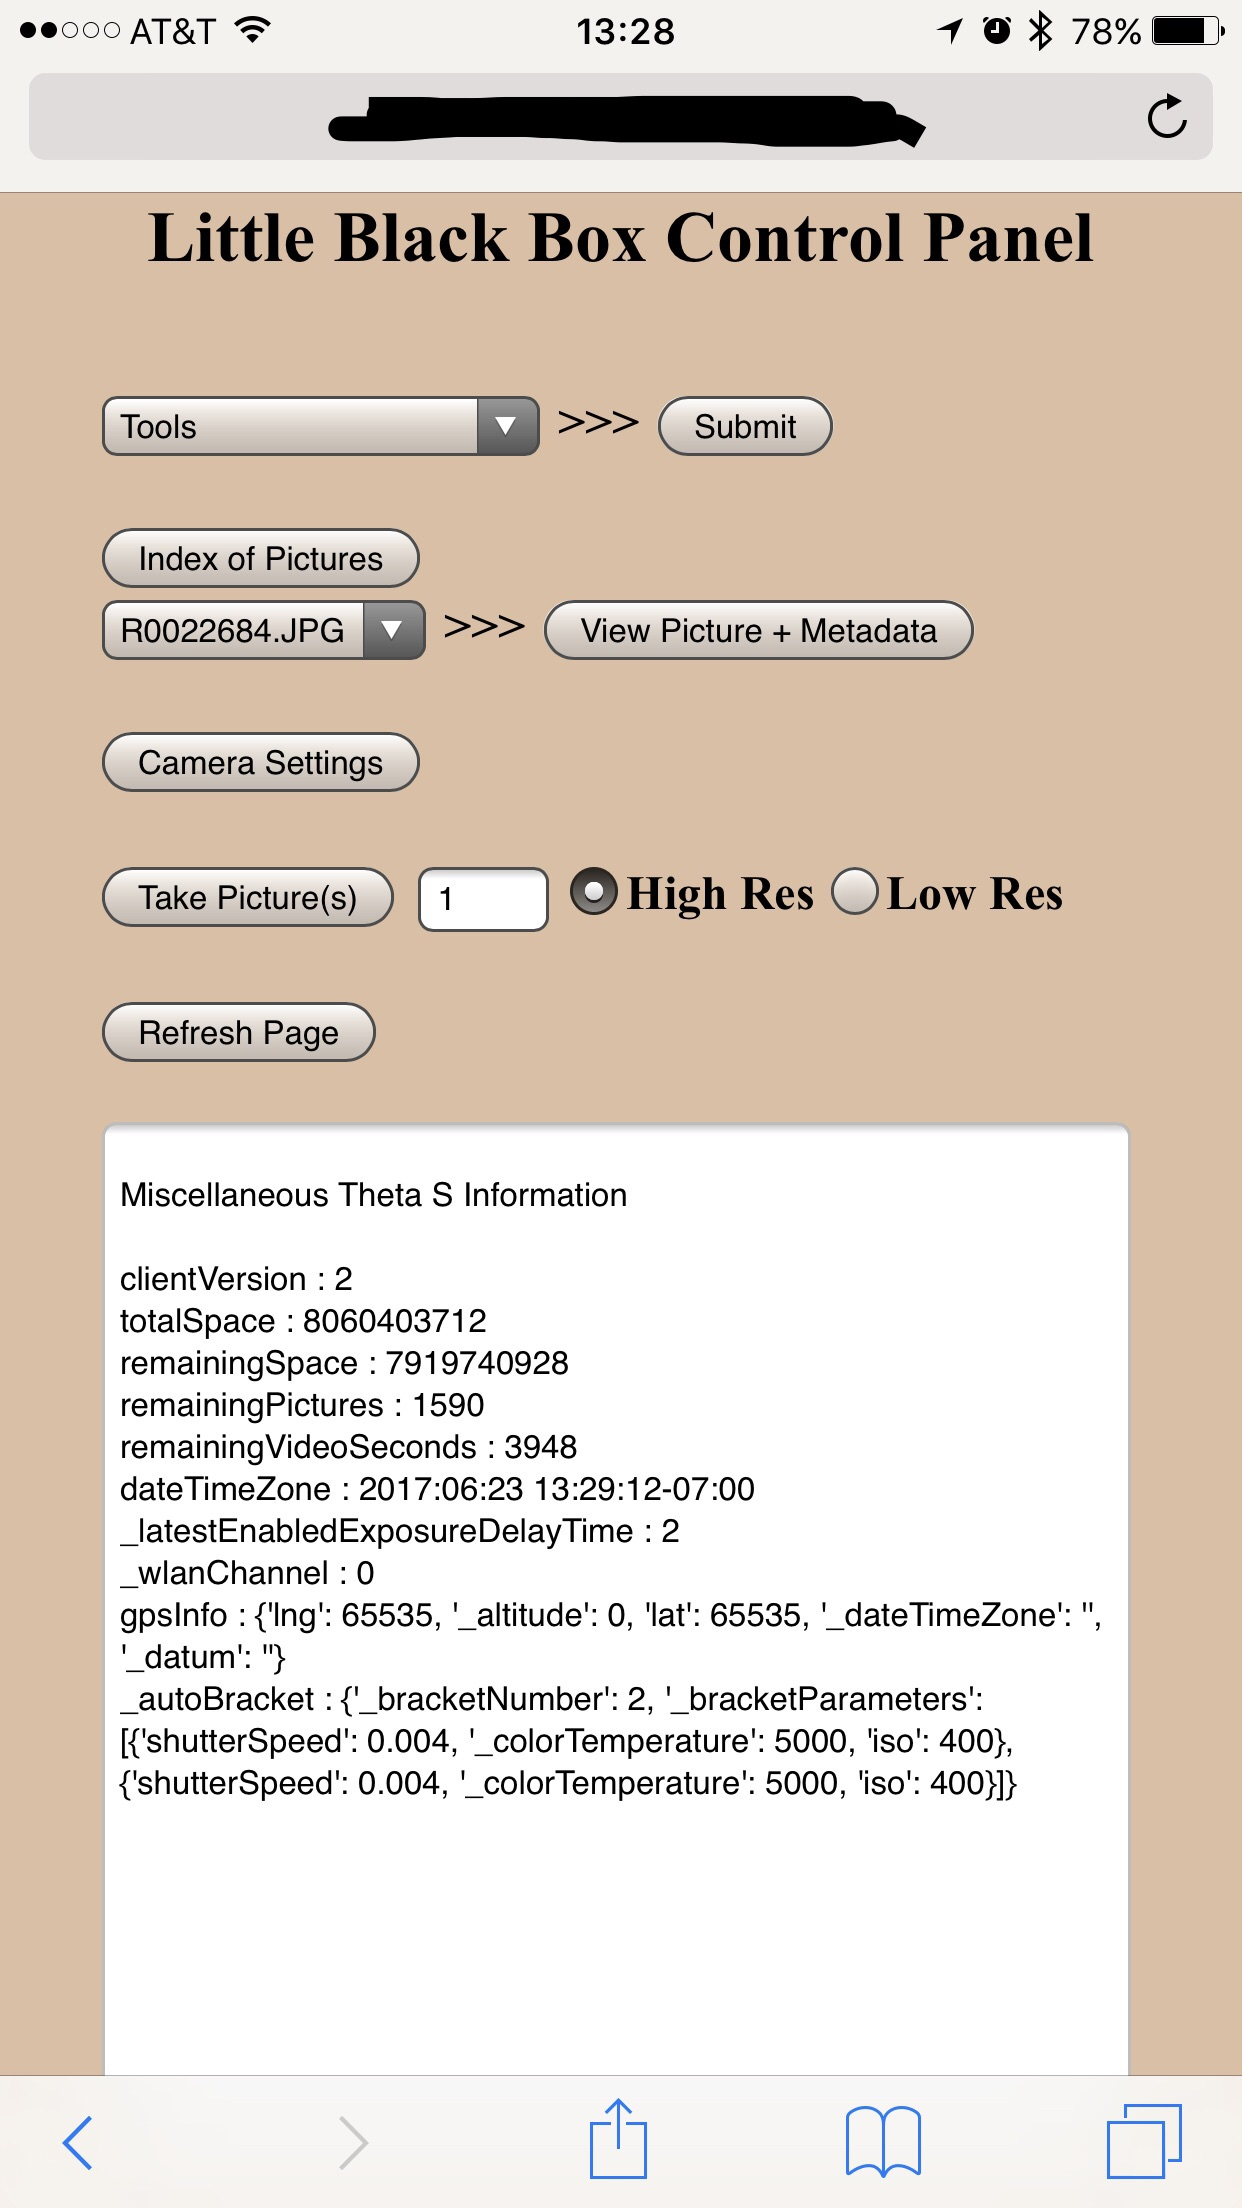
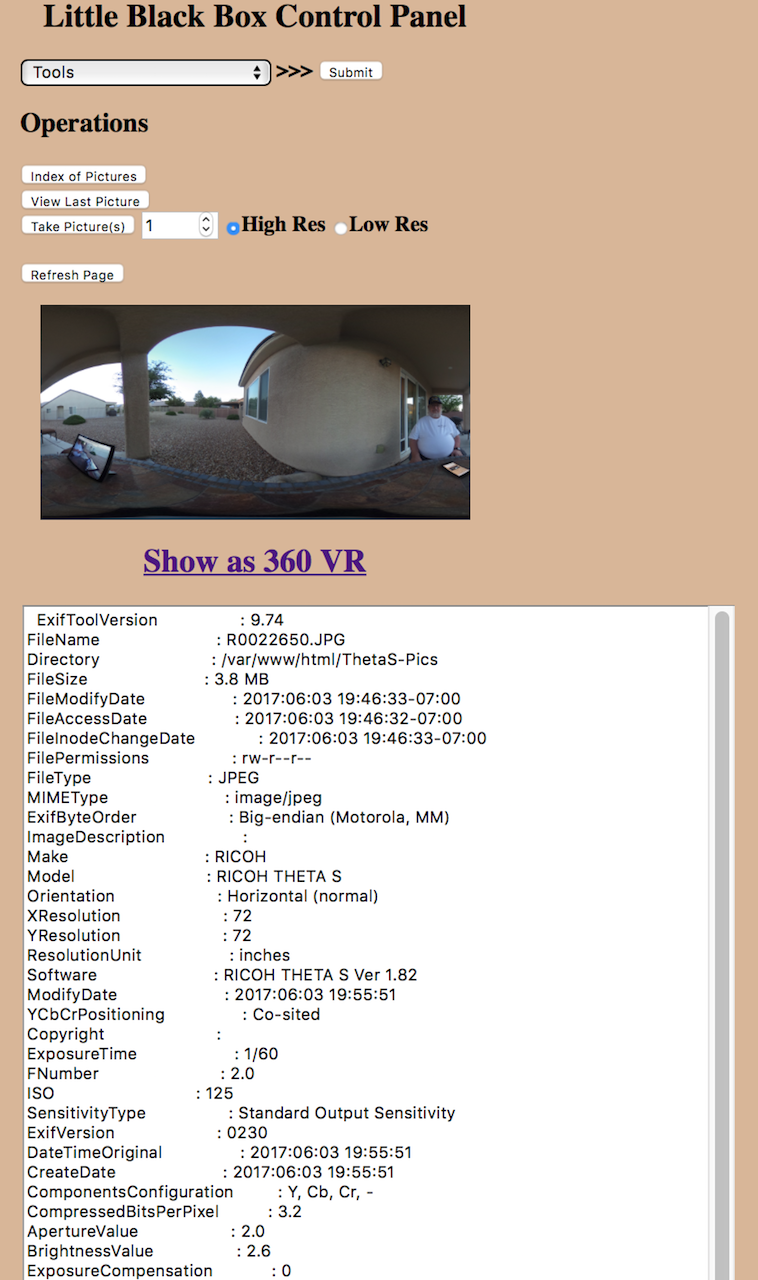
The following pictures will give you some idea where I am at with the software/web development side of my project.
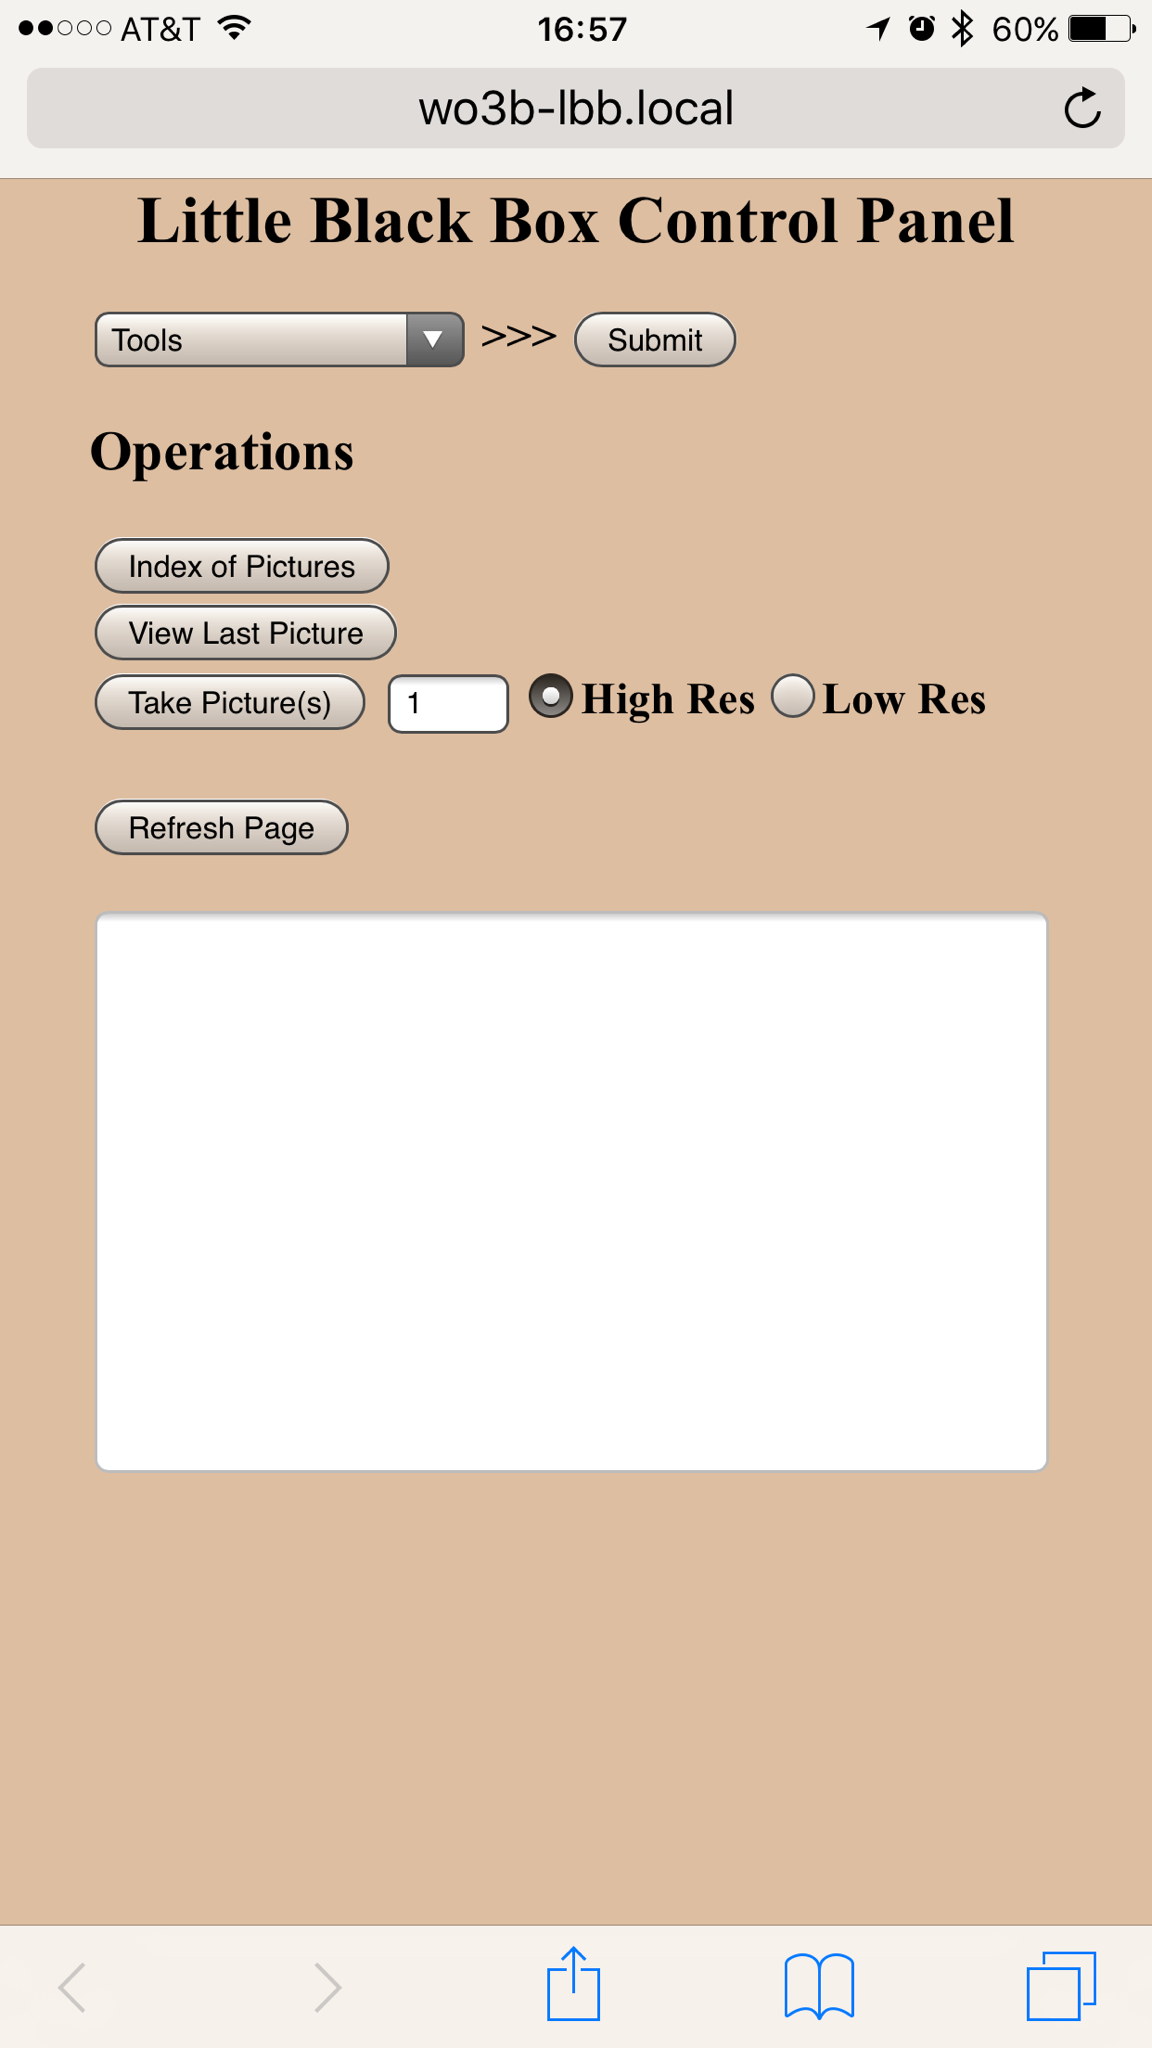

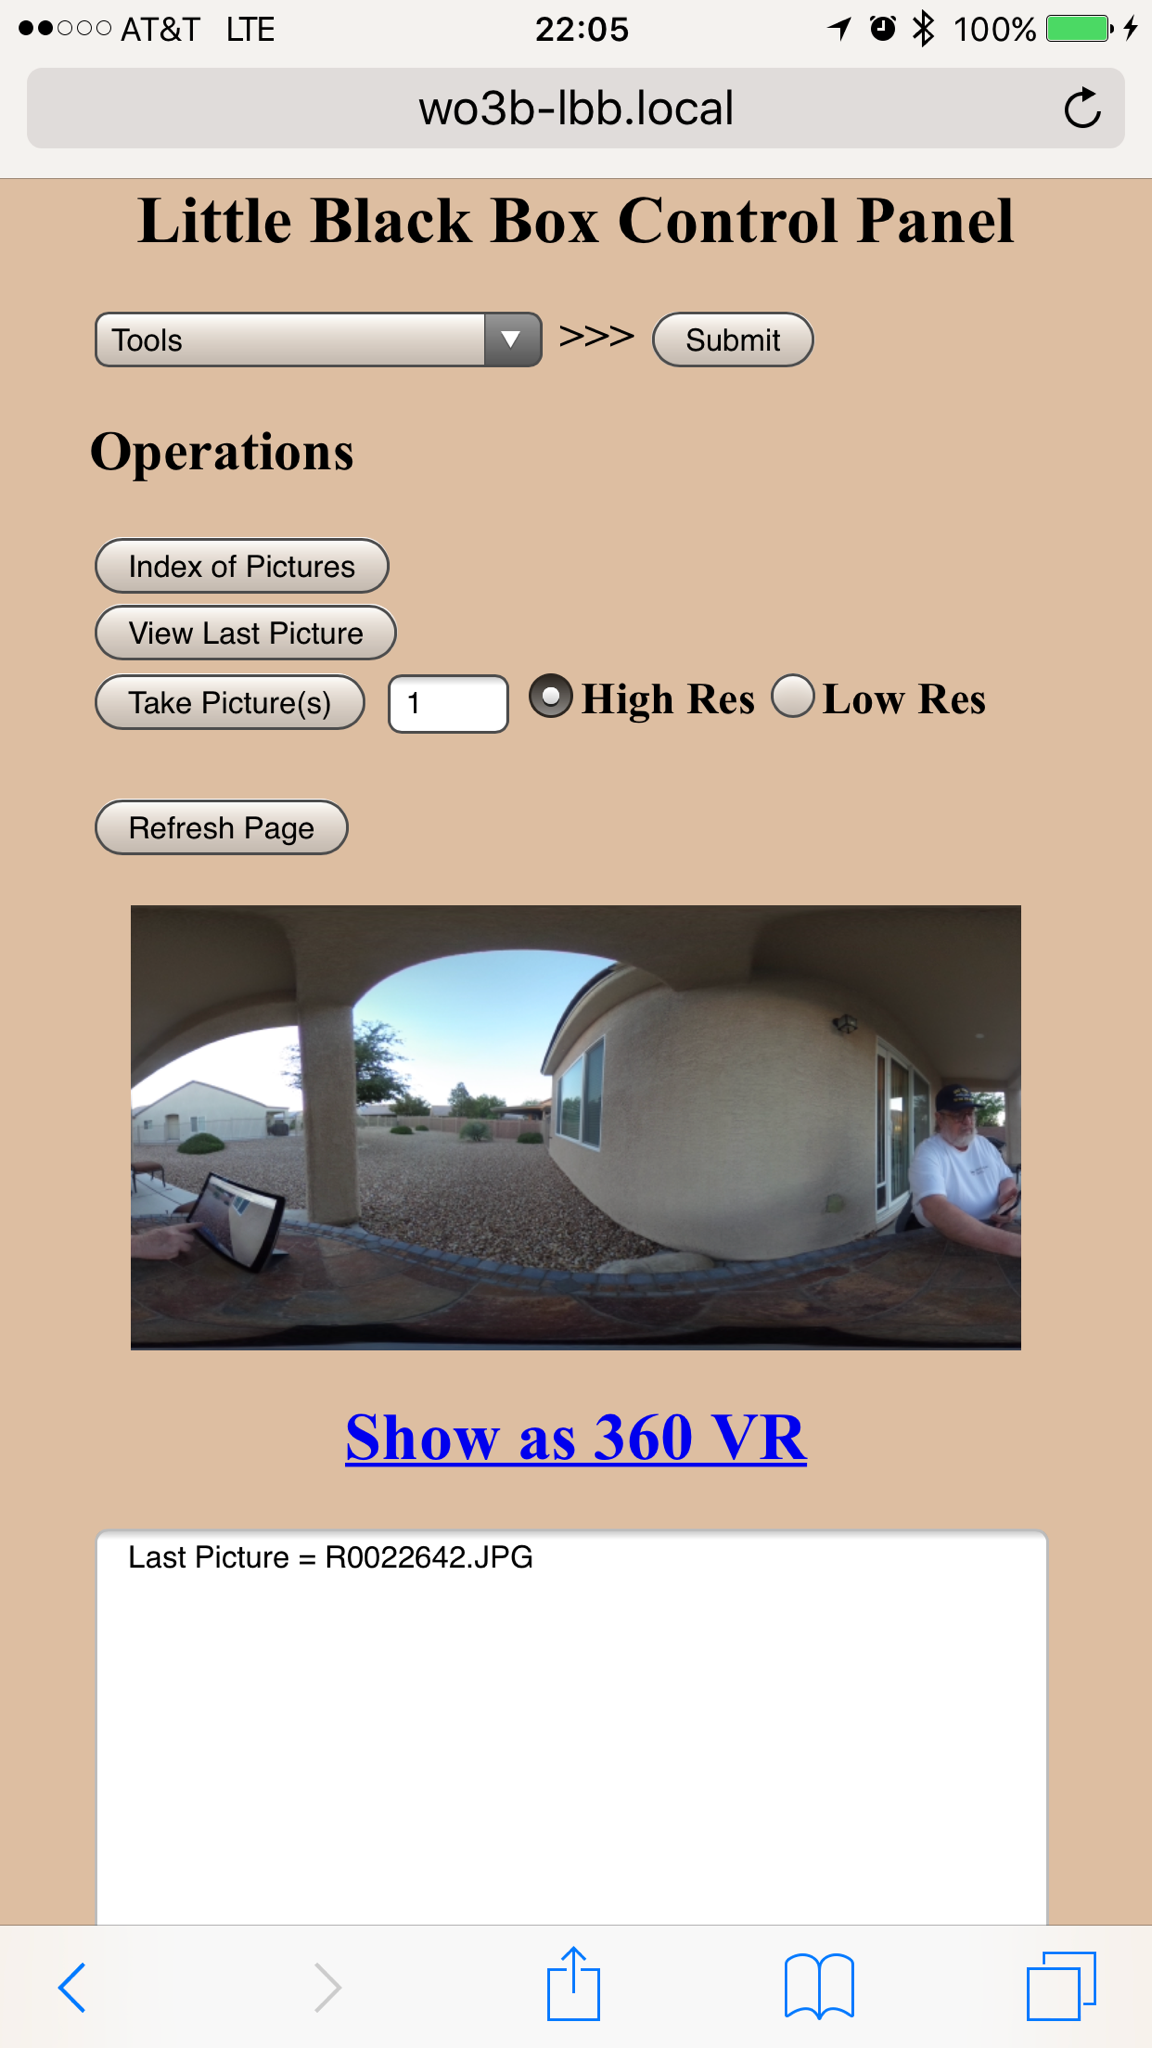
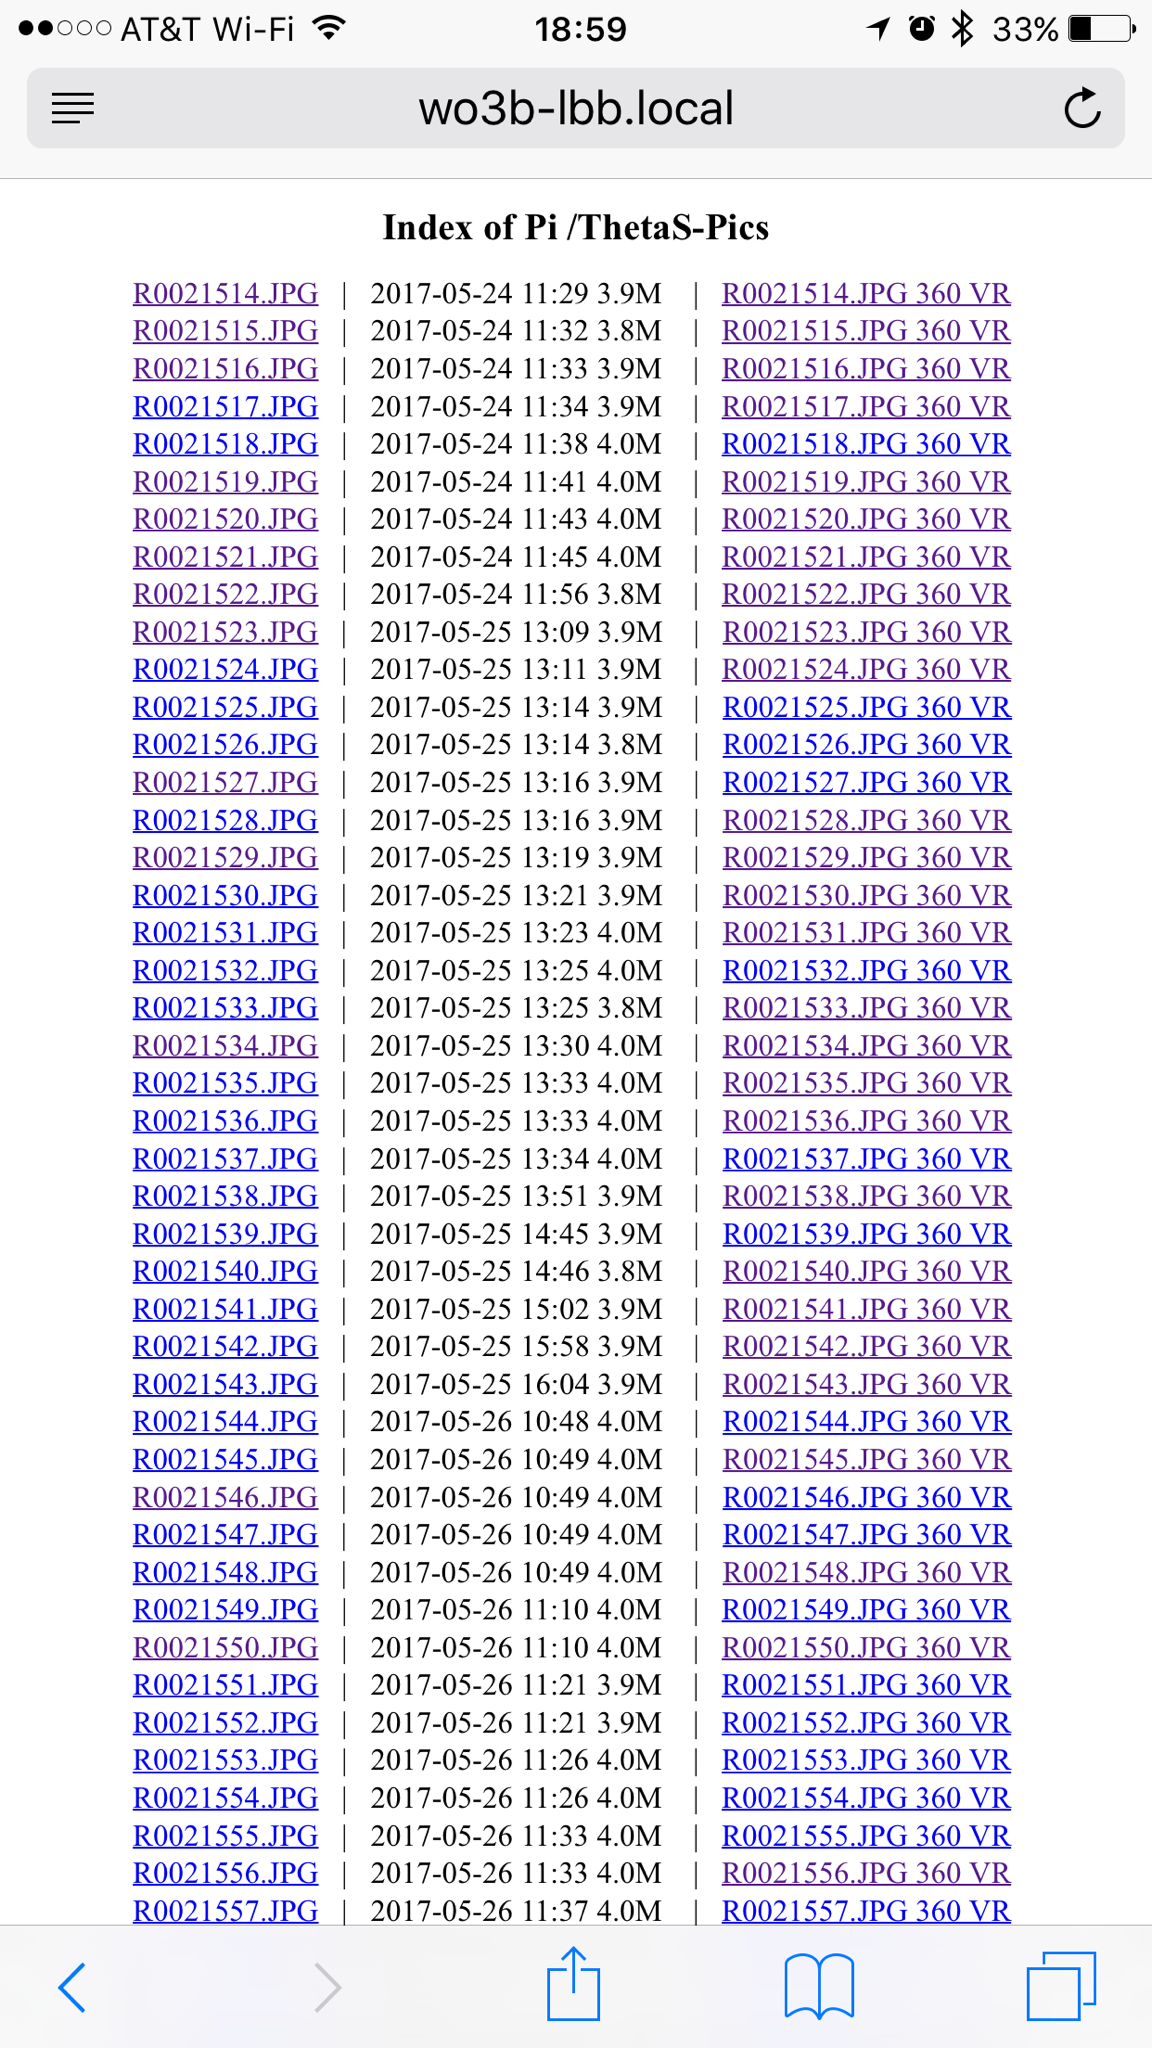
Notice the ability to view pictures as either flat jpegs or as 360 VR. I can even view them in Google Cardboard on my iPhone direct from the LBB index of Pi ThetaS-Pics.
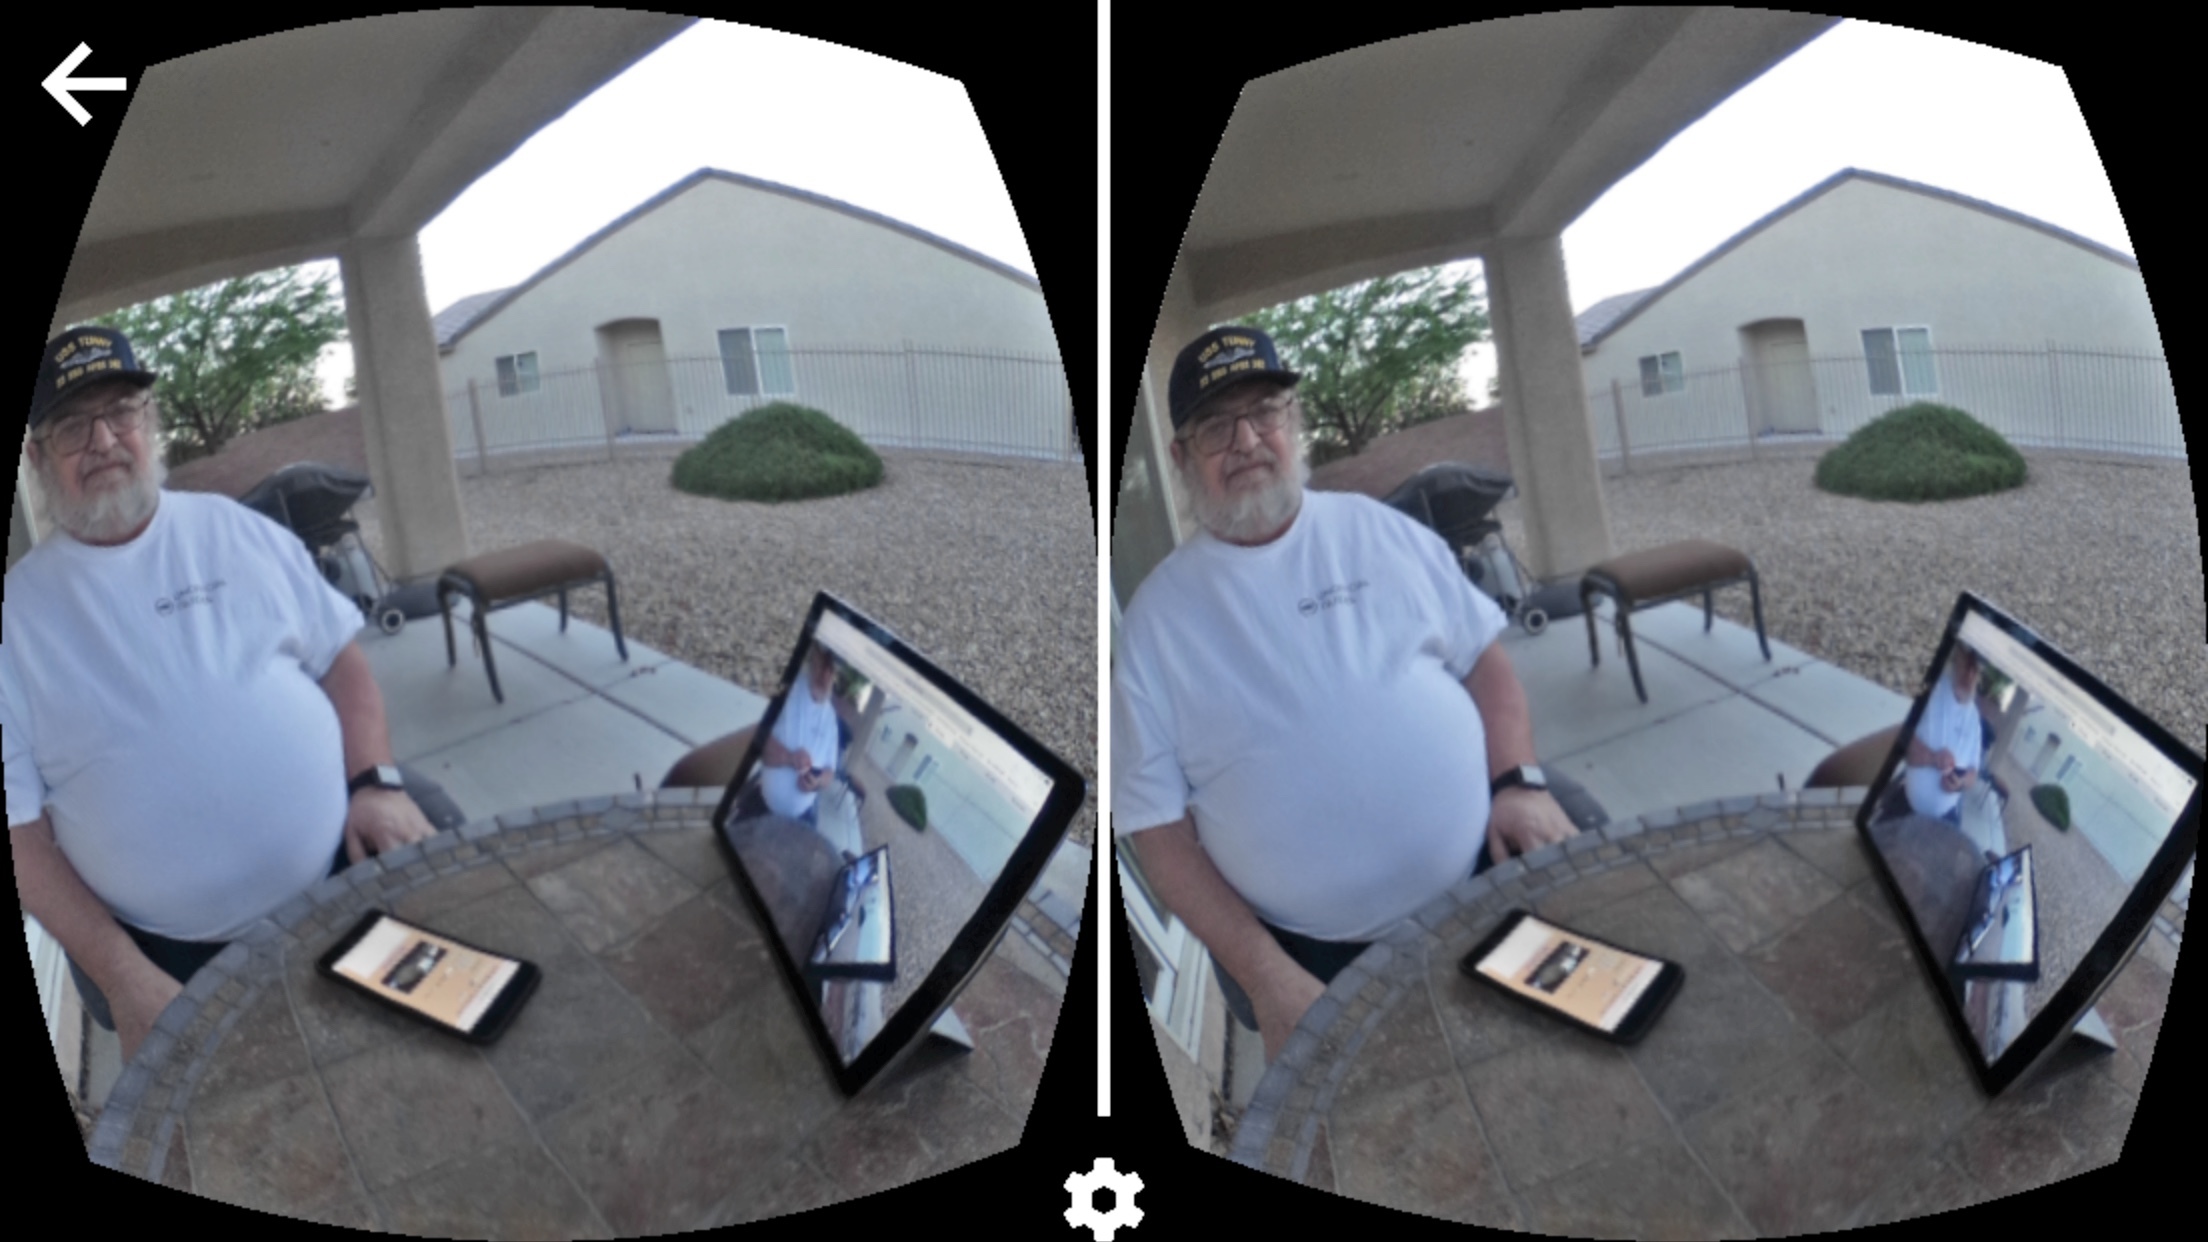
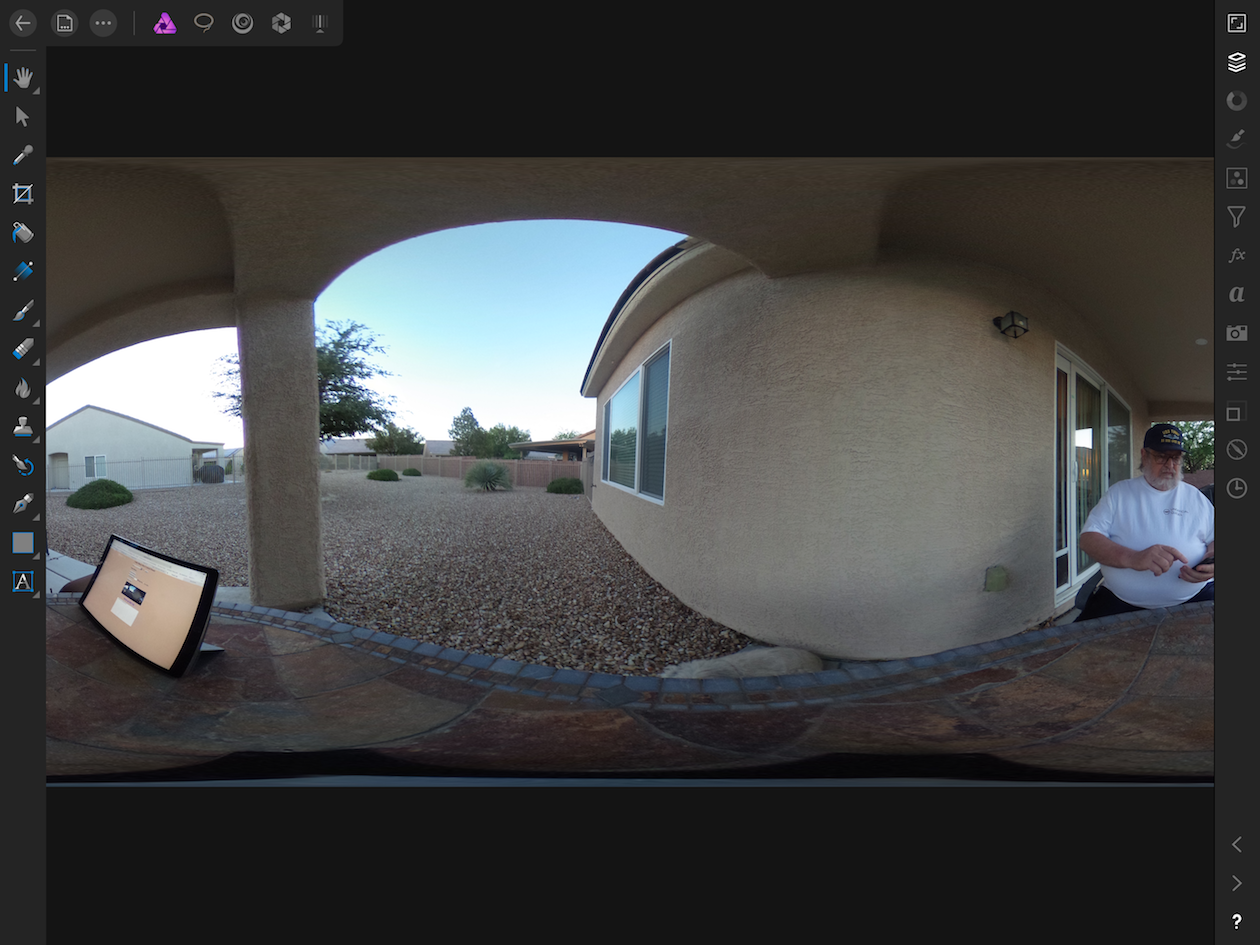
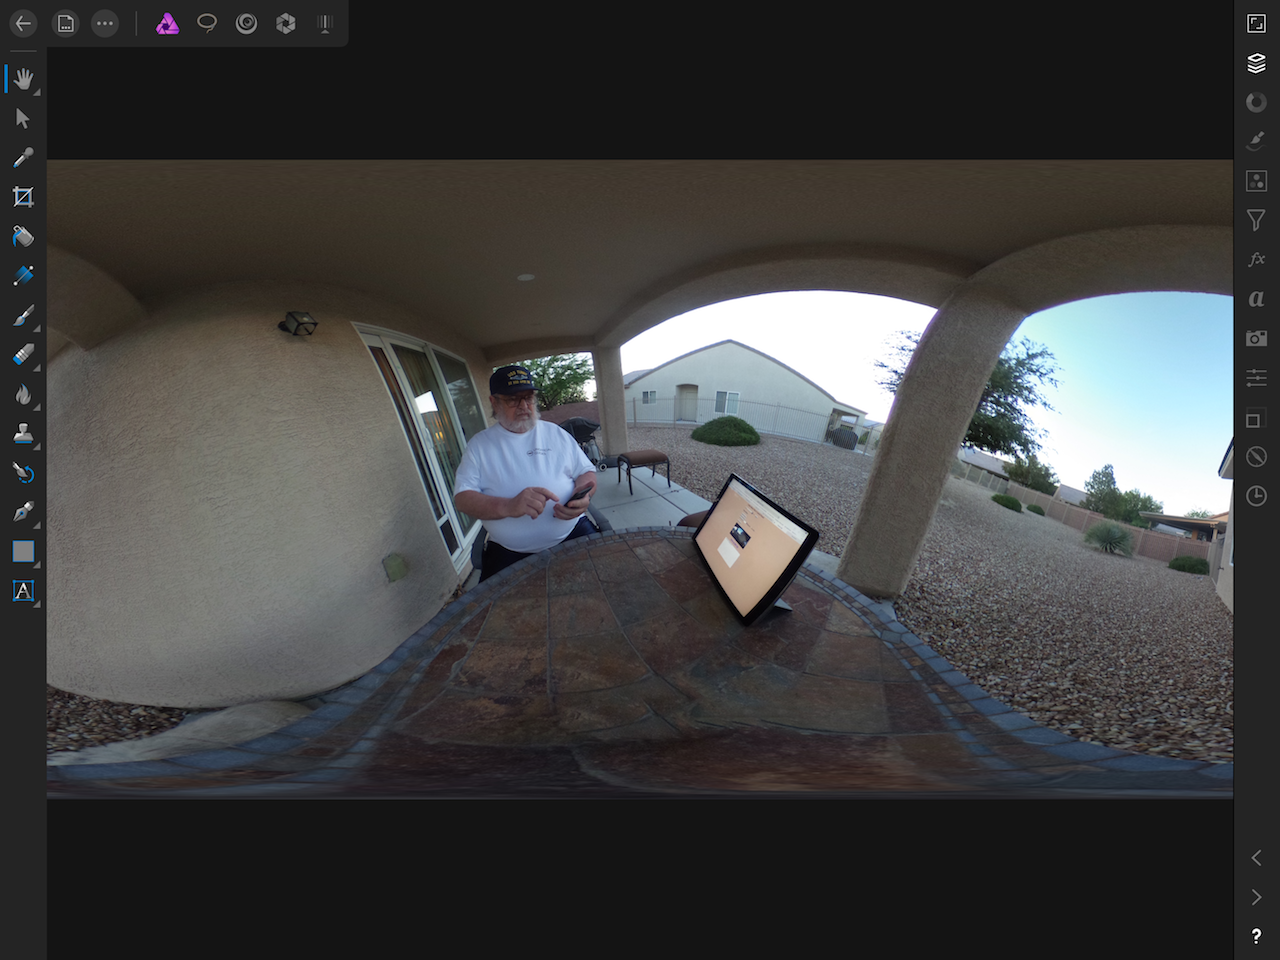
Lastly here is a link to a Theta360.com photo from my last testing. The photo shows me viewing photos while the camera is still capturing photos from the 10 photo command that I had asked for. I am viewing photos on both my iPhone and iPad in 360 VR within seconds of them being shot and while the camera is working on its 10 picture run. This feature would be really nice to check status or just grab pictures while on a really long run.
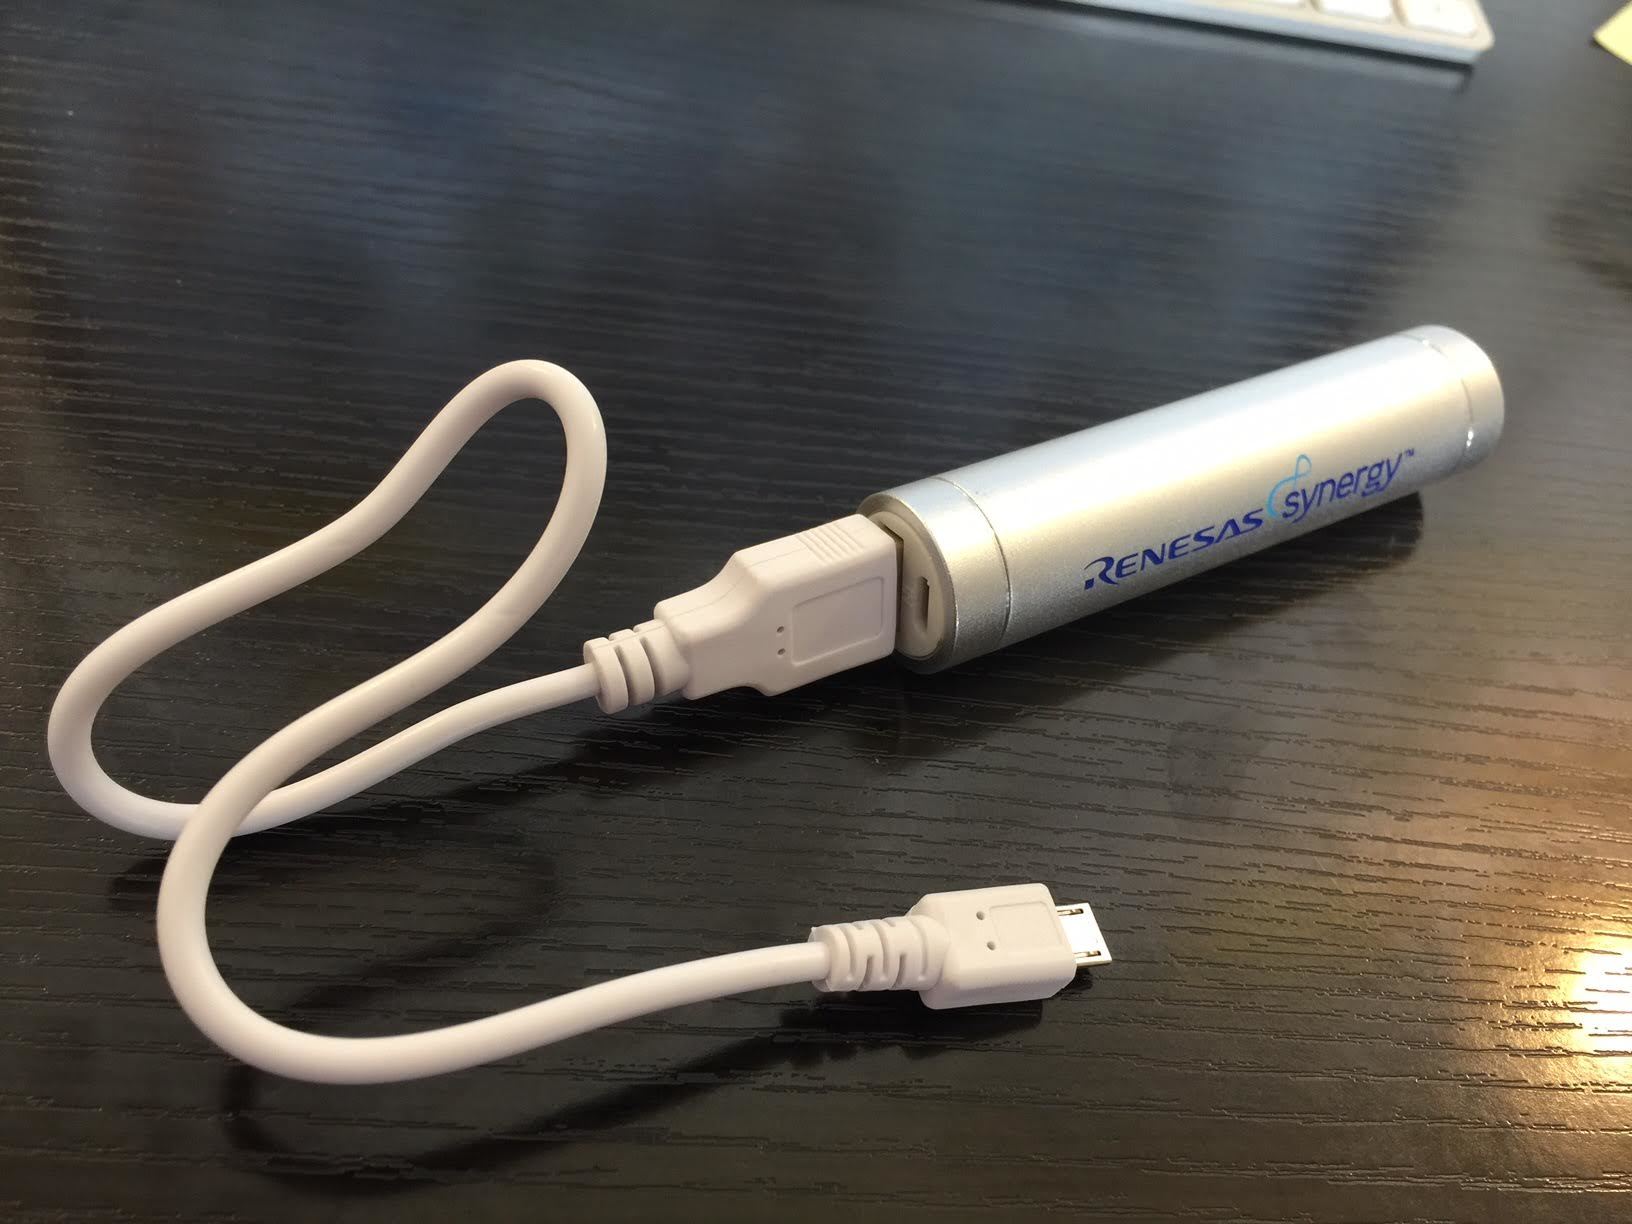
In this run I am using internal power for the Theta S and for the LBB PI but the LBB is capable of having external power (5V micro USB) applied to it as well. When the LBB is receiving external power it can also power Theta S from a USB connector on the side of the box. The LBB charging and boost circuit and associated LiPo battery will ensure that the 5v applied to the Theta S is a clean and constant 5v.
Post from RICOH THETA. - Spherical Image - RICOH THETA

 mirror


 It’s cool seeing the “MVP” package as well.