MotionJPEG is sent as a continuous stream of bytes. To acquire the stream from a RICOH THETA , use camera.getLivePreview. Once you are listening to the stream, you need to extract JPEG frames from the stream by looking for the start and stop of each frame.
If you want to review how to acquire the motionJPEG stream from a Z1 with a POST command, refer to article below.
livePreview, MotionJPEG on RICOH THETA - Acquiring the Data Stream
If you’re using Dart, I’m using a different HTTP library for the SC2 livePreview. I plan to cover the same material for the SC2 livePreview in future articles. However, if this is something of interest now, please post below and I will take the feedback into consideration when planning the content schedule.
Iterate Through Stream
The data is received as a List (or Array) of bytes.
You need to iterate through the list, then check for the start (0xff 0xd8) and stop bytes (0xff 0xd9) of each frame.
At the end of the last article, we are listening to the stream with this snippet.
response.listen((List<int> data) {});
Loop through the list.
response.listen((List<int> data) {
    for (var i = 0; i < data.length - 1; i++) {
    }
Check for Start of JPEG Frame
MotionJPEG is simply a set of JPEG images.
Each JPEG image starts at 0xff 0xd8. We’re going to start the start and end position of each frame.
  List<int> buffer = [];
  var startIndex = 0;
  var endIndex = 0;
response.listen((List<int> data) {
    for (var i = 0; i < data.length - 1; i++) {
      if (data[i] == 0xff) {
        if (data[i + 1] == 0xd8) {
          startIndex = i;
          print('start index is at position $startIndex');
        }
      }
...
The output
start index is at position 73
start index is at position 73
...
Check for end of JPEG Frame
Each frame ends of 0xff 0xd9
else if (data[i + 1] == 0xd9) {
          stdout.write(i);
          endIndex = i + 1;
          print(' end of frame ${data[i]} ${data[i + 1]}');
Store Data in Buffer
buffer.addAll(data);
Write frameData buffer to local storage
fileHandle.writeAsBytes(buf.sublist(startIndex, endIndex));
The full code is below. It opens a file called frame.jpg and saves the bytes from the frame to the file.
///extract single frame from motionjpeg stream from
///RICOH THETA Z1 livePreview
import 'dart:async';
import 'dart:convert';
import 'dart:io';

main(List<String> args) async {
  File fileHandle = File('test_frame.jpg');
  Uri url = Uri.parse('http://192.168.1.1/osc/commands/execute');
  var client = HttpClient();
  Map<String, String> bodyMap = {"name": "camera.getLivePreview"};

  var request = await client.postUrl(url)
    ..headers.contentType = ContentType("application", "json", charset: "utf-8")
    ..write(jsonEncode(bodyMap));

  var response = await request.close();
  StreamSubscription? videoStream;
  var startIndex = -1;
  var endIndex = -1;
  List<int> buf = [];
  videoStream = response.listen(
    (List<int> data) {
      buf.addAll(data);
      for (var i = 0; i < data.length - 1; i++) {
        if (data[i] == 0xFF && data[i + 1] == 0xD8) {
          startIndex = i;
        }
        if (data[i] == 0xff && data[i + 1] == 0xd9) {
          endIndex = buf.length;
        }
      }
      if (startIndex != -1 && endIndex != -1) {
        print('saving frame');
        fileHandle.writeAsBytes(buf.sublist(startIndex, endIndex));
        print('finished saving frames');
        if (videoStream != null) {
          videoStream.cancel();
          client.close();
        }
      }
    },
  );
}
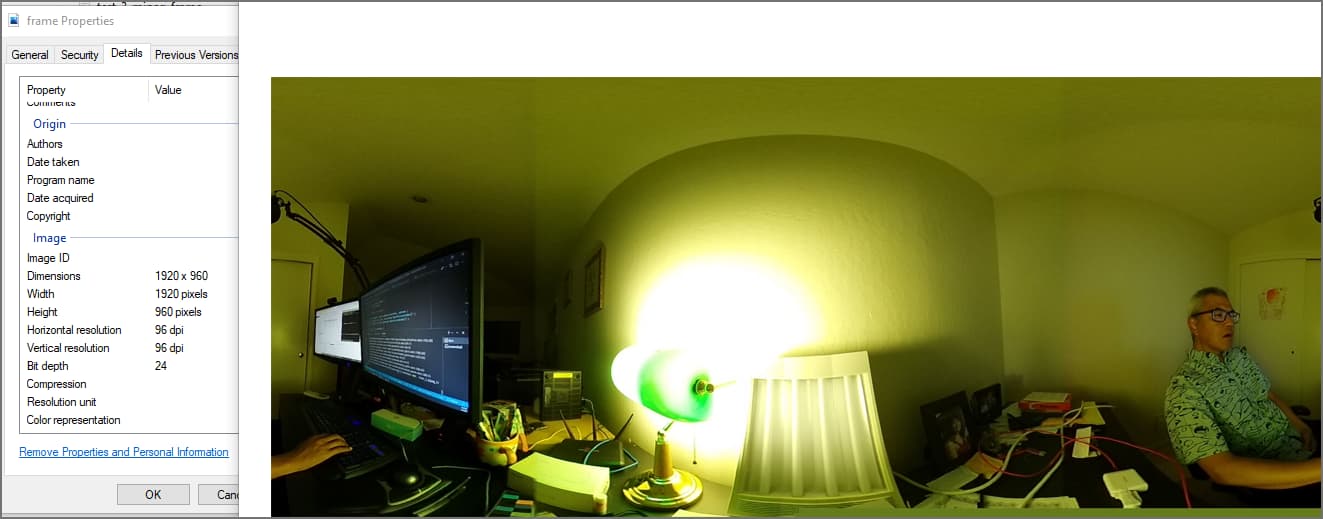
View Image on Development Workstation
You can click on the image to view it in equirectangular format.
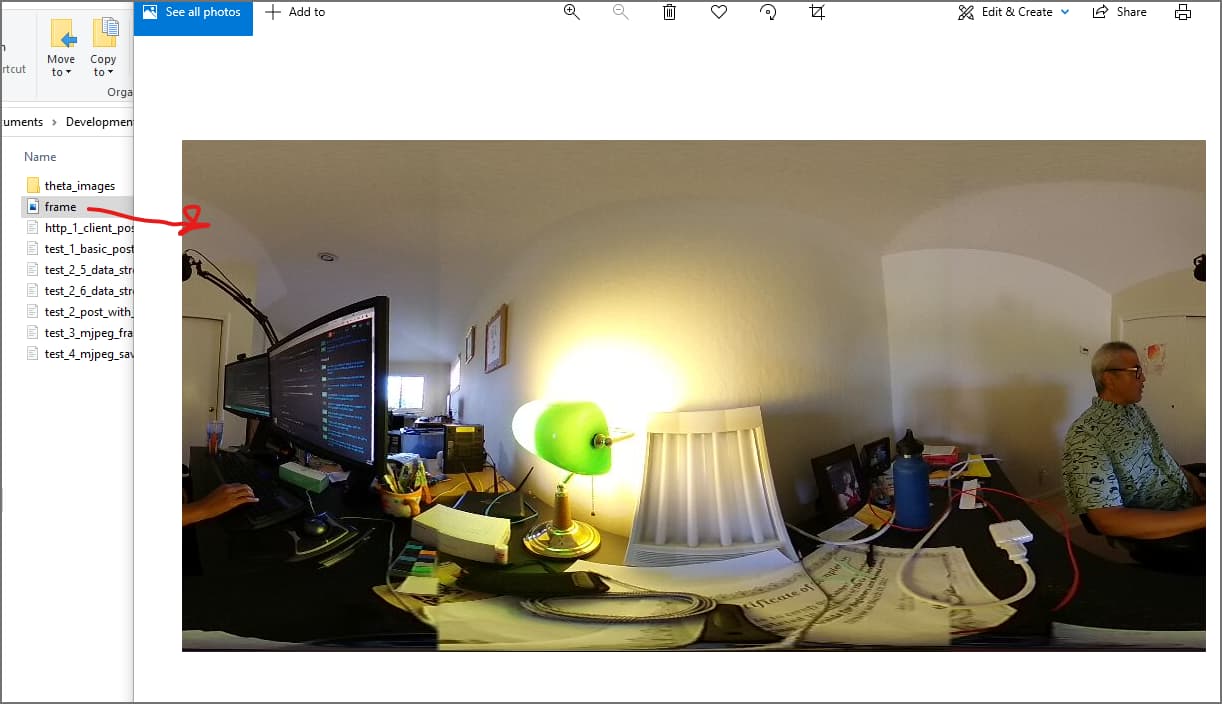
Using FSPViewer, you can see it in 360.
Adjusting motionJPEG frame size to 1920x960
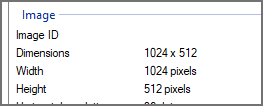
The default frame size is 1024x512
According the RICOH documentation, I should be able to change this to 1920x960.
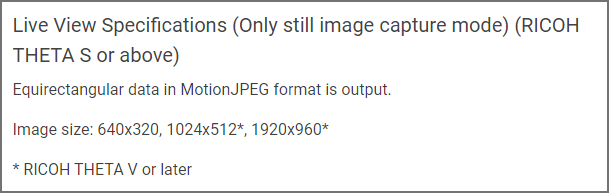
There is an API to adjust the livePreview format.
For RICOH THETA V or later
{“width”: 1920, “height”: 960, “framerate”: 8} *1

{“width”: 1024, “height”: 512, “framerate”: 30} *2

{“width”: 1024, “height”: 512, “framerate”: 8}

{“width”: 640, “height”: 320, “framerate”: 30} *2

{“width”: 640, “height”: 320, “framerate”: 8} *1

*1 firmware v1.00.1 and firmware v1.10.1 or later

*2 firmware v2.21.1 or later
Using the Oppkey Tester, I set the previewFormat as follows:
{ "previewFormat":
    {
        "width": 1920,
        "height": 960,
        "framerate": 8
    }
}
Next Steps
In the next article, we’ll set up a delay timer to save the frames at specific intervals. For example, we can save a frame every 1 second for 1fps or every 500ms for 2fps frames.
At the end of every frame, we need to reset the startIndex, endIndex, buffer and timer.
If you want to store the images in a cache to display on a mobile app screen, Flutter has Image.memory to display images from bytes.
                  Image cachedImage = Image.memory(
                    Uint8List.fromList(
                      buf.sublist(frameStartIndex, buf.length),
                    ),
                    gaplessPlayback: true,
                  );
                  precacheImage(cachedImage.image, context);
All these techniques will be covered in detail in future articles. I’ll use the mjpeg and livepreview tags on future articles in this series.