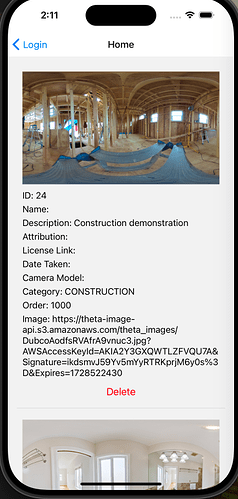
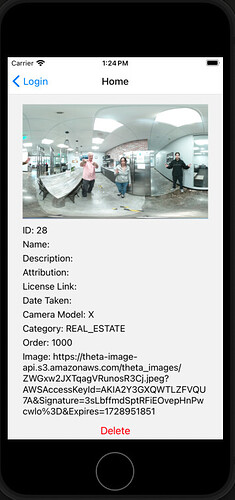
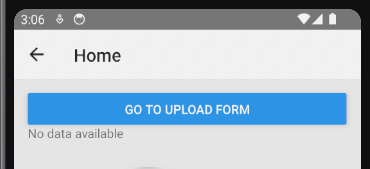
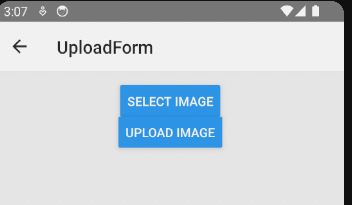
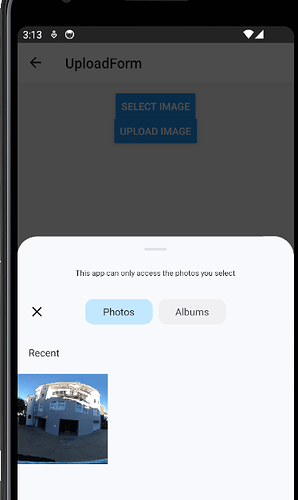
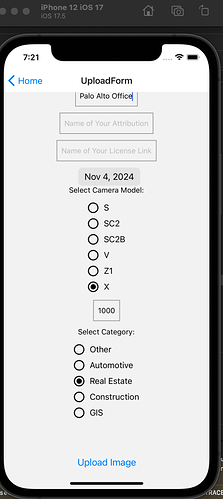
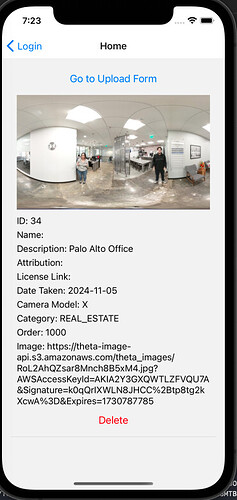
JSON Web Token (JWT) is a standard for transmitting information securely. JWT is used to display, upload and delete information from an API server.
There are two parts to using JSON Web Token:
- backend server to create and then verify token;
- frontend application (in this case, an iOS app) to first request the web token and then use the web token in subsequent requests to access the resource.
For example, to run a REST command such as display image or delete image using JWT, your iPhone application must first request a JWT token from the backend server, then send the token it receives in the header of the HTTP request.
Although this may sound complex, it is simple to use the token. Normally, when you send a request for an image, you’re focused on the URL. For example, this is a standard URL https://theta-image-api.s3.amazonaws.com/thumbnails/theta_images/car_med_800.jpeg
To apply the token, you use the Authorization syntax below.
headers: {
    'Authorization': `Bearer ${accessToken}`,
},
More information JWT is available here:
Setting up mobile app for JWT
https://github.com/codetricity/jwt-react-native-tutorial
Thanks to @Phat_Ca for building this demo.
The following two examples use the common fetch syntax of JavaScript.
fetch token
    try {
      const response = await fetch('https://image360.oppget.com/api/token/', {
        method: 'POST',
        headers: {
          'Content-Type': 'application/json',
        },
        body: JSON.stringify({
          username,
          password,
        }),
      });
use token in the REST request
const response = await fetch('https://image360.oppget.com/api/user-photo/', {
method: 'GET',
headers: {
    'Authorization': `Bearer ${accessToken}`,
    'Content-Type': 'application/json',
},
});
You can use the GitHub code as an example on integrating fetch with your React Native app.
Setting Up Django for Secure 360 Image Management with JWT
To serve a REST API with JWT authentication using Django, you need the packages djangorestframework and djangorestframework-simplejwt.
The packages will handle token generation, security, and REST management.
Here’s a step-by-step guide on how to set it up:
- Set up Django and Django REST Framework (DRF)
First, ensure you have a Django project set up with Django REST Framework (DRF) installed:
pip install django djangorestframework
Add ‘rest_framework’ to your INSTALLED_APPS in settings.py:
INSTALLED_APPS = [
    # Other apps...
    'rest_framework',
]
- Install Django REST Framework Simple JWT
For JWT-based authentication, install the djangorestframework-simplejwt package:
pip install djangorestframework-simplejwt
Then, add rest_framework_simplejwt to your INSTALLED_APPS:
INSTALLED_APPS = [
    # Other apps...
    'rest_framework_simplejwt',
]
- Configure JWT Authentication in settings.py
Update the REST_FRAMEWORK settings to use JWT for authentication:
REST_FRAMEWORK = {
    'DEFAULT_AUTHENTICATION_CLASSES': (
        'rest_framework_simplejwt.authentication.JWTAuthentication',
    ),
    'DEFAULT_PERMISSION_CLASSES': (
        'rest_framework.permissions.IsAuthenticated',
    ),
}
- Create JWT Views for Token Handling
In your urls.py file, set up paths for obtaining and refreshing tokens:
from django.urls import path
from rest_framework_simplejwt.views import (
    TokenObtainPairView,
    TokenRefreshView,
)

urlpatterns = [
    path('api/token/', TokenObtainPairView.as_view(), name='token_obtain_pair'),
    path('api/token/refresh/', TokenRefreshView.as_view(), name='token_refresh'),
]
TokenObtainPairView: Returns an access token and refresh token.
TokenRefreshView: Refreshes the access token using the refresh token.
- Creating a Simple API View
Now, you can create a simple API view that requires authentication:
from rest_framework.views import APIView
from rest_framework.response import Response
from rest_framework.permissions import IsAuthenticated

class ProtectedAPIView(APIView):
    permission_classes = [IsAuthenticated]

    def get(self, request):
        return Response({"message": "You are authenticated!"})
Then, add this view to your urls.py:
urlpatterns = [
    path('api/protected/', ProtectedAPIView.as_view(), name='protected'),
    # JWT token paths
    path('api/token/', TokenObtainPairView.as_view(), name='token_obtain_pair'),
    path('api/token/refresh/', TokenRefreshView.as_view(), name='token_refresh'),
]
- Using the API
To authenticate, you’ll first obtain a JWT token by sending a POST request to /api/token/ with valid user credentials (e.g., username and password). The response will include an access token (for authorization) and a refresh token (for getting a new access token when it expires).
POST /api/token/
{
  "username": "your_username",
  "password": "your_password"
}
You’ll get a response like:
{
  "refresh": "your_refresh_token",
  "access": "your_access_token"
}
Then, include the access token in the Authorization header when making requests to protected endpoints:
Authorization: Bearer your_access_token
- Token Expiration and Refreshing
When the access token expires, you can refresh it using the refresh token by sending a POST request to /api/token/refresh/:
POST /api/token/refresh/
{
  "refresh": "your_refresh_token"
}
You’ll receive a new access token in the response.
- Optional: Customizing Token Payload or Expiration
You can also customize JWT behavior in settings.py. For example, to modify the token expiration time:
from datetime import timedelta

SIMPLE_JWT = {
    'ACCESS_TOKEN_LIFETIME': timedelta(minutes=5),
    'REFRESH_TOKEN_LIFETIME': timedelta(days=1),
    # other settings...
}
Try Out Live Servers
Oppkey API Developer Demonstration Server
You can access the APIs for the Oppkey Django server here:
https://image360.oppget.com/api/
API Authentication Information
username: tutorial
password: theta360DotGuide
Do not upload private images. This is a public playground for testing.
Run React Native Mobile App with Existing Live image360 Demo Server
Clone down the repo for the demonstration mobile app, install the JavaScript dependencies and run the app on Android or iOS.
git clone https://github.com/codetricity/jwt-react-native-tutorial.git
npm install
npm start
For Android
# using npm
npm run android
For iOS
# using npm
npm run ios
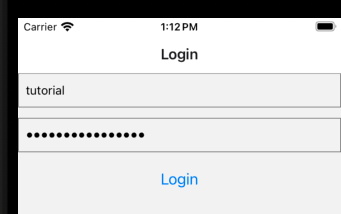
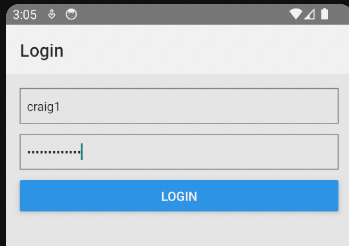
Login
username: tutorial (make sure T is lowercase) if you have problems with auto-capitalization, then type Ttutorial and delete the first T.
password: theta360DotGuide
Image Display
After the token is generated, this endpoint gets all the pictures. Since the web token is used, user can be obtained.
This is the mobile app code.
const response = await fetch('https://image360.oppget.com/api/user-photo/', {
  method: 'GET',
  headers: {
    'Authorization': `Bearer ${accessToken}`,
    'Content-Type': 'application/json',
  },
});
server code
def get(self, request):
    try:
        photos = Photo.objects.filter(user=request.user).all()
        serializer = PhotoSerializer(photos, many=True)
        return Response(serializer.data)
Deletion, frontend mobile app code
const response = await fetch(`https://image360.oppget.com/api/${id}/delete/`, {
  method: 'DELETE',
  headers: {
    'Authorization': `Bearer ${accessToken}`,
    'Content-Type': 'application/json',
  },
});
Troubleshooting React Native Mobile App
Unable to load contents of file list
pod deintegrate
pod install
Next Steps
You now have a Django application serving a REST API with JWT authentication. You can create additional views and restrict access using the JWT token. For more advanced use cases, you can further customize the JWT payload, token lifetime, and authentication logic.
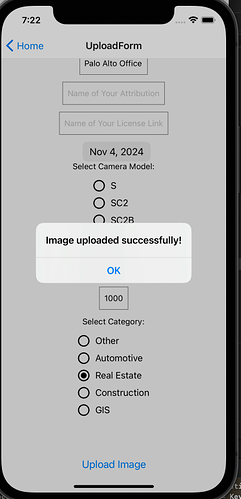
In the next article, we will show how to upload a 360 image to the API server from the iOS cameraroll.
We can get the images from the RICOH THETA camera to the iOS camera using this solution.
From here, we need to use a file picker to pick the file from the camera roll and upload it to the cloud API server with JWT.
