Announcing the THETA Unofficial Guide 360 Time-Lapse Video Challenge!
The winner is @Bob_White with multiple backyard time lapse video entries showing setting sunset and moonrise. Really well done!
Credit: Phil Spitler
Hi all!
We’ve seen multiple cool implementations of time-lapse photography using the RICOH THETA API. Would you like to try your hand at it? Sure, you can use THETA+ or other apps like Rollworld to build time-lapse videos. But what if you want to go past the 200 image limit? What if you want to take time-lapse images continually past your battery limit? You can handle these obstacles using the API.
Requirements for submission:
Photos must be taken with API (either WiFi or USB)
Your script (totally unique or adapted from other code) must be submitted, either as a reply below, email to jcasman@oppkey.com or sending a link to your GitHub repo or in Dropbox. Lots of possibilities, we just want to see what you built!
Videos must be submitted below
Preference given to videos utilizing over 2000 images taken from a RICOH THETA
You do not need to use Raspberry Pi, you can use your Mac, Windows, or Linux laptop. @Phil_Spitler 's 360 Degrees of Christmas video was made on a MacBook with tlapser360.
More Examples!
Credit: Koen Hufkens
Credit: Jason Charcalla
Entries must be submitted by April 20, 2017 - Post your videos below as responses to this post!
hehe For anyone not paying attention, Phil’s “submission” is one of the main examples we’re using. Sending him a t-shirt, cause he’s already done some cool work here, but the challenge is still going! Please send in your submissions!
Time-Lapse Video submission from @Bob_White. Thank you, Bob!
[Here is] the Python script that I wrote to capture 3000 stills with my Theta S last night.
The script sets up the Theta S and then asks how many stills to take. Stills are shot at 1024 x 2048 due to space limitations of the Theta S. The script will take a picture, sleep for four seconds and then start looking for the status of “inProgress” to clear. Once the “inProgress” status clears the script will take the next picture (about 5 seconds between each still). Limited error checking is preformed. This is just a proof of concept run.
I used an external battery to power the Theta S during the shooting and FFMPEG to build the videos from the stills.
The script was written on my iPhone using the Pythonista app and will control the Theta S directly from the app over wifi.
The videos in the attached link are all the same but at different frame rates. 12 frames per second equates to 1 seconds = 1 minute, 48 frames per second equates to 1 second = 4 minutes (15 seconds = 1 hour).
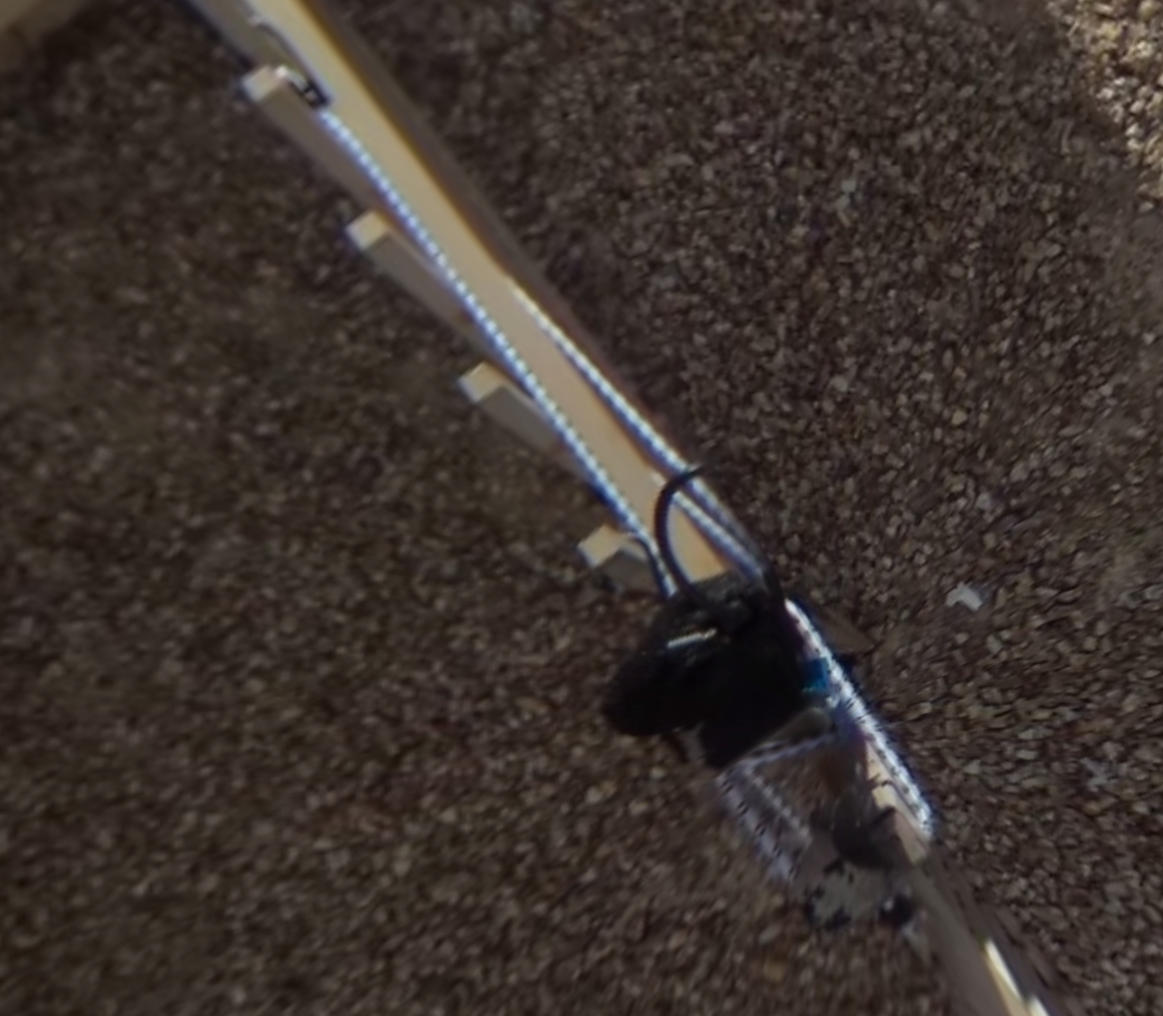
Extra note: I really like the bungie cords holding the whole rig. @Bob_White says they are also keeping the battery in place. Seriously love this. It actually appears quite stable. There is some fairly strong wind, judging by the clouds and tress, and especially near dusk (little dog wandering by) the fence itself appears to move some. But the rig is solid!
I see Chester and I see the bunny now - Bunnies, plural? Actually quite a bit of bunny action, on both sides of the fence -but I’m not sure I see a quail…?
Did you see the quail? He should make another video that shows bank fishing for trout. It’s strangely interesting to watch a timelapse of a change in day.
I am hoping to do another Day/Night transition run for the upcoming Full Moon. I will be attempting to do another 3000 image capture but this time at 2688x5376
Bob
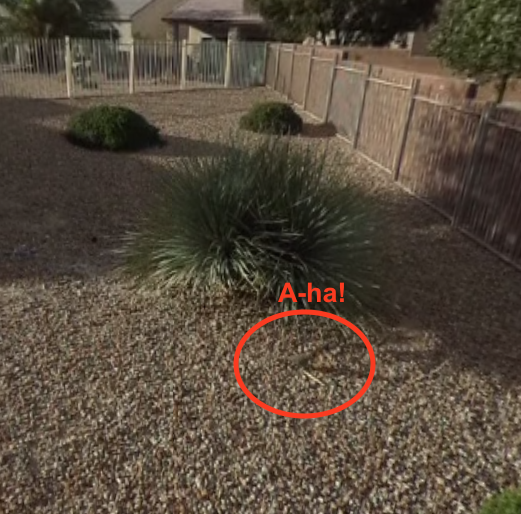
Was just starting to lose faith in you, Bob, that there actually was a quail in the time-lapse… Thought that a quail would be more likely outside the fence than in. (Wrong.) Thought they might be more active at dusk. (Wrong.) Thought they’d look a lot different from rabbits. (Well, right but wrong.) Finally caught up to the quail when I realized they move faster than the rabbits and move in straighter lines.
Starting from a little before 1:08 in the video, zooms past very quickly.
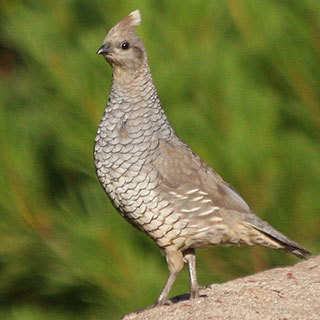
Based on my (now extensive) observations of the terrain, I’m guessing… Scaled Quail, Callipepla squamata
Scaled quail are found in semi-arid rangelands with mixed scrub. This species is generally associated with open habitats and tend to avoid rugged slopes and dense stream courses. Common vegetation includes mesquite, pricklypear cactus, and scattered shrubs and grasses.
I updated my Python script to for shooting time lapse in either resolution. Now the images are moved off the camera and onto the device that is running the Python script. As each image is transferred to the device hosting the script it is then deleted from the camera. This gives us the ability to capture hi-res images above what the camera memory would hold. I did a quick test last night starting just before sunset and running for 1000 images. I was able to capture at a rate of just over 8 images per minute (the 1000 images took 2 hours and 16 minutes to capture). I was using my iPad Pro and the Pythonista app to run the script. The iPad Pro was less then 6 feet from the camera but there was a wall in-between the two. Both camera control and image capture was done over WIFI.
Here is a links to YouTube for the run in a few video speeds. 4fps, 8fps, and 16fps
The videos need to be viewed in a comparable browser to enjoy the 360 experience. I know that the latest version of Chrome works.
I am still working towards a long 3000 image HiRes run for the upcoming full moon weather permitting. My current plans are to host the python script on an iPhone for that run.
@Bob_White sounds like a very cool and useful upgrade. If you want me to upload it to GitHub, please send me the file. Or do a pull request, and I’ll respond right away.
@jcasman I will get the new code to you as soon as I clean it up a little bit more. I want to save the cameras settings before making changes for a time-lapse run and then have the code reapply the original settings back into the camera after the run. I am starting to feel like I might need to turn this into an iOS app.
Bob
@Bob_White Ok, looks like some very cool updates (though I haven’t tested them myself directly yet). They have been uploaded to GitHub. I kept your original version as “-orig.” This is explained in the README.md file.

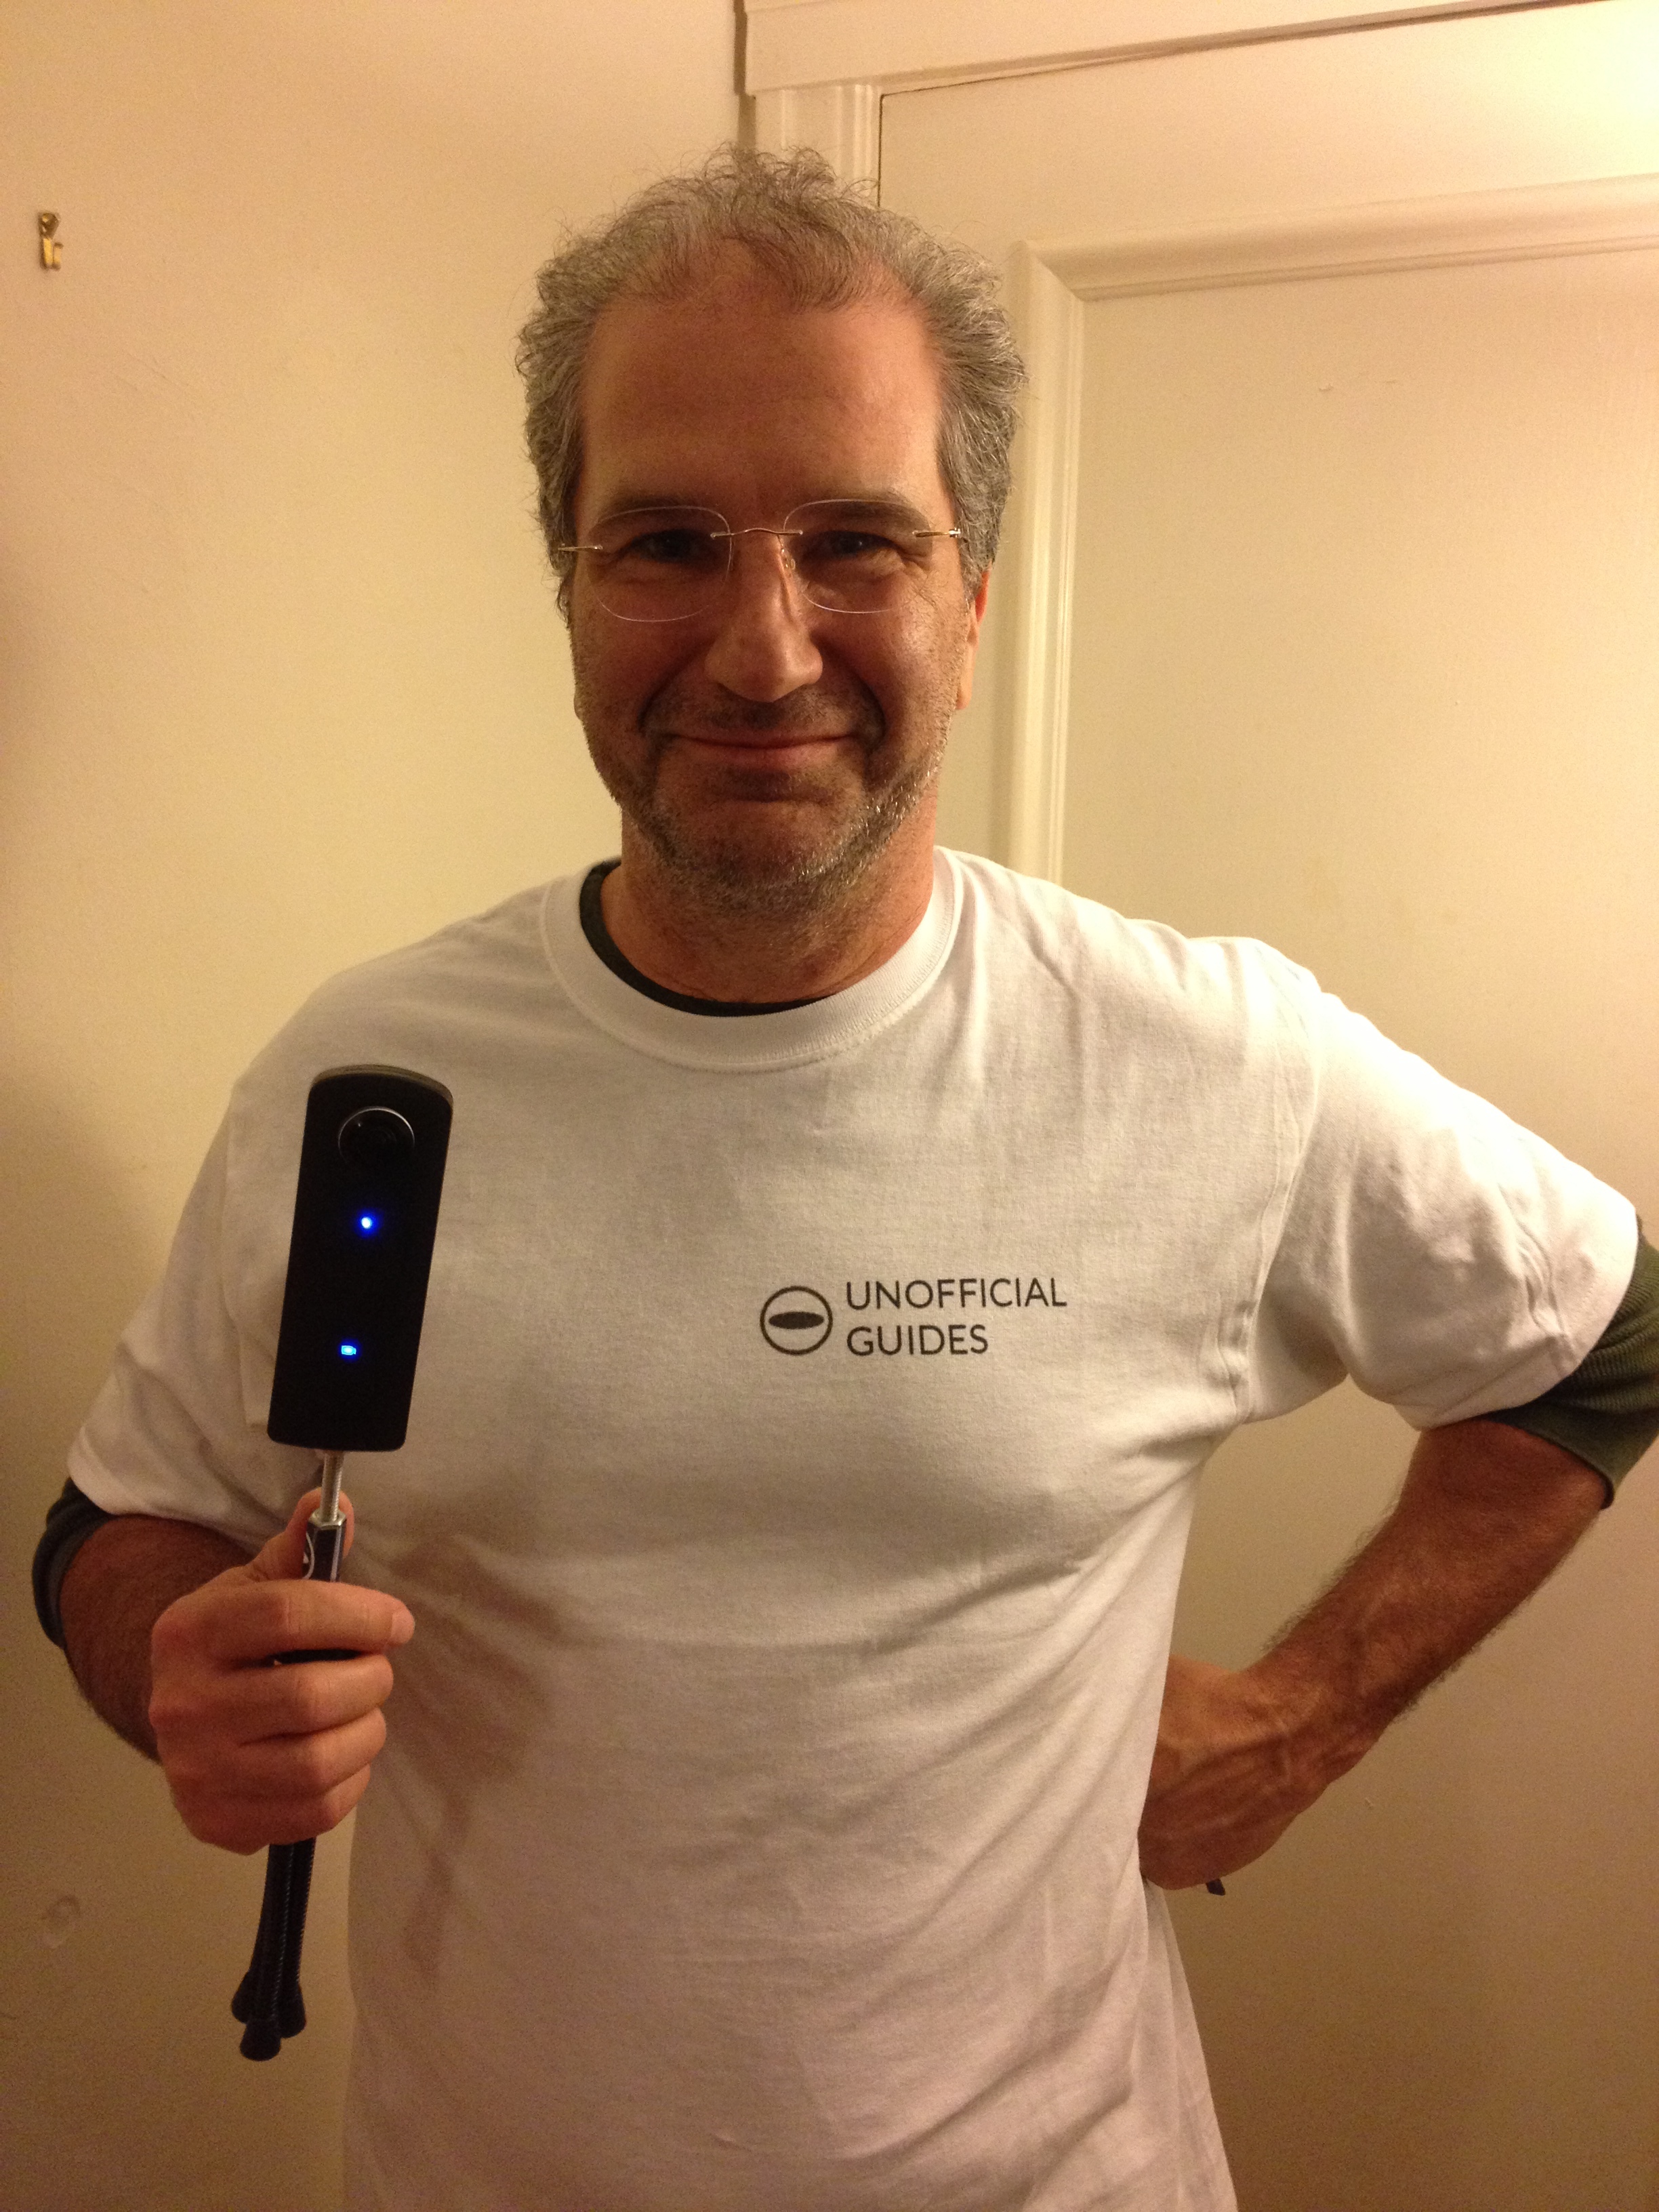


 For anyone not paying attention, Phil’s “submission” is one of the main examples we’re using. Sending him a t-shirt, cause he’s already done some cool work here, but the challenge is still going! Please send in your submissions!